Win Firewall and third party Firewall are off

As you know, the Windows 10 operating system, as well as other Windows versions, comes with the Windows Firewall. In Windows 10, the firewall allows users to install and run a third-party firewall. This kind of firewall works independently to block any suspicious activity on your computer. However, recently, some users reported that they are getting a notification on the Startup saying,

“Windows Firewall and <Third party firewall name> Firewall are both turned off; tap or click to see available options”.

This particular error could be caused by a lot of factors but when you manually check the firewall, you’ll find that there really is nothing wrong with both the Windows Firewall and the third party firewall. So if both the Windows Firewall and third-party firewalls like McAfee, Comodo, and many others are both turned off in Windows 10, then you need to do several things to resolve the problem – you need to check the supporting services that are required and uninstall and then reinstall the third party firewall on your computer. For more instructions, refer to the options provided below.

Option 1 – Try enabling all the supporting services for the firewall

The first thing you can do to resolve the error with the firewall is to check all of its supporting services by following these steps:

  • Tap the Win + R keys to open the Run utility and type “services.msc” in the field and then hit Enter to open the Windows Services Manager.
  • Next, look for the Windows Defender Firewall service among the given list of services.
  • Once you found it, make sure that its Startup Type is set to Automatic and that the status of the service is Running. So if it’s not running, just click on the Start button.
  • In addition, you also have to make sure that the following services’ status is set as follows:
    • Xbox Live Networking Service: Manual
    • Base Filtering Engine: Automatic
  • Once done, start the firewall again and check if the error is now fixed or not.

Option 2 – Try to uninstall and reinstall the third-party firewall

It is possible that the firewall error might be due to an error with the compatibility of the installation in Windows 10 and the third-party firewall. Thus, the next thing you can do is to uninstall the third-party firewall and then reinstall it again. Once you have uninstalled the third-party firewall, you can download its latest version from its official website and install it again. This should fix the error with the firewall.

If you like to learn and find out more about various Windows errors, and how to repair them go to our vast archive or use search to find articles that will explain and help you in solving your issue.
However, if you prefer to do things fast and with automatization then we are proposing to use an automated solution for your issues. The application that we are recommending is Advanced System Repair Pro
Advanced System Repair utilizes multiple tools all in one to give you a quick, simple, reliable, and very thorough diagnosis of your PC. It brings you all the tools you need in one program to clean, fix, protect, optimize and boost your PC!
1-Click Maintenance
All the tools to make it simple and easy! It's like having a professional technician at the click of a mouse.

Junk Cleaner
Keeping your computer free from unnecessary clutter also helps make your computer last longer. Like any other machine, if you keep it clean and take care of it, it will serve you better for longer!

Optimize background apps
Optimize applications background activity with the built-in Application Optimizer feature.

Disk Defrag
With a simple 1-click, Advanced System Repair speeds up your PC by assembling fragmented files on your machine and organizing them more efficiently.

Malware Removal
Finds and removes all types of harmful malware including trojans, worms, bots, adware, spyware, PUPs, and more!

Privacy Cleaner
The all-in-one privacy suite to Clean Your Tracks & Protect Your Privacy! Make your computer safe, secure, and more efficient!

System Tweak/Optimizer
ASR will analyze your complete system and settings to adjust your PC to function at its maximum performance.

Registry Cleaner
Over time, as you install and uninstall applications, the registry can become cluttered with old entries and broken settings which can result in program crashes, and annoying messages and slow the computer down.
Visit our Advanced System Repair Pro Download page to inform yourself about all the benefits of this software and get a free trial copy of it.
advanced system repair pro

Advanced System Repair Pro

One-click automated PC repair solution
ASR logo
With Advanced System Repair Pro you can easily
Replace damaged files
Restore performance
Free disk space
Remove Malware
Protects WEB browser
Remove Viruses
Stop PC freezing
DOWNLOAD
Privacy Policy | Terms of Use | Uinstall
Advanced System Repair Pro is compatible with all versions of Microsoft Windows including Windows 11

Share this article:

You might also like

Samsung Odyssey Neo G9 monitor review
samsung Odyssey Neo G9Odyssey Neo G9 is a successor to Odyssey G9 curved gaming monitor and it is aimed again at the gaming community with its specifications but of course, it can be used for work as well. Gapping at a stunning $2500 USD price it is not really a cheap piece of hardware so it is normal to see what do you get for this kind of price and do features justify it, so let’s dive in.

Size and resolution

The first thing that you can notice about the screen is that it is big and curved, 49 inches big which is pretty big, and with it, I believe you can forget about using 2 or 3 screens because this single one will cover everything you need really. Going as far as 5120 X 1440 resolution is the strange definition, basically, this is 5K which is kind of nice but I do not see the advantage. Sure it is larger than 4K, but for the price of $2500 I expected an 8K monstrosity so if the resolution is not the main price justification then what is? Let’s move on and find out.

Odyssey tech specs

The monitor comes with HDR and 240Hz refresh rate which is very nice and coupled with 1ms pixel response time, adaptive sync, and Variable Refresh Rate you get pretty good other tech specs. All of this is very nice but the monitor's strongest selling point is Mini Led tech. Mini Led is a next-gen tech currently found only in high-end TVs. With this technology, monitors can produce truer blacks sort of speak thanks to a greater number of dimming zones. Odyssey Neo G9 is rated at 2000 nits in the brightness values and local dimming zones go to stunning 2048. It comes also with Quantum HDR that supports 10+, Freesync, and G-Sync capability. In connection, the department monitor comes with a single display 1.4 port and two HDMI 2.1 ports. It also includes a headphone jack along with two USB 3.0 ports.

Conclusion

While the resolution of the monitor is nothing impressive for the given price, its size and the rest of the tech specs surely are. Now I will not lie, the price is still a little too high but if you could afford it easily I think you should.
Read More
Fix THREAD_STUCK_IN_DEVICE_DRIVER 0x000000EA
If a program tried and failed to use the Graphics rendering capabilities of a computer, Windows 10 will most likely throw a Blue Screen error that says, “ THREAD_STUCK_IN_DEVICE_DRIVER ”. 0x000000EA is the Stop code for this particular Blue Screen error and could be caused by a bad display driver or bad video card. Whatever the cause is, here are some suggestions you need to check out to resolve this Blue Screen error.

Option 1 – Try to rollback, update, or disable the Graphics card drivers

Since the THREAD_STUCK_IN_DEVICE_DRIVER Blue Screen error has something to do with Graphics card drivers, you can either roll back, update or disable them depending on your preference in order to resolve the error.
  • First, boot your computer into Safe Mode.
  • After that, tap the Win + R keys to launch Run.
  • Type in devmgmt.msc into the box and tap Enter or click OK to open the Device Manager.
  • After that, a list of device drivers will be displayed. From there, look for the Display Adapters and click on them.
  • After that, right-click on each entry under the Display Adapters and select the “Uninstall Device” option from the menu.
  • Now restart your computer.
  • After restarting your computer, go to the Settings app and Check for Updates in the Windows Update section.
Note: You also have the option to go directly to the website of your graphics card manufacturers like NVIDIA, Intel, or AMD and go to the section called Drivers then check if there’s a new available update – if there is, download and install it.

Option 2 – Try removing hardware or drivers that you’ve installed recently

If you have recently installed some hardware or drivers, you might want to disable or remove them since external devices are proven to be one of the factors that trigger Blue Screen errors like THREAD_STUCK_IN_DEVICE_DRIVER. All you have to do is physically disconnect any external devices that are connected to your computer and then check if it fixes the BSOD error or not.

Option 3 – Run System File Checker at boot time

  • Once you get to the Welcome Screen part, click on Next.
  • Afterward, click on the Repair your computer option located on the bottom-left part of the window.
  • Then click on Troubleshoot.
  • Next, select the Advanced Options and then Command Prompt.
  • After opening Command Prompt, type the “sfc /scannow” command and hit Enter to run the System File Checker scan.
  • Wait until the process is completed and type “exit” to close Command Prompt and then restart your computer to successfully apply the changes made.

Option 4 – Try to run the Blue Screen Troubleshooter

As you know, the Blue Screen troubleshooter is a built-in tool in Windows 10 that helps users in fixing BSOD errors like the THREAD_STUCK_IN_DEVICE_DRIVER error. It can be found in the Settings Troubleshooters page. To use it, refer to these steps:
  • Tap the Win + I keys to open the Settings panel.
  • Then go to Update & Security > Troubleshoot.
  • After that, look for the option called “Blue Screen” on your right-hand side and then click the “Run the troubleshooter” button to run the Blue Screen Troubleshooter and then follow the next on-screen options. Note that you might have to boot your PC into Safe Mode.

Option 5 – Try to manually check the Graphics Card hardware

You might also want to check the physical status of your Graphics card and you can do this by disconnecting the Graphics card or any other external device connected to your computer. Once you’ve removed the external device, check it for any damages. If there’s none, connect it back to your computer and check if the THREAD_STUCK_IN_DEVICE_DRIVER Blue Screen error is fixed or not.

Option 6 – Uninstall any faulty drivers

You can also uninstall any faulty drivers via Device Manager. How? Refer to these steps:
  • Tap the Win + R keys to launch the Run dialog box.
  • Then type “devmgmt.msc” in the field and tap Enter to open the Device Manager.
  • From there, look for any faulty drivers. You can identify them easily as they will be marked with a yellow exclamation point. And then check which entries would not affect the normal functioning of your PC.
  • Now click on the entries of every faulty driver and click on the Uninstall option.
  • Once you’ve uninstalled them, restart your computer to allow your computer to reinstall the faulty drivers you’ve just removed.
Read More
Fix PDC WATCHDOG TIMEOUT BSOD
If you suddenly encountered the PDC WATCHDOG TIMEOUT BSOD Blue Screen stop error with a bug check value of 0x0000014F, then it’s probably due to a system component that has failed to respond with the allocated period which prevents the system from exiting connected standby. This kind of Blue Screen error could be caused by both hardware and software components. To fix this Stop error, here are some possible fixes you can try that might help but before you proceed, make sure that you create a System Restore point first and boot your computer into Safe Mode with Networking.

Option 1 – Try to rollback, update or disable drivers

The next thing you can do to fix the PDC_WATCHDOG_TIMEOUT Stop error is to roll back, or update, or disable device drivers. It is most likely that after you updated your Windows computer that your driver also needs a refresh. On the other hand, if you have just updated your device drivers then you need to roll back the drivers to their previous versions. Whichever applies to you, refer to the steps below.
  • Open the Devices Manager from the Win X Menu.
  • After opening the Device Manager, look for the device driver named “IDE ATA/ATAPI controllers” and expand it.
  • Then look for the SATA AHCI Controller entry and right-click on it. If you haven’t updated this driver in a while, select the “Update Driver” option. On the other hand, if you’ve just updated this driver, then select the Uninstall Device option.
  • Next, follow the screen option to update or uninstall it.
  • Finally, restart your computer. It will just reinstall the device drivers automatically if you have chosen to uninstall them.
Note: You can install a dedicated driver on your computer in case you have it or you could also look for it directly from the website of the manufacturer.

Option 2 – Try to disconnect or disable newly installed hardware

In this option, you will have to disable or remove the hardware you’ve just installed recently since external devices could be the one that’s causing the Blue Screen of Death error to appear. To do that, just disconnect any external device that’s connected to your computer physically and then check if it fixes the PDC_WATCHDOG_TIMEOUT Blue Screen error.

Option 3 – Try running the Memory Diagnostic Tool

The Memory Diagnostic tool in windows can help resolve the PDC_WATCHDOG_TIMEOUT Blue Screen error by checking and automatically fixing any memory-based issues. To run it, refer to these steps:
  • Tap the Win + R keys to open Run and type mdsched.exe and hit Enter to open the Windows Memory Diagnostic Tool.
  • After that, it will give two options such as:
    • Restart now and check for problems (Recommended)
    • Check for problems the next time I start my computer
  • Once your computer has restarted, perform a basic scan or you could also go for the “Advanced” options such as “Test mix” or “Pass count”. Simply tap the F10 key to start the test.

Option 4 – Try to update the BIOS

Updating the BIOS can help you fix the PDC_WATCHDOG_TIMEOUT BSOD error but as you know, BIOS is a sensitive part of a computer. Even though it is a software component, the functioning of the hardware depends on it largely. Thus, you must be careful when modifying something in the BIOS. So if you don’t know much about it, it’s best if you skip on this option and try the other ones instead. However, if you are well-versed in navigating the BIOS, then follow the steps below.
  • Tap the Win + R keys to open the Run dialog box.
  • Next, type “msinfo32” in the field and press Enter to open System Information.
  • From there, you should find a search field on the bottom where you have to search for the BIOS version and then press Enter.
  • After that, you should see the developer and version of the BIOS installed on your PC.
  • Go to your manufacturer’s website and then download the latest version of BIOS on your computer.
  • If you are using a laptop, make sure that you keep it plugged in until you have updated the BIOS.
  • Now double click on the downloaded file and install the new BIOS version on your computer.
  • Now restart your computer to apply the changes made.

Option 5 – Try running the Blue Screen Troubleshooter

The Blue Screen troubleshooter is a built-in tool in Windows 10 that helps users in fixing BSOD errors like PDC_WATCHDOG_TIMEOUT. It can be found in the Settings Troubleshooters page. To use it, refer to these steps:
  • Tap the Win + I keys to open the Settings panel.
  • Then go to Update & Security > Troubleshoot.
  • From there, look for the option called “Blue Screen” on your right-hand side and then click the “Run the troubleshooter” button to run the Blue Screen Troubleshooter and then follow the next on-screen options. Note that you might have to boot your PC into Safe Mode.
Read More
Epic games and many more coming in Win store
Microsoft store is ready and prepared for Windows 11 official release on October 5th and it is coming with some surprises. Windows storeIt has officially confirmed that many open source and free applications will be in it like Opera, VLC, discord, Libre office, etc. It seems that Microsoft wants to place its store as one place to go for all of your software needs. Another great surprise is the coming of Epic games store implementation. It was officially confirmed but not explained in detail, will we have Epic store opened in Windows store or we will only get installer as a package we will see but this is some great news. As for how it states now, it seems that the Windows store aims to eliminate searching the web for applications and bring them all into one environment with reviews and ratings so you know which one to install and use. It also features a great search engine to find proper applications for your needs. The new store will come to Windows 10 as well but after all Windows 11 has been mostly released and adopted. So expect it via update in two or three months' time. It would be great if some larger companies decide to join MS stores like Autodesk, Adobe, the Foundry, etc so you can install everything you need from it but one can only hope.
Read More
What to do if you cannot switch between Programs on Taskbar in Windows 10
It is common to run multiple programs and applications at the same time and it’s important to be able to switch between them using their Taskbar icons or using the usual Alt + Tab shortcut. However, there are times when you might suddenly find that neither of the aforementioned methods worked and you will no longer be able to switch between programs in the Windows Taskbar. To fix this issue, refer to the options given in this post. For instance, when you have multiple instances of Microsoft Edge running and every time you press the Alt + Tab combo nothing happens so you are left with no choice but to minimize everything and then hover your mouse on the icon and switch between the instances of Edge. You will also notice that the right-click on the taskbar won’t respond back and will only keep on showing the loading circle icon. Here are a few tips you can follow to fix the issue with the Windows 10 Taskbar.

Option 1 – Try to restart the Windows Explorer

This is one of the basic things you can try as restarting Windows Explorer helps in refreshing the user interface and makes most of the things work in relation to the user interface.
  • To get started, tap the Alt + Ctrl + Del keys to pull up the Windows Task Manager.
  • After opening Task Manager, look for “explorer.exe” under the list of programs.
  • Once you find the explorer.exe, right-click on it and click Restart.

Option 2 – Try changing the Foreground Lock Time

Aside from restarting Windows Explorer, you could also try changing the Foreground Lock Time to fix the issue with the Taskbar.
  • Tap the Win + R keys to open the Run dialog box.
  • Then type in regedit in the field and tap Enter to open the Registry Editor.
  • Next, go to this registry key – HKEY_CURRENT_USERControl PanelDesktop
  • Next, change the ForegroundLockTimeout value from200000 to 0. After that, it will make sure that no other application will take away the focus from your current program or application. It could be that some other application has taken away the focus and even when you try to actually switch, the focus gets back to the old one. Anyhow, since you already changed the value of ForegroundLockTimeout, it will ensure that the focus is not switched.
Note: If you are running some Full-Screen applications there are some devices especially the gaming ones, disable the Windows key to make sure that you won’t be able to switch. If this is the case, you need to make some modifications to the Full-Screen games.
Read More
Android security: 9 apps stealing your data!
Due to the latest android malware security analyst, there are alarmingly 5.8 million downloads of applications that will steal your Facebook data, your Facebook login credentials! Russian anti-malware company Dr.Web has found Trojan apps that steal your Facebook login credentials by tricking users into entering their private information in order to eliminate in-app ads. All of the applications have been removed from the play store and cannot be installed anymore but please do check your phone in order to remove them from your phone as well.

List of malware applications:

If by any chance you have any application from this list, consider uninstalling it from your phone for security reasons.
  • PIP Photo
  • Processing Photo
  • Rubbish Cleaner
  • Inwell Fitness
  • Horoscope Daily
  • App Lock Keep
  • Lockit Master
  • Horoscope Pi
  • App Lock Manager
During the investigation, Dr.Web analysts found an additional Trojan app that had previously made its way onto the Google Play Store. Image editing software app EditorPhotoPip had already been removed but could be downloaded through aggregator websites.
Read More
Overwatch lost connection to the game server
Overwatch has taken the world by the storm, it introduced new mechanics in gameplay, colorful characters, various game modes and it is constantly updated with new content for free. If you have friends to play with this game is even better but sometimes errors occur and the game loses connection to the game server making it unplayable since it requires a constant internet connection to the server to function. Keep reading and try provided solutions as they are presented to fix this issue and continue gaming.
Read More
Intel i9 Alder Lake better than AMD Ryzen 9
Alder Lake
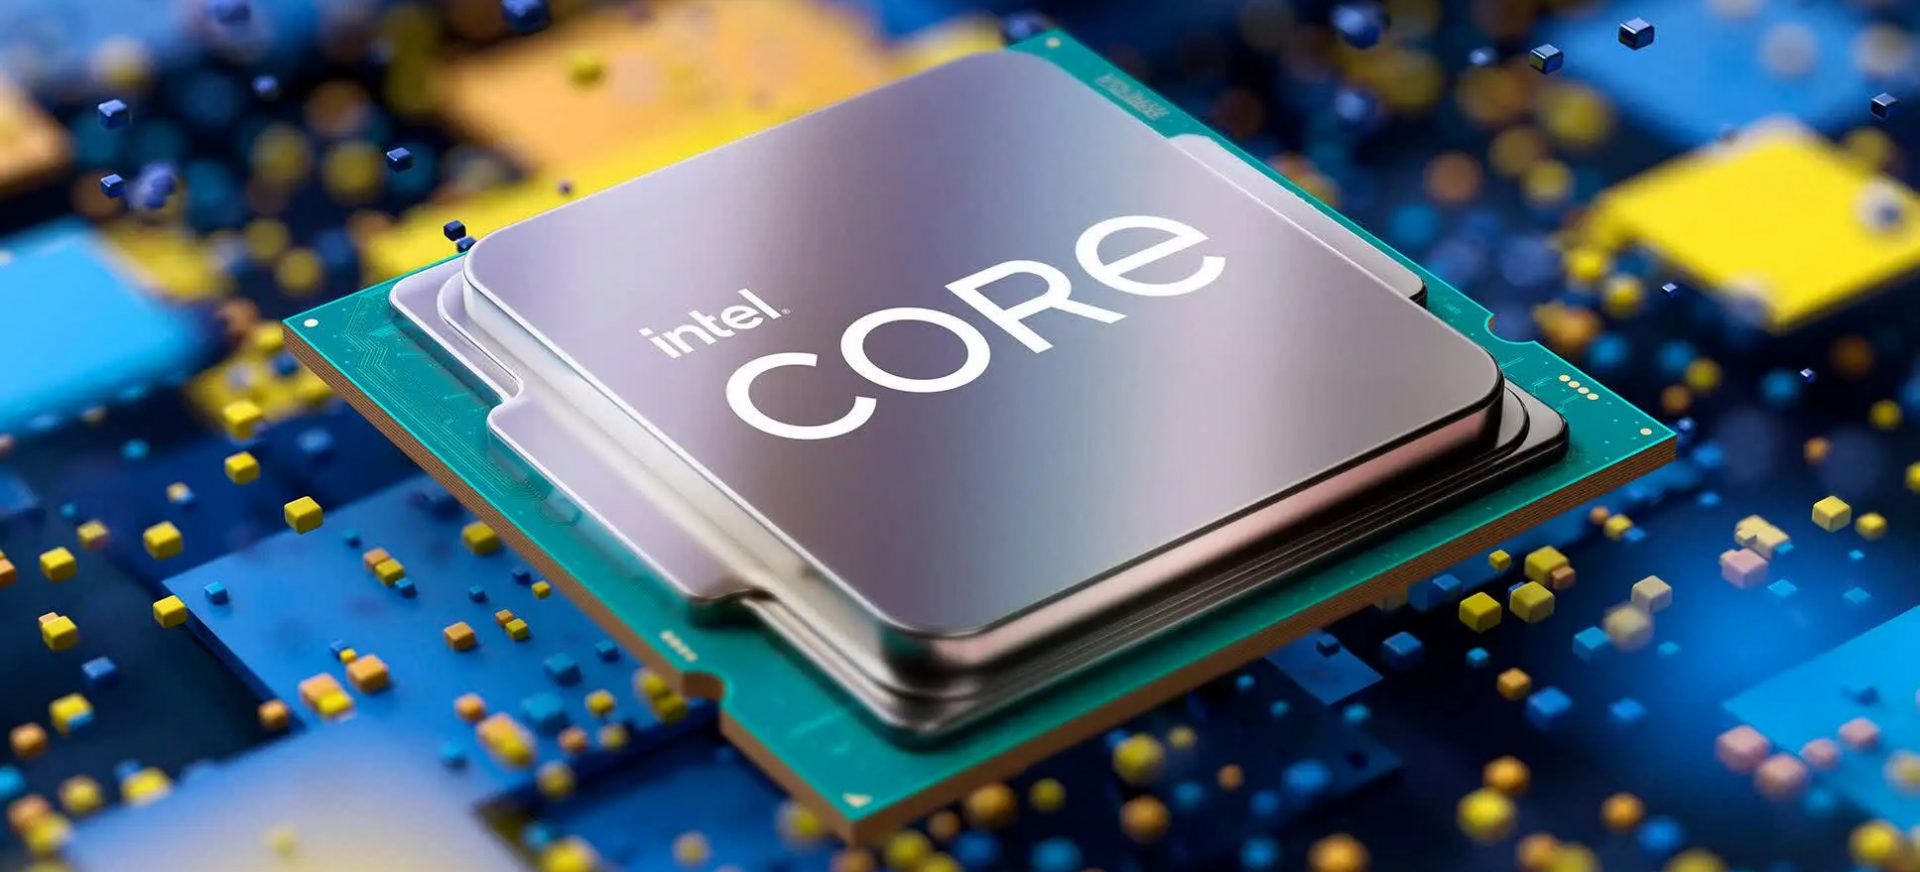
If we are to believe news from Intel, new series of processors based on Alder Lake architecture are about to be released somewhere in October. Alder Lake is the 12th Generation Core of Intel processors and it is meant to have all advantages of the current CPU structure. I9 is aimed to pack a punch against its competitors with technology including eight high-performance Golden Cove cores (P-cores) with Hyper-Threading and eight energy-efficient Goldmont (E-cores) equipped with a 30MB L3 cache and operating at high clock speeds. During the benchmark test, the new CPU outperformed all of Intel’s previous Rocket Lake structure processors which is logically expected but the big surprise came from results that indicate better performance than Apple’s new M1 processor even in single-threaded performance which is supposed to be best in that field. Another surprise was really beating AMD Ryzen 9 in each field. If we take into account that i9 has 16 cores in total and can process 24 threads against Ryzen 9 with 16 Cores and 32 threads this is an impressive feature. Now truth to be told Alder lake has massive L3 cache and microarchitectural advantages and consumes much more power but the results of performance are high. Also, note that this early CPU is not really a mass production one and maybe some things will still change but early results are very satisfactory. We will see what will price tag be since in this age of shortage and competition that will also play a big role in its overall success. Speaking of competition I eagerly await AMD’s response to this, in any way it seems that the CPU market is for some turbulence which is always a good thing for the final customer and I welcome it.
Read More
Troubleshooting Error 106

Quick Fix to Error 106

What Is Error 106?

Error 106 is a common error experienced by Windows 7 users. Generating as a result of Misconfigured, damaged or corrupt system files on the computer, this is not a critical error. However, troubleshooting this error is important to keep any undesired inconvenience at bay. Essentially, error 106 is one of the error codes employed by Windows and other compatible driver and software vendors. The 106 in this error is essentially the memory address or location where the instructions reside when the error was generated.

Solution

Restoro box imageError Causes

Primarily, error 106 is caused by the damaged, Misconfigured or corrupt system files. The error may appear harmless at first. However, if allowed to persist, it can lead to grave consequences. Allowing an error to thrive on your system is synonymous with putting the well-being of your system at risk. As far as the events, conditions, or scenarios are concerned that lead to the generation of error 106, they are listed below as follows. It is important to understand that these conditions lead to the corruption of system files in most cases.
  • An improper or incomplete installation or uninstallations
  • Improper or incomplete deletion of hardware or applications
  • Improper, unintentional or sudden system shutdown
  • Existence of adware, spyware, malware, or virus on your computer
It is worth mentioning that any of the conditions listed above can lead to the corruption of system files or registry entries in the system. Since the system needs correct and complete files for proper functioning which the system will be unable to find, it will result in unexplained behavior. This also happens because the system will be lead to wrongly linked or missing information.

Further Information and Manual Repair

There are different ways to rectify this error but two of the most useful ones are briefly listed below as follows.
  • This solution is for the advanced user. First and foremost, turn on your system. Log on to it as the Administrator. Now click on the start button and follow this sequence: All Programs -> Accessories -> System Tools -> System Restore.A new window will appear in front of you. On this window, choose the option, ‘Restore my computer to an earlier time’. Now click Next.A list of restore points will appear in front of you. From this list, choose the most recent Restore Point and click Next. Click Next on the confirmation windows. Restart the computer when the restoration is complete.
  • This solution for the novice user. Download an error 106 windows repair utility. Now install this program on your computer and use it to scan your computer. Try to locate the option for fixing errors as soon as the scan complete. Make use of this option. Once all the errors have been fixed, restart your computer once again. You will now realize that the error has vanished and your computer is now free of error 106.
Use any of the solutions listed above according to your skill level.
Read More
Adaptive Brightness is not working
The Adaptive Brightness setting in Windows 10 is a useful setting you can use in adjusting your computer’s brightness. It helps you get the brightness automatically based on the light around your computer. However, there are times when it does not work or it doesn’t turn off when you want it to. If this issue happened right after you update or install Windows 10, then read on as this post will give you a couple of options you can try to resolve the problem.

Option 1 – Try to run the Power Troubleshooter

The first thing you can do to resolve the issue with Adaptive Brightness is to run the Power Troubleshooter as the problem could occur due to some conflicted power settings. To use it, refer to the following steps:
  • Open the Windows 10 Settings panel and go to Update & Security and then to Troubleshoot.
  • After that, scroll down to your left-hand side and click the Power option.
  • From there, you should see the “Run the troubleshooter” button. Click on it to fix the problem.
  • Afterward, follow the next on-screen instructions that follow.

Option 2 – Try disabling or turning off the corresponding options in GPU settings

The problem might be due to the Graphics card settings. If you are using either an AMD graphics card or the HD graphics of Intel, you may have to disable the power-related options in the GPU settings. To be specific, you have to disable the Vari-Bright in AMD graphics card settings or the Display Power Saving Technology under Intel’s Graphics panel.
  • AMD users:
    • Open the AMD Radeon settings panel.
    • Then go to Preferences. From there, select Radeon Additional Settings.
    • Next, go to the Power tab and click the PowerPlay option.
    • You should find an option called “Enable Vari-Bright” located on your right-hand side. Remove the mark from its checkbox and then save the changes you’ve made.
  • Intel users:
    • Open the Intel Graphics and Media Control Panel from your Desktop.
    • Then select the Basic mode and go to the Power tab.
    • From there, select “On battery” as Power Source and then you’ll get the Display Power Saving Technology option. It should be set to enabled by default.
    • Now remove the mark from the checkbox and then save the changes you’ve made.

Option 3 – Try resetting the Power Plan defaults

You might also want to use a command-line tool to resolve the problem. This command-line tool is known as PowerCfg. It is a command utility tool that will scan your computer for 60 seconds to know its power. This tool gives detailed results in the form of an HTML report that will help you in evaluating the real cause of the battery drain issues. You can also use this tool to reset the Power Plan defaults of your computer. To use it, follow the steps below.
  • Open the Command Prompt as administrator.
  • Then type in the following command and tap Enter to execute it:
powercfg –restoredefaultschemes
  • After the command has been executed, restart your computer.

Option 4 – Try updating your Graphics drivers

  • First, boot your computer into Safe Mode.
  • After that, tap the Win + R keys to launch Run.
  • Type in devmgmt.msc into the box and tap Enter or click OK to open the Device Manager.
  • After that, a list of device drivers will be displayed. From there, look for the Display Adapters and click on them.
  • After that, right-click on each entry under the Display Adapters and select the “Uninstall Device” option from the menu.
  • Now restart your computer.
  • After restarting your computer, go to the Settings app and Check for Updates in the Windows Update section.
Note: You also have the option to go directly to the website of your graphics card manufacturers like NVIDIA, Intel, or AMD and go to the section called Drivers then check if there’s a new available update – if there is, download and install it.

Option 5 – Try disabling adaptive brightness via Registry Editor

Since you will be dealing with Registry files in this post, you need to create a System Restore point first. Once you have that covered, proceed to the following steps:
  • Tap the Win + R keys to open the Run dialog box.
  • Next, type “regedit” in the field and hit Enter to open the Registry Editor.
  • After that, navigate to this path: HKEY_LOCAL_MACHINESOFTWAREIntelDisplayigfxcuiprofilesMediaBrighten Movie
  • Now double click on the “ProcAmpBrightness” and set its value to “0”.
  • Now go to this path: HKEY_LOCAL_MACHINESOFTWAREIntelDisplayigfxcuiprofilesMediaDarken Movie
  • From there, double click on “ProcAmpBrightness” and set the value to “0”.
  • Then close the Registry Editor and restart your PC and then see if the problem’s fixed or not.
Read More
1 2 3 162
Logo
Copyright © 2022, ErrorTools. All Rights Reserved
Trademarks: Microsoft Windows logos are registered trademarks of Microsoft. Disclaimer: ErrorTools.com is not affiliated with Microsoft, nor claim direct affiliation.
The information on this page is provided for information purposes only.
DMCA.com Protection Status