Windows Dynamic Lock is missing or not working

If you are familiar with the Dynamic Lock feature in Windows 10, then it has probably made it easier for you to lock your computer the instant you move away from it. This interesting feature does not need any special software like IR Cameras to use this feature as long as your Windows 10 computer supports Bluetooth which it most likely does. However there are times when the Dynamic lock feature is either missing or not working. When that happens, here are some suggestions that could help you. But before anything else, you need to create a System Restore point first since you will be modifying some critical system settings as well as registry files. After you’ve created a System Restore point, refer to the following options below to fix the issue with Dynamic Lock.

Option 1 – Try using the Settings app

  • Tap the Win + I keys to open the Settings app and then navigate to Accounts > Sing-in options.
  • After that, scroll down until you see the Dynamic Lock section.
  • Next, make sure that the checkbox for “Allow Windows to automatically lock your device when you are away” is checked.
  • Now that you’re all set, exit the Settings app.

Note: If for some reason the above-given solution didn’t work, you can try the next options below.

Option 2 – Try to pair your Bluetooth Device

If you get a message saying, “Allow Windows to automatically lock your device when you are away” in the Notifications Center or in the Settings app, then you need to pair your Bluetooth device. To do so, follow the steps below.

  • Go to Settings > Devices > Bluetooth & other devices.
  • From there, make sure that Bluetooth is turned On and then pair your Bluetooth device.
  • And if you open the Windows Defender Security Center, you will see the following message as well.
  • Simply click on the Add Bluetooth device button and it will open the Bluetooth settings where you can also pair the device.

Option 3 – Try to reinstall or update the Bluetooth driver

The issue might have something to do with the Bluetooth drivers. It could be that it is outdated and needs to be updated or that you recently updated it and since then you have trouble removing the Bluetooth device and so to fix the issue, you can update, roll back or uninstall the Bluetooth drivers. How? Follow the steps below.

  • Tap the Win + X keys to open the Device Manager.
  • Next, look for the Bluetooth device and right-click on it.
  • Select the option “Update driver”.
  • After that, a new popup window will appear. In there, select the option, “Search automatically for updated driver software”.

Note: Checking the update may take a few minutes so you’ll have to wait until it finishes. If it is able to find an update, you must install it. And if you want to reinstall the Bluetooth driver, just select the “Uninstall driver” option and follow the next on-screen instructions that follow.

Option 4 – Try to use the Registry Editor

  • Tap the Win + R keys to open the Run dialog box and then type “Regedit” in the field and hit Enter to open the Registry Editor.
  • If a User Account Control or UAC prompt appears, just click on Yes to proceed.
  • After that, navigate to the following registry key:

HKEY_CURRENT_USERSoftwareMicrosoftWindows NTCurrentVersionWinlogon

  • Next, look for a DWORD named “EnableGoodbye” located on the right-side panel and then make sure that its value is set to 1 which means that it is enabled while 0 indicates disabled.
  • Now close the Registry Editor and restart your computer to apply the changes made successfully.

Option 5 – Try checking the Group Policy setting

If your Windows 10 version has the Group Policy Editor, you can use it to fix the Dynamic Lock issue as well. Simply follow the steps below to use it.

  • Tap the Win + R keys to open the Run dialog box.
  • Then type “gpedit.msc” in the field and hit Enter to open the Group Policy Editor.
  • Next, navigate to the following path:

Computer ConfigurationAdministrative TemplatesWindows ComponentsWindows Hello for Business

  • After that, look for an entry named “Configure dynamic lock factors” and double click on it to open a new window.
  • Once you enable this Group Policy setting, the signal rules will be evaluated to detect the absence of a user and will lock the device automatically. On the other hand, if you disable or don’t configure this setting, you can continue locking your computer with existing locking options. Take note that it may be Not configured or Enabled but shouldn’t be set to Disabled.
  • Now select the radio button for Enabled and set the Signal rules then click OK.
  • Then exit the Group Policy Editor and restart your computer.
If you like to learn and find out more about various Windows errors, and how to repair them go to our vast archive or use search to find articles that will explain and help you in solving your issue.
However, if you prefer to do things fast and with automatization then we are proposing to use an automated solution for your issues. The application that we are recommending is Advanced System Repair Pro
Advanced System Repair utilizes multiple tools all in one to give you a quick, simple, reliable, and very thorough diagnosis of your PC. It brings you all the tools you need in one program to clean, fix, protect, optimize and boost your PC!
1-Click Maintenance
All the tools to make it simple and easy! It's like having a professional technician at the click of a mouse.

Junk Cleaner
Keeping your computer free from unnecessary clutter also helps make your computer last longer. Like any other machine, if you keep it clean and take care of it, it will serve you better for longer!

Optimize background apps
Optimize applications background activity with the built-in Application Optimizer feature.

Disk Defrag
With a simple 1-click, Advanced System Repair speeds up your PC by assembling fragmented files on your machine and organizing them more efficiently.

Malware Removal
Finds and removes all types of harmful malware including trojans, worms, bots, adware, spyware, PUPs, and more!

Privacy Cleaner
The all-in-one privacy suite to Clean Your Tracks & Protect Your Privacy! Make your computer safe, secure, and more efficient!

System Tweak/Optimizer
ASR will analyze your complete system and settings to adjust your PC to function at its maximum performance.

Registry Cleaner
Over time, as you install and uninstall applications, the registry can become cluttered with old entries and broken settings which can result in program crashes, and annoying messages and slow the computer down.
Visit our Advanced System Repair Pro Download page to inform yourself about all the benefits of this software and get a free trial copy of it.
advanced system repair pro

Advanced System Repair Pro

One-click automated PC repair solution
ASR logo
With Advanced System Repair Pro you can easily
Replace damaged files
Restore performance
Free disk space
Remove Malware
Protects WEB browser
Remove Viruses
Stop PC freezing
DOWNLOAD
Privacy Policy | Terms of Use | Uinstall
Advanced System Repair Pro is compatible with all versions of Microsoft Windows including Windows 11

Share this article:

You might also like

Open Source Software Alternatives
Open Source Software is developed, tested, or improved through public collaboration and distributed with the idea that the must be shared with others, ensuring an open future collaboration. In other words, it is free software developed and maintained by public contribution. Many open-source projects have reached performance and usability like their paid alternatives, some have even surpassed them. Here we will explore open source alternatives to paid applications, you will find alternatives to paid ones that aim to do the same task.
  1. LINUX - alternative to Windows or macOS

    When it comes to the operating system, Windows and macOS mostly dominate the home market, but if you go a little deeper into the OS world you will hear this talk about LINUX and its distributions. LINUX is an open-source operating system, it has many various distributions aimed at different types of users and they are also open source as well. Its security and account privileges, as well as complete control over it, make it one of the best-operating systems in the world, many servers that run websites today use LINUX as their choice of operating system mostly due to its superior security features. If LINUX is good enough for big web companies, I am sure it will be at least satisfactory to you as well. Get your LINUX distribution here. open source os linux
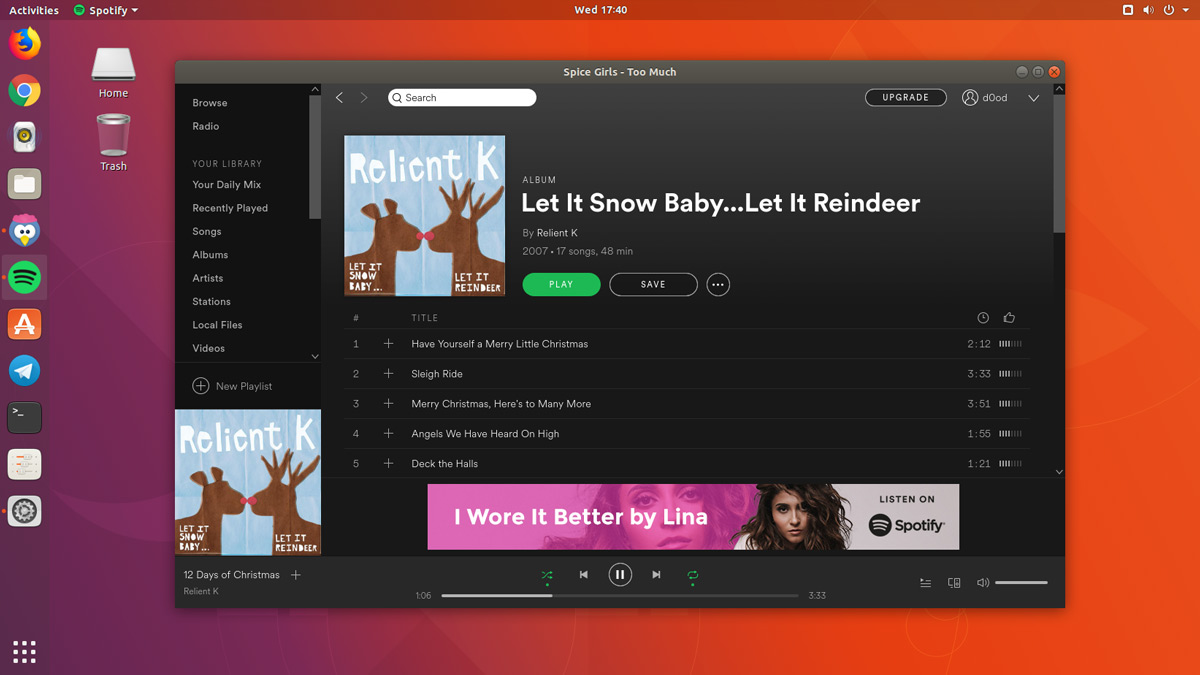
  2. Thunderbird - alternative to outlook

    A great alternative to any mail client actually, connect all of your emails into thunderbird and use it as the centralized email client for all of your email needs. Thunderbird does not lack any features that its paid counterparts have and overall it is a great application worth installing. Grab it from here. open source email client thunderbird
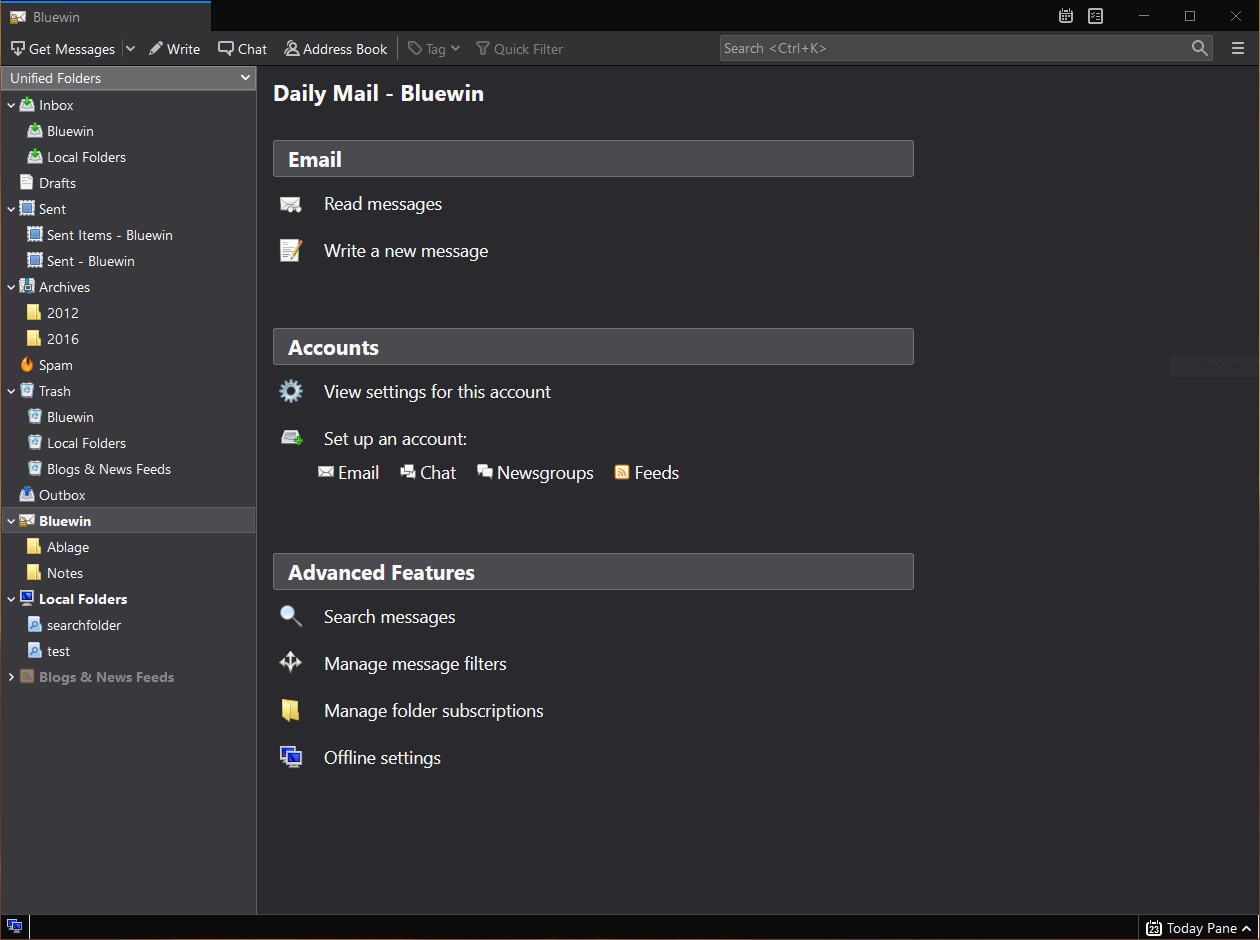
  3. VLC media player - media player able to play almost anything

    Are you looking for a great media player alternative to Windows media player or iTunes? Look no further, VLC is a lightweight media player that can play almost any file type, it is customizable and packed with features even its paid counterparts would envy. Its playback features are unmatched by other applications and once you try it, I am sure you will hardly go back from it. Give it a go and grab it from here. open source media player vlc
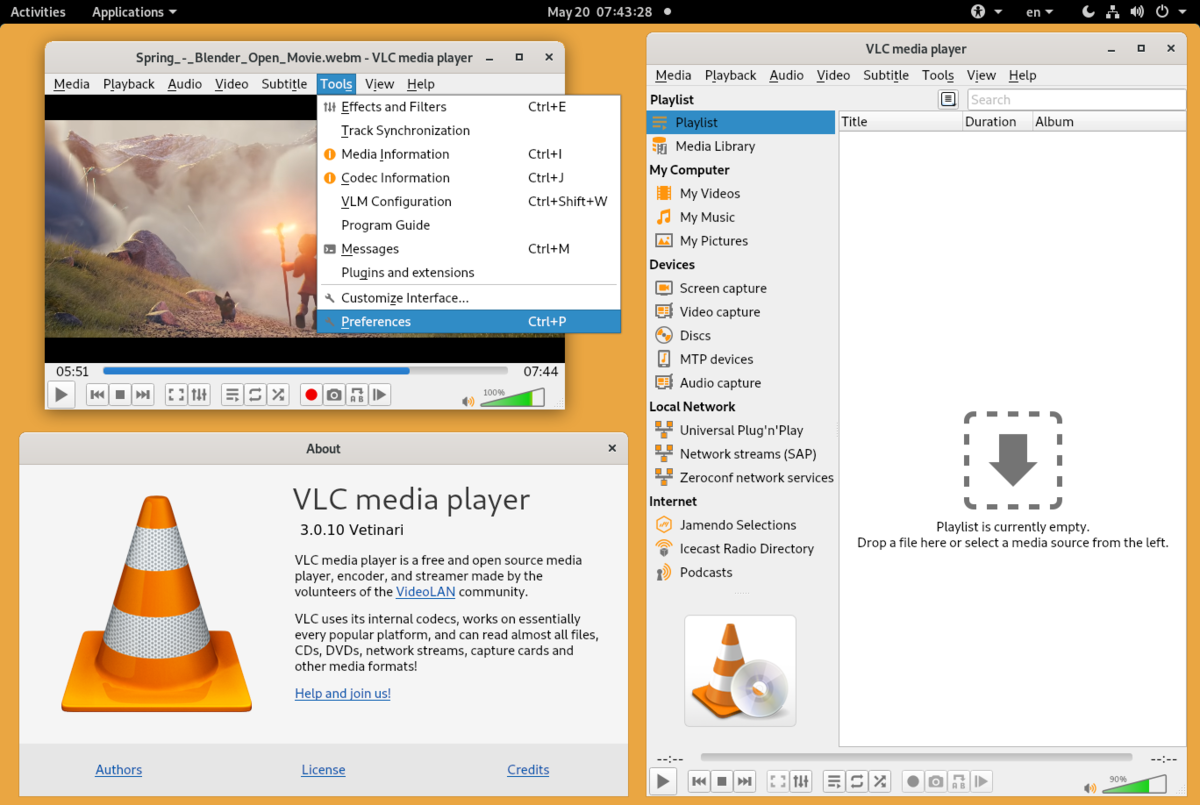
  4. KeePass - password manager

    Keepass is a simple, user-friendly lightweight password generator and manager, it uses industry-standard AES encryption and two-factor authentication to keep the details of your accounts safe and secure. you can store him and the database on a USB stick for safekeeping making it a great one to use on a go, wherever you need it. Get it from this link. open source password manager keypass
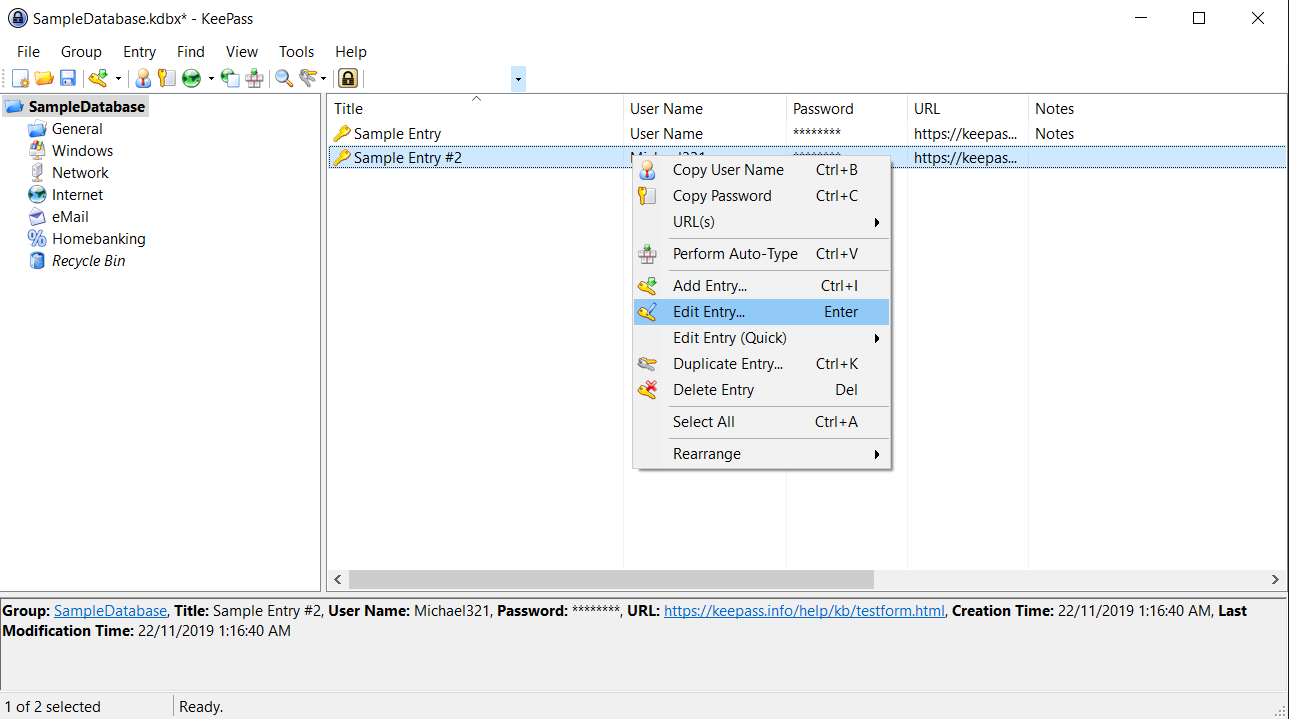
  5. FileZilla - FTP client

    A lightweight and future-rich FTP solution. It supports remote file editing and resuming of lost transfers, overall great application which anyone who needs this type of software should not overlook. Download it from its official website. open source FTP client FileZilla
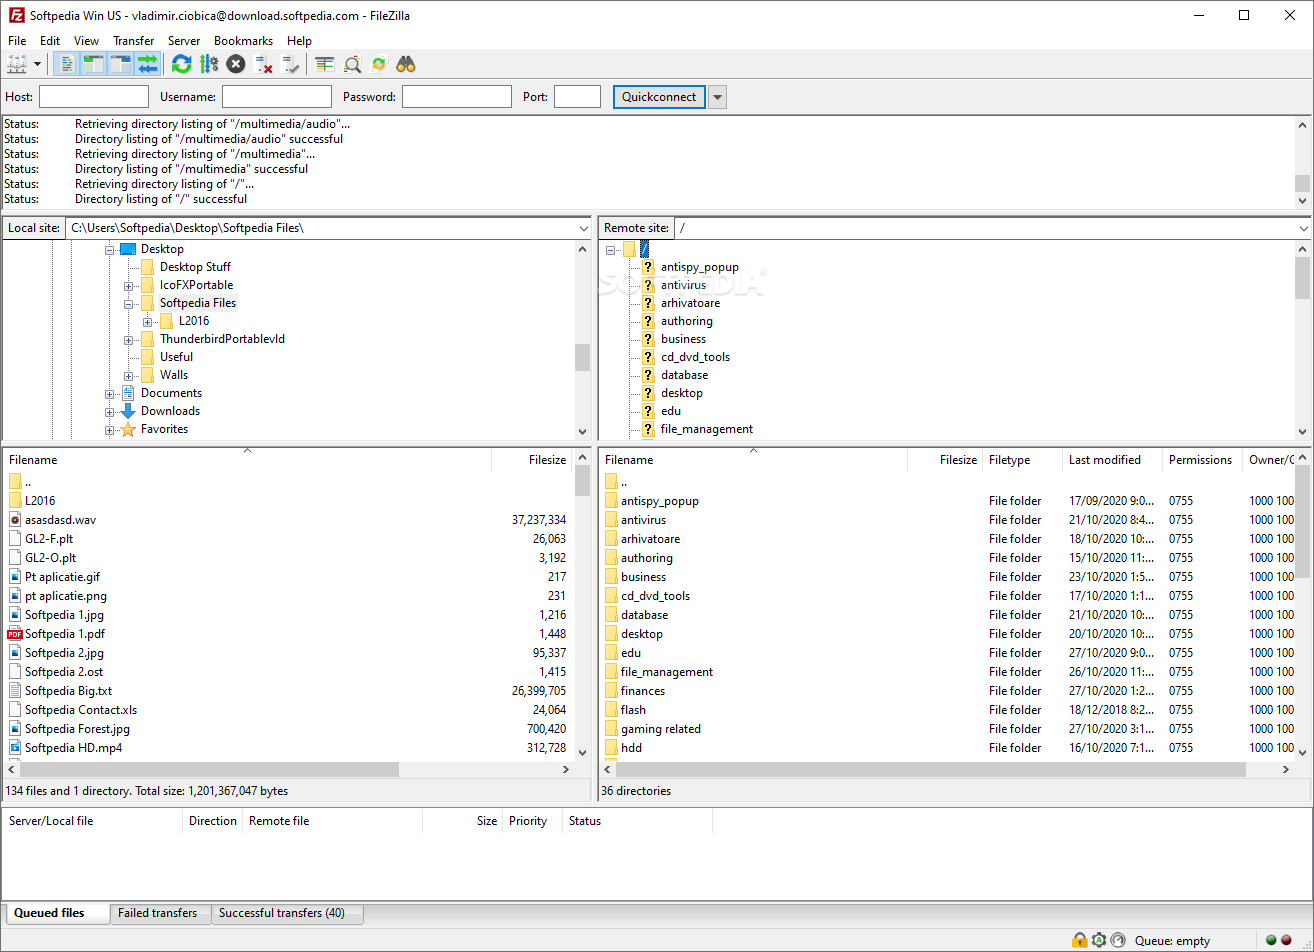
  6. Audacity - alternative to Audition, Fl, apple logic pro,...

    Digital audio editor and recording computer software with some great features like recording audio from multiple sources, post-processing of all types of audio, including podcasts by adding effects such as normalization, trimming, and fading in and out. Audacity has a great following and it is well documented, easy to learn and use. Grab it from here. open source sound editor audacity
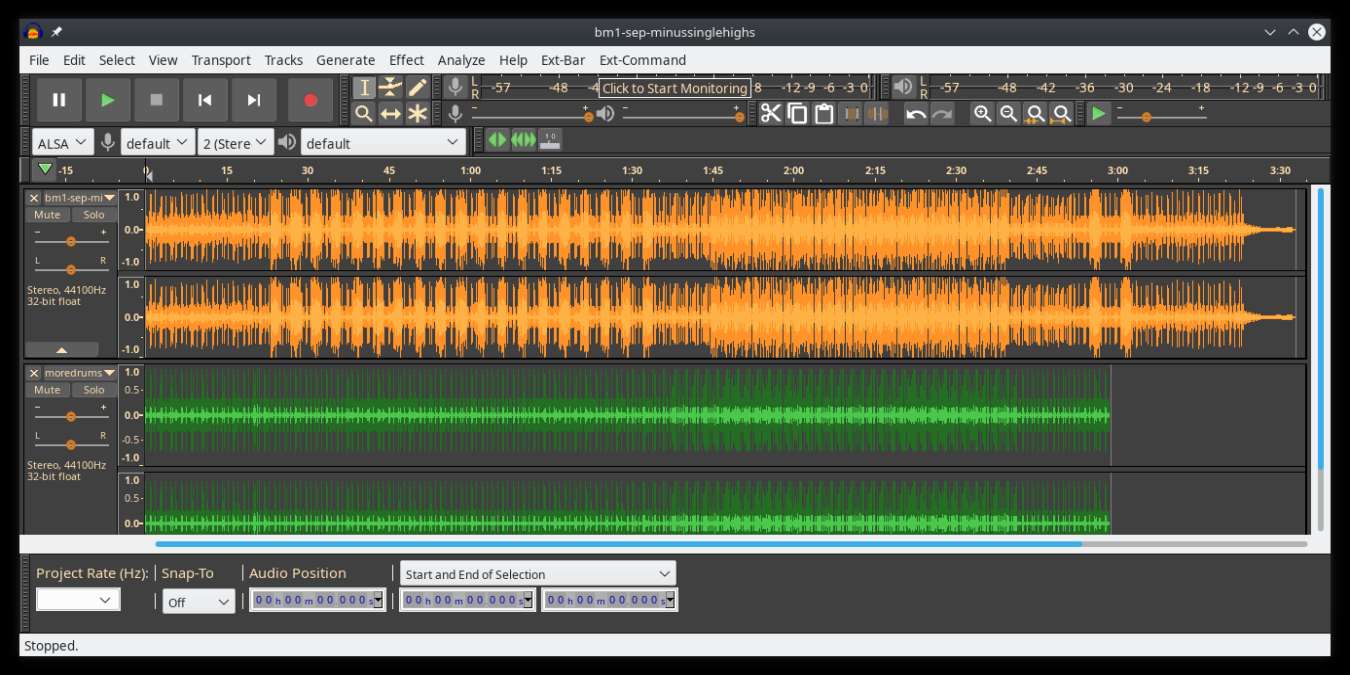
  7. Shortcut - alternative to adobe premiere, avid media composer, DaVinci resolve

    The shortcut is a video editor application that demonstrates how long an open-source project can go if enough dedication and work are put into it, started as not so great and not so feature-packed in beginning, today it can easily contend with its paid counterparts with its non-destructive editing, color gradation, keyframing, etc. It is running and using FFmpeg, an open-source video framework that lets it open and works with virtually any video or audio format. Download it from here. open source video editor shotcut
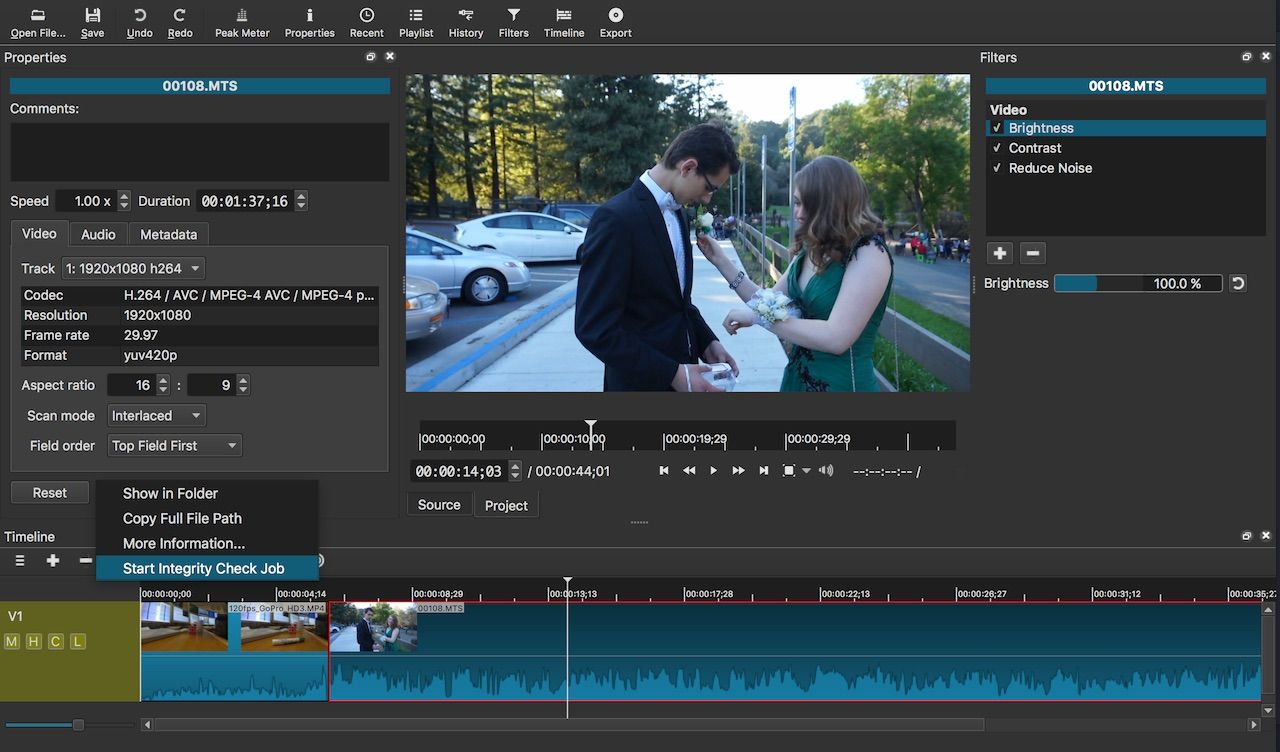
  8. Gimp - alternative to adobe photoshop

    This one has been around since 1996 and it is one of the best maintained open source applications. With its features like built-in support for layers, filters, and automatic photo enhancement. It also makes it easy to create new graphic design elements and you can really take things to the next level by downloading plug-ins created by the broader GIMP open source community. Gimp is the best pixel manipulation-free tool on the market and with the right skills, it can go side by side with adobe's flagship product. Check it out here. open source photo editor gimp
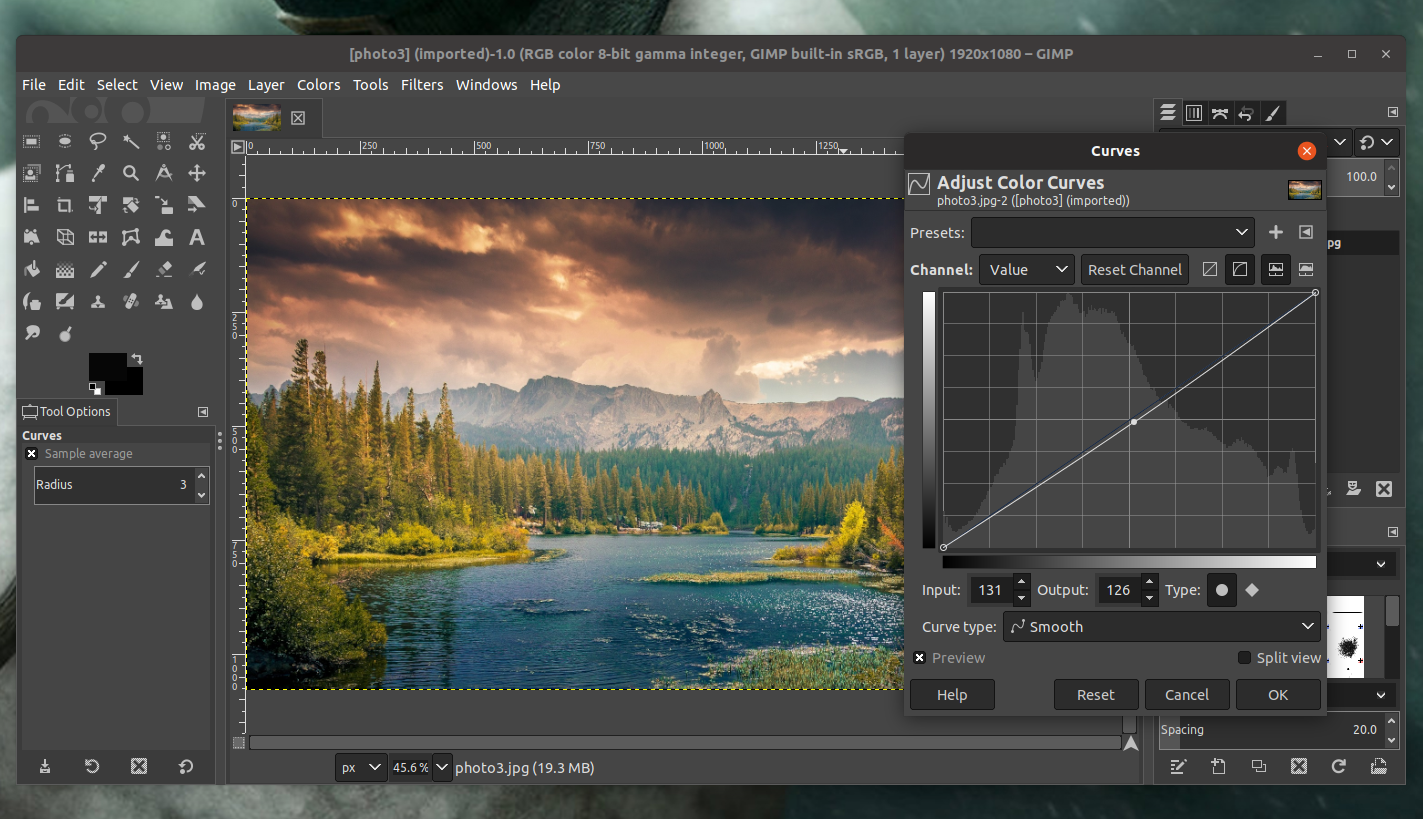
  9. Inkscape - alternative to adobe illustrator, Corel draw

    What is Gimp for photoshop that is Inkscape for illustrator. This free open-source vector graphic tool does not fall behind with its tools in comparison to its paid counterparts and I would highly recommend it for anyone. Features like alpha blending, cloning on-point path manipulations can assure that you can create anything you want inside it. get your copy from here. open source vector tool inkscape
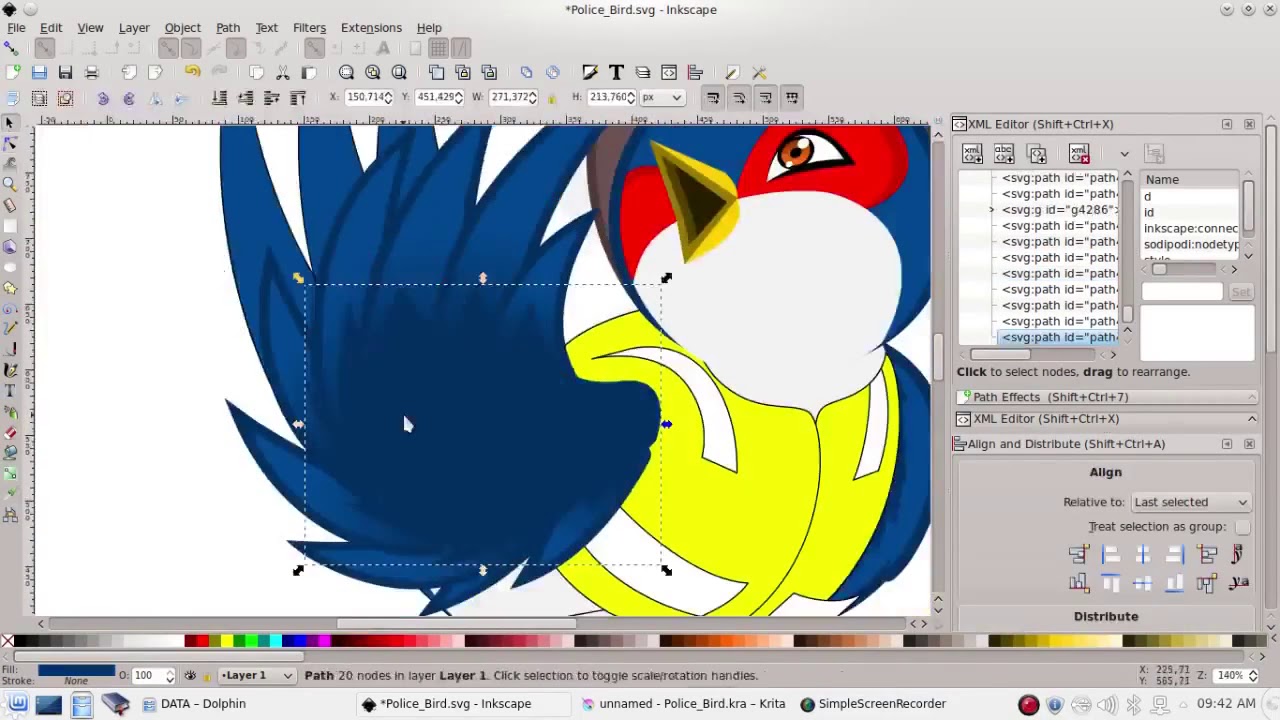
  10. Libre office - alternative to MS office

    Libre office is one of the most quality office suite there, it has spreadsheets, word processor, presentation app, calculation applications, database application, and diagrams. All these applications create and make one great suite that can open Microsoft Office files and even work with them naturally. Completely free and active in development there is no reason, not t use it in your daily routine. Go to its official website and download it for a test run. open source office suite libre office
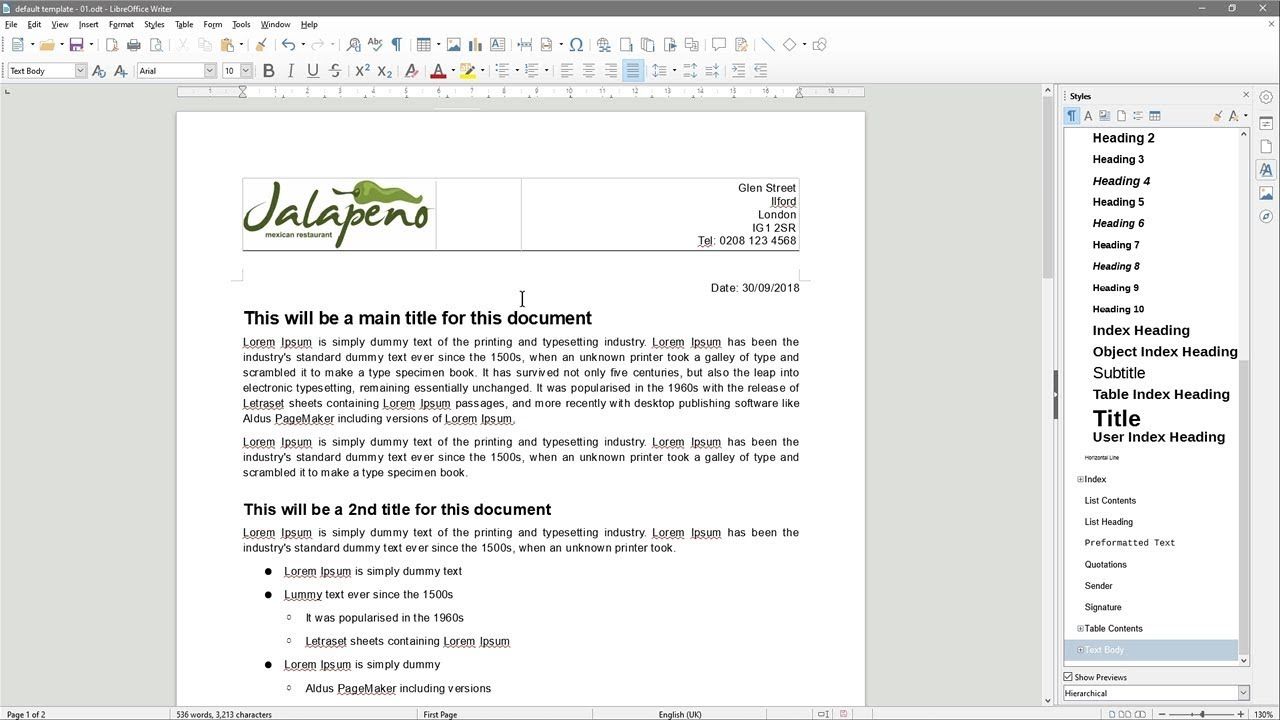
  11. Amarok - alternative to iTunes

    Amarok is an audio player with a broad range of features like integration with multiple Web audio services, dynamic playlists, bookmarks, scripting, context view, and more. get it from here. open source music player amarok
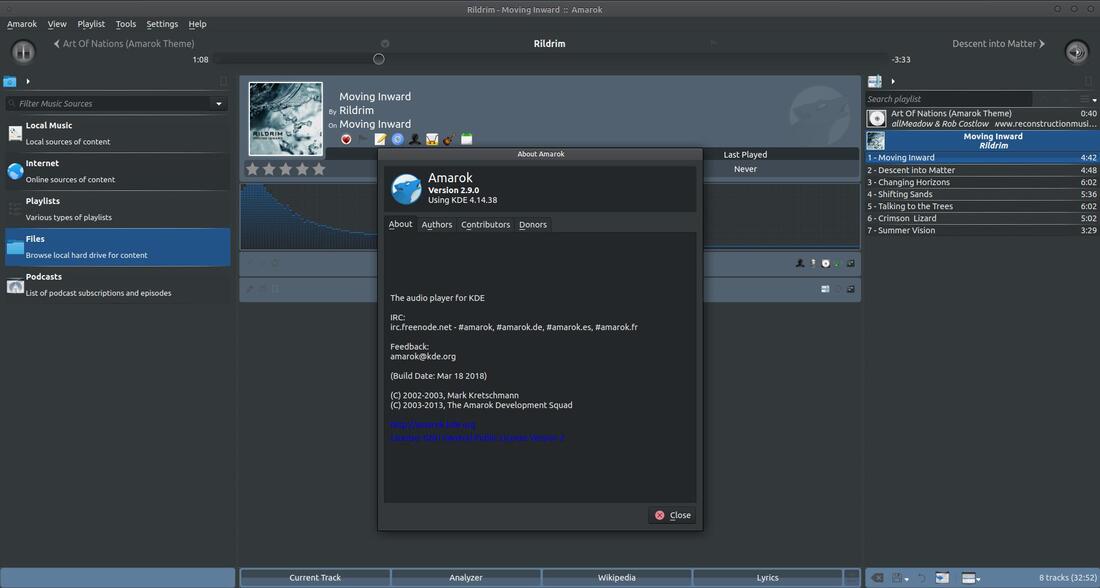
  12. PDF Creator - alternative to adobe acrobat

    As its paid counterpart PDF Creator lets you make PDF files from any application that could print. It works the same way as adobe acrobat and supports encryption and digital signature, it lacks in PDF forms a little but if that is not something that you need, it is a great alternative to acrobat and completely free. Download it from here. open source PDF maker PDFCreator
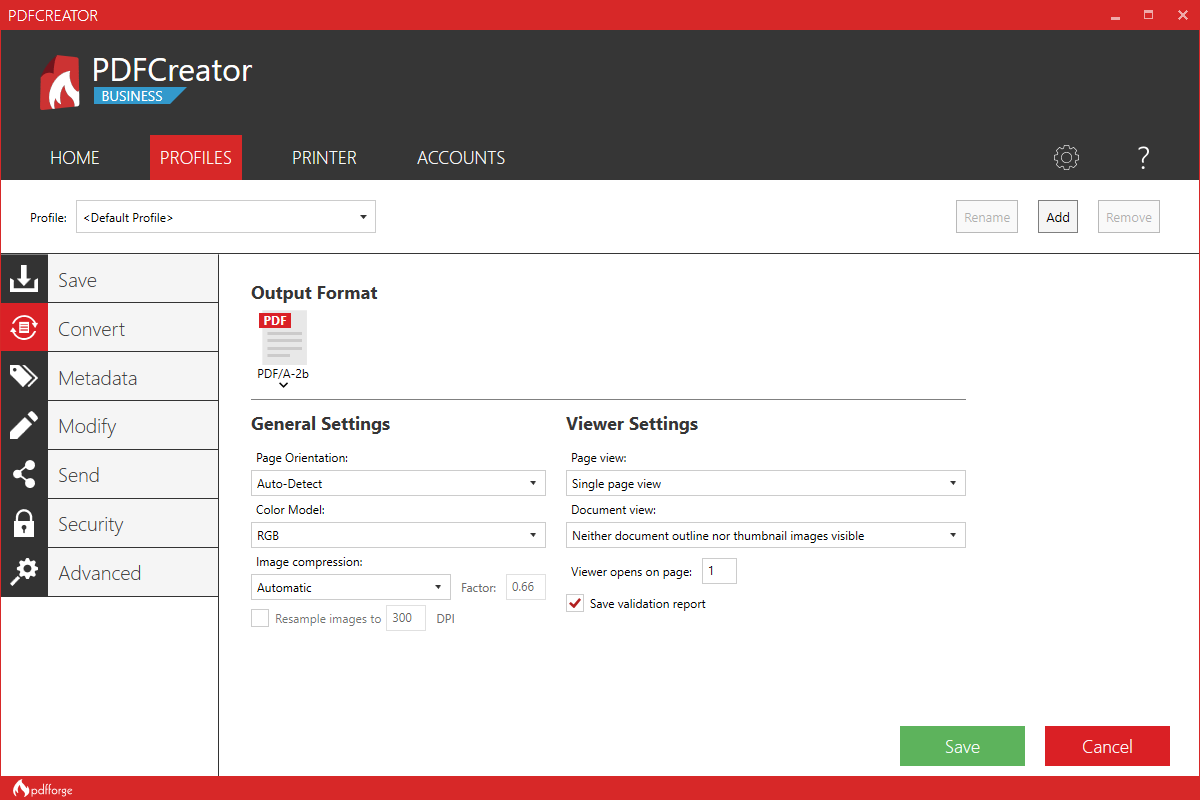
  13. Blender - Alternative to Autodesk Maya, Autodesk 3dmax, foundry Modo, cinema4d,...

    3D modeling and animation software is very expensive. From the point of home user long it has been lost dream to have industry quality 3D modeling, animation, and rendering application for an affordable price. Blender has made that dream a possibility, completely free and open-source this package offers everything that its paid counterparts offer, some could even argue that since its open-source nature and availability of full code it offers even more. Why you are still here? Go get it here. open source 3d application blender
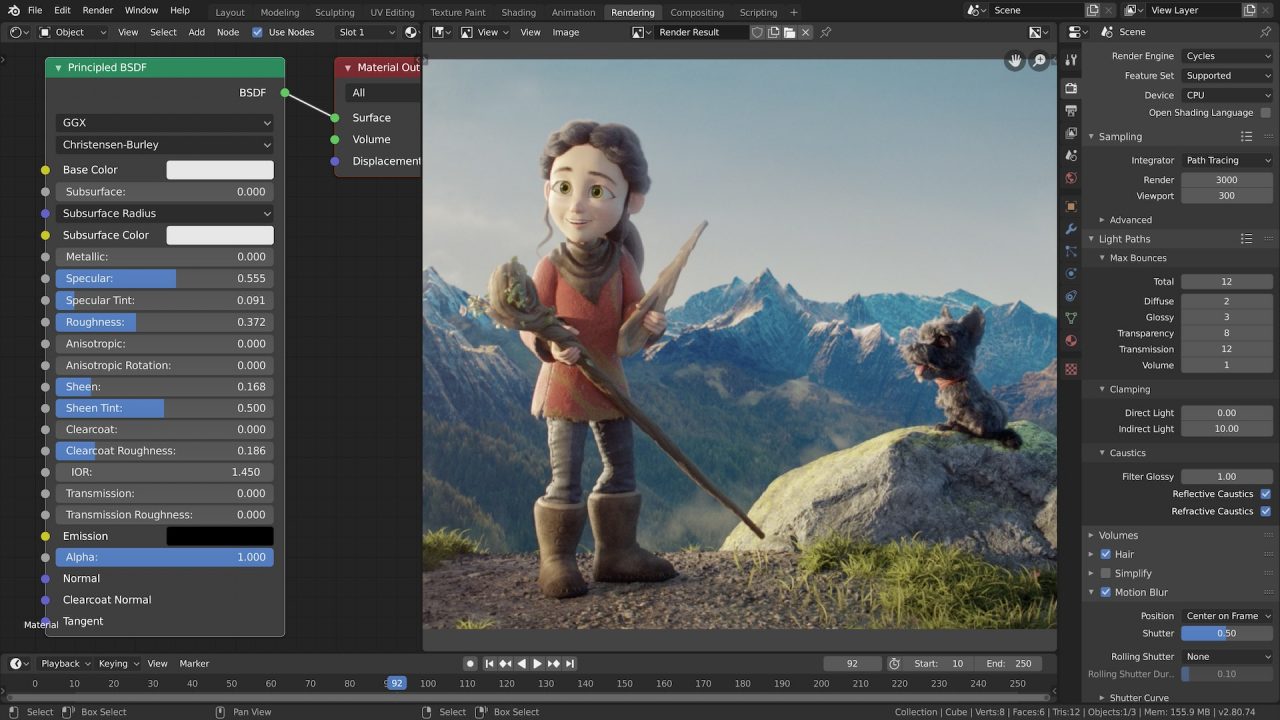
  14. Bluefish - alternative to Adobe Dreamweaver

    When it comes to web editing and code editing applications, notepad ++ seems like a person go-to application, but if you prefer a more professional suited IDE for web development check out Bluefish, auto-filling, code syntax, and constant development make sure that this application will not go away soon and it is worth investing your time in it. Get it from here. open source wed editor bluefish
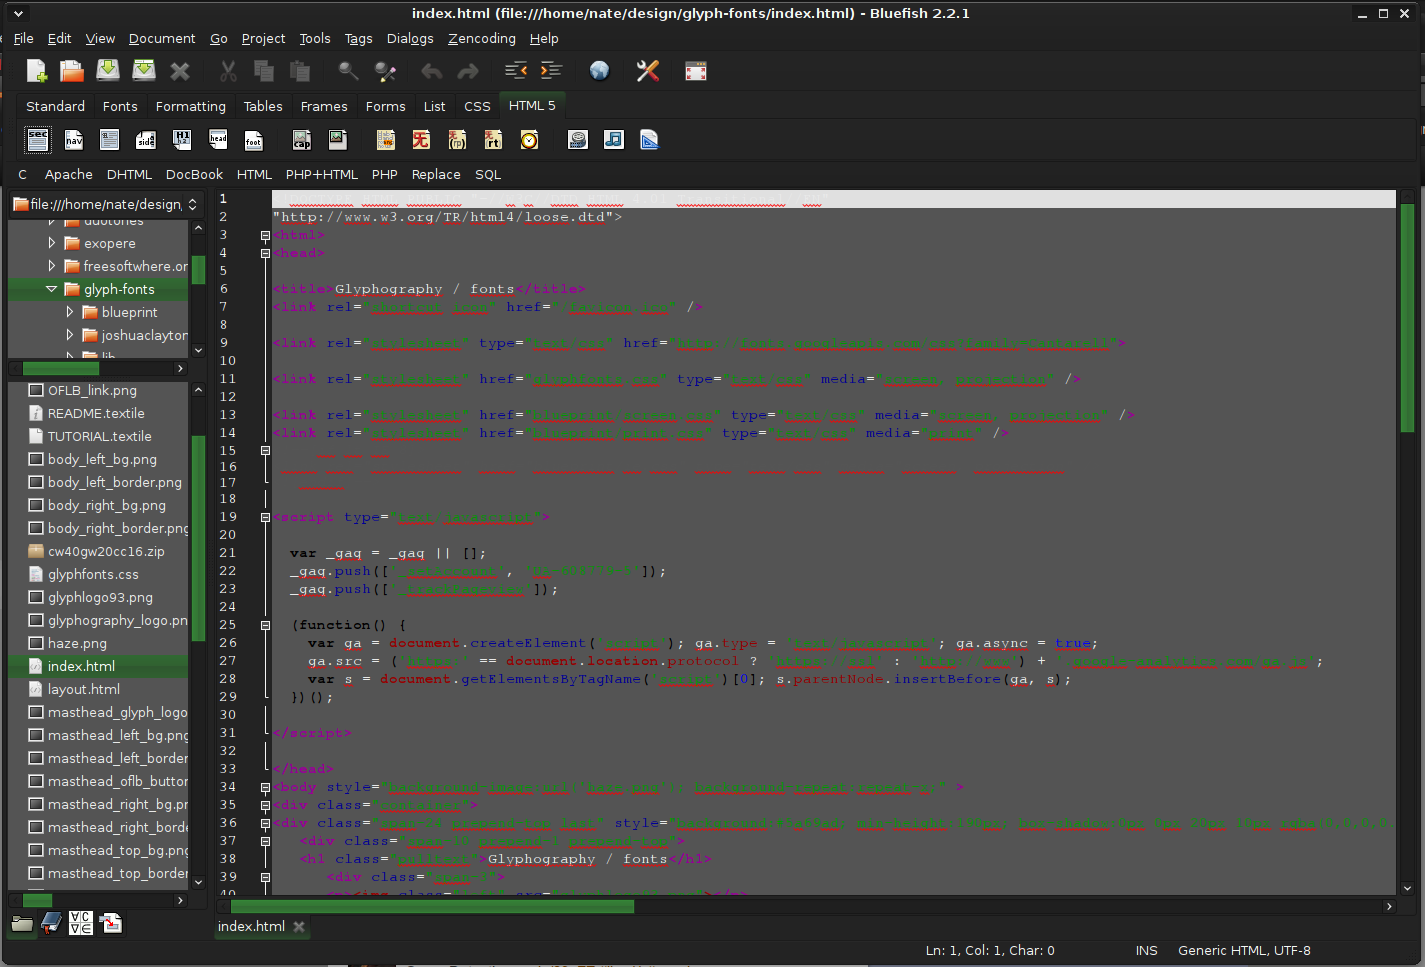
  15. ClamWin - alternative to Kaspersky, BItdefender, Norton

    This antivirus has over 600000 users and active database updates also feature a full email scanner, scanning scheduler, and File Explorer integration. It is far better than other freeware alternatives and if you are looking for a free antivirus option look no further, ClamWin is here to stay. Grab it from here. open source anti virus ClamWin
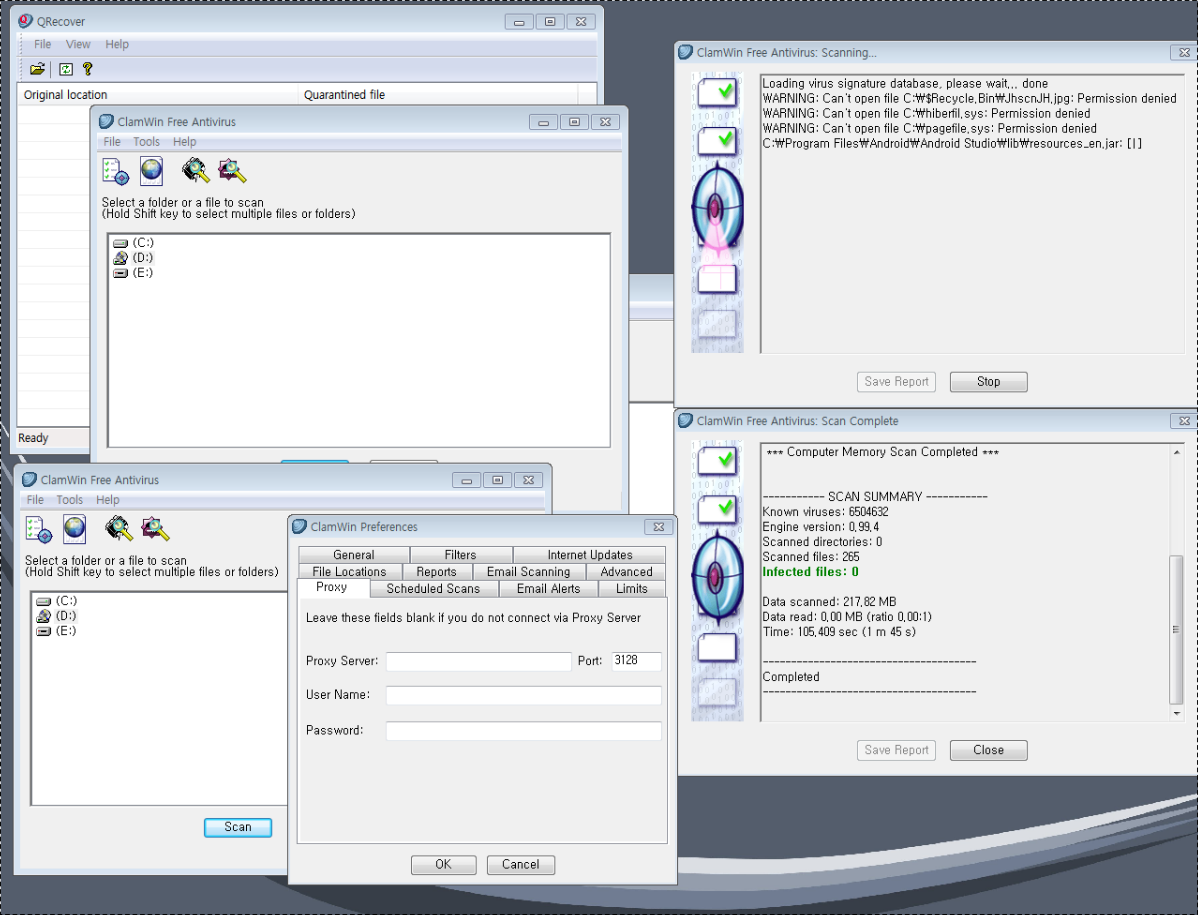
  16. Natron - alternative to adobe aftereffects, foundry nuke

    Full-featured node-based composition and effects suite. Natron is a powerful Digital Compositor that can handle all of your 2D/2.5D needs. Its robust OIIO file formats and OpenFX architecture is what makes Natron the most flexible open-source compositor for the visual effects community. Its interface and functionally are the same across all platforms such as macOS, Linux, and Windows. Natron has a powerful keying, roto/roto paint, 2D tracking tools that are staple for all current film production project that requires visual effects. Get natron from here. open source composition and effect application natron
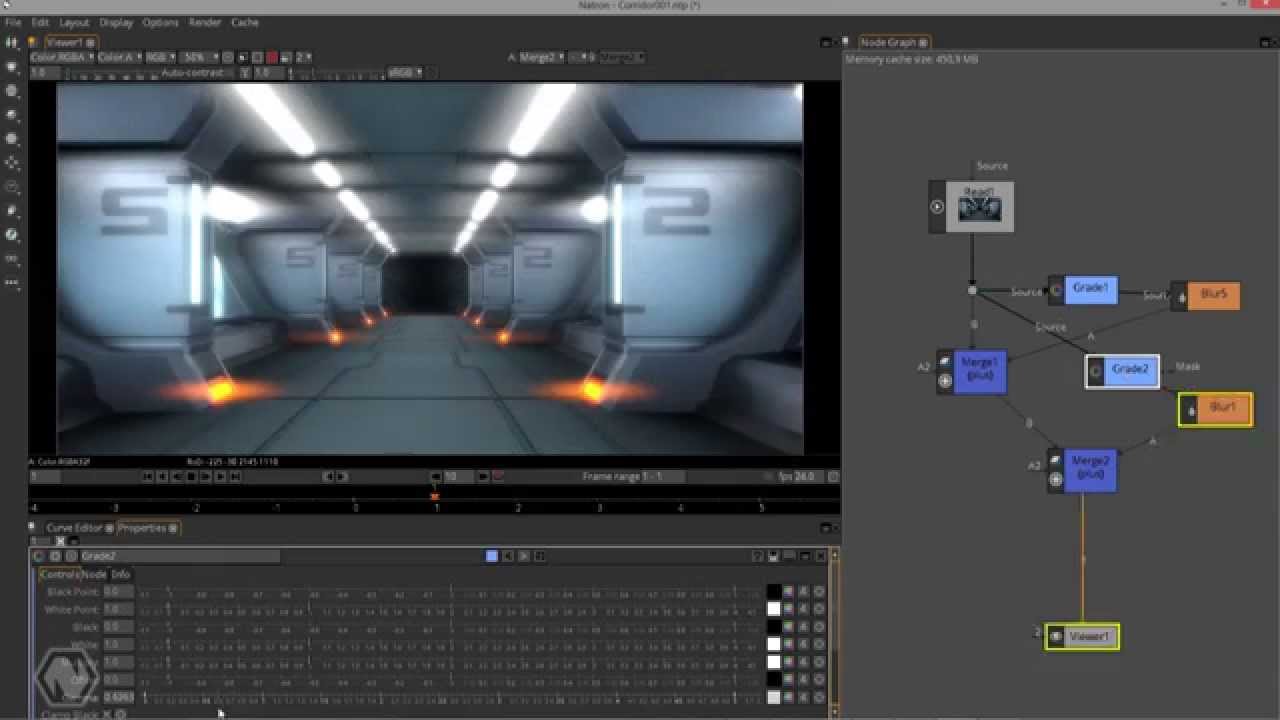
  17. Clonezilla - alternative to Norton Ghost

    When it comes to cloning hard drives usually there is only one application, Norton ghost. Clonezilla tends to change that by offering the same usability as the ghost. Grab your copy from here. open source HD clone clonezilla
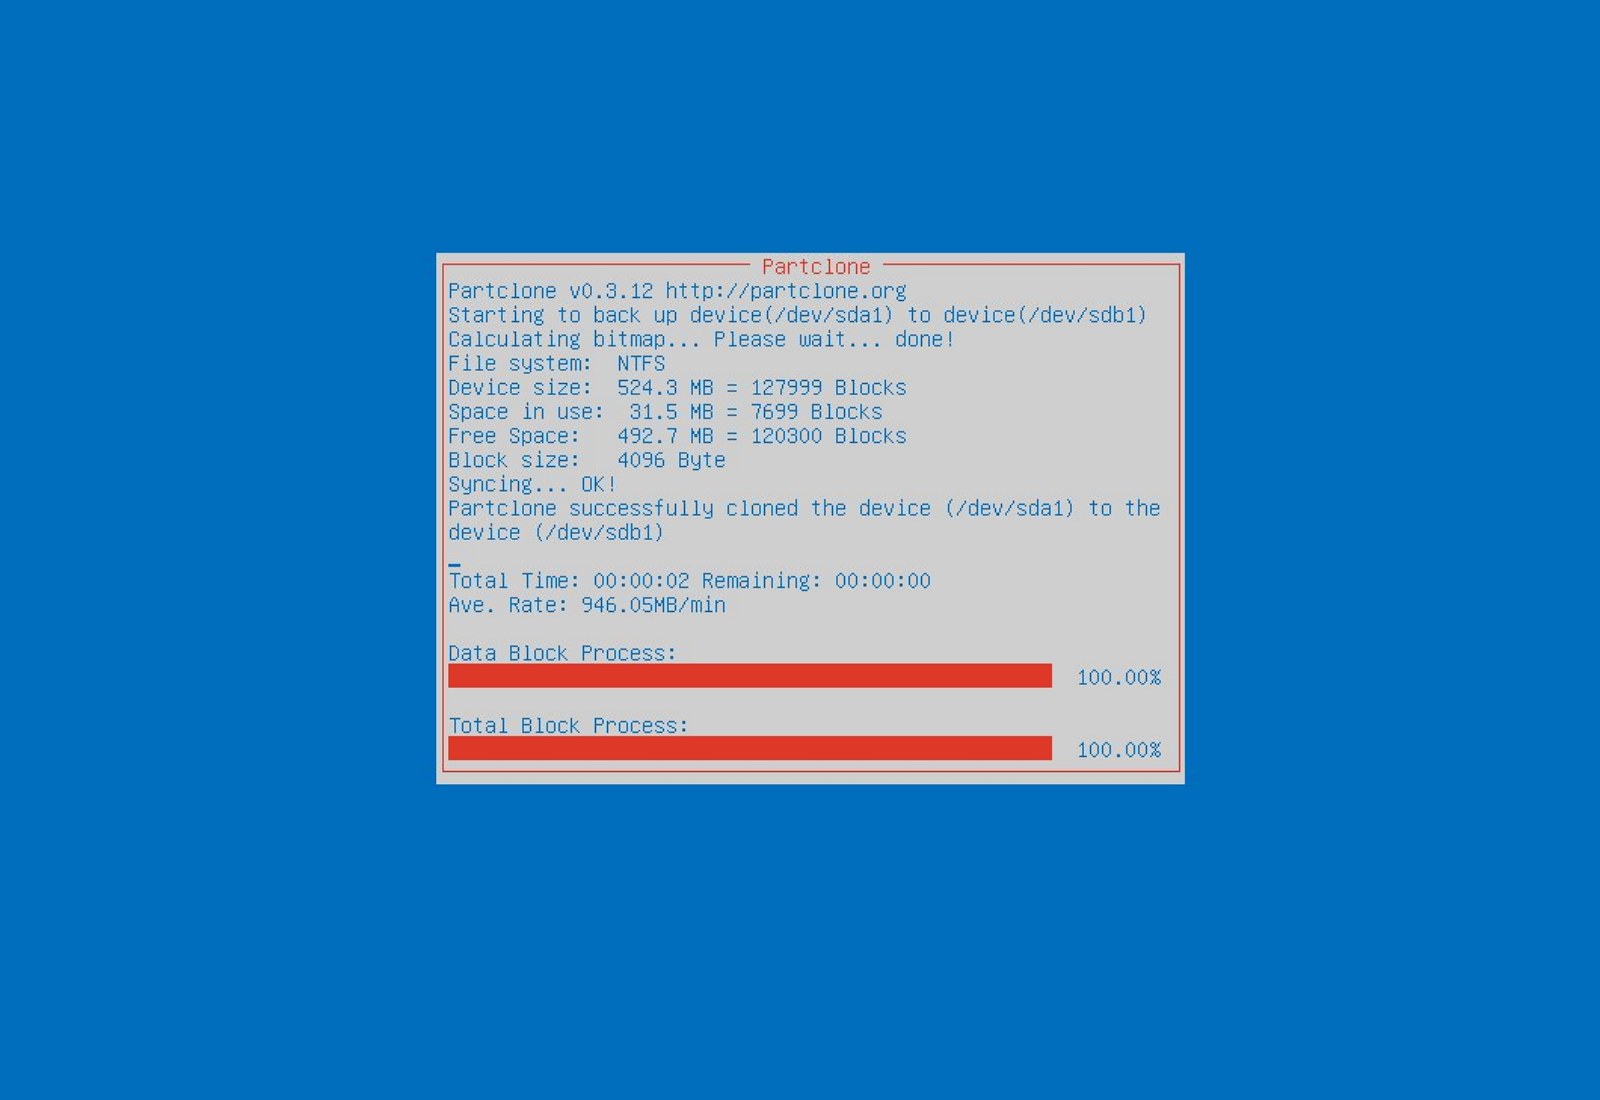
  18. FreeCAD - alternative to Autodesk AutoCAD

    Autodesk AutoCAD has years of development and dedication of its team behind it to keep it as the best CAD application on the market and it shows. However, if you are not really a hardcore professional who needs all of AutoCAD features and can live without some automation inside it FreeCAD is one of the best free open source options, it will certainly get the job done and with its dynamic simulation and analysis, it is guaranteed that you can achieve same results as in AutoCAD with little more time investment. Get if here. open source CAD freecad
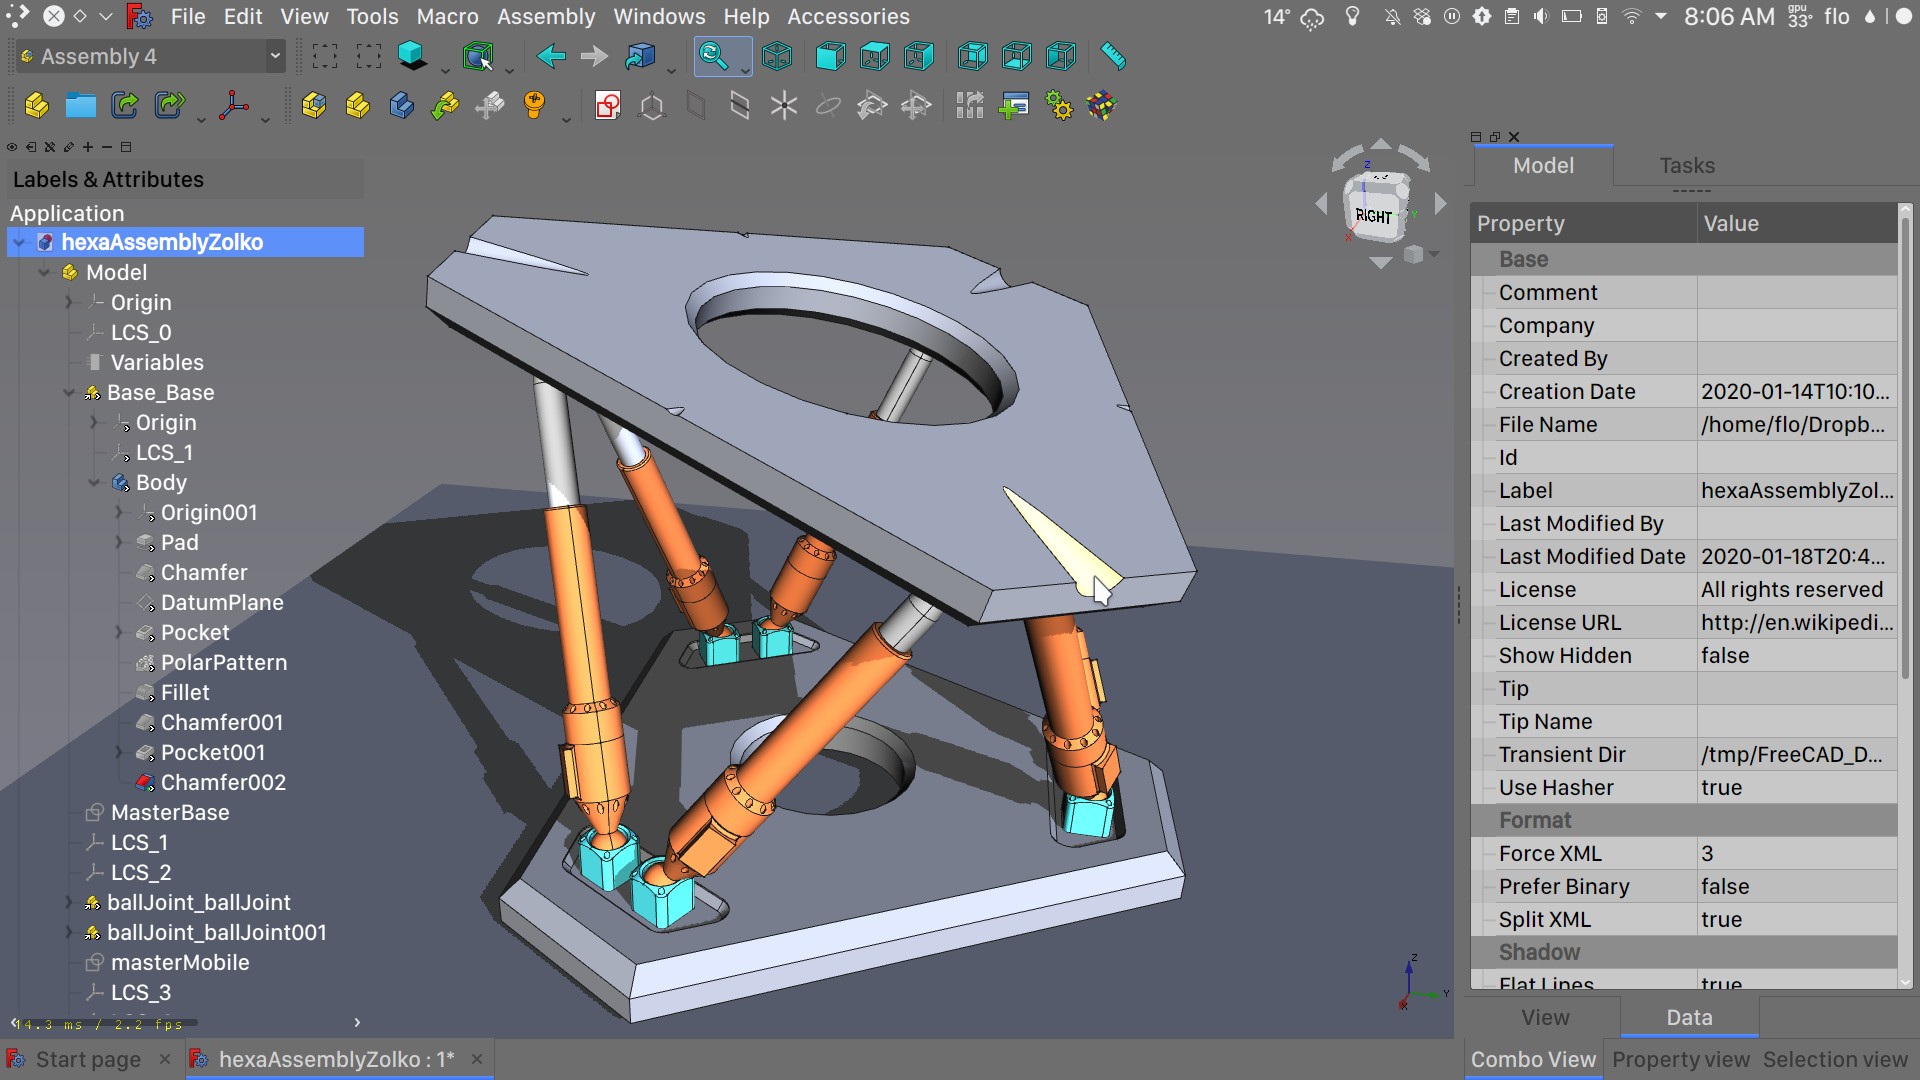
  19. Octave - alternative to MATLAB

    Octave is the best open-source educational tool used for numerical computation with an interactive environment. The tool features powerful mathematics-oriented syntax with built-in plotting and visualization tools and also Octave syntax is largely compatible with Matlab. Get your copy from here. open source math tool octave
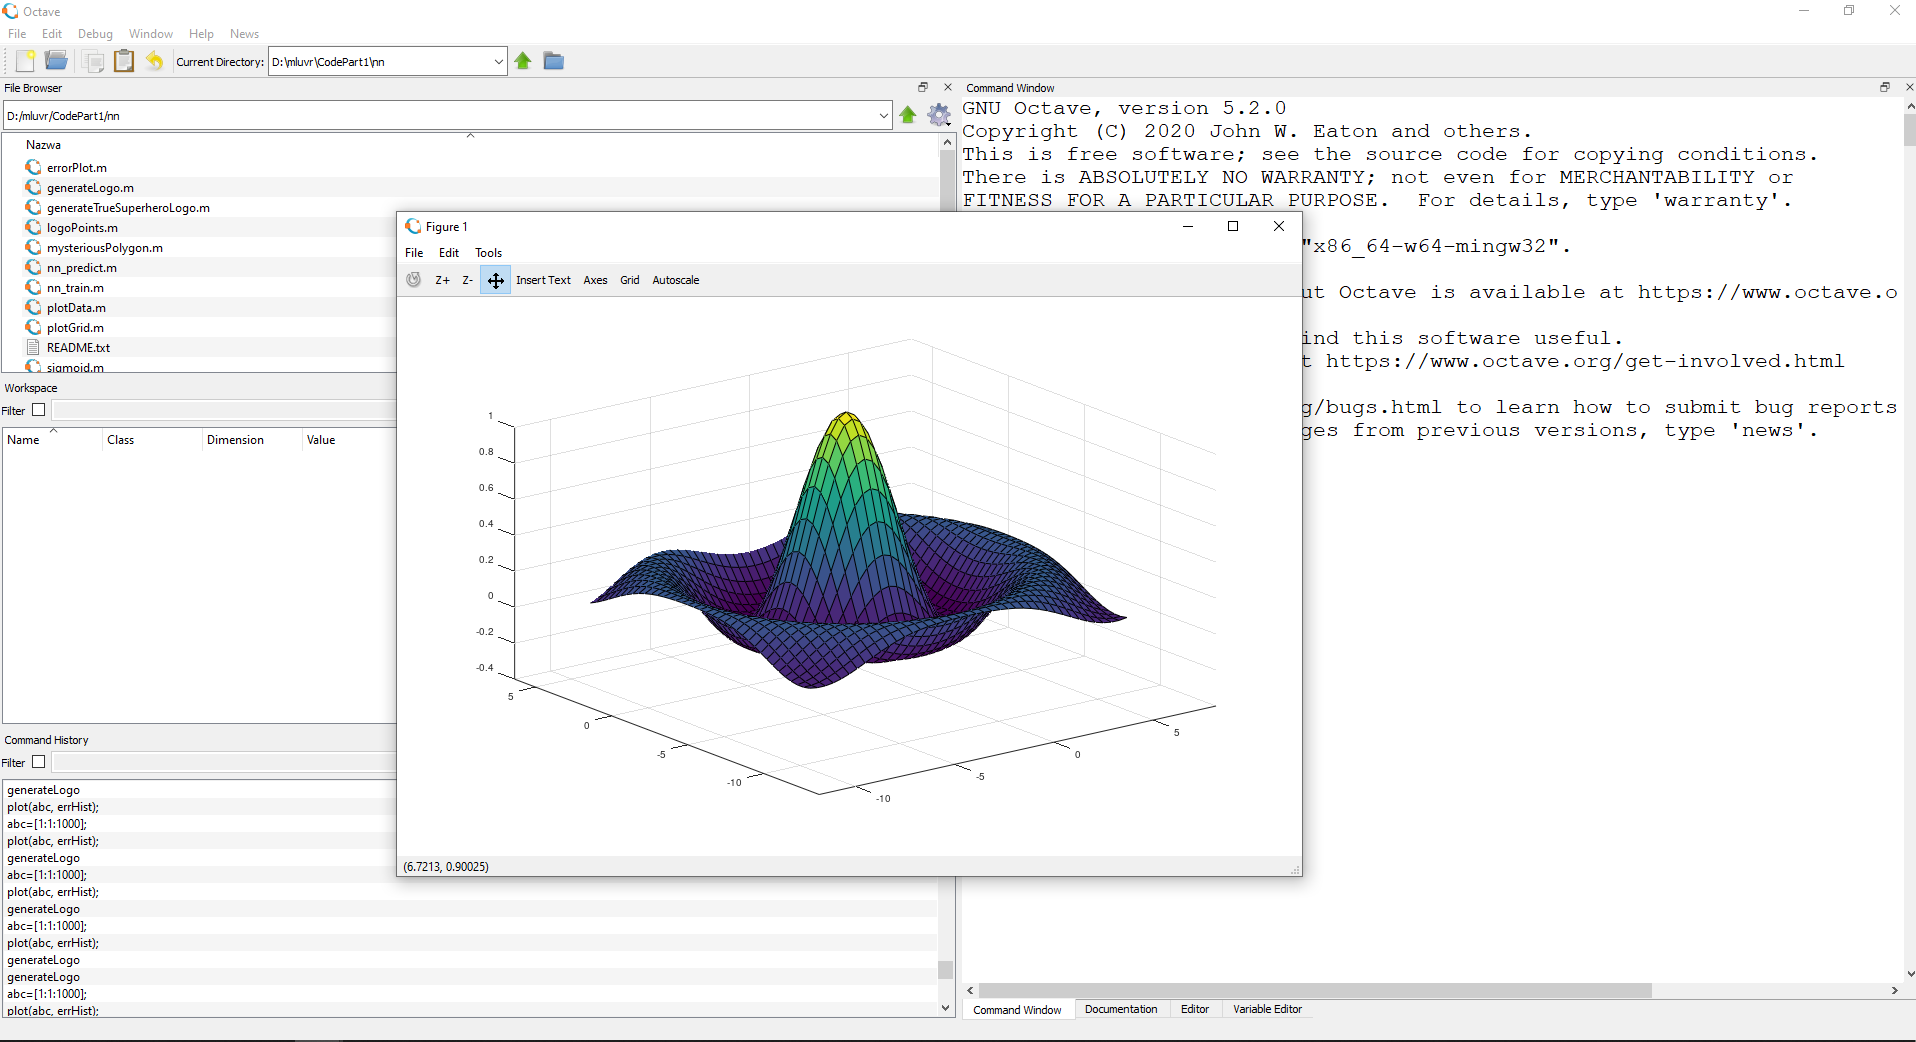
  20. Godot - alternative to Unity3D, Unreal

    Godot is a lightweight feature-packed node-based game development engine, completely open-source and free to use for commercial projects. The engine has reached 3.2 version and it is more and more adopted by various independent game makers across the globe, recently there are to of video tutorials and documentation to get you up and running and its open-source nature lets you modify the engine itself in any way that suits and benefits you. Also, any project made with Godot is completely yours, there are no hidden fees or anything similar. Download it from here.
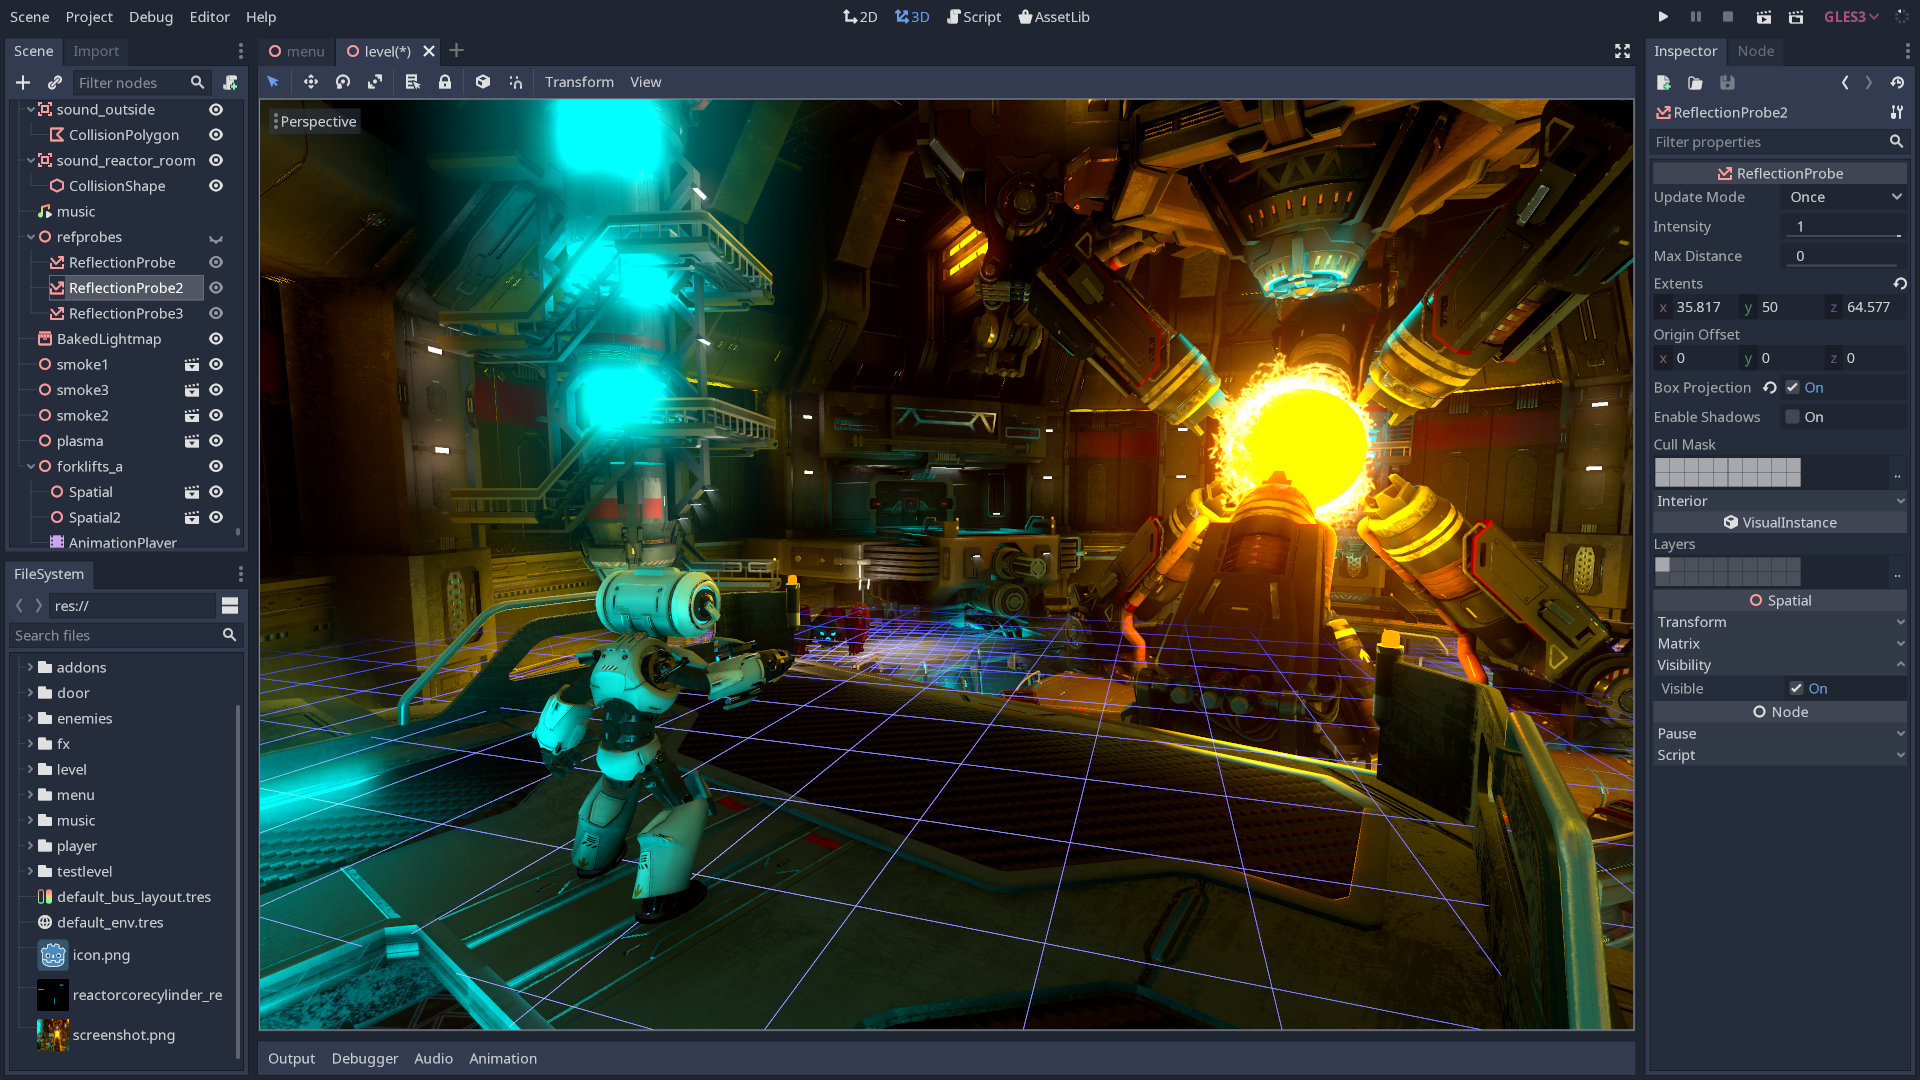
 open source game engine godot

Conclusion

That's it, my pick for 20 open source alternatives which I believe you should at least try and if you end up with at least one, you have saved some hard-earned money. And always remember:
  1. Open-source programs give you complete freedom without any shady terms and conditions.
  2. Open-source software code is readily available for anyone who wants it, so anyone can use it, share it, modify it for their own needs, and study it.
  3. No spying eyes, no tracking, and no telemetry
  4. In some cases, open-source tools offer features or performance benefits that surpass their commercial counterparts.
  5. No hidden charges, completely free.
If you would like to read more helpful articles and tips about various software and hardware visit errortools.com daily.
Read More
Make START menu full screen in Windows 10
Hello and welcome to another great tutorial from errortools.com. Today we will be making Windows START menu full screen. First introduced in Windows 8.1, the start menu has been shifted from full screen to gadget like in Windows 10 but if you prefer to have it over the entire screen with all of its glory and large icons you can do so and we will be happy to show you how. Press ⊞ WINDOWS and choose settings. Windows 10 Star menu with marked settings iconFrom the settings screen, choose Personalization. Windows 10 settings menu with marked Personalization groupUnder personalization options click on START. windows settings start screen sectionAnd then on the right part click on the button under Use Start full screen to turn it ON windows settings start screen switch for full screenThat's it, your start menu is now full screen.
Read More
Fix Windows Update Install Error 0x80070020
Getting a few errors here and there when updating your Windows 10 computer is not uncommon. Some of these errors won’t allow the Windows Update service to initiate while the other ones will halt the process while it’s running. So in this post, we’ll show you what you can do to fix the Windows Update error 0x80070020. The Windows Update error 0x80070020 is most likely caused by some programs installed in the system which interferes with the Windows Update process. It might be an antivirus program, an incompatible program, a potentially unwanted program, or worse, malware. In addition, corrupted or missing files might also be the culprit. Whichever the cause may be, here are some suggestions you need to check out to resolve the problem.

Option 1 – Try to reset the Windows Update components manually

  • To manually reset the Windows Update components, first, you need to stop the Background Intelligent Transfer Service, Windows Update, and the Cryptographic Services. To do so, run the following command in Command Prompt and make sure to press Enter after you enter each one of them:
    • net stop bits
    • net stop wuauserv
    • net stop cryptsvc
  • Next, delete the “qmgr*.dat” file in order to reset the Windows Update components. To do delete this file, run the following command in Command Prompt:
    • Del “%ALLUSERSPROFILE%Application DataMicrosoftNetworkDownloaderqmgr*.dat
  • Now you have to rename both the SoftwareDistribution and Catroot2 folders by entering the following command in Command Prompt:
    • Ren %systemroot%SoftwareDistributionSoftwareDistribution.bak
    • Ren %systemroot%system32catroot2catroot2.bak
  • Reset BITS and Windows Update service by entering the following commands in Command Prompt:
    • sc.exe sdset bits D:(A;;CCLCSWRPWPDTLOCRRC;;;SY)(A;;CCDCLCSWRPWPDTLOCRSDRCWDWO;;;BA)(A;;CCLCSWLOCRRC;;;AU)(A;;CCLCSWRPWPDTLOCRRC;;;PU)
    • sc.exe sdset wuauserv D:(A;;CCLCSWRPWPDTLOCRRC;;;SY)(A;;CCDCLCSWRPWPDTLOCRSDRCWDWO;;;BA)(A;;CCLCSWLOCRRC;;;AU)(A;;CCLCSWRPWPDTLOCRRC;;;PU)
  • Now enter the following command:
  • cd /d %windir%system32
  • RE-register BITS and other Windows Update related files by typing each one of the following commands:
    • regsvr32.exe atl.dll
    • regsvr32.exe urlmon.dll
    • regsvr32.exe mshtml.dll
    • regsvr32.exe shdocvw.dll
    • regsvr32.exe browseui.dll
    • regsvr32.exe jscript.dll
    • regsvr32.exe vbscript.dll
    • regsvr32.exe scrrun.dll
    • regsvr32.exe msxml.dll
    • regsvr32.exe msxml3.dll
    • regsvr32.exe msxml6.dll
    • regsvr32.exe actxprxy.dll
    • regsvr32.exe softpub.dll
    • regsvr32.exe wintrust.dll
    • regsvr32.exe dssenh.dll
    • regsvr32.exe rsaenh.dll
    • regsvr32.exe gpkcsp.dll
    • regsvr32.exe sccbase.dll
    • regsvr32.exe slbcsp.dll
    • regsvr32.exe cryptdlg.dll
    • regsvr32.exe oleaut32.dll
    • regsvr32.exe ole32.dll
    • regsvr32.exe shell32.dll
    • regsvr32.exe initpki.dll
    • regsvr32.exe wuapi.dll
    • regsvr32.exe wuaueng.dll
    • regsvr32.exe wuaueng1.dll
    • regsvr32.exe wucltui.dll
    • regsvr32.exe wups.dll
    • regsvr32.exe wups2.dll
    • regsvr32.exe wuweb.dll
    • regsvr32.exe qmgr.dll
    • regsvr32.exe qmgrprxy.dll
    • regsvr32.exe wucltux.dll
    • regsvr32.exe muweb.dll
    • regsvr32.exe wuwebv.dll
  • Now type each one of those commands below.
    • net start bits
    • net start wuauserv
    • net start cryptsvc

Option 2 – Install the updates in a Clean Boot State

You might want to try putting your computer in a Clean Boot state and then install Windows Updates again without any trouble. During this state, you can start the system with a minimum number of drivers and startup programs that will surely help you in isolating the root cause of the issue.
  • Log onto your PC as an administrator.
  • Type in msconfig in the Start Search to open the System Configuration utility.
  • From there, go to the General tab and click “Selective startup”.
  • Clear the “Load Startup items” check box and make sure that the “Load System Services” and “Use Original boot configuration” options are checked.
  • Next, click the Services tab and select the “Hide All Microsoft Services” check box.
  • Click Disable all.
  • Click on Apply/OK and restart your PC. (This will put your PC into a Clean Boot State. And configure Windows to use the usual startup, just simply undo the changes.)
  • After that, try to install the Windows Updates or upgrade again.

Option 3 – Clear the contents of both the SoftwareDistribution and Catroot2 folders

  • Open the WinX Menu.
  • From there, open Command Prompt as admin.
  • Then type in the following command – don’t forget to hit Enter right after typing each one of them.
net stop wuauserv net stop bits
  • After entering these commands, it will stop the Windows Update Service and the Background Intelligent Transfer Service.
  • Next, go to the C:/Windows/SoftwareDistribution folder and get rid of all the folders and files thereby tapping the Ctrl + A keys to select them all and then click on Delete. Note that if the files are in use, you won’t be able to delete them.
  • Once all the contents in the Software Distribution folder are deleted, restart your PC and then go back to Command Prompt and input the following commands again.
net start wuauserv net start bits
 Since the folder has already been flushed, it will be populated afresh the instant your restart your computer and open Windows Update.

Option 4 – Try to run the Windows Update Troubleshooter

Running the built-in Windows Update troubleshooter could also help you resolve the Windows Update error 0x80070020. To run it, go to Settings and then select Troubleshoot from the options. From there, click on Windows Update and then click the “Run the troubleshooter” button. After that, follow the next on-screen instructions and you should be good to go.

Option 5 – Try restarting the Windows Update Services

  • Open the Services Manager.
From there, make sure that you set the following services and Startup types:
  • Background Intelligent Transfer Service: Manual
  • Cryptographic Service: Automatic
  • Windows Update Service: Manual (Triggered)
Read More
UEFI Firmware settings goes missing
When it comes to booting an operating system on a computer, one of the most essential pieces of software you can use is the UEFI. In fact, a lot of users now prefer to use UEFI instead of BIOS. It also depends on whether the UEFI or the BIOS is supported on the motherboard. Recently, a number of users reported an issue with UEFI where they were unable to find it under the Advanced Options screen where it’s supposed to be located. The missing UEFI Firmware settings in the Advanced Options could be caused by several reasons. It is possible that the access to the UEFI menu is blocked or it could also be due to the Extra Fast Startup feature being enabled. It is also possible that the operating system is installed in Legacy mode. There are several options to try to fix this issue. You need to check if your computer supports UEFI or you could also try to disable Fast Startup or bypass the Extra Fast Startup feature. You can also use a boot to UEFI shortcut as well as check the CMOS battery.

Option 1 – Try checking if your computer supports UEFI

The first thing you have to do is to verify if your computer supports UEFI. If your computer does not support UEFI, then it’s no wonder why you don’t see the UEFI Firmware settings in the Advanced Options.

Option 2 – Try turning off Fast Startup

  • First, boot your computer in Safe Mode.
  • Once your computer is booted in Safe Mode, tap the Win + R keys to open the Run dialog box and type in “control” to open the Control Panel.
  • Next, click on the Hardware and Sound section and click on Power Options.
  • Afterward, select the “Choose what the power buttons do” option from the left side menu pane.
  • Now click on Change settings that are currently unavailable and uncheck the entry that says, “Turn on fast startup (Recommended)”.
  • Then click on Save Changes and restart your computer and see if it has fixed the problem or not.

Option 3 – Try bypassing the Extra Fast Startup feature

As mentioned, the missing UEFI Firmware settings could be due to the Extra Fast Startup feature. To fix it, you have to disable this feature. All you have to do is tap and hold the Shift key and click on the Shutdown button from the Start button. This will boot your PC with the UEFI booting from the beginning and then use the hotkey for your motherboard to boot into the UEFI setup.

Option 4 – Try using a boot to UEFI shortcut

  • Right-click on any empty space on your Desktop and select New > Shortcut.
  • This will open a new mini window. And here, you have to type this in the text field: shutdown /r /fw
  • After that, click on Next and name the desktop shortcut and then click on Finish.
  • Next, right-click on the newly created shortcut and select Properties.
  • Click on the Advanced button and select the “Run as administrator” option.
  • Now click OK to save the changes made. Each time you execute this shortcut, your computer will automatically be booted to the UEFI Firmware Settings.

Option 5 – Try to check the CMOS battery

Another thing you can do is check the CMOS battery physically on the motherboard and see if it has to be replaced since a damaged CMOS battery can also cause the issue with the missing UEFI Firmware settings.

Option 6 – Set your computer from Legacy to UEFI

If applicable, you can try to set your computer from Legacy to UEFI to resolve the problem.
  • In the Windows Search box, type “command prompt” and from the search results that appear, right-click on Command Prompt and select the “Run as administrator” option.
  • After that, execute this command: mbr2gpt.exe /convert /allowfullOS
  • Now, wait until the process is completed since you can track its process on your screen.
  • Once it’s done, go to Settings > Update & Security > Advanced Startup options and from there, click on Restart Now. This will restart your computer and give you advanced options.
  • Next, select Troubleshoot > Advanced Options where you will see further options including System Restore, Startup Repair, Go back to the previous version, Command Prompt, System Image Recovery, and UEFI Firmware Settings.
  • Now select the UEFI Firmware Settings. This will take you to the BIOS. Boot Mode is typically available under Boot > Boot Configuration. Once you’re there, set it to UEFI and then save the changes you’ve made. After that, your computer will restart.
Read More
Make FLASH content available in your browser
FLASH icon Hello and welcome everyone, just a few years ago we had FLASH video content on the internet, we had FLASH games, full FLASH website experiences, and more, but then flash was shut down mostly due to security reasons meaning that in just a few months we have lost most of FLASH web content. However, there is still FLASH content on the internet even today, there are still FLASH videos and flash games, but we can not play any of that content since browsers do not support FLASH and you can not get the FLASH plugin for browsers. So what might be the solution for this situation?

Ruffle and FLASH emulation

Emulation of course. We will not be able to get the flash player working, well at least not the original and official one, but we can make flash content playable again inside our browsers. The first thing is first, we need to get an emulator package from the internet in order for this trick to work, one we will be using is RUFFLE. It is lightweight, it is free, it is open source and it is reliable, everything we need. Download RUFFLE from its official website here. For Chrome and Edge download the ZIP package, for Firefox, go to the Firefox section of the tutorial. There is also a desktop version of RUFFLE there so if you are keen on playing your flash content on your desktop computer you might well grab that as well, but for the sake of this tutorial where we are enabling flash in our browsers, we will not focus on that part since it is pretty straightforward. Now once you have downloaded the RUFFLE emulator, please extract it to the desired folder somewhere on your computer. Once it is extracted, start your browser of choice and follow instructions.

FOR CHROME:

  1. Navigate to: chrome://extensions/
  2. Turn ON developer mode in the top right corner
  3. Click on Load unpacked
  4. Navigate to the folder where you have extracted RUFFLE
chrome extensions

FOR EDGE:

  1. Navigate to: edge://extensions/
  2. Turn ON developer mode on the bottom left corner
  3. Navigate to the folder where you have extracted RUFFLE
  4. Turn RUFFLE ON
edge extensions

FOR FIREFOX:

  1. Go to the RUFFLE download page, we can not use the zip package we were using for Chrome and Edge
  2. Right-click on the Firefox download link
  3. Save link by clicking on Save link as...
  4. Navigate to about: debugging
  5. Click on this Firefox
  6. Click Load Temporary Add-on
  7. Select the .xpi that you have downloaded

BONUS:

If you want to enable FLASH content live on your website use:  <script src="path_to_ruffle/ruffle.js"></script>
Read More
An Easy Guide to Resolving Error C00D11B1

How to Fix Error C00D11B1

Error C00D11B1- What is it?

Error C00D11B1 is a type of Windows Media Player error code. The error C00D11B1 hampers your ability to play videos, MP3 files and songs on Windows Media Player. The error is displayed in the following format:
Error C00D11B1:’Windows Media Player can’t play the file.’

Solution

Restoro box imageError Causes

The cause of error C00D11B1 message pop up on your computer can be narrowed down to one particular reason virtually because this error may be triggered due to several reasons, these include:
  • Corrupt DRM license
  • Enabled codec of the video in Windows Media Player codecs section
  • Registry Corruption
The good news is that this error is not fatal and does not pose serious PC threats like runtime and BSoD error codes. However, it is still advisable to resolve to ensure you are able to watch movies and listen to songs on Windows Media Player without any difficulty.

Further Information and Manual Repair

Here are some of the best and effective do it yourself methods to resolve the error C00D11B1 on your PC right away:

Method 1- Disable the codec of the video option in the Codecs Section

If you are unable to play downloaded movie files on your PC on Windows Media Player, then try this method to resolve the issue. Simply open Windows Media Player, Go to Tools, Options, DVD and then click Advanced Tab. Here find the codecs section, scroll down to the codec of the video you are trying to play and see if it says enabled. If it does, then disable it and then select a decorder for the codec. Now try running the video again on your Windows Media Player. This will hopefully resolve the issue. Nonetheless if the error still persists, try method 2.

Method 2- Delete DRM Licenses & cache and Download it Again

Sometimes the error C00D11B1 can also be trigged by corrupt DRM licenses & cache. To resolve the issue, simply delete all files. First open Windows Explorer (Windows key + E) and then go to C:ProgramDataMicrosoftWindowsDRM. Now delete all files in this folder. Once deleted, Let Windows Media Player download your license again. After downloading the DRM license again, run the Windows Media Player to see if it works.

Method 3- Disable Firewall Temporarily

Firewall can also be responsible for blocking the Windows Media Player streaming. Firewalls often block important ports that are required in order to run some programs. If this is the cause, then simply disable Firewall temporarily to resolve the issue.

Method 4- Repair the Registry

Registry is that part of your computer that saves all the activities performed on the PC and all the files too including both important and unimportant files like cookies, junk files and bad registry entries. If these unimportant and obsolete files are not removed frequently, the registry gets corrupt and damaged. And due to this reason you may experience error code C00D11B1 on your system. To resolve this issue, simply repair the damaged registry by downloading Restoro. This is a powerful PC Fixer integrated with a registry cleaner. The registry cleaner removes all unnecessary files, cleans and repairs the registry in seconds. Click here to download Restoro and fix error C00D11B1 on your PC right now!
Read More
How to fix windows 10 error code 0x80073712
Windows 10 has displayed one of the most efficient and user-friendly interfaces. However there have been many issues on the backend of this commonly praised operating system: For example, Windows Update is still a wonky and error-laded system application. One example of this error is Windows Update Error 0x80073712 which stands in the way of users just wanting to keep their PCs updated hassle-free. The error code 0x80073712 signifies that a file needed by Windows Update to function is either damaged, missing, or corrupted. However, this does not mean that your Windows version will forever stay as-is with no mode to update it. Windows Update Error 0x80073712 is perfectly fixable with the set of provided steps below and some of Windows’ built-in troubleshooting steps:

Solution 1: Open Windows Update Troubleshooter

  1. Open the Windows Update Troubleshooter by pressing the Window Key and  “S” keys simultaneously.
  2. Enter the word “Troubleshoot” in the search box and select the Troubleshoot result
  3. On the new window, select “Windows Update” to troubleshoot.
  4. Run the troubleshooter, then open Windows Update and try to install the update again.

Solution 2: Run the DISM tool

  1. Open the command prompt by pressing Windows Key and “S” key simultaneously
  2. Enter “cmd” in the search box. Right Click command prompt among the results and select “Run as administrator”
  3. In the Command Prompt window type the following and press the Enter key after every command
DISM.exe /Online /Cleanup-image /Scanhealth DISM.exe /Online /Cleanup-image /Restorehealth
  1. To close the Administrator: Command prompt window, type Exit, and then press Enter.
  2. Run Windows Update again.

Solution 3: Rename the Software Distribution folder

  1. Open the command prompt as previously mentioned
  2. Input the following command pressing Enter after every line net stop wuauserv net stop cryptSvc net stop bits net stop msiserver rename c:windowsSoftwareDistribution softwaredistribution.old net start wuauserv net start cryptSvc net start bits net start msiserver exit
  3. Restart the PC and run the updater if it works again.

Solution 4: Restart Windows Update Services

  1. Press the Windows logo key and R together to open Run -> Input services.msc -> and press Enter
  2. Search for the Windows Update service -> Check its status
  3. If it is not indicated, right-click on the service and select Start to force start your Windows Update
  4. If you see an error, locate the Startup Type option and set it to Automatic
  5. Now you should reboot your computer and see if your Windows Update is OK

Solution 5: Fix Registry Issues

If after all the aforementioned solutions, you still experience problems with Windows Update, the problem may lie in the registry that is either damaged or corrupted. You may choose to do manual editing of your Windows registry by opening your Windows registry editor. But doing so is risky as one wrong letter may do incalculable damage to your system. To do so safely for more inexperienced users., we recommend using a third-party registry cleaner/tools, many of which can be found online.
Read More
Windows 10 Update and Shutdown/Restart is not working
Update and Shutdown/Restart is not working. As you have probably noticed, every time a new update is released and is downloaded on your Windows 10 computer, the operating system replaces the Restart and Shut down button with “Update and Restart” as well as “Update and Shut down”. This is most likely done so that you won’t miss the update. However, some users noticed that there are times when these buttons still continue to display the same message even if they’ve already performed the required operations such as shutting down or restarting their PCs. Cases like this happen when an update wasn’t installed properly or has failed which is why your computer keeps on prompting you to Update and Shutdown every time. To fix this dilemma, follow the options laid out below.

Option 1 – Try restarting the File Explorer

Restarting the File Explorer can definitely help you fix lots of issues especially when there is some issue with the user interface including this one.
  • On the right side of the Taskbar, right-click on any open spot.
  • Then click on Task Manager.
  • Next, scroll down until you see Windows Explorer.
  • After that, right-click on it and select Restart.
  • If you are able to kill its process, you have to tap the Win + R keys to open the Run dialog box and type “explorer.exe” in the field, and hit Enter to launch the Windows Explorer.

Option 2 – Try running the Windows Update Troubleshooter

As you know, Windows 10 has various auto-repair built-in tools to help users fix small issues which used to get fixed manually. And in this case, you will need the Windows Update Troubleshooter to fix the issue.
  • Go to Settings and click on Update and Security.
  • From there, click Troubleshoot and click on Windows Update and then click the “Run the troubleshooter” option.
  • After that, it will try to detect and automatically fix common issues in the Windows Updates which can be resolved by Windows itself. Note that the process may take several minutes before it completes so you need to wait until it’s done. Once it’s done, in case you have some pending update that wasn’t realized by the system early on, it will apply the fix right away and restart the Windows Update service.

Option 3 – Try setting the Power button to Shut down

In case the first two options didn’t work out, you can try changing what the power button does. To do that, refer to these steps:
  • Go to Control Panel > Power Options.
  • From there, select the “Choose what the power buttons do” option from the left side.
  • Then set the Power button setting the “When I press the power button” option to “Shut down”. After that, it will shut your computer down without installing the updates but obviously, this is only a temporary fix.

Option 4 – Turn off your PC instantly without updating it

  • Tap the Win + R keys to open the Run dialog box.
  • Type in “shutdown -s -f -t 0” in the field and hit Enter if you really want to turn off your computer without any delay.
  • You could also tap the Ctrl + Alt + Del keys and select Shut down from the bottom right menu.
Just like the third option, this is also only a temporary fix.

Option 5 – Try running the Windows Module Installer

The Windows Module Installer is a built-in service in Windows 10 that allows you to fix the stuck Windows Updates in your computer. To use it, follow these steps:
  • In the Cortana search box, type in “cmd” and from the search results that appear, right-click on Command Prompt and select the “Run as administrator” option from the context menu.
  • Once you’ve opened Command Prompt as admin, type the SC config trustedinstaller start=auto command and tap Enter.
  • After the command is executed, you will see the “[SC] ChangeServiceConfig SUCCESS” message displayed on the Command Prompt console.
  • Now exit Command Prompt and then check if the buttons are now back to normal.

Option 6 – Put your PC in a Clean Boot State

  • Log onto your PC as an administrator.
  • Type in MSConfig in the Start Search to open the System Configuration utility.
  • From there, go to the General tab and click “Selective startup”.
  • Clear the “Load Startup items” checkbox and make sure that the “Load System Services” and “Use Original boot configuration” options are checked.
  • Next, click the Services tab and select the “Hide All Microsoft Services” check box.
  • Click Disable all.
  • Click on Apply/OK and restart your PC. (This will put your PC into a Clean Boot State. And configure Windows to use the usual startup, just simply undo the changes.)
After putting your PC in a Clean Boot State, try creating a system restore point and see if the problem still occurs. Clean Boot troubleshooting is designed to help you isolate the problem. For you to execute a clean boot troubleshooting, you must do a couple of actions (the steps are given above) and then restart your PC after every action. You might have to disable one third-party app after the other to really isolate the issue. And once you’ve narrowed down the problem, you can either disable the third-party app that’s causing the problem or remove it. Note that you must switch your PC back into the Normal Startup mode after you’re done troubleshooting the problem. Here’s how you can do it:
  • From the “Start” menu, go to System Configuration.
  • After that, switch to the General tab and click the option for “Normal Startup”.
  • Next, go to the Services tab and clear the checkbox for “Hide all Microsoft services”.
  • Then find and click “Enable all” and if prompted, you have to confirm.
  • Afterward, go to the Task Manager and enable all the Startup programs and confirm the action.
  • Restart your PC when prompted.
Read More
Fix CSGO Crashes in Windows 10
Counter strike has evolved from half-life mod into the full-featured game and has kept in popularity for years, even today game is wildly popular and has a huge player base. Sadly game can crash in Windows 10. Here in this article, we will address how to fix csgo crashing in Windows 10 so you can play it smoothly and crash-free as it was meant to be played.
  1. Update your display drivers

    Often in the gaming world having the latest display drivers can mean a world of difference. Counterstrike GO is no different, make sure that your drivers are updated to the latest version, if they are not, go to your manufacturer's website and download the latest version.
  2. Update Windows

    Just how much important is it to have the latest display drivers so it is to have the latest Windows update. Often problematic things are addressed in the update itself.
  3. Turn off compatibility mode

    Compatibility mode is most often the cause of crashes. Go to the game installation folder and search for csgo.exe. Once you locate it right-click on it and choose properties. Under properties, find the compatibility tab and turn off compatibility mode if it is ON. Uncheck run as administrator also
  4. Delete CSGO.EXE and add cl_disablehtmlmotd 1

    If disabling compatibility mode has not solved the issue do next: Pull up the installation directory folder, find csgo.exe, and delete it Pull up the Steam Library and locate Counter-Strike Global Offensive Right-click on it to select properties Find the local tab and click on verify integrity of game files When that is complete, go back into the Counter-Strike Global Offensive installation folder and search for cgo.exe Turn compatibility OFF like in the previous step Return to the Steam Library, right-click on Counter-Strike Global Offensive and click on properties again Go under the launch options settings In the new window, type in cl_disablehtmlmotd 1 Save the changes and restart the game
  5. Lower game settings

    If previous steps did not help and the game still crashes, try lowering game graphic settings. Crashes can happen if a game is heavy on the current system resources.
Read More
Fix Windows Update Error 0x8024A10A
The Windows Update service, just like other services in Windows 10 may sometimes experience some issues and stop behaving properly. One of the issues you might encounter as you use the Windows Update service is the Windows Update error 0x8024A10A. This kind of error code signifies that the Windows Update service is shutting down. So if you encounter this error, read on as this post will guide you on how you can fix it. When you receive the Windows Update error 0x8024A10A, you may see this error message on your screen: “USO_E_SERVICE_SHUTTING_DOWN indicates that the WU Service is shutting down. This may happen due to a very long period of time of inactivity, a system hang leading to the service being idle and leading to the shutdown of the service. Ensure that the system remains active and the connections remain established to complete the upgrade.” You could try to restart your computer to resolve the problem since there are instances when a simple restart can fix errors. However, if it does not work, you might find the options provided below useful.

Option 1 – Try to restart the Windows Update Service

The first thing you can do to fix Windows Update error 0x8024A10A is to restart the Windows Update Service from the Services Manager. To do so, follow these steps:
  • In the Cortana search box, type “services” and click on the Services icon to open the Services Manager. Alternatively, you can also tap the Win + R keys to launch the Run prompt and then type “services.msc” in the field and hit Enter to open the Services Manager.
  • After opening the Services Manager, look for the Windows Update Service.
  • Once you found it, right-click on it and check if the Service is stopped. If it is, then select the Start option. On the other hand, if the Windows Update Service is already started, just select the Restart option.
  • After that, try to run the Windows Update again and see if the error 0x8024A10A is now fixed.

Option 2 – Run the Windows Update Troubleshooter

Since the Windows Update troubleshooter reviews the status of the services that support the process, it would prompt and fix it if there is anything that’s not right. Thus, you might want to run a built-in Windows Update troubleshooter to resolve the Windows Update error. It is one of the things you can check out as it is known to automatically resolve any Windows Update errors like error 0x8024A10A. To run this troubleshooter, go to Settings and then select Troubleshoot from the options. From there, click on Windows Update and then click the “Run the troubleshooter” button. After that, follow the next on-screen instructions and you should be good to go.

Option 3 – Run Microsoft’s online troubleshooter

Aside from the Windows Update troubleshooter, running Microsoft’s online troubleshooter might also help you fix the Windows Update Error 0x8024A10A. This online troubleshooter is known to help in fixing Windows Update errors, it scans your computer for issues that might be causing the problem and then fixes them automatically.

Option 4 – Try to run the Windows Update Service in a Clean Boot State

There are some instances that some conflicting programs installed in your computer might be the one that’s causing Windows Update error code 0x8024A10A. To identify which program is causing the problem, you need to put your computer in a Clean Boot State. To do so, follow the steps below.
  • Log onto your PC as an administrator.
  • Type in MSConfig in the Start Search to open the System Configuration utility.
  • From there, go to the General tab and click “Selective startup”.
  • Clear the “Load Startup items” check box and make sure that the “Load System Services” and “Use Original boot configuration” options are checked.
  • Next, click the Services tab and select the “Hide All Microsoft Services” check box.
  • Click Disable all.
  • Click on Apply/OK and restart your PC. (This will put your PC into a Clean Boot State. And configure Windows to use the usual startup, just simply undo the changes.)
  • Now try to run the Windows Update Service again and see if Windows Update error 0x8024A10A is now gone.
Read More
1 2 3 162
Logo
Copyright © 2022, ErrorTools. All Rights Reserved
Trademarks: Microsoft Windows logos are registered trademarks of Microsoft. Disclaimer: ErrorTools.com is not affiliated with Microsoft, nor claim direct affiliation.
The information on this page is provided for information purposes only.
DMCA.com Protection Status