If you are trying to start a service using the Windows Services Manager but you got an error message stating, “The executable program that this service is configured to run in does not implement the service”, then you’ve come to the right place as this post will provide you instructions on how you can fix this error.
Since almost all program requires service to run on your computer, if the service is not listed in the corresponding registry key, then you will most likely encounter this error on your Windows 10 computer. Here’s the entire content of the error message:
“Windows could not start the service on Local Computer. Error 1083: The executable program that this service is configured to run in does not implement the service.”
To fix this error, you have to add the service name in the respective host in the Registry Editor, and to do that, here are some steps you need to take on.
Step 1: The first thing you have to do is to take note of the service name that’s given in the error message. For instance, you get the “Windows Management Service.
Step 2: Next, you need to open the Services Manager by tapping the Win + R keys and typing “services.msc” in the Run dialog box, and then tapping Enter.
Step 3: After opening the Services Manager, look for the Windows Management Service and once you see it, double click on it. This will open a new mini window.
Step 4: From the newly opened window, copy the
Service name and the
Path to executable under the General tab. If the path to the executable is displayed as “C:/Windows/system32/svchost.exe -k netsvcs –p”, you need the “netsvcs” part only. Note that it can be different for different services and you need the part that comes after “-k”.
Step 5: Now tap the Win + R keys again to open Run utility and type “Regedit” in the field and click OK to open the Registry Editor.
Step 6: After that, navigate to the following registry path:
ComputerHKEY_LOCAL_MACHINESOFTWAREMicrosoftWindows NTCurrentVersionSvchost
Step 7: From the given registry path, look for a key named “REG_MULTI_SZ” located on your right-hand side. This key is named after the “Path to executable” part. For instance, you should see “netsvcs”.
Step 8: Double click on the REG_MULTI_SZ key and enter the Service name that you’ve copied earlier and then write it down at the end of the preset list.
Step 9: Now save the changes you’ve made and try to open the program or run the service again.

 Probably tired of even trying to hide it, Steam has released that this year's big Steam Winter sale is officially starting on December 22nd, 2021, and closing on January 5th, 2022. So if you have someone to buy a gift or just want to drop a few great games in your library at a low price this is the time when you should do it.
 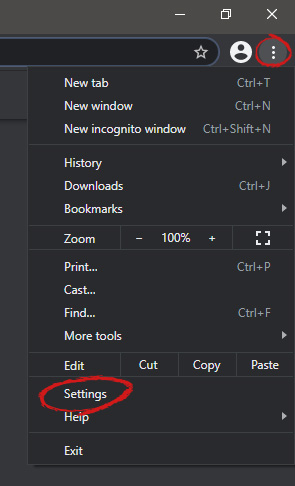 When you are in settings, on the left side move toward the bottom until you run into a tab that says On Startup and click on it. On right, a new section will open, click on Open a specific page or set of pages.
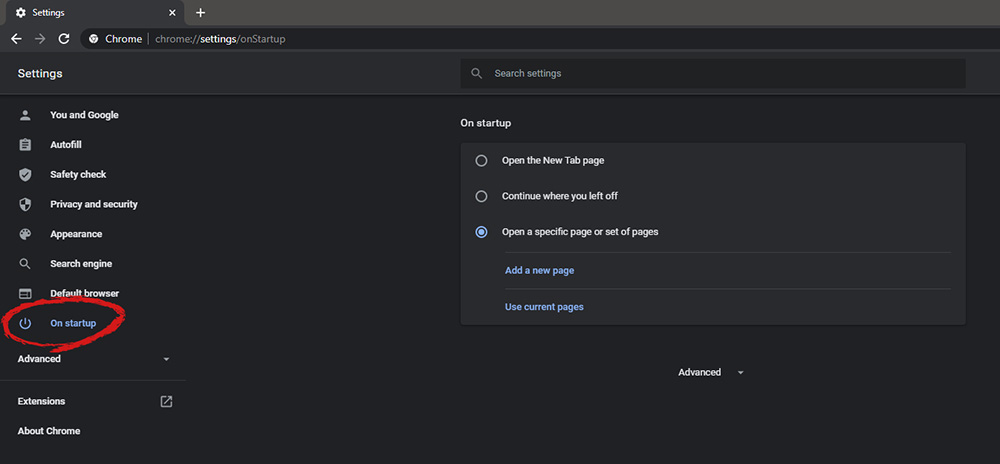 You will be presented with the option to add a new page by typing its URL or getting it from bookmarks or using a specific opened one. You can repeat this process until you have added all pages that you wish to be automatically opened once Chrome is opened for the first time.
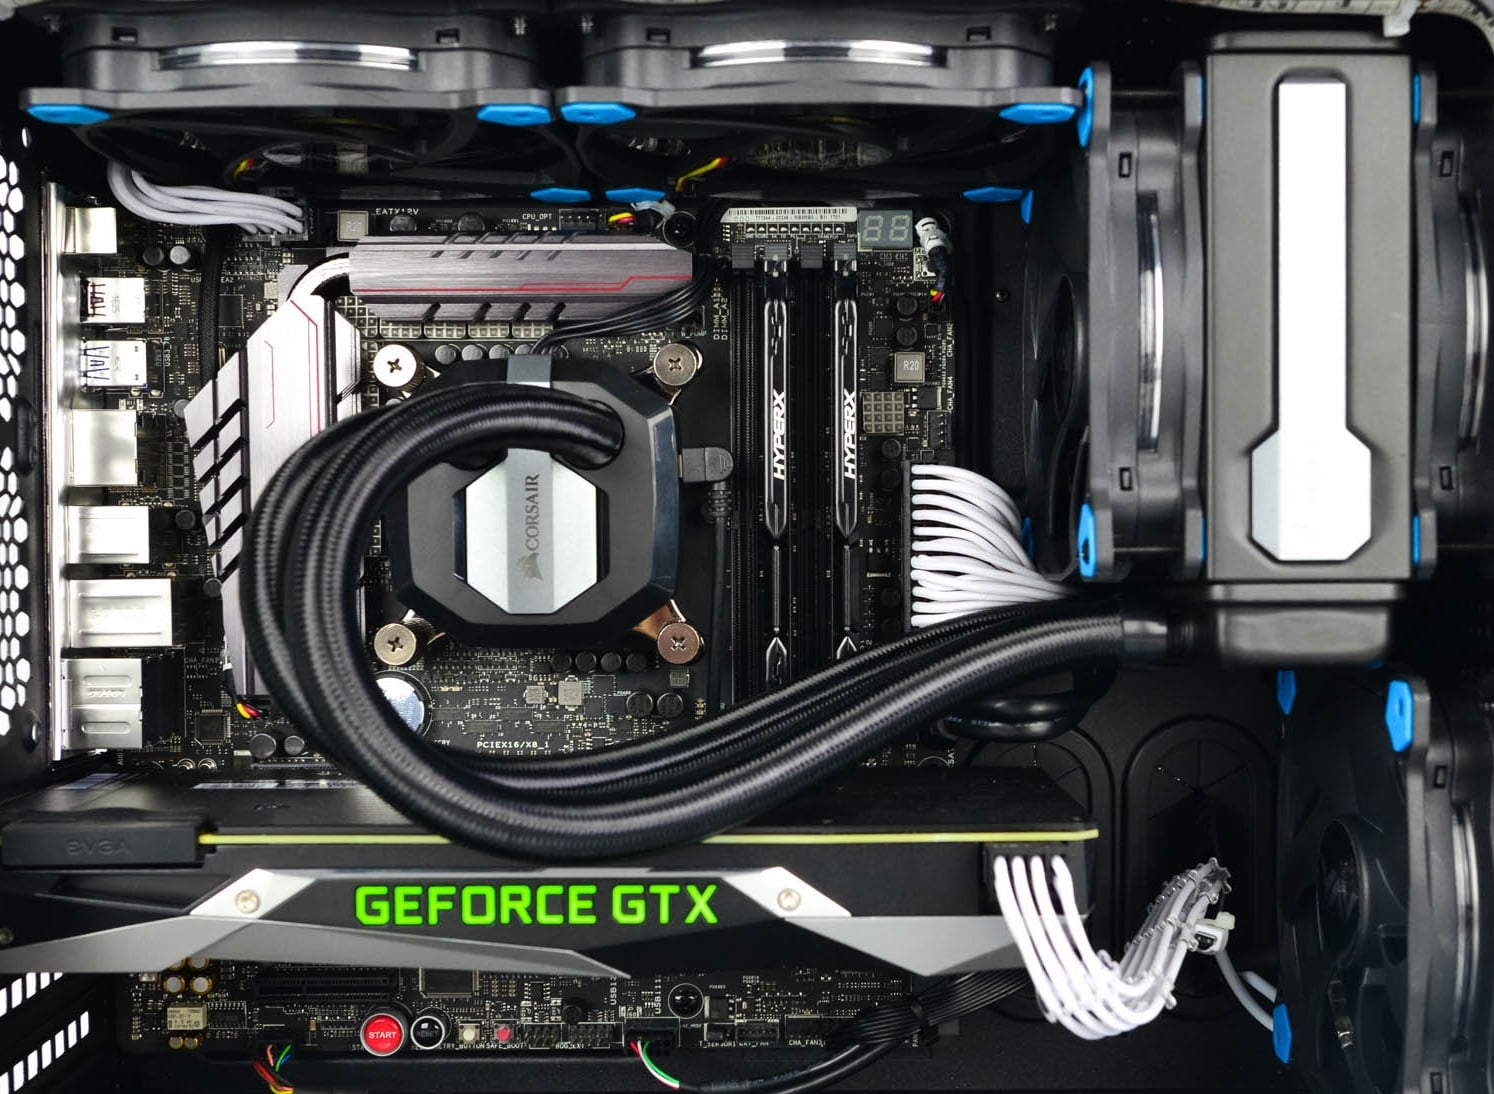 Builders with no depth knowledge and experience can sometimes choose improper CPU or GPU, picking one of them to be much more powerful than another thus not using it to its full potential because another component cannot handle stuff at the same speed. In order to not be trumped by this kind of stuff, there is a website that is completely free and you do not even need to be registered in order to use it.