Edge Content Process has stopped working

A lot of programs in Windows utilize the helper processes to ensure that they can get the job done as early as possible. And one of the programs that use these processes is Microsoft Edge. This built-in browser uses a process called the Edge Content process. The moment you start your computer, these system processes are loaded which makes the Edge browser load faster.

To be specific, these are the three processes that are related to Microsoft Edge:

  • MicrosoftEdge.exe
  • MicrosoftEdgeCP.exe
  • MicrosoftEdgeSH.exe

The process that ends with the “CP.exe” is the content process in Edge. However, when this process stopped working, this can affect the Edge browser. In such cases, when you check the Reliability Monitor, you will see that the state of the “Microsoft Edge Content Process” is “Stopped working” which keeps on appearing. To resolve this issue, you can try to clear the browsing data of Microsoft Edge or repair or reset it. You can also try re-registering Edge via Windows PowerShell as well as check your security programs that might be causing interference with the process.

Option 1 – Clear the browsing data of Microsoft Edge

  • Open Microsoft Edge.
  • Then click on the three horizontal dots to open the menu.
  • From there, click on Settings. And under Settings, click the “Choose what to clear” button under the Clear browsing data section.
  • Next, check all the checkboxes and then click the Clear button to clear the browsing data in the Edge browser.
  • Restart Edge.

Option 2 – Try to reset, repair or reinstall Edge via Settings

You can reset, repair or reinstall the Edge browser through Settings.

If none of it helped, you can try the following:

  • Open File Explorer and then go to this path – C:/Users/YourUsername/AppData/Local/Packages

Note: Before you type in the path in the Address bar, make sure that you put your user account name in place with the “YourUsername”.

  • Tap Enter to proceed.
  • Next, look for the folder named “MicrosoftEdge_8wekyb3d8bbwe” then right-click on it.
  • Click on Properties and uncheck the option “Read-only” under the General tab in the Properties window.
  • Click on Apply and then OK to save the changes made.
  • After that, look for the MicrosoftEdge_8wekyb3d8bbwe folder again and delete it. And if a prompt stating “Folder Access Denied” appears on your screen, just click on the Continue button to proceed – doing so will delete most of the content inside the folder except for the folder named “AC”.
  • Restart your computer

Option 3 – Re-register Edge via Windows PowerShell

  • In the Start Menu, search “Windows PowerShell”.
  • Right-click on Windows PowerShell from the search results and select the “Run as administrator” option.
  • Type in this command in the PowerShell windows and tap Enter – Cd C:/Users/YourUsername
  • After that, type in this command and tap Enter – Get-AppXPackage -AllUsers -Name Microsoft.MicrosoftEdge | Foreach {Add-AppxPackage -DisableDevelopmentMode -Register "$($_.InstallLocation)AppXManifest.xml" -Verbose}
  • Restart your PC.

Get-AppXPackage -AllUsers -Name Microsoft.MicrosoftEdge | Foreach {Add-AppxPackage -DisableDevelopmentMode -Register “$($_.InstallLocation)AppXManifest.xml” -Verbose}

Option 4 – Try to check your security program

It is possible that a security program installed in your computer is the one that’s causing the problem which is why you have to check it. According to security experts, there are some security programs that could be detecting the Edge’s content process as suspicious, blocking or terminating it as a result. Thus, you need to modify your security program’s settings to fix the problem.

If you like to learn and find out more about various Windows errors, and how to repair them go to our vast archive or use search to find articles that will explain and help you in solving your issue.
However, if you prefer to do things fast and with automatization then we are proposing to use an automated solution for your issues. The application that we are recommending is Advanced System Repair Pro
Advanced System Repair utilizes multiple tools all in one to give you a quick, simple, reliable, and very thorough diagnosis of your PC. It brings you all the tools you need in one program to clean, fix, protect, optimize and boost your PC!
1-Click Maintenance
All the tools to make it simple and easy! It's like having a professional technician at the click of a mouse.

Junk Cleaner
Keeping your computer free from unnecessary clutter also helps make your computer last longer. Like any other machine, if you keep it clean and take care of it, it will serve you better for longer!

Optimize background apps
Optimize applications background activity with the built-in Application Optimizer feature.

Disk Defrag
With a simple 1-click, Advanced System Repair speeds up your PC by assembling fragmented files on your machine and organizing them more efficiently.

Malware Removal
Finds and removes all types of harmful malware including trojans, worms, bots, adware, spyware, PUPs, and more!

Privacy Cleaner
The all-in-one privacy suite to Clean Your Tracks & Protect Your Privacy! Make your computer safe, secure, and more efficient!

System Tweak/Optimizer
ASR will analyze your complete system and settings to adjust your PC to function at its maximum performance.

Registry Cleaner
Over time, as you install and uninstall applications, the registry can become cluttered with old entries and broken settings which can result in program crashes, and annoying messages and slow the computer down.
Visit our Advanced System Repair Pro Download page to inform yourself about all the benefits of this software and get a free trial copy of it.
advanced system repair pro

Advanced System Repair Pro

One-click automated PC repair solution
ASR logo
With Advanced System Repair Pro you can easily
Replace damaged files
Restore performance
Free disk space
Remove Malware
Protects WEB browser
Remove Viruses
Stop PC freezing
DOWNLOAD
Privacy Policy | Terms of Use | Uinstall
Advanced System Repair Pro is compatible with all versions of Microsoft Windows including Windows 11

Share this article:

You might also like

Add names of applications in the taskbar
Microsoft is trying to make Windows into a personalized OS, more and more features and parts can be customized to user liking. From larger things to smaller ones nowadays you can almost personalize every detail of Windows itself. In this article, we will tackle how to bring back the names of running applications on the taskbar. Placing names beside icons on the taskbar is a pretty simple and straightforward task easily done. First, right-click the Taskbar and select Taskbar settings. In Taskbar settings, click the menu labeled Combine taskbar buttons. Select Never. That's it, now all of your running applications have a name beside them. If you change your mind, you can always undo it by selecting Always hide labels in the Combine taskbar buttons menu.
Read More
Free Quake upgrade comes to Steam and more
quake remaster
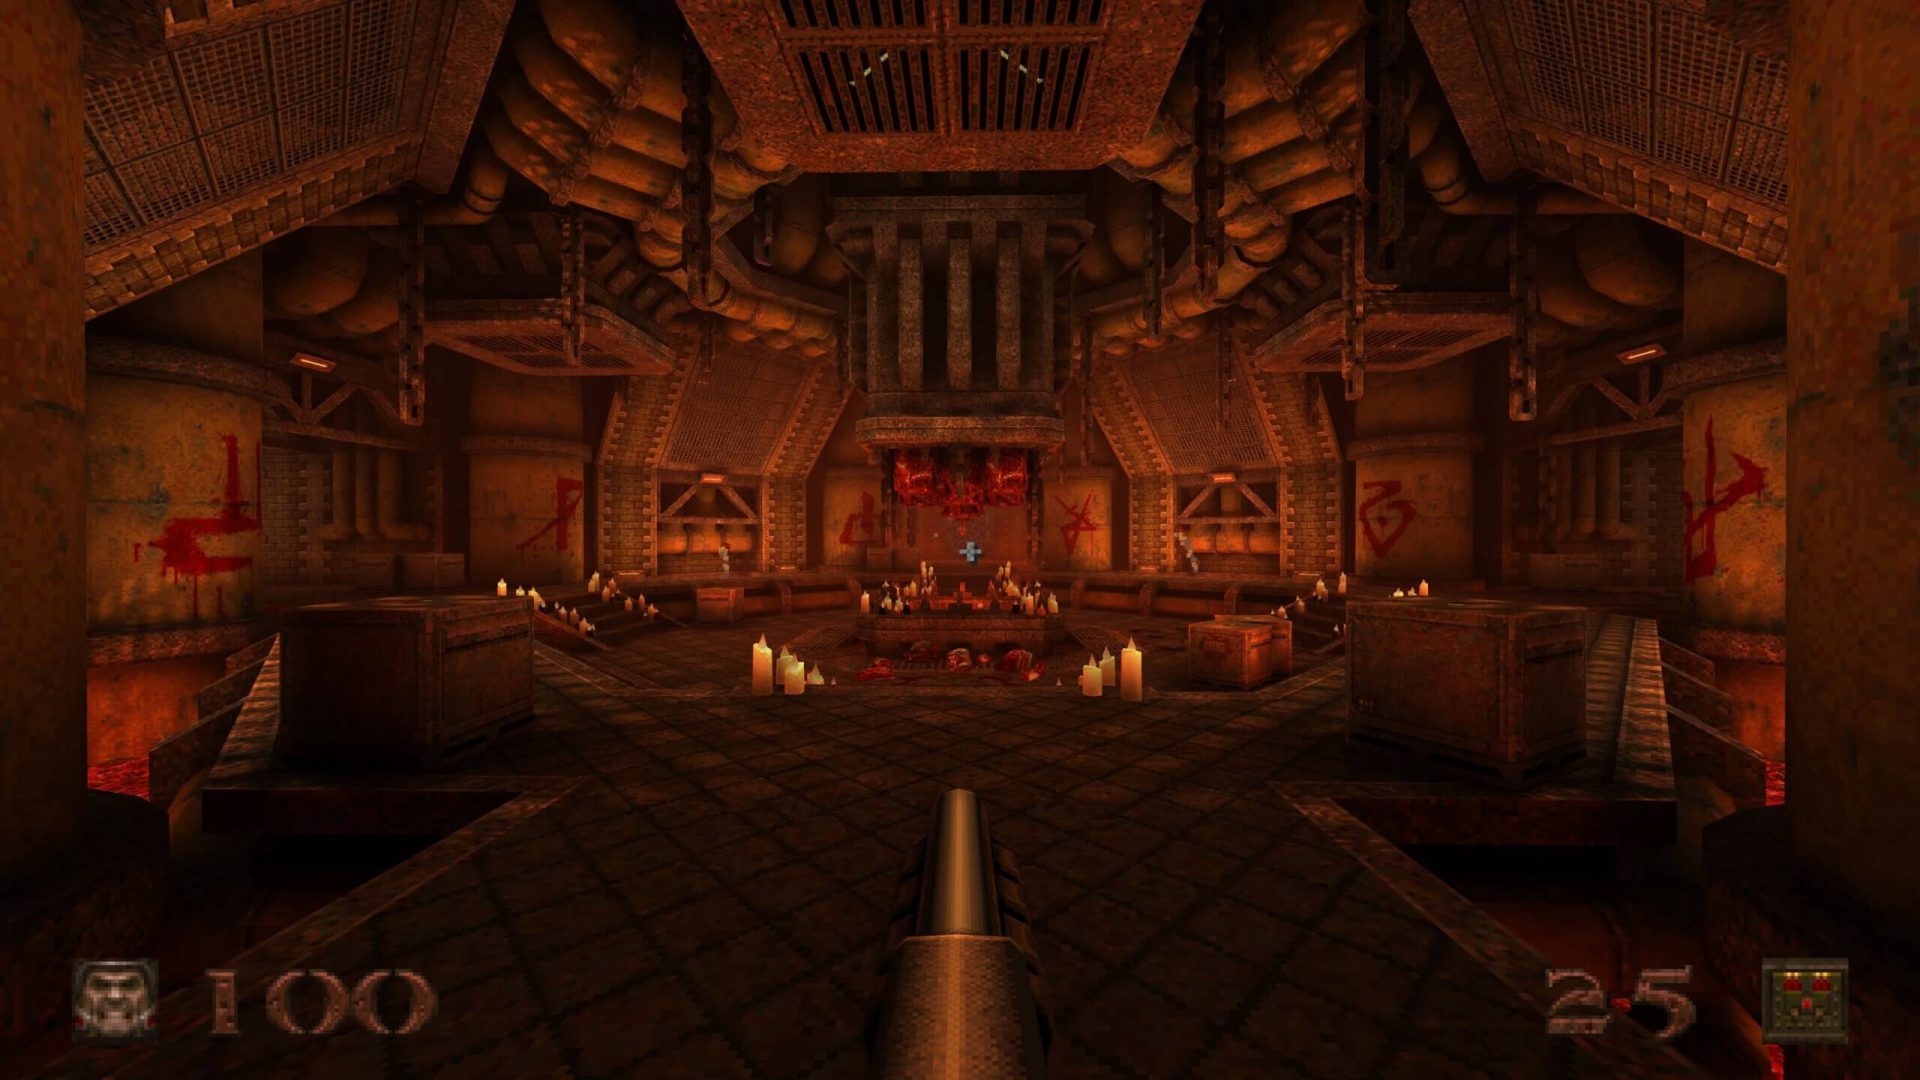
Without any fanfare, news, or information Bethesda has released a completely free upgrade for legendary Quake 1. Free upgrade is automatically applied to all users who possess the original game and it has already been rolled out.

What has changed for good?

New textures, effects, and resolutions are one thing that will come first into your focus when you start the game. From the moment game is started it feels and looks like a game you remember from a long time ago. Models are also upgraded with a higher polygon count. Another thing that will hit you right away is the legendary OST by Trent Reznor in its full glory. If you have the original Quake and played it you will know that OST was missing from the Steam release and having it fully back is a great feature. I would argue that placing just OST alone in the steam release is enough for people to play it again since it adds so much atmosphere. Deathmatch and other multiplayer goodies are all here as well and there is a completely free new episode in the game with several levels. Yes, you get a free Quake upgrade in HD with an extra episode completely free.

The bad side of Quake coin

So this might come as a purist or obsessive nit-picking but there were two things that I, personally am not a fan of and have noticed during my gameplay. Please know that this is personal preference and by no other chance reflects the quality of the game itself but I just had to talk about it. Quake remake is made in a new engine and as such dynamic and gunplay feel different from the original, granted they have done the best they could to replicate the authentic feeling of the original game but there are parts of the game where I have felt that simply put, it feels different. Another thing is also tied to technology and the overall game is somewhat a little brighter and in some areas little softer in dark areas. Like I said this is purely personal preference and might come as nitpicking but I preferred the darker and grittier look of the original game. Darkplaces, the free custom-made upgrade did this in my opinion better.
Read More
How to Fix Windows Error 0x8024402f

How to Fix Windows Error 0x8024402f

Error Code 0x8024402f What is it?

Error code 0x8024402f is a Windows Update error indicating some sort of connectivity issue. Windows may show you the Error 0x8024402f in Windows 10 whenever you try to download and install new updates. This error is caused by small interruptions in communications between the computer to be updated and the update to be downloaded. These issues usually resolve themselves. Windows Firewall settings may also be blamed for this problem. Common symptoms
  • Error code 0x8024402f prevents you from installing the latest version of Windows 10
  • This Error prevents you from downloading new and latest updates from Microsoft

Solution

Restoro box imageError Causes

  • This error is caused by a problem with the Microsoft .NET Framework 4 Client Profile.
  • This error can occur even if no changes are made to network settings.
  • Your Firewall settings may cause this problem.
  • A high number of update requests on the Windows Update server may cause this problem.

More Information and Manual Repair

Method 1:

  1. Exit Windows Update. Wait for 10 to 15 minutes, and then restart Windows Update to check for updates. OR
  2. Turn on Windows Automatic Update so that updates are installed automatically every 24 hours.

Method 2:

Uninstall the Microsoft .NET Framework 4 Client Profile:
  1. Click Start>Control Panel>Programs and Features
  2. Locate the Microsoft .NET Framework 4 Client Profile
  3. Right-click and then select Uninstall/Change
  4. Confirm that you want this component to be uninstalled. This may take a few minutes.
  5. Reboot your computer
  6. When the system has restarted, re-run Windows Update as you normally would.

Method 3:

Check your internet connection: As mentioned earlier the error code 0x8024402f is related to connection problems with Windows Update. It means that your computer isn’t able to connect with the Microsoft Update server; therefore you’re unable to receive any new updates. So, you either have a problem with the internet connection or the Microsoft Update server is corrupted. If the problem is caused by the Microsoft Update server, you just need to wait a while because Microsoft staff will most probably solve the problem quickly.

Method 4:

But, if the issue isn’t related to your internet connection, you should perform the following method:
  1. Got to Search and enter Identify and Repair
  2. Open Identify and repair network problems
  3. Click on the Search Result.
  4. It should automatically Start the identifying process
  5. If your network has any issue then it will show you and ask you to fix it.
Now, establish your internet connection. The problem 0x8024402 should be solved by now and you’ll be able to update your Windows 10 Technical Preview to the latest 10049 builds.

Method 5:

Turn on Windows Firewall: If you have some anti-malware or antivirus on your Windows 10 PC, then it might turn off Windows Firewall on its own or create its own Firewall as default. If this is the case, you will need to turn on Windows Firewall.
  • Search for "Firewall" OR
  • Click on Windows Firewall from Control Panel.
  • On the left pane, Click on Turn Windows Firewall ON or OFF.
  • Click on Turn on Windows Firewall then Click Ok.
  • That is it. Now, try again and see if you are still getting Windows Update Error 0x8024402f in your Windows 10.

Method 6:

This is an advanced method:
  • If the above steps fail, then you might surely want to try this advanced method, which is Enabling ActiveX in your Router Firewall settings.
  • If you had turned off ActiveX in your Router Firewall settings then this must be the culprit and so Error 0x8024402f is shown whenever you try to get Windows Update.
  • All you need to do is Enable ActiveX by going to your Router Firewall settings and that should do it. The Error should be gone for good now and you will be easily able to install the Updates in your Windows 10.
If you do not possess the technical expertise required to accomplish this yourself or do not feel comfortable doing so, download and install a powerful automated tool to get the job done.
Read More
Fix Error 30053-4 or 30053-39, language pack
As you know, the Office Language Packs need to be installed right after installing Office. It also has to be on the correct version of Office so if any of these conditions are not met, you will most likely get error codes 30053-4 or 30053-39 when you install a language pack in Microsoft Office. If you are currently facing this error, read on as this post will help you fix the problem. Here’s the full context of the error message:
“Something went wrong, Sorry, installation cannot continue because no compatible office products are detected.”
When you have to work on two different languages, that’s where the language packs come in handy. You might have to work on one language but when it comes to proofreading or help, you need another language. Note that some language accessory packs offer partial localization which is why some parts of the Office might show the default language. If you are using Office 365 or Office 2019, 2016, 2013, or 2010, you need to go to the language accessory pack page from office.com and select your language. Once you see the download link, click on it to start downloading the pack. It includes the display in the chosen language, proofing tools for the selected language, as well as the Help in the selected language. Once the installation is complete, follow each one of the given options below to configure the language accessory pack properly.

Option 1 – Select Editing and Proofing language

  • You need to open any Office program and navigate to File > Options > Language.
  • From there, you need to make sure that the language you want to use is in the list under the Choose Editing Languages section.
  • After that, you can add or remove the language that Office uses for editing and proofing tools.

Option 2 – Configure the Display and Help languages

In this option, you can change the default display and help languages for all the Office applications so whatever you choose will be used for all the buttons, menus, and support of all the programs. After you select the language, restart all the Office applications to apply the changes made successfully. On the other hand, if you are using Office volume license versions, note that only an administrator account can install this if you are using the Volume License version of Microsoft Office 2016. You have to download the ISO image of the language packs, language interface packs, and the proofing tools from the VLSC or Volume Licensing Service Center. This process can be quite complicated so you might have to go to the docs.microsoft.com page to be guided accordingly. After you installed everything correctly, the error code 30053-4 or 30053-39 should now be fixed.
Read More
Fix Your PC can’t project to another screen
In case you don’t know, Windows 10 comes with a native ability to project to another screen, be it wireless or wired. All it takes to do that is by tapping the Win + P key combination to display options to manage the extended display. However, there are times when you might encounter errors when you do that like the “Your PC can’t project to another screen” error. This kind of error stops you from projecting your computer to the other screen. Here’s the full content of the error message:
“Your PC can’t project to another screen, Try reinstalling the driver or using a different video card.”
This error could be due to loosely connected hardware or the display adapter. It is also possible that a recent Windows Update has messed up its settings. To resolve this issue, you can try several suggestions that will be given in this post. You can try to check the hardware cable connections or run the Hardware and Devices troubleshooter. You could also update or reinstall the display adapters or replace the graphics card.

Option 1 – Try checking the hardware connections

The first thing you have to do before you further troubleshoot the problem is to check the hardware connections of your computer and see if there are damaged ones, just like with the ports as it would also affect the overall connectivity of the device with the computer. You also have to make sure that no pin is missing from the ports. So if you notice some irregularities in the connecting cable physically, you might have to buy another one and replace it and then see if it fixes the problem or not.

Option 2 – Run the Hardware and Devices Troubleshooters

  • The first thing you need to do is click on Start and then on the gear-like icon to pull up the window for Settings.
  • After opening Settings, look for the Update and Security option and select it.
  • From there, go to the Troubleshoot option located on the left-hand side of the list.
  • Next, select Hardware and Devices from the list and open the Troubleshooter and run it. Once it is doing its job, wait for it to complete the process and then restart the system.
  • After the system restarts, check if the problem’s now fixed. If not, refer to the next option given below.

Option 3 – Try to update or reinstall the display adapters

You might also want to update the drivers for Display adapters and Monitors or you might also have to update or reinstall your NVIDIA driver if you’re using one. To update or reinstall the display adapters, follow these steps:
  • Tap the Win + R keys to open the Run dialog box and then type in MSC and tap Enter or click OK to open the Device Manager.
  • Expand the section for Display Adapters.
  • And then select the Display Driver and right-click on it.
  • From the drop-down menu, select the Update Driver option and follow the on-screen instructions to install the latest version of the Display Driver.
  • Restart your PC after the installation.
If you find that updating the drivers does not help, you can try to reinstall them. How? Simply follow the steps below.
  • Tap the Win + X keys and select the Device Manager.
  • After that, look for the affected driver in the Device Manager window. And if you see a yellow exclamation mark beside it, right-click on it and select the option “Rollback” to roll back the driver.
  • And if the Rollback option is not available, just select Uninstall and then restart your PC.
  • Finally, open the Devices Manager once again and select the option “Scan for hardware changes” to install the driver.

Option 4 – Consider replacing the graphics card

You might also want to consider replacing the graphics card of your computer to resolve the problem if the options provided above didn’t work.
Read More
Software review series: KRITA
Krita Desktop is a free and open-source painting application. Krita is a full-featured free digital painting studio for artists who want to create professional work from start to end. Krita is used by comic book artists, illustrators, concept artists, matte and texture painters, and in the digital VFX industry. Krita has been in development for over 10 years and has had an explosion in growth recently. It offers many common and innovative features to help the amateur and professional alike. Krita has a user-friendly interface. The dockers and panels can be moved and customized for your specific workflow. Once you have your setup, you can save it as your own workspace. You can also create your own shortcuts for commonly used tools. In addition to painting, Krita comes with vector, filter, group, and file layers. Combine, order, and flatten layers to help your artwork stay organized. There are also three different views on how to see the layers. Krita supports full color management through LCMS for ICC and OpenColor IO for EXR, allowing you to incorporate Krita into your existing color management pipeline. Open PSD files that even Photoshop cannot open. Load and save to PSD when you need to take your artwork across different programs. Krita is the only dedicated painting application that lets you open, save, edit and author HDR and scene-referred images. Furthermore, with OCIO and OpenEXR support, you can manipulate the view to examine HDR images, and use it in the most cutting-edge workflows from the film and visual effects industries.
Read More
Computer won’t upload Pictures to websites
Windows 10 is undeniably one of the great operating systems and the same thing can be said about a lot of computers that are running it. However, there are instances when things don’t go as you expect them to be. One of the many issues you might face when using Windows 10 is the inability to upload any pictures over the web. If you are facing this issue right now, you are not alone for a lot of users have suffered from the same problem at least once. Even though it might seem like a minor problem, some users find it inconvenient especially the ones who often upload pictures online. Worry not though for this post will guide you on what you can do if you aren’t able to upload any images to websites on your Windows 10 computer. To get started in troubleshooting the problem, here are some suggestions that might help:

Option 1 – Try to clear browser cache and try downloading again

There are times when some data in the browser is conflicting with the loading of the website and triggers some problems like not being able to upload pictures to websites. And so you can try to clear your browser’s data. This might be a very basic solution but oftentimes it works in fixing this kind of odd problem in your browser.

Option 2 – Open your browser in Incognito Mode

The next thing you can do to fix the problem is to try opening the web page in Incognito Mode. When your browser is in this mode, it will work without extensions. This would help in fixing the problem especially if it was caused by some extension or toolbar in your browser. All you have to do is open any web page in Chrome and tap the Ctrl + Shift + N key combination to open a window in Incognito Mode.

Option 3 – Try to disable and get rid of the problematic extension

The next thing you can do after trying the Incognito mode in your browser is to see if a browser extension is the one that’s causing the problem. And if you have installed a lot of browser extensions, then identifying which one is the culprit may take a while but not too long. Once you’ve identified the culprit, you can get rid of that browser extension and see if you can now upload pictures on websites.

Option 4 – Try to reset your browser

You might also want to reset your browser as it could also help in resolving the issue. To reset your browser, here’s what you have to do:

Google Chrome

  • Open Google Chrome, then tap the Alt + F keys.
  • After that, click on Settings.
  • Next, scroll down until you see the Advanced option, once you see it, click on it.
  • After clicking the Advanced option, go to the “Restore and clean up option and click on the “Restore settings to their original defaults” option to reset Google Chrome.
  • Now restart Google Chrome.

Mozilla Firefox

  • Open Mozilla Firefox and tap Ctrl + Shift + A to access the Add-ons Manager.
  • In the Extensions, menu Remove the unwanted extension.
  • Restart the browser and tap keys Alt + T.
  • Select Options and then move to the General menu.
  • Overwrite the URL in the Home Page section and then restart the browser.

Internet Explorer

  • Launch Internet Explorer.
  • Next, click the wrench icon for Settings.
  • Then click Internet Options.
  • After that, go to the Advanced tab.
  • From there, click the Reset button. This will reset Internet Explorer’s settings to their default condition.
  • Now click OK to save the changes made.
  • Restart your computer.

Option 5 – Update your browser or switch to another one

The last option you can try is to update your browser. You can do it by checking for any available updates from its official site and then install it. However, if updating the browser did not help, you might want to consider switching to another browser.
Read More
How to Repair BSOD Stop Error code 0xc000021a in Windows 10

Error code 0xc000021a - What is it?

Error code 0xc000021a occurs when the system is unable to start or there’s a failure in critical system processes. Normally, it would take about several seconds for the system to boot and while on the startup process, error code 0xc000021a may take place to block the system to boot up. Users will get a blue screen of death (BOSD) when this error occurs. When upgrading to Windows 10, be careful; you might encounter other error messages such as error code 8007002c

Solution

Restoro box imageError Causes

There are several reasons why error code 0xc000021a occurs. It is important to have a full understanding of what caused the blue screen of death before attempting to fix the error by yourself. See below for a few common causes:

Computer malware has infiltrated your device.

• Important files such as Winlogon.exe and Csrss.exe are damaged. Winlogon.exe file is responsible for handling the login and logout processes while Csrss.exe is a vital part of Microsoft Client or Server ‘Runtime Server Subsystem’. Once one of these files is damaged or deleted, a stop error will occur.

• When there are mismatched system files installed or system upgrading process failed or still incomplete.

• Premature unloading of Wbemprox.dll

• Newly installed third-party software is not compatible with the operating system.

• There are corrupted, outdated, or incorrectly configured device drivers.

• There’s insufficient space in the system partition. Once the system partition is full, certain errors such as error code 0xc000021a will manifest.

• Windows registry is corrupted or damaged due to a software or system change. This means there are registry entries that are not cleared after uninstalling an application.

Further Information and Manual Repair

In fixing error code 0xc000021a, you might want to try and manually do so. Manual repair methods can give users effective and efficient solutions, addressing the root problems in relation to Windows error codes. Once the manual repair method is correctly implemented, users will be able to resolve issues immediately. However, there might be instances when a Windows professional is needed. In such cases, seek help from a certified Windows expert or you might want to consider using an automated tool whenever necessary.

Method One: Convert the Drive or Partition from NTFS to GPT

In order to fix Error code 0xc000021a in Windows 10, you might need to convert the partition or drive from NTFS to GPT. See below for the procedure: 1. Shut down your device then put in the Windows installation USB key or DVD. 2. Boot your device to the USB key or DVD in UEFI mode. 3. Inside the Windows Setup, open a Command Prompt window by pressing Shift + F10. 4. Type diskpart in the Command Prompt window to open the diskpart tool. 5. Type list disk to identify which drive to reformat. 6. Select which drive to reformat by typing select disk in the command prompt. Afterward, type clean then hit Enter. Once done, type convert gpt to be able to convert the drive from NTFS to GPT. Finally, type exit and press Enter. You can now close the Command Prompt window. 7. Once the partition or drive is converted from NTFS to GPT, the user can now continue the Windows Setup installation. NOTE: Select Custom in choosing which installation type to use. The drive will then appear as a single area of unallocated space. Choose that unallocated space then select Next. At this point, Windows will now begin the installation.

Method Two: Fix System File Errors

There are times when system files get corrupted or damaged which will result in system failure. If this is the case, you can use a Windows free tool to repair corrupted or damaged system files. 1. Right-click on the Start button then selects Command Prompt (Admin) from the list to open a Command Prompt window. 2. Once the Command Prompt appears, type sfc /scannow then hit Enter. Wait until the process completes. If the process is completed and it doesn’t report any error or issues that remain unsolved, you might want to employ the next method.

Method Three: Reset Windows 10

Resetting Windows will delete all software and user accounts installed in the operating system and will reinstall a fresh Windows. 1. Boot your device using a Windows installation USB key or DVD. Select Repair your computer to locate the Troubleshoot option. Afterward, choose Reset this PC. NOTE: If the device is able to boot the system, you can reset Windows without using a Windows installation USB key or DVD. You just have to boot the device then navigate to Settings in the Start button. Choose Update & Recovery then select Recovery found on the left pane. Choose Reset this PC option then select Go back to an earlier build and Advanced startup. Select Get Started button found in the Reset this PC tab. 2. Depending on your device’s condition, you can either select Keep my files or Remove everything. Both options will remove all applications installed in the device and will revert to default settings. 3. Choose either Just remove my files or Remove files and clean the drive depending on the situation. If you choose the Remove files and clean the drive option, the procedure will take longer as it will erase all the files permanently. In this case, deleted files cannot be recovered. However, if you don’t want to remove files permanently, select Just remove my files. 4. Once you’ve decided how to reset your system, click on Next once the Warning screen appears. Afterward, choose Reset once prompted. When the process completed, click on Continue.

Method Four: Download an Automated Tool

Can’t seem to put up with the long and technical manual repair process? You can still fix this error by downloading and installing a powerful automated tool that will surely get the job done in a jiffy!
Read More
Device frequently disconnects from hotspot
As you know, Windows 10 comes with the option to create Mobile Hotspot for other devices. This allows you to share your Ethernet connection. However, there are times when one of your devices might fail to reconnect to the mobile hotspot again. For instance, you moved out of the Wi-Fi range because you have somewhere to be and whatnot and when you’re back you find that you are now unable to reconnect to the Windows 10 Hotspot or the shared network. Although you can always restart the mobile hotspot to resolve the problem, however, it might only be a temporary fix. So in this post, you will be given options for a much better solution to the problem. This kind of problem seems unusual and does not occur that often. To fix it, you can try to set up DNS on your Windows 10 device and then configure the settings on the mobile device. It seems that what’s happening here is that the mobile device is unable to lock on to the Mobile Hotspot when the IP address changes for some reason.

Option 1 – Try changing the DNS settings on your laptop

In this option, you need to make sure that IPv4 and IPv6 are selected on your Ethernet connection. You also have to change the Preferred DNS server as well as the Alternate DNS server to 8.8.8.8 and 8.8.4.4, respectively. You also have to validate the settings before you exit just to ensure that you’ve entered everything correctly. After that, open Command Prompt and run the ipconfig command and then take note of the IP address, Gateway DNS 1 and DNS 2.

Option 2 – Try changing the Wi-Fi settings on your mobile device

This option should be mostly the same on all your mobile devices. And given that OEMs build their customization and skin, you might have to fiddle around a little to get the settings. Refer to the steps below to change the Wi-Fi settings:
  • Go to the Settings of your mobile device and tap on Wi-Fi.
  • Then click the Mobile Hotspot connection that you’ve created on your laptop.
  • After that, input the password and tap the Advanced options.
  • From there, tap on IP settings and select the Static option instead of DHCP.
  • Now you have to enter the IP address, Gateway, DNS 1, and DNS 2 of the laptop you’ve taken note of earlier and that’s it.
Note: If you are already connected to the Mobile Hotspot, long press on the Wi-Fi network and select the Modify Network option and then follow the steps given above to change from DHCP to static. Once you’re done, your mobile device should now be able to connect to the Windows 10 Mobile Hotspot all the time.
Read More
How to Install SafeBytes Anti-Malware Software When Malware Blocks or Prevents the Process
All malware is detrimental and the magnitude of the damage will vary greatly depending on the type of infection. Some malware variants modify internet browser settings by adding a proxy server or modify the PC's DNS settings. When this happens, you'll be unable to visit certain or all the sites, and therefore not able to download or install the required security software to clear out the computer malware. If you’re reading this article, chances are, you’re stuck with a virus infection that is preventing you from downloading and/or installing the Safebytes Anti-Malware program on your computer. Refer to the instructions below to remove malware through alternate methods.

Method 1: Install Anti-Malware in Safe Mode with Networking

If the malware is set to load automatically when Microsoft Windows starts, entering safe mode may block the attempt. Since only the minimal applications and services start-up in safe mode, there are rarely any reasons for conflicts to happen. You will need to do the following to remove malware in Safe mode.
  • 1) Tap the F8 key continuously as soon as your computer boots, however, before the large Windows logo or black screen with white texts come up. This would invoke the Advanced Boot Options menu.
  • 2) Choose Safe Mode with Networking using arrow keys and press Enter.
  • 3) When you are into this mode, you will have access to the internet once again. Now, utilize your web browser normally and download Safebytes Anti-Malware.
  • 4) After installation, do a complete scan and allow the software to get rid of the threats it detects.

Method 2: Utilize An Alternate Internet Browser to Download Anti-Malware Software

Malicious program code may exploit vulnerabilities in a specific web browser and block access to all antivirus software sites. If you suspect that your Internet Explorer has been hijacked by computer malware or otherwise compromised by cybercriminals, the most effective plan of action is to switch to an alternate web browser such as Chrome, Firefox, or Safari to download your chosen security program - Safebytes Anti-Malware.

Download SafeBytes Anti-Malware for Malware Removal

Method 3: Install and Run Anti-Malware From a USB Drive

To effectively remove the malware, you might want to approach the problem of installing an antivirus software program on the affected computer from a different angle. Adopt these measures to employ a flash drive to fix your infected computer.
  • 1) Use another malware-free PC to download Safebytes Anti-Malware.
  • 2) Plug the thumb drive into the uninfected computer.
  • 3) Double click on the executable file to open the installation wizard.
  • 4) Choose the drive letter of the USB drive as the place when the wizard asks you exactly where you would like to install the anti-virus. Follow activation instructions.
  • 5) Now, transfer the thumb drive to the infected computer.
  • 6) Double-click the antivirus program EXE file on the USB flash drive.
  • 7) Click on the “Scan Now” button to start the malware scan.
If no other method of downloading and installing the antivirus software works, then you've no other option than to hit the last resort: a full Windows reinstallation, the only approach known to have a 100% rate of success at virus removal.
Read More
1 2 3 162
Logo
Copyright © 2022, ErrorTools. All Rights Reserved
Trademarks: Microsoft Windows logos are registered trademarks of Microsoft. Disclaimer: ErrorTools.com is not affiliated with Microsoft, nor claim direct affiliation.
The information on this page is provided for information purposes only.
DMCA.com Protection Status