If you are frequently experiencing slow loading of folders in your Windows 10 computer, Downloads folder for instance, then you’ve come to the right place as this post will help you resolve such issue. Slow loading of folders is a common problem faced by many users even when they are using the latest hardware like SSDs. So if you experience the same thing, be it with the Downloads folder or other folders on your computer, there is a way to resolve that issue and make the folder load faster.
Slow-loading means when you attempt to open the folder, it takes a couple of seconds before it displays its contents. In such cases, you’ll see a green loading address bar that says “Working on it” which can get quite annoying especially if you are in a hurry. And if you notice that this only happens in the Downloads folder, there certainly is something wrong. This kind of problem can occur on SSDs and normal hard drives. The main reason behind the occurrence of this problem is that the folder may have been optimized for viewing photos or other media formats which is why it takes quite longer than usual to load all the files and their thumbnails. However, since the Downloads folder usually contains all kinds of files like documents, zip files, audio/video files, etc. there is no need to optimize this folder for media files only because doing so is only going to make the Windows File Explorer slow in loading the folder’s contents and thumbnails which does not exist for many files.
Note: Once you’ve completed the steps above, it should now make the folder content display a lot faster than before. Now try to open the Downloads folder which would not take much time as you will see the changes right away.
When it comes to some issues concerning the hard drive or removable devices, there is a utility in Windows that might help which is called “chkdsk”. This error check utility can help with several issues in the system including File System Error -2147219196.
chkdsk /r /f

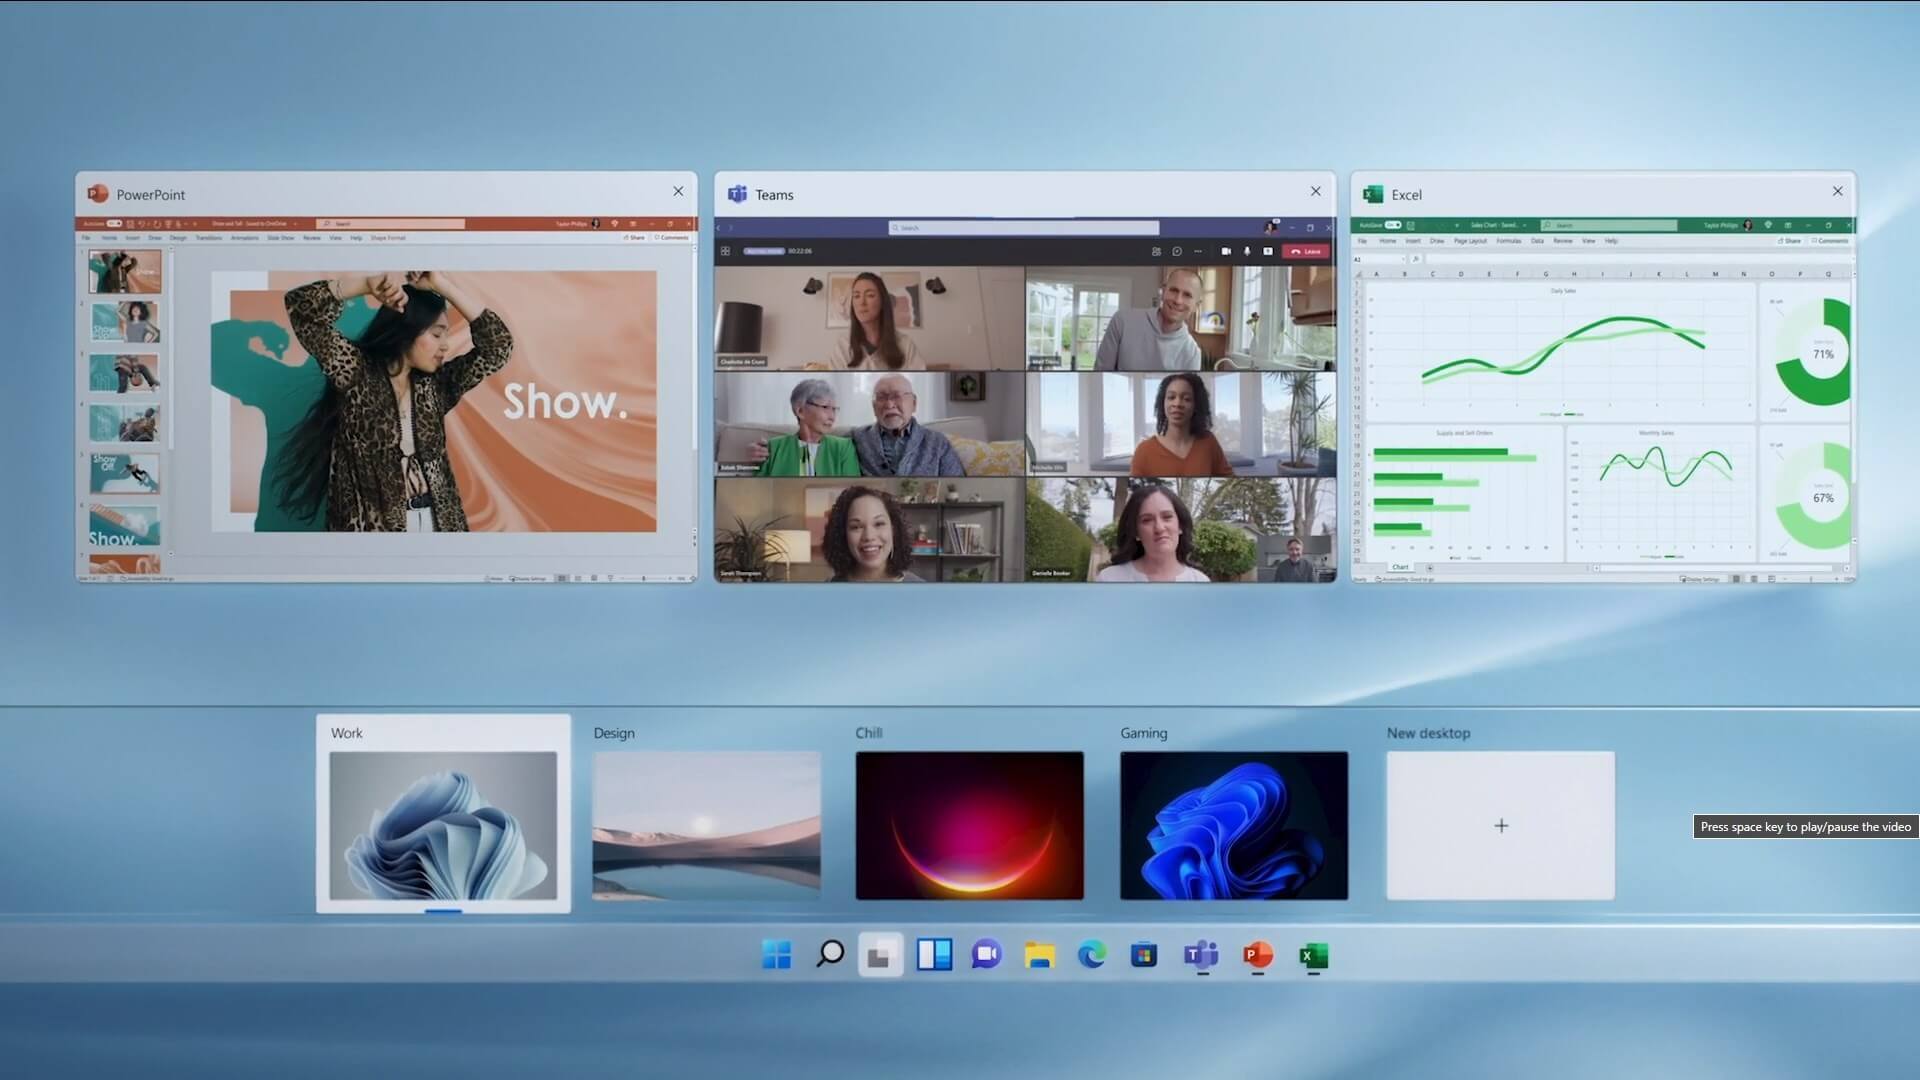 The feature that was originally planned for now scrapped Windows 10X is included in Windows 11. You will be able to customize your Virtual desktop with different wallpapers for each screen.
In order to fully customize your virtual desktops with different wallpapers follow this easy step-by-step guide.
The feature that was originally planned for now scrapped Windows 10X is included in Windows 11. You will be able to customize your Virtual desktop with different wallpapers for each screen.
In order to fully customize your virtual desktops with different wallpapers follow this easy step-by-step guide.
Customers will most likely encounter the “We couldn’t update system reserved partition” error when upgrading to Windows 10 from Windows 7 or Windows 8.1. This error may also come with error code 0xc1900104 or error code 0x800f0922.
 Error Cause
“We couldn’t update system reserved partition” Windows 10 upgrade error is normally caused by too little space on the System Reserved Partition (SRP). The System Reserve Partition is an additional small partition created by Windows, which stores boot files. The SRP can be filled up with security apps and third-party anti-virus. Once this partition has insufficient space, the system will not be able to upgrade to Windows 10.
Caution: The following steps are complex and need to be done by experienced users especially using the command line. Once an error is made in entering commands, there’s a chance that your device can be put in a no-boot situation, or data stored on the device can possibly get lost.
To upgrade to Windows 10, your device needs to have at least 15MB free space on the System Reserved Partition. Follow the procedure below and then try upgrading again.
NOTE: While in Admin mode, some apps like OneNote will not run.
Doing this method will make a permanent, but small increase in the free space of the device’s SRP.
a. Open the Run window by pressing the Windows key + R. Type diskmgmt.msc then hit Enter. b. Select System Reserve partition then right-click on it.
c. Choose Change Drive Letter and Paths then select Add.
d. Type Y for the drive letter then click OK.
e. Click on the Start button and search for cmd. In the results, right-click on Command Prompt then choose Run as administrator. The command prompt window will appear.
f. Type Y: at the command prompt then press Enter.
g. Once you’ve switched to drive Y, type takeown /d y /r /f . then hit Enter.
NOTE: Ensure that the space and period after “f” is included in order for the command to work properlyh. Type icacls Y:* /save %systemdrive%NTFSp.txt /c /t then hit Enter to back up the permission to the drive.
NOTE: Ensure that all files are marked as successful and that no files are marked as failed.
i. Type whoami then hit Enter. Record the username that appears. Afterwards, type icacls . /grant <username you got from whoami>:F /t then press Enter.
NOTE: Ensure that there’s no space between the username and “:F” or the command will not work.j. In the File Explorer, open the SRP drive and select the Boot folder. Choose the language folders you want to permanently delete. Language folders are named with four letters split with a hyphen. For example: de-DE is the German language while en-US is the U.S. English language.
2. Truncate the NTFS Log:
a. Open the Command Prompt then type chkdsk /L Y: to check the size of the NTFS Log. If the NTFS Log size is less than 5000KB, you need not truncate the file.
b. Type chkdsk /L:5000 /X /F then hit Enter to truncate the NTFS Log.
c. Return to Disk Management window. Select Action menu then select Check if the device’s SRP now has a larger amount of free space. Once there’s enough space, right click the System Reserve Partition then select Change Drive Letter and Paths. Choose Y: then select Remove.
3. If there’s still not enough available space after truncating the NTFS Log, resize the USN journal:
a. Open the command prompt then type fsutil usn queryjournal Y: to display the size in hex value. Convert the hex value to decimal then divide it by 1048576. The result you will get will be in MB. If the journal size is 30MB or more, proceed with truncating the file.
NOTE: To convert the Hex value to Decimal, open the Calculator app in Windows then choose View menu. Select Programmer then choose Hex. Type the Hex value then choose Dec.
b. Type fsutil usn deletejournal /D /N Y: then hit Enter to delete the journal. Type fsutil usn createjournal m=1500 a=1 Y: to recreate the journal having the new log size value.
a. Type icacls Y: /restore %systemdrive%NTFSp.txt /c /t in the Command Prompt. Check if the files were successfully processed before proceeding. If you see a message saying some files failed while processing, this is normal since some of the files have already been deleted before performing a backup. However, if there are no successful files indicated, the command was not properly executed.
b. Type icacls . /grant system:f /t then hit Enter to adjust the ACL back to System. Now, you can set the owner of the drive by typing icacls Y: /setowner “SYSTEM” /t /c then press Enter.
c. Check if the device’s SRP now has enough free space by going back to Disk Management and refreshing the data. If the SRP already has sufficient space, you can now remove the drive letter. Right-click on the System Reserved Partition then choose Change Drive Letter and Paths. Select the Y: drive then choose Confirm deleting the drive letter by clicking OK.
This method makes a larger, but temporary, increase in the SRP free space.
1. Be sure you have an external drive having at least 250 MB free space and formatted as NFTS.2. Open Run by pressing the Windows key + R. Type mscthen to choose the Recovery Partition. Right-click on it then choose Change Drive Letter and Paths.
3. Select Add then type Y for the drive letter, click
4. Click on the Start screen then type cmd in the search bar. In the results, right-click on Command Prompt then choose Run as administrator. The command prompt window will appear.
5. Switch to another drive by typing Y: in the command prompt. Once you’re in the drive Y, type takeown /d y /r /f .
NOTE: Ensure that space and period after “f” are included in order for the command to work properly.
HKEY_LOCAL_MACHINESYSTEMCurrentControlSetEnumHIDStep 8: From this folder, you have to start matching the values in the first part of the value you’ve taken note of. Step 9: Open the folder which has the same value and repeat this for the second part of the value. Step 10: Afterwards, click on the Device Parameters and look for a property named “FlipFlopWheel” and invert its value from 0 to 1 or 1 to 0 to reverse the scrolling direction. And then restart your PC to apply the changes made. After you restart your PC, you should see the changes in the scrolling direction of your mouse. Note that you can change the value back to its original value or just use the registry backup to undo the changes you’ve made.
 Netflix was one that made streaming service standard and even after some stumbles even today it is still a respected service.
So in that spirit, we are bringing you the list of all new and old movies and TV series releasing to NETFLIX this September.
Netflix was one that made streaming service standard and even after some stumbles even today it is still a respected service.
So in that spirit, we are bringing you the list of all new and old movies and TV series releasing to NETFLIX this September.
“Not enough USB controller resources. The controller does not have enough resources for this device.”To fix this error, here are some guidelines you can check out. Make sure to follow them carefully.
Error CausesError code 0xc000021a occurs when the system is unable to start or there’s a failure in critical system processes. Normally, it would take about several seconds for the system to boot and while on the startup process, error code 0xc000021a may take place to block the system to boot up. Users will get a blue screen of death (BOSD) when this error occurs. When upgrading to Windows 10, be careful; you might encounter other error messages such as error code 8007002c.
Error CausesThere are several reasons why error code 0xc000021a occurs. It is important to have a full understanding of what caused the blue screen of death before attempting to fix the error by yourself. See below for a few common causes:
• Computer malware has infiltrated your device.
• Important files such as Winlogon.exe and Csrss.exe are damaged. Winlogon.exe file is responsible for handling the login and logout processes while Csrss.exe is a vital part of Microsoft Client or Server ‘Runtime Server Subsystem’. Once one of these files is damaged or deleted, a stop error will occur.
• When there are mismatched system files installed or system upgrading process failed or still incomplete.
• Premature unloading of Wbemprox.dll
• Newly installed third-party software is not compatible with the operating system.
• There are corrupted, outdated, or incorrectly configured device drivers.
• There’s insufficient space in the system partition. Once the system partition is full, certain errors such as error code 0xc000021a will manifest.
• Windows registry is corrupted or damaged due to a software or system change. This means there are registry entries that are not cleared after uninstalling an application.
In fixing error code 0xc000021a, you might want to try and manually do so. Manual repair methods can give users effective and efficient solutions, addressing the root problems in relation to Windows error codes. Once the manual repair method is correctly implemented, users will be able to resolve issues immediately. However, there might be instances when a Windows professional is needed. In such cases, seek help from a certified Windows expert or you might want to consider using an automated tool whenever necessary.