
Causes of the error:
- The license on the License Server is invalid.
- The port for Autodesk Network License Manager is blocked.
- The client computer is configured with incorrect license server information.
- The license request is timing out on the client's computer before the license is obtained.
Solutions for the error:
Verify that the Autodesk License Server is setup with the correct license file.
To set up a license server for Windows, perform the following:
- Download and install the Network License Manager for Windows:
- Open LMTools and access the System Settings tab. Make a note of the "hostname" and "ethernet address" of the license server.
- Generate a Network License File in Autodesk Account.
- On the Service/License tab, select Configuration Using Services and LMTOOLS ignores license file path environment variables.
- On the Config Services tab, enter a name for the new service in the Service Name field.
- Fill the following fields, using the Browse buttons:
- Path to the lmgrd.exe - Navigate to this file: C:\Autodesk\Network License Manager.
- Path to the License file - Navigate to the new Autodesk.lic file, typically placed in: C:\Autodesk\Network License Manager\Licenses.
- Path to the Debug Log file: C:\Autodesk\Network License Manager.
- If no file is present, create a TXT file in Notepad and rename it “Debug.log.”
- Make sure the "Start Server at Power Up" and the "Use Services" boxes are checked. Then click Save Services.
- On the Start/Stop/Reread tab, click Start Server.
- On the Server Status tab, click Perform Status Enquiry.
- Licenses should display as active.
How to set up the Autodesk Network License Manager on a Mac.
Note: The Autodesk License Server Manager (version 11.16.2.0) is supported only on the following Mac operating systems:
- Apple macOS High Sierra 10.13
- Apple macOS Sierra 10.12
- Apple Mac OS X El Capitan 10.11
- Download Autodesk Network License Manager version 11.16.2.0 for Mac
- Download the nlm11.16.2.0_ipv4_ipv6_mac_universal.tar.gz file to the Desktop.
- To install the Autodesk Network License Manager:
- Double click on nlm11.16.2.0_ipv4_ipv6_mac_universal.tar.gz to unpack the installer package.
- After unpacking nlm11.16.2.0_ipv4_ipv6_mac_universal.pkg, will be /Downloads/adlm/FLEXnet folder.
- Double click on nlm11.16.2.0_ipv4_ipv6_mac_universal.pkg to start installation and follow the installation wizard.
- The license server will be installed in /usr/local/flexnetserver/ directory.
- Change permissions for /usr/local/flexnetserver/ directory to 777
- Open Terminal (located in /Applications/Utilities/Terminal) and enter the following command:
sudo chmod -R 777 /usr/local/flexnetserver
- Note: Administrator password may be asked. While typing no characters are shown, just type out the password and hit return key.
- Note: To start the license server only with elevated permissions (using sudo command), change permissions to 755 instead of 777.
- Create /usr/local/flexnetserver/licenses directory for network license file location
sudo mkdir /usr/local/flexnetserver/licenses
- Find the license server Host Name and Host ID.
- Generate the Network License File in the Autodesk Account
- Once the license file is generated, make sure it has a .lic extension (e.g. adsk_license.lic) and is in a plain text format and place it in /usr/local/flexnetserver/licenses directory
Note: In this article we will refer to adsk_license.lic as network license file name. Feel free to change the actual name of the license file, but make sure to reflect the new name when using the commands below.
- Create a debug.log file in the /usr/local/flexnetserver/ directory using the following command:
touch debug.log
- To start the Network License Server use the following command:
/usr/local/flexnetserver/lmgrd -c /usr/local/flexnetserver/licenses/adsk_license.lic -l /usr/local/flexnetserver/debug.log
Note: If folder permissions for /usr/local/flexnetserver/ are set to 775, then use sudo command to start the server. For example:
sudo /usr/local/flexnetserver/lmgrd -c /usr/local/flexnetserver/licenses/adsk_license.lic -l /usr/local/flexnetserver/debug.log
- To obtain license server status enquiry:
/usr/local/flexnetserver/lmutil lmstat -a -c /usr/local/flexnetserver/licenses/adsk_license.lic
- To stop the license server:
/usr/local/flexnetserver/lmutil lmdown -q -force
- Alternatively, run ps command to obtain process ids for lmgrd and adskflex and then kill those processes:
ps -ax | grep lmgrd
ps -ax | grep adskflex
kill -9
- (provide process ids obtained by previous commands individually)
How to set up the Autodesk Network License Manager on Linux.
Note: The Autodesk License Manager (11.16.2.0) is supported only on the following Linux distros:
- Red Hat® Enterprise Linux® 7
- Red Hat Enterprise Linux 6
- SUSE Linux Enterprise 12
- SUSE Linux Enterprise 11
To configure the license manager use the following steps:
- Download Autodesk Network License Manager v. 11.16.2 for Linux from this link
- Download the nlm11.16.2.0_ipv4_ipv6_linux64.tar.gz file to your desktop.
- To install the Autodesk Network License Manager run following command as root.
- tar –zxvf nlm11.16.2.0_ipv4_ipv6_linux64.tar.gz
- rpm -vhi nlm11.16.2.0_ipv4_ipv6_linux64.rpm
- The license server will be installed in /opt/flexnetserver/ directory.
- Find the license server Host Name and Host ID
- To obtain the license server system hostid run the following command
/opt/flexnetserver/lmutil lmhostid
From the command output note the hostid in quotes, if the system has two active NIC cards, select the first MAC address.
lmutil - Copyright (c) 1989-2018 Flexera. All Rights Reserved.
The FlexNet host ID of this machine is "000c297949e0"
- To obtain the license server system hostname run the following command
/opt/flexnetserver/lmutil lmhostid hostname
From the command output note the hostname of the license server.
mutil - Copyright (c) 1989-2018 Flexera. All Rights Reserved.
The FlexNet host ID of this machine is "HOSTNAME=Centos7.localdomain"
- Generate your Network License File in Autodesk Account
- Once the license file is generated, make sure it has .lic extension (e.g. adsk_license.lic) and place it in /opt/flexnetserver/licenses directory. If the directory doesn't exits, create it with this command: sudo mkdir /opt/flexnetserver/licenses
Note: in this article we will refer by adsk_license.lic your network license file name.
- To start the Network License Server
- /opt/flexnetserver/lmgrd -c /opt/flexnetserver/licenses/adsk_license.lic -l /opt/flexnetserver/server_log.log
- To obtain license server status enquiry
- /opt/flexnetserver/lmutil lmstat -a -c /opt/flexnetserver/licenses/adsk_license.lic
- To stop your license server service
- /opt/flexnetserver/lmutil lmdown -q -force
- alternatively you can also run ps command to obtain process ids for lmgrd and adskflex and then kill those processes
- ps -aw | grep lmgrd
- ps -aw | grep adskflex
- kill -9 (provide process ids obtained by previous commands individually)
- To start the license server automatically after the system reboot
- Open /etc/rc.d/rc.local script as root and enter license server start up command in it.
touch /var/lock/subsys/local
/opt/flexnetserver/lmgrd -c /opt/flexnetserver/licenses/adsk_license.lic -l /opt/flexnetserver/server_log.logNote: To ensure that the script will be executed during boot, run following command as root.
chmod +x /etc/rc.d/rc.local
- Make sure that all necessary ports are open:
- lmgrd.exe needs ports 27000 to 27009.
- adskflex.exe needs port 2080.
Note: Errors may occur if the network license file is corrupt or in the case of a combined network license it has incorrectly combined licenses. To learn more about combining licenses, see Combining License Files for Multiple Autodesk Products. Use the License File Parser to verify that the license contains the appropriate products and FLEXnet feature codes and does not display an error
Verify that TCP ports (2080, 27000-27009) used by Autodesk Network License Manager are not blocked by Firewall.
The FLEXlm® based version uses the following incoming ports:- TCP ports 2080 (for the adskflex vendor daemon)
- TCP ports 27000 to 27009 (for the lmgrd master daemon, which uses the first open port in the range)
Verify that the client computer is configured with the correct license server name or IP.
Windows:
Clear license server information from the system registry.
- Type regedit in the Windows Search box and hit Enter key.
- Select the following registry key
- [HKEY_CURRENT_USER\SOFTWARE\FLEXlm License Manager]
- As the key is selected, in right panel ADSKFLEX_LICENSE_FILE will be visible.
- Right click on the key and delete it.
Specify the license server in ADSKFLEX_LICENSE_FILE system variable
- Go to Start > Control Panel > System and Security > System.
- Select Advanced system settings.
- On the System Properties dialog, click Environment Variables.
- Under System Variables, click New.
- Enter ADSKFLEX_LICENSE_FILE for the variable name and 2080@SERVER_NAME _OR _IP for the variable value.
Note: the license server information most often is recorded in LICPATH.lic file and can be verified there too. ADSKFLEX_LICENSE_FILE system variable supersedes LICPATH.lic. Thus, setting the system variable is preferable when this error is seen.
If the license server is on a VPN or a remote network set the FLEXLM_TIMEOUT environment variable:
- Go to Start > Control Panel > System and Security > System.
- Select Advanced system settings.
- On the System Properties dialog, click Environment Variables.
- Under System Variables, click New.
- Enter FLEXLM_TIMEOUT for the variable name and 5000000 for the variable value.
- Click OK to save the setting.
Note: if needed the variable value can be increased to 10000000.
Mac/Linux:
Specify the Autodesk Network License server information in $HOME/.flexlmrc file.
Use a text editor to create a flexlmrc.txt file and save it in Plain text format (In TextEdit on Mac: Format - Make Plain Text) on desktop.
The file content should look like this, except with the name or IP address of the license server.
- ADSKFLEX_LICENSE_FILE=@SERVER_NAME _OR _IP
If the license server is on the same machine as the Autodesk software, use localhost as the license server name. Thus, the content of flexlmrc file could look like this:
- ADSKFLEX_LICENSE_FILE=@localhost
Once flexlmrc file is created move it to user's $HOME folder as follows:
- Open a Terminal window
- Type open ~ (Mac) or nautilus ~ (Linux) to open $HOME folder
- Drag and drop flexlmrc.txt file from Desktop to the home folder.
- To make the file a configuration file, rename it to .flexlmrc (please note . [DOT] in front of the file name) by running the following command:
- mv flexlmrc.txt .flexlmrc (Mac)
- mv flexlmrc .flexlmrc (Linux)
Verify that the license server information registered with the product is correct (versions 2020 and later only)
In versions 2020 and later, the license server information is registered with the AdskLicensing service running locally on the workstation. When changing to a new license server, the old server information may still be registered with AdskLicensing and result in the error above, if this is not appropriately updated. See the below steps to solve this:- Click the Start menu and type cmd.
- Right-click on the Command prompt and choose "Run As Administrator."
- In the Command prompt, run the following command, followed by ENTER:
"C:\Program Files (x86)\Common Files\Autodesk Shared\AdskLicensing\Current\helper\AdskLicensingInstHelper.exe" change -pk PRODKEY -pv VER.0.0.F -lm "" -ls "" -lt""
Note:
- Replace PRODKEY with the product key correspondent to your product(s). See Look Up Product Keys for the full list.
- Replace VER with the version you are using. E.g. 2020 for AutoCAD 2020.
- Repeat this step for each software you need to reset.
- Open Registry Editor (Start > type regedit > ENTER).
- Navigate to HKEY_CURRENT_USER\Software\FLEXlm License Manager.
- On the right-side, verify of the ADSKFLEX_LICENSE_FILE key exists. If yes, remove it (right-click > Delete).
- Run the software again.
- Select Multi-user in the Let's Get Started screen.
- Follow the steps to connect to your license server.

 This is the second large game company acquisition by Microsoft, Acquiring Bethesda first and a big hit to Sony since Xbox will now have more games in its catalog and as exclusives.
Of course, the sale has to go through the standard closing conditions and completion of regulatory review and Activision Blizzard’s shareholder approval before it’s finalized. Assuming that all goes well, the deal is slated to be completed during the fiscal year 2023, which is July 1, 2022, through June 30, 2023.
This is the second large game company acquisition by Microsoft, Acquiring Bethesda first and a big hit to Sony since Xbox will now have more games in its catalog and as exclusives.
Of course, the sale has to go through the standard closing conditions and completion of regulatory review and Activision Blizzard’s shareholder approval before it’s finalized. Assuming that all goes well, the deal is slated to be completed during the fiscal year 2023, which is July 1, 2022, through June 30, 2023. 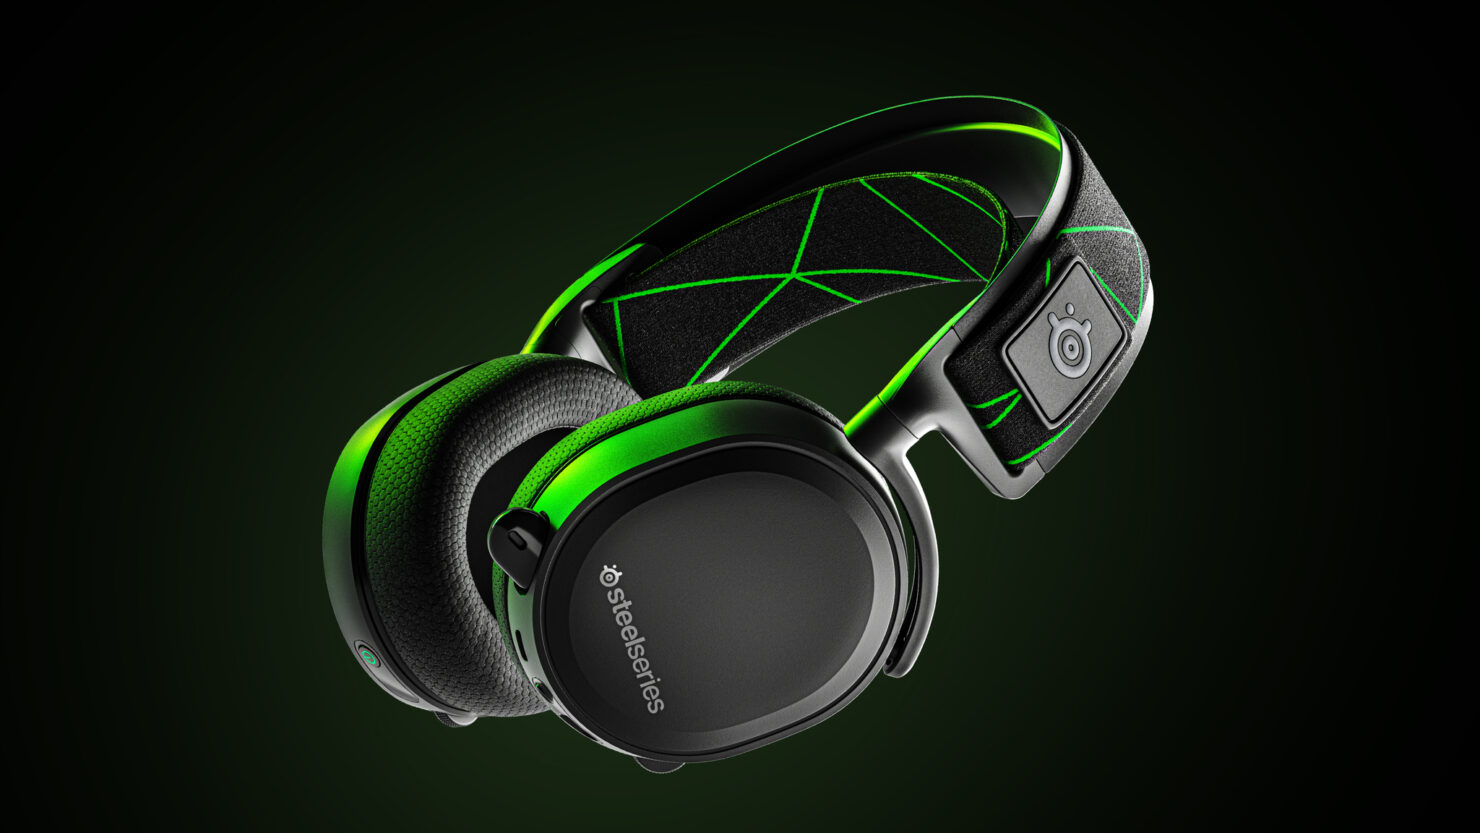 The best gaming headset overall for PC, PS5, PS4, Xbox Series X/S, Xbox One, Switch, Android
The SteelSeries Arctis 7P/7X is the best gaming headset overall, offering great sound, consistent wireless performance, and a comfy, attractive design at a reasonable price. The headset’s 2.4-GHz wireless connectivity keeps you glued to your game without any lag or interference. Even better: Thanks to its USB-C dongle and USB-A adapter, you can enjoy wireless performance with any system, from a PS5 to a Nintendo Switch in handheld mode, to an Android phone.
The best gaming headset overall for PC, PS5, PS4, Xbox Series X/S, Xbox One, Switch, Android
The SteelSeries Arctis 7P/7X is the best gaming headset overall, offering great sound, consistent wireless performance, and a comfy, attractive design at a reasonable price. The headset’s 2.4-GHz wireless connectivity keeps you glued to your game without any lag or interference. Even better: Thanks to its USB-C dongle and USB-A adapter, you can enjoy wireless performance with any system, from a PS5 to a Nintendo Switch in handheld mode, to an Android phone.
 Razer's best headset yet for PC, PS5, PS4, Switch, Xbox One
The Razer Blackshark V2 is probably the best headset that Razer has ever made. This mid-range wired headset provides fantastic sound for both games and music, particularly thanks to its innovative THX profiles. The famous film audio company has lent its expertise to make the Blackshark V2's surround sound realistic and nuanced, especially for a handful of games like Apex Legends and Sekiro: Shadows Die Twice, which have their own optimized profiles.
Razer's best headset yet for PC, PS5, PS4, Switch, Xbox One
The Razer Blackshark V2 is probably the best headset that Razer has ever made. This mid-range wired headset provides fantastic sound for both games and music, particularly thanks to its innovative THX profiles. The famous film audio company has lent its expertise to make the Blackshark V2's surround sound realistic and nuanced, especially for a handful of games like Apex Legends and Sekiro: Shadows Die Twice, which have their own optimized profiles.
 Built for tournament play for PC, PS5, PS4, Xbox One, Switch
The Logitech G Pro X delivers tournament-grade performance for a reasonable price. The headset's distinguished black design sets itself apart from the competition, in no small part thanks to its flexible headband and supremely comfortable foam and leatherette earcup options. The Go Pro X delivers rich, direction-accurate sound out of the box whether you're playing on PC or console. It's also the first gaming headset to sport a built-in Blue microphone, allowing for extra-crisp voice chat whether you're practicing with your Apex Legends squad or streaming to your online fans
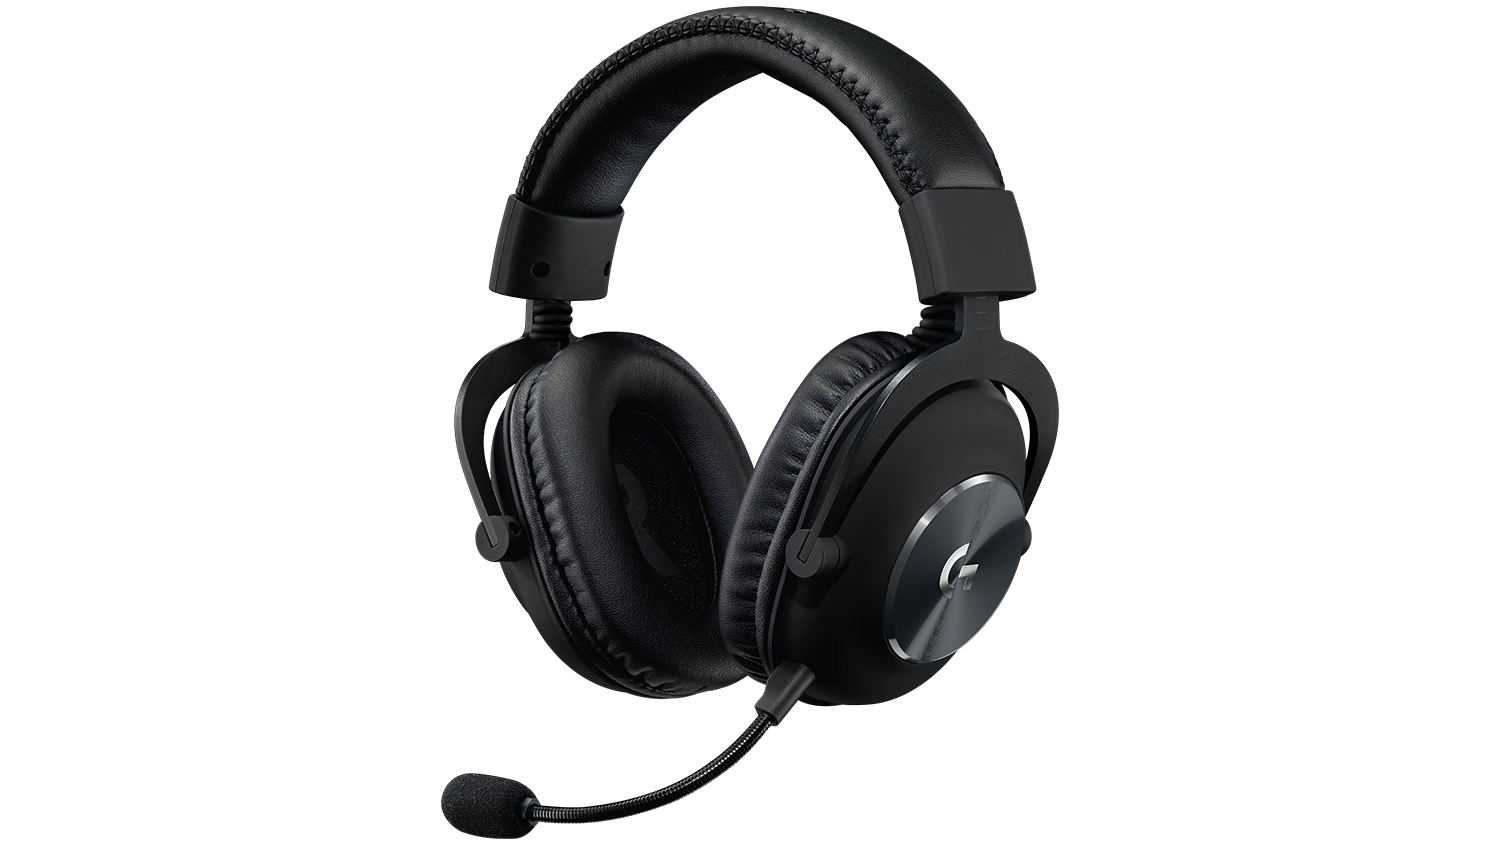
Built for tournament play for PC, PS5, PS4, Xbox One, Switch
The Logitech G Pro X delivers tournament-grade performance for a reasonable price. The headset's distinguished black design sets itself apart from the competition, in no small part thanks to its flexible headband and supremely comfortable foam and leatherette earcup options. The Go Pro X delivers rich, direction-accurate sound out of the box whether you're playing on PC or console. It's also the first gaming headset to sport a built-in Blue microphone, allowing for extra-crisp voice chat whether you're practicing with your Apex Legends squad or streaming to your online fans
 Audiophile sound for gamers made for PS4, PC (with GameDAC), Xbox One, Switch, mobile (analog)
SteelSeries’ Arctis Pro + GameDAC brings audiophile-grade features to the already excellent Arctis design. This headset includes a DAC (digital-to-analog converter), which allows it to deliver high-resolution 96-kHz/24-bit audio. The GameDAC also allows for a wealth of customization options, whether you want to fine-tune sound via an equalizer or customize the headset’s subtle RGB lighting.
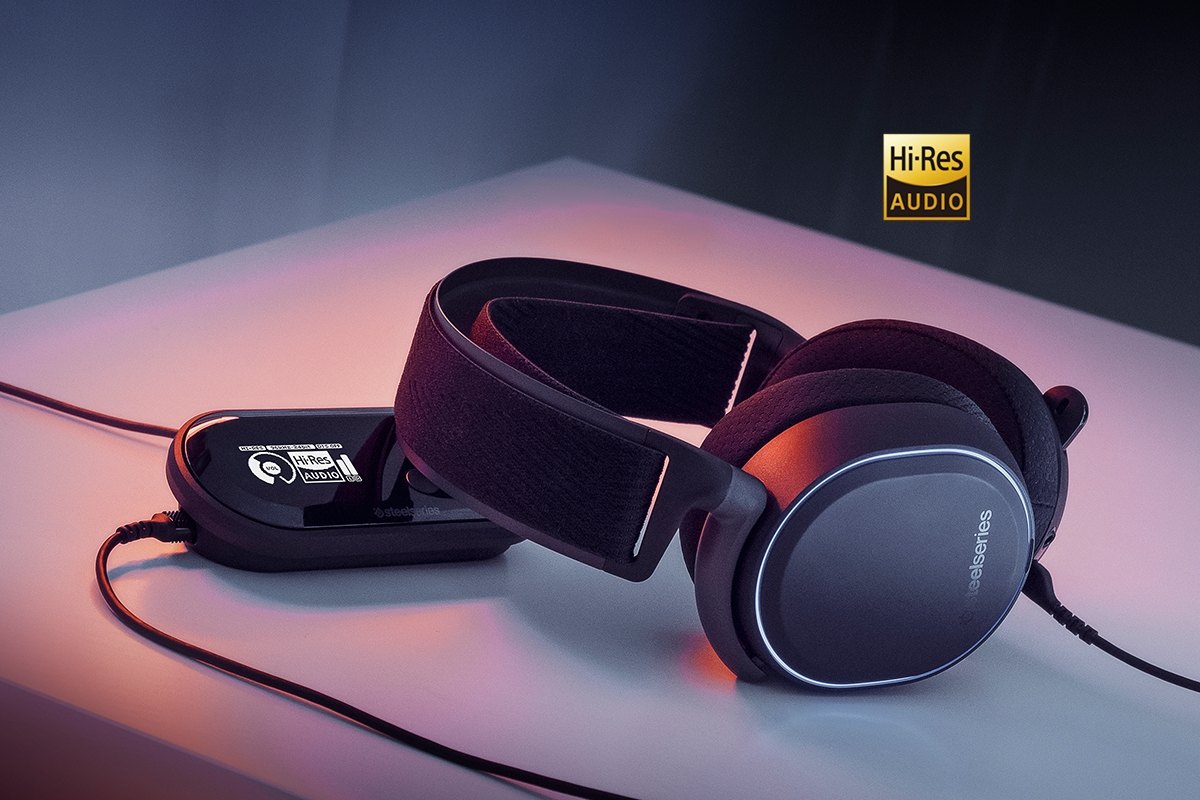
Audiophile sound for gamers made for PS4, PC (with GameDAC), Xbox One, Switch, mobile (analog)
SteelSeries’ Arctis Pro + GameDAC brings audiophile-grade features to the already excellent Arctis design. This headset includes a DAC (digital-to-analog converter), which allows it to deliver high-resolution 96-kHz/24-bit audio. The GameDAC also allows for a wealth of customization options, whether you want to fine-tune sound via an equalizer or customize the headset’s subtle RGB lighting.
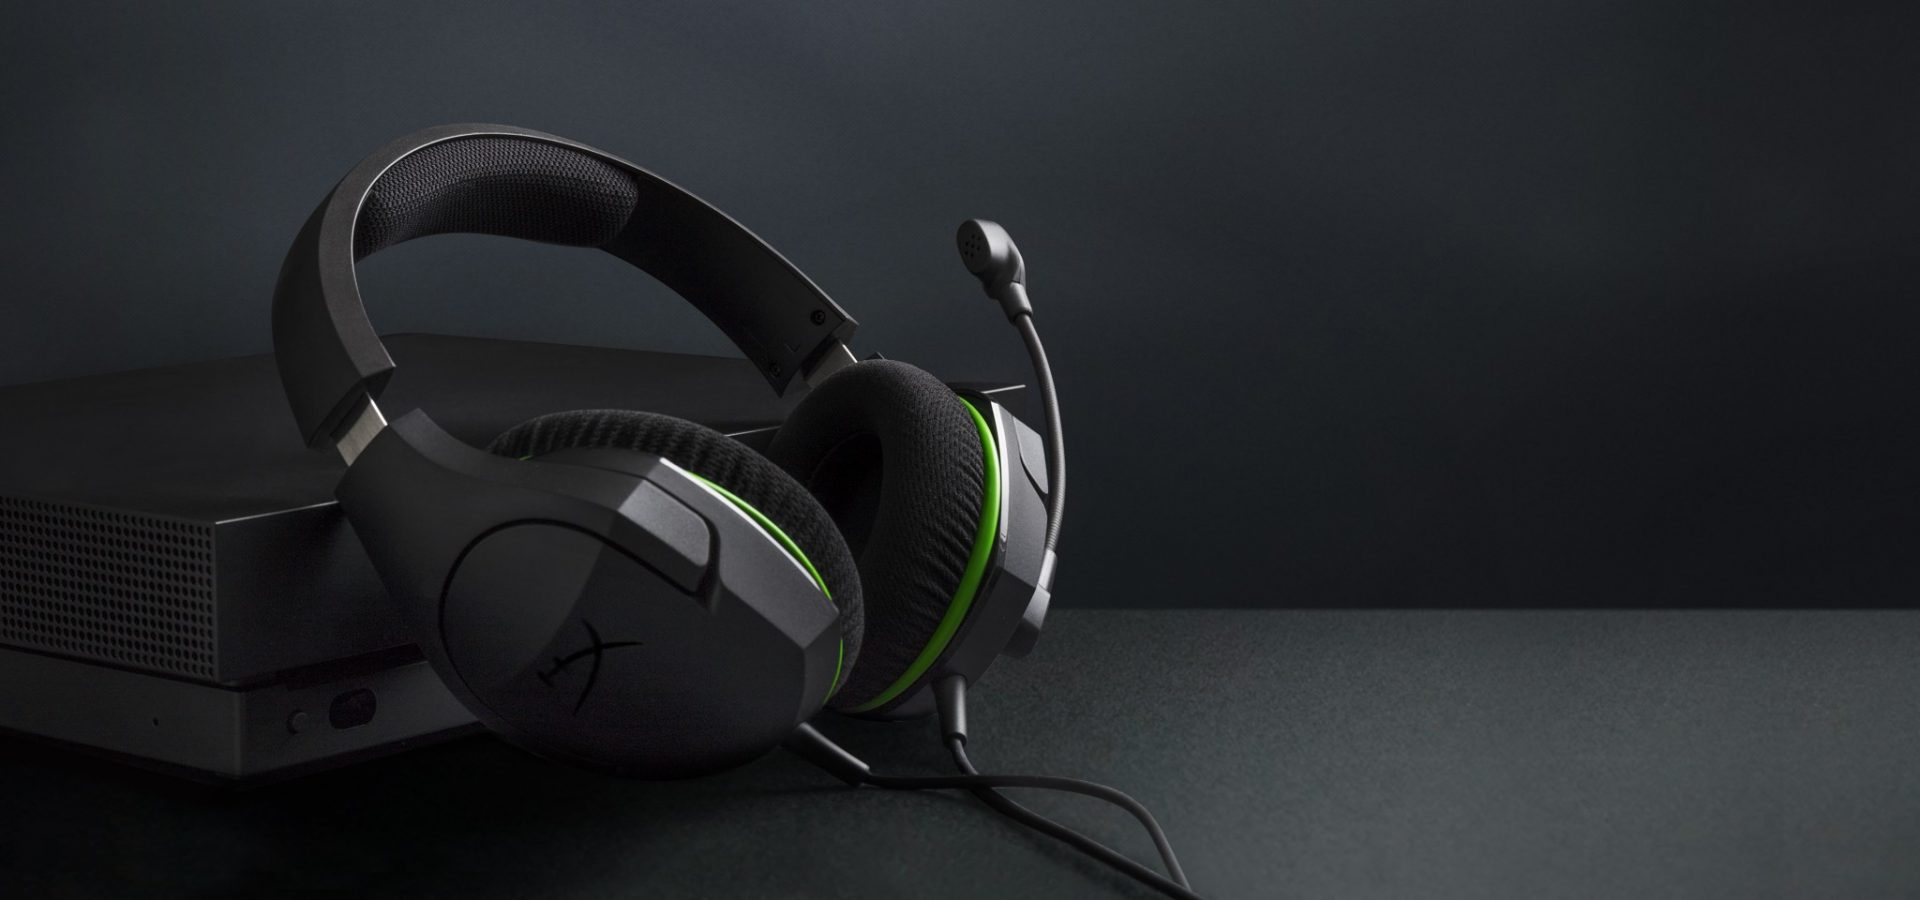 Big sound on a budget for PS, PS5, PS4, Xbox Series X/S, Xbox One, Switch, mobile
The Stinger’s sturdy, feather-light frame and soft, faux-leather earcups make for one of the best gaming headsets on a budget, and its handy on-ear controls and solid microphone certainly don’t hurt either. Finding a comfortable fit is arguably the most important thing you can look for in a gaming headset, and the Cloud Stinger doesn’t disappoint on that front. The Stinger also offers very solid audio quality for the price, though things can get a bit blown out at max volume
Big sound on a budget for PS, PS5, PS4, Xbox Series X/S, Xbox One, Switch, mobile
The Stinger’s sturdy, feather-light frame and soft, faux-leather earcups make for one of the best gaming headsets on a budget, and its handy on-ear controls and solid microphone certainly don’t hurt either. Finding a comfortable fit is arguably the most important thing you can look for in a gaming headset, and the Cloud Stinger doesn’t disappoint on that front. The Stinger also offers very solid audio quality for the price, though things can get a bit blown out at max volume
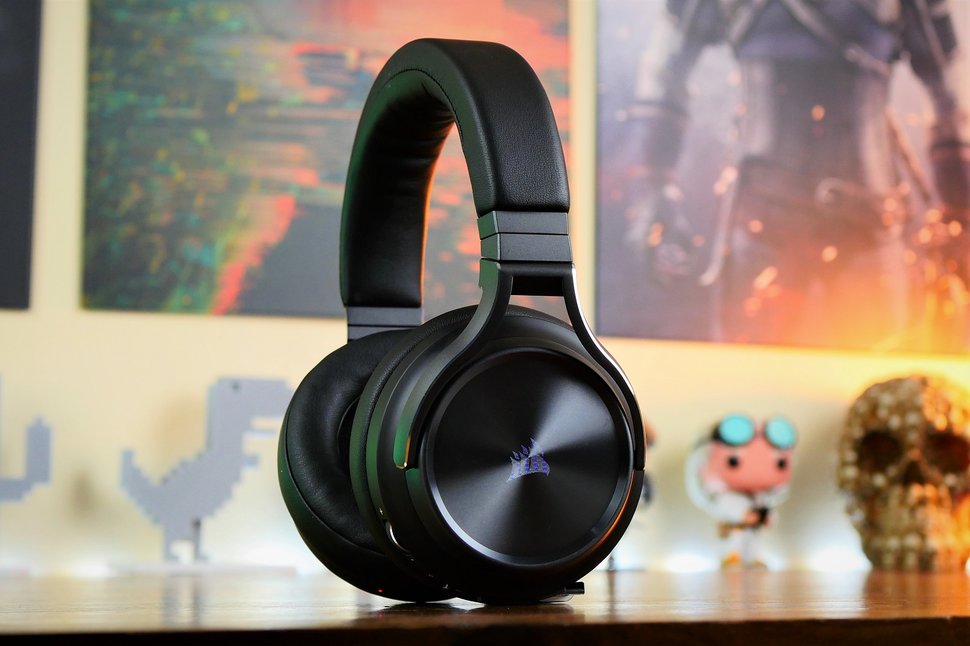 The best gaming headset with Bluetooth for PC, PS4, PS5, Xbox One, Xbox Series X/S, Switch (handheld), mobile
The Corsair Virtuoso RGB Wireless XT is one of the best gaming headsets that Corsair has ever made. Not only is this headset extremely comfortable, but it also provides excellent sound quality. It works wirelessly with PCs and PlayStation consoles via USB, as well as mobile devices, streaming players, and smart TVs via Bluetooth. You can connect it to a Switch, Xbox controller, or older system via a 3.5 mm audio cable. There's very little that the Virtuoso RGB Wireless XT can't do.
The best gaming headset with Bluetooth for PC, PS4, PS5, Xbox One, Xbox Series X/S, Switch (handheld), mobile
The Corsair Virtuoso RGB Wireless XT is one of the best gaming headsets that Corsair has ever made. Not only is this headset extremely comfortable, but it also provides excellent sound quality. It works wirelessly with PCs and PlayStation consoles via USB, as well as mobile devices, streaming players, and smart TVs via Bluetooth. You can connect it to a Switch, Xbox controller, or older system via a 3.5 mm audio cable. There's very little that the Virtuoso RGB Wireless XT can't do.
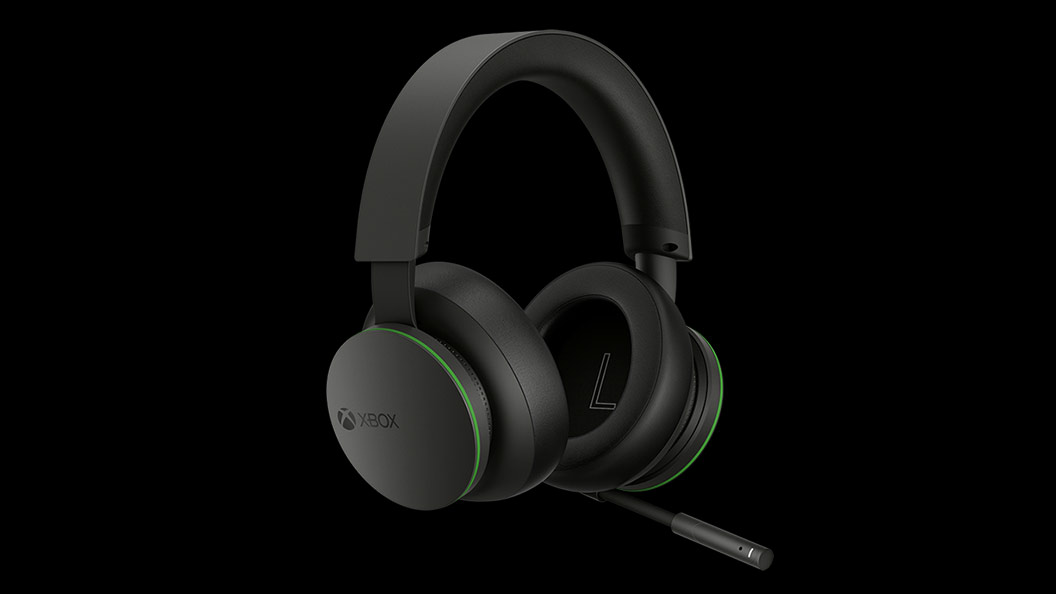 The best Xbox affordable headset for Xbox Series X/S, Xbox One, PC, mobile
The Xbox Wireless Headset is exactly what the name suggests: a wireless headset that works particularly well with Xbox consoles. Whether you have an Xbox Series X, an Xbox Series S, an Xbox One, or a Windows 10 PC with an Xbox controller adapter, this headset can provide fantastic sound with a simple pairing procedure. Not only that: the Xbox Wireless Headset supports Bluetooth as well, meaning that you can listen to music or take calls on your phone while you game.
The best Xbox affordable headset for Xbox Series X/S, Xbox One, PC, mobile
The Xbox Wireless Headset is exactly what the name suggests: a wireless headset that works particularly well with Xbox consoles. Whether you have an Xbox Series X, an Xbox Series S, an Xbox One, or a Windows 10 PC with an Xbox controller adapter, this headset can provide fantastic sound with a simple pairing procedure. Not only that: the Xbox Wireless Headset supports Bluetooth as well, meaning that you can listen to music or take calls on your phone while you game.
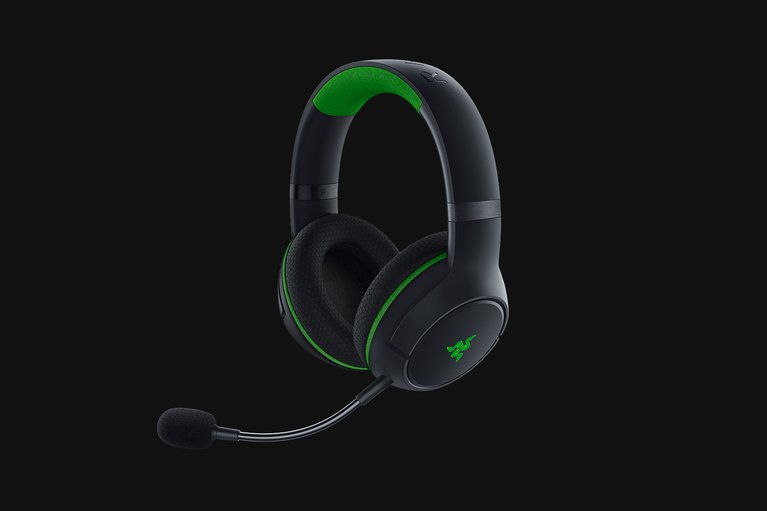 The best Xbox Series X wireless headset for Xbox Series X/S, Xbox One, PC, mobile
Debuting alongside the Xbox Series X, the Razer Kaira Pro is arguably one of the best gaming headsets for Microsoft's next-gen console. This sleek, lightweight wireless headset pairs with Xbox consoles right out of the box. But you can also use it with PCs and mobile devices, thanks to built-in Bluetooth capabilities. The Kaira Pro is not terribly expensive, and the sound quality is excellent, particularly for video games.
The best Xbox Series X wireless headset for Xbox Series X/S, Xbox One, PC, mobile
Debuting alongside the Xbox Series X, the Razer Kaira Pro is arguably one of the best gaming headsets for Microsoft's next-gen console. This sleek, lightweight wireless headset pairs with Xbox consoles right out of the box. But you can also use it with PCs and mobile devices, thanks to built-in Bluetooth capabilities. The Kaira Pro is not terribly expensive, and the sound quality is excellent, particularly for video games.
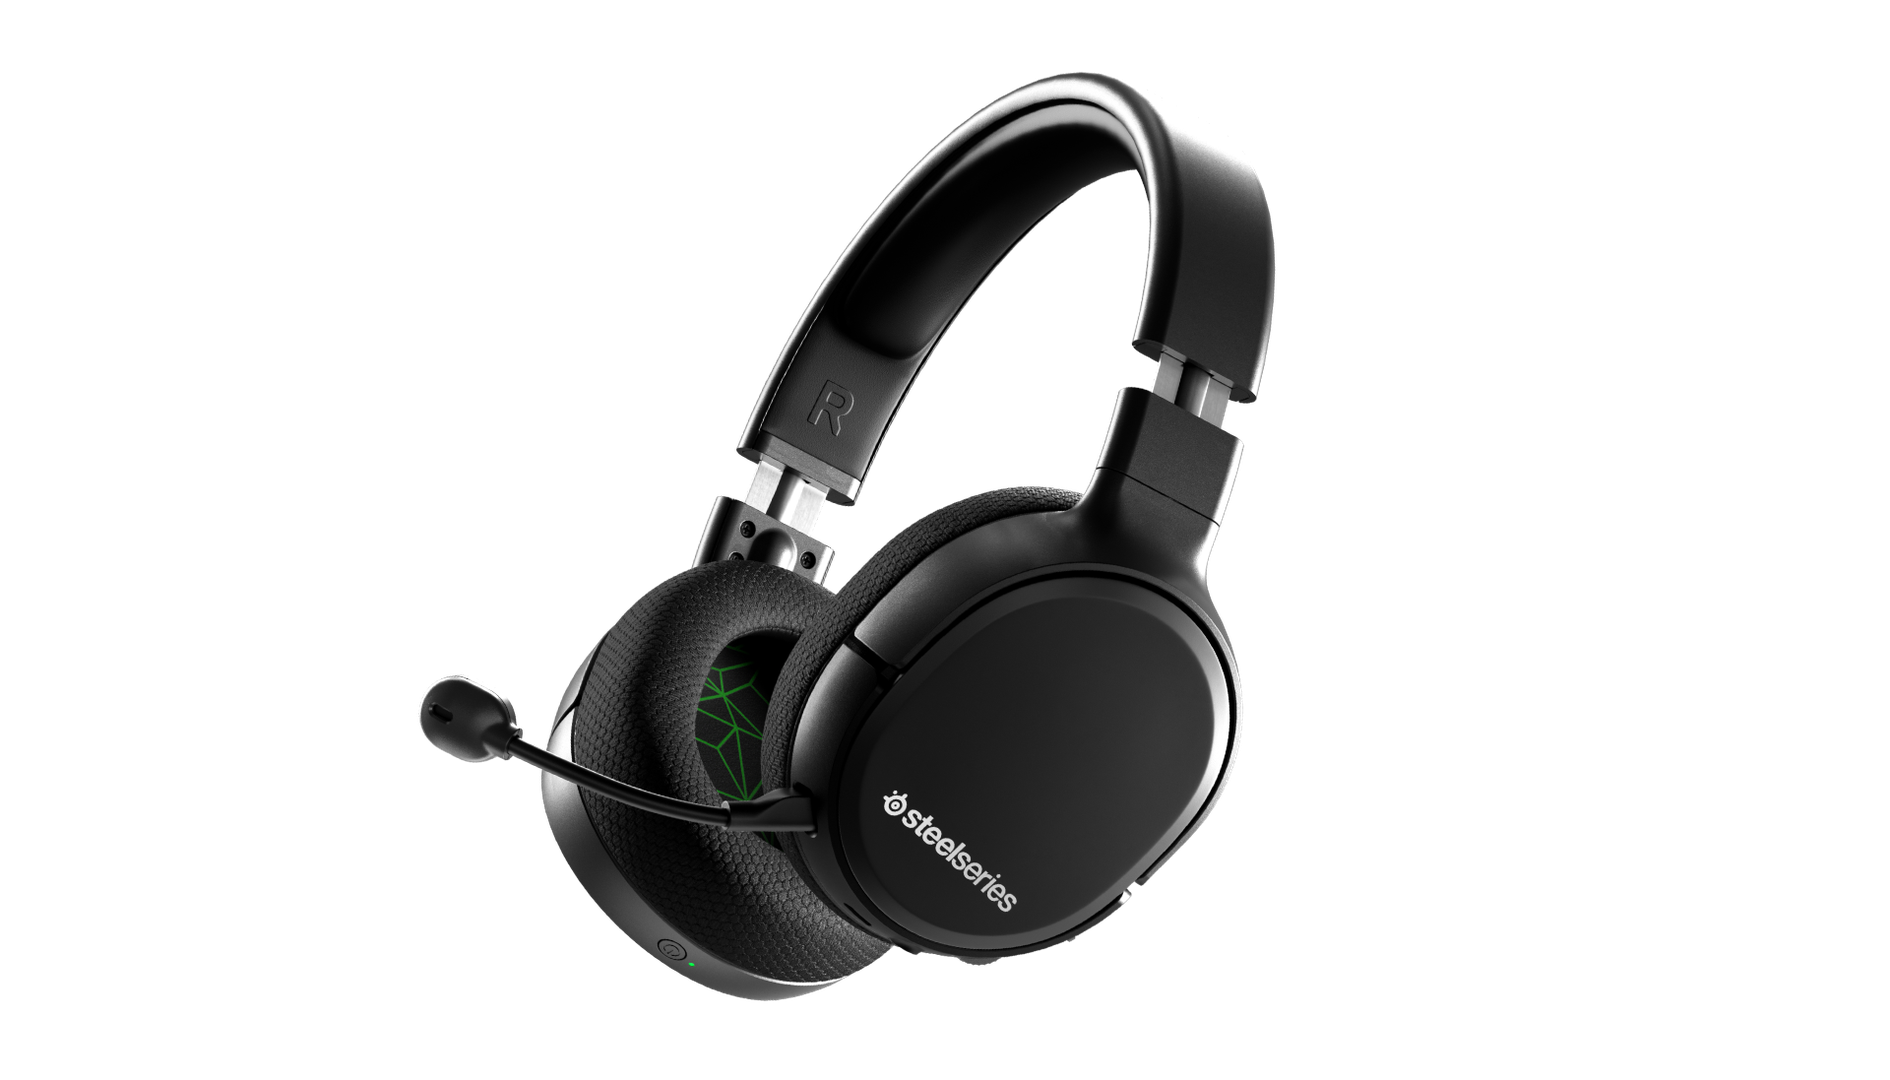 Affordable wireless for PC, PS5, PS4, Switch, Mobile (USB-C wireless), Xbox One (wired)
Getting good wireless performance has never been this seamless, or affordable. Thanks to its high-speed, discrete USB-C dongle, the SteelSeries 1 Arctis Wireless allows you to instantly enjoy wireless game audio from your Nintendo Switch, Android phone, PS4, or gaming PC, with none of the convoluted pairing or interference that comes with Bluetooth-based headsets. It’s worth mentioning the Nintendo Switch functionality again, as it’s hard to get a wireless headset for Nintendo’s handheld hybrid.
Affordable wireless for PC, PS5, PS4, Switch, Mobile (USB-C wireless), Xbox One (wired)
Getting good wireless performance has never been this seamless, or affordable. Thanks to its high-speed, discrete USB-C dongle, the SteelSeries 1 Arctis Wireless allows you to instantly enjoy wireless game audio from your Nintendo Switch, Android phone, PS4, or gaming PC, with none of the convoluted pairing or interference that comes with Bluetooth-based headsets. It’s worth mentioning the Nintendo Switch functionality again, as it’s hard to get a wireless headset for Nintendo’s handheld hybrid.
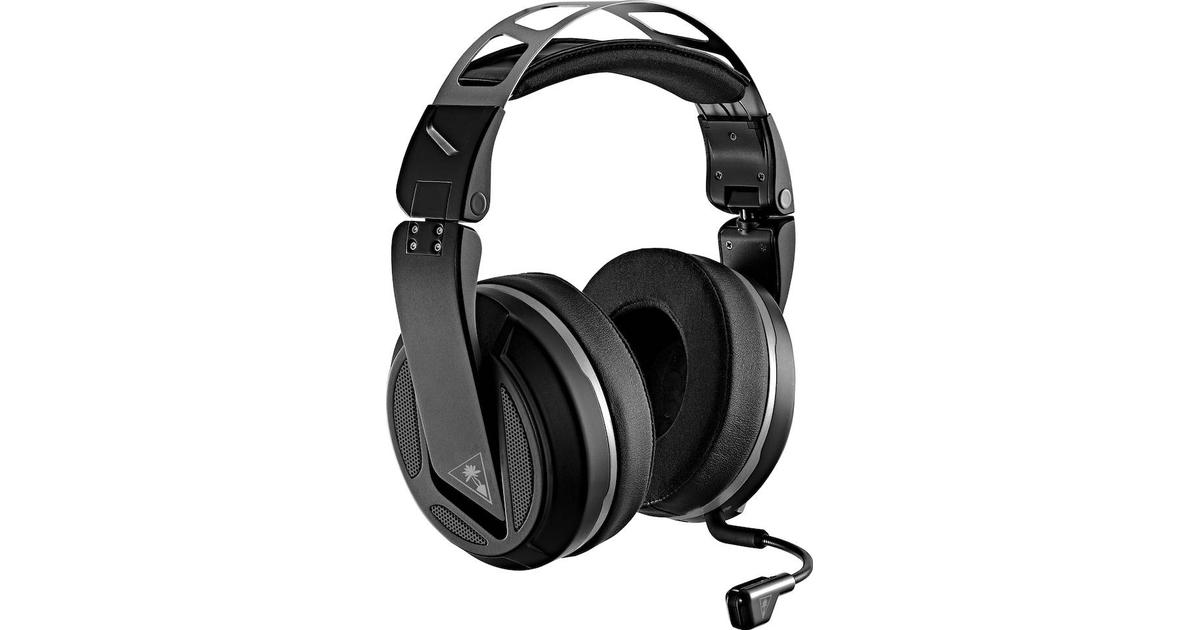 Absolute best in wireless for PC, PS4 (Wireless); Xbox One, Nintendo Switch, Mobile (Wired)
The highly customizable high-end headset that's especially ideal for PC, the new Turtle Beach Elite Atlas Aero is one of the best gaming headsets out there. This premium headset packs an incredibly comfortable pair of gel-infused ear cushions, which are also designed to play well with glasses. The Aero's 50mm speakers sound great out of the box, and it comes with a solid noise-canceling microphone to boot.
Absolute best in wireless for PC, PS4 (Wireless); Xbox One, Nintendo Switch, Mobile (Wired)
The highly customizable high-end headset that's especially ideal for PC, the new Turtle Beach Elite Atlas Aero is one of the best gaming headsets out there. This premium headset packs an incredibly comfortable pair of gel-infused ear cushions, which are also designed to play well with glasses. The Aero's 50mm speakers sound great out of the box, and it comes with a solid noise-canceling microphone to boot.
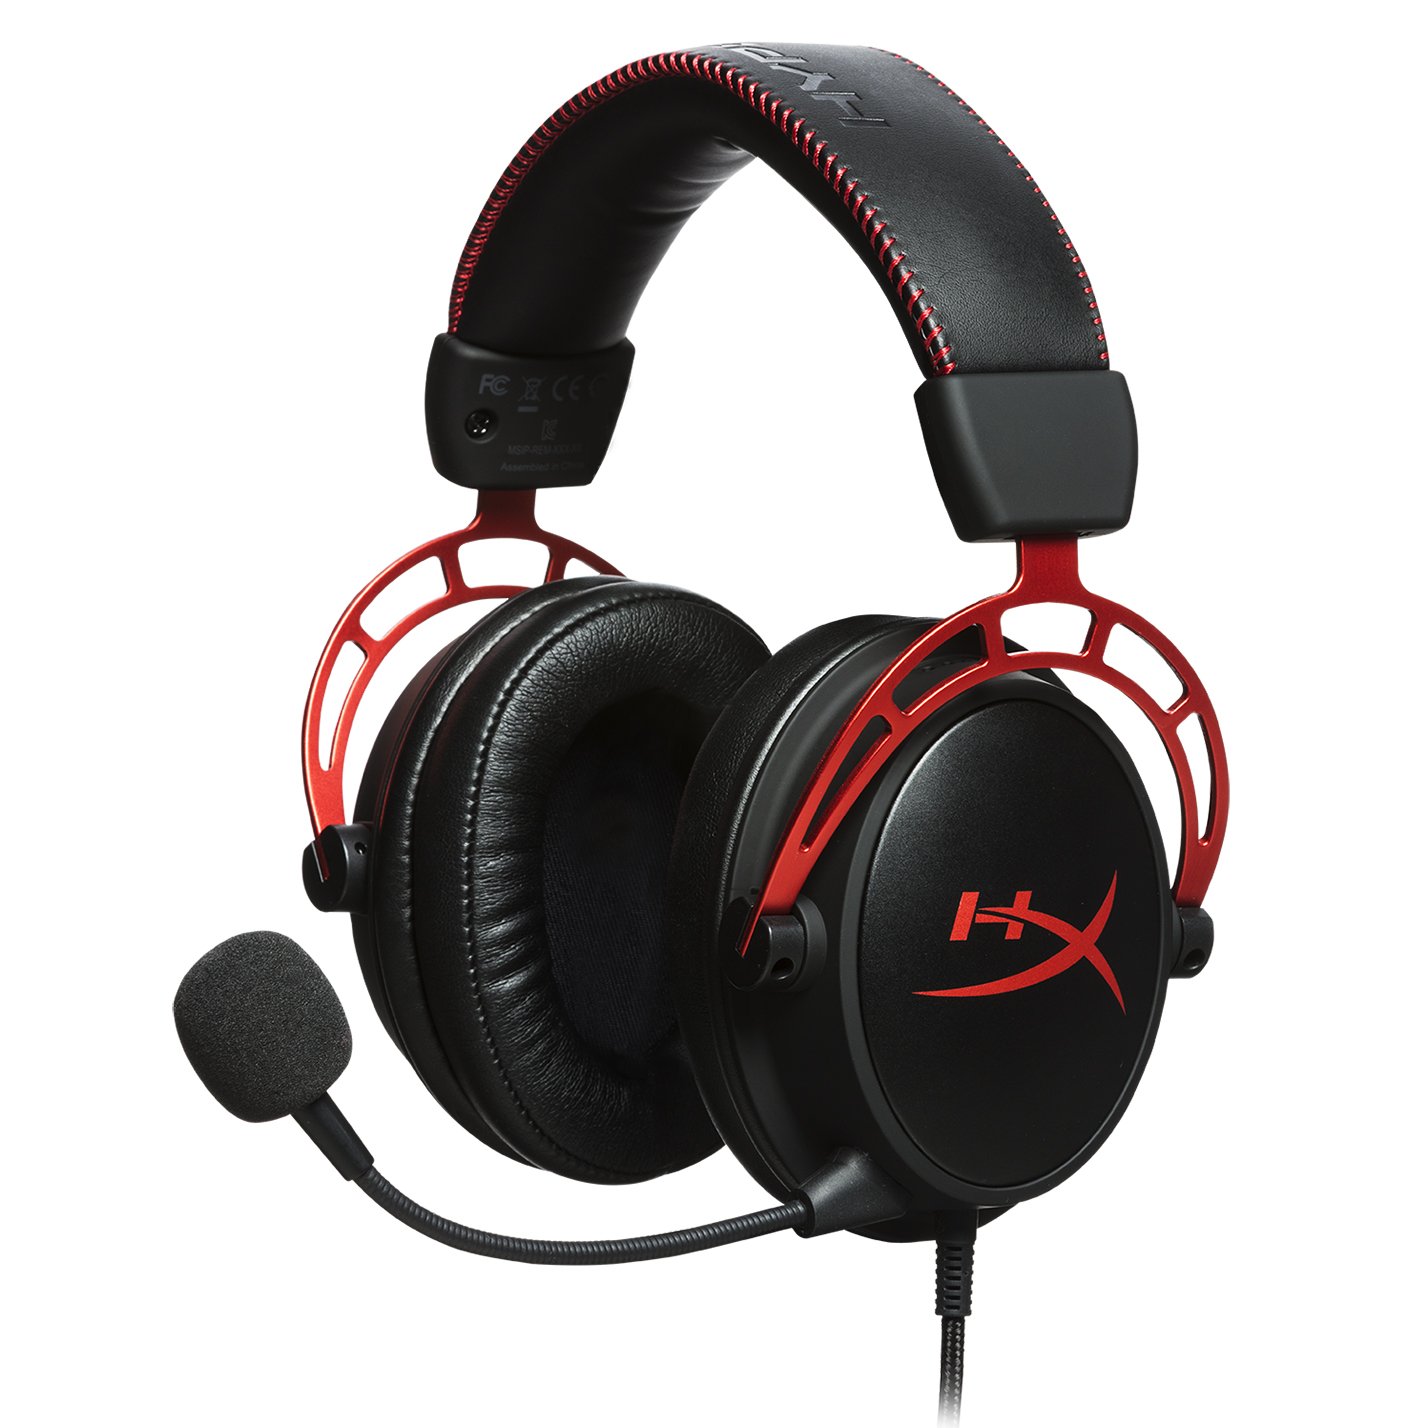 Superior style, sound, and value for PC, PS4, PS5, Xbox One, Switch, mobile
Thanks to a sturdy metal frame, a slick red-and-black paint job, and some of the most comfortable leatherette earcups this headset is really a steal for its price. This is a headset that you can transport with you anywhere and connect to almost any system, without ever having to worry about it breaking.
Superior style, sound, and value for PC, PS4, PS5, Xbox One, Switch, mobile
Thanks to a sturdy metal frame, a slick red-and-black paint job, and some of the most comfortable leatherette earcups this headset is really a steal for its price. This is a headset that you can transport with you anywhere and connect to almost any system, without ever having to worry about it breaking.
 Console-centric wireless sound with Bluetooth for PC, PS4, Switch, Xbox One, mobile
The Turtle Beach Stealth 700 Gen 2 is one of the best console headsets on the market, particularly if you want a wireless model. This peripheral boasts great sound, plush earcups, and two kinds of wireless functionality. The PS4 version can connect to either PS4 or PC via a USB dongle; the Xbox One version can connect to the Xbox One right out of the box. Both versions can connect to mobile devices and PCs via Bluetooth. It's an extremely convenient feature, especially since very few gaming headsets offer Bluetooth functionality.
Console-centric wireless sound with Bluetooth for PC, PS4, Switch, Xbox One, mobile
The Turtle Beach Stealth 700 Gen 2 is one of the best console headsets on the market, particularly if you want a wireless model. This peripheral boasts great sound, plush earcups, and two kinds of wireless functionality. The PS4 version can connect to either PS4 or PC via a USB dongle; the Xbox One version can connect to the Xbox One right out of the box. Both versions can connect to mobile devices and PCs via Bluetooth. It's an extremely convenient feature, especially since very few gaming headsets offer Bluetooth functionality.
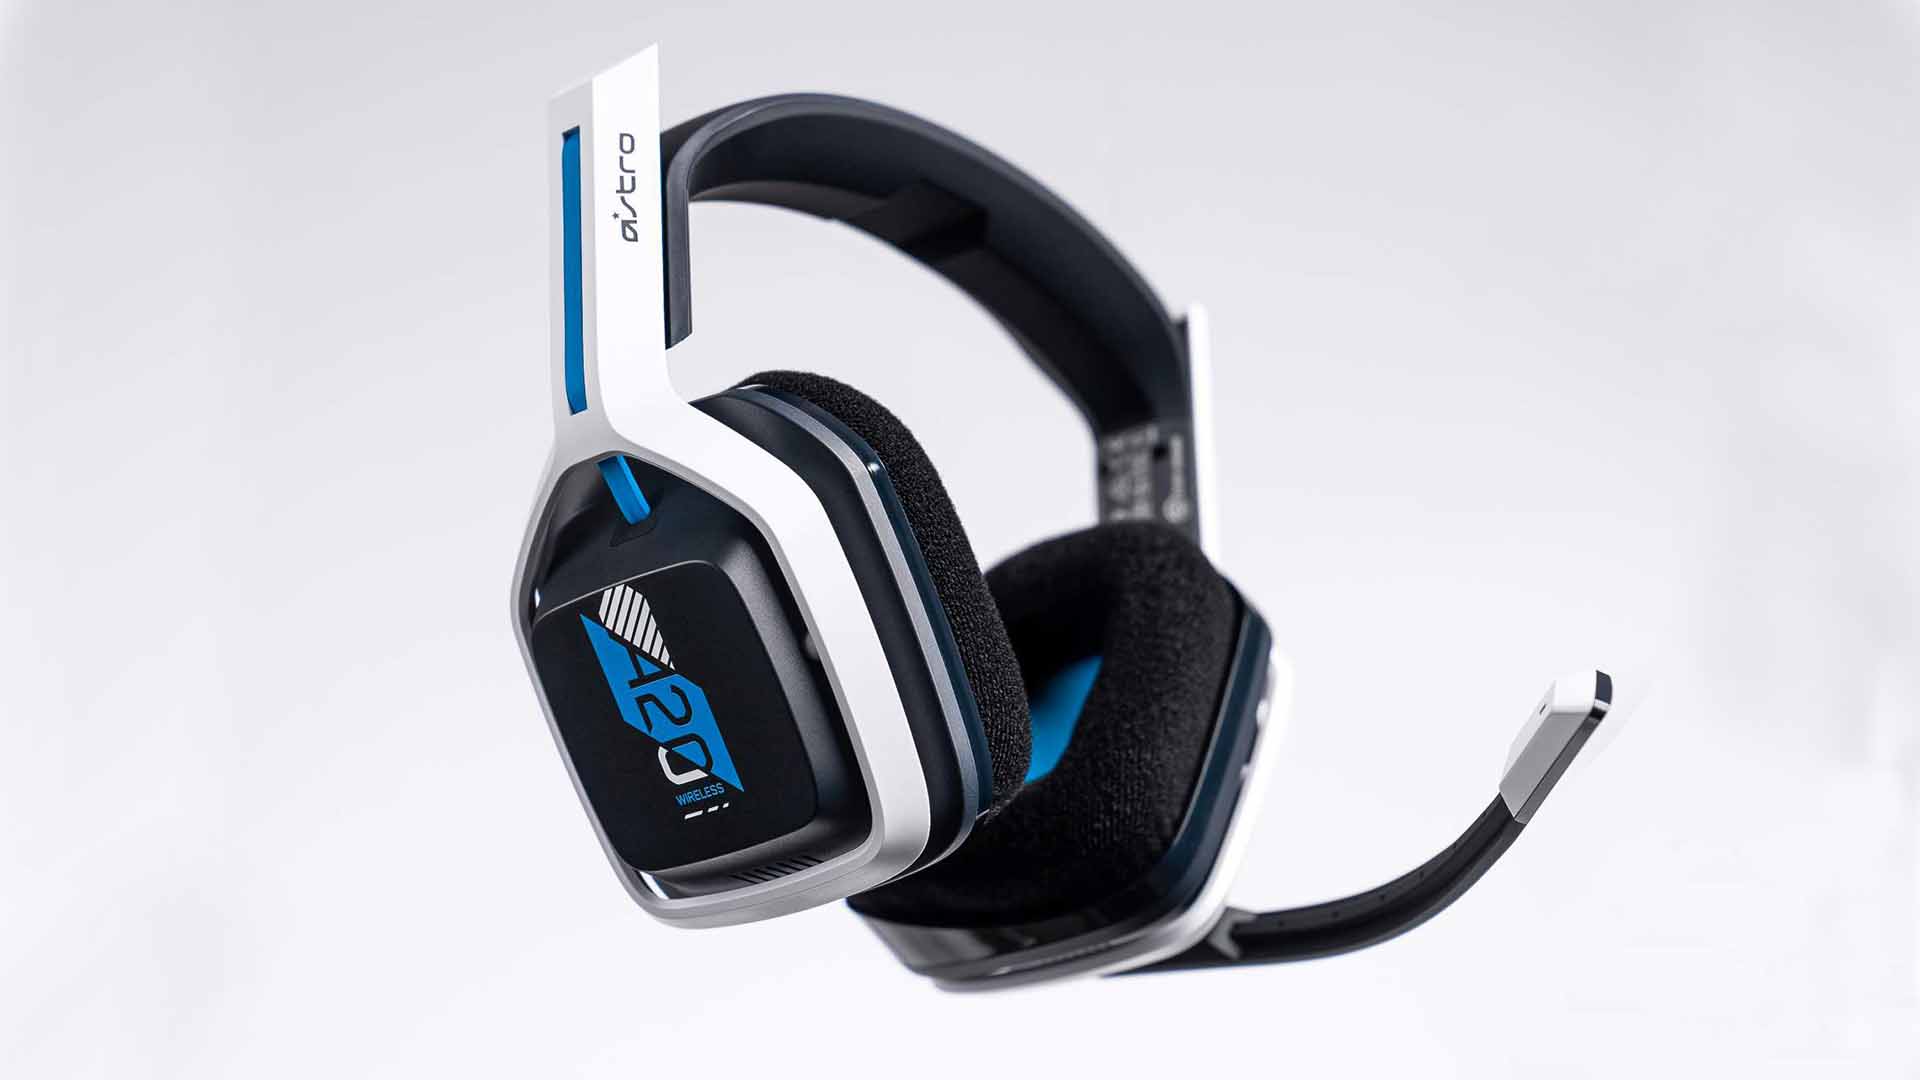 Wireless headset for both PS5 and Xbox Series X and PC, PlayStation, Xbox, Switch, mobile
The Astro A20 Gaming Headset Gen 2 is an ambitious and full-featured headset from one of the most trusted manufacturers on the market. This wireless peripheral offers excellent sound quality and a comfortable fit. More than that, though, the Astro A20 can also connect wirelessly to both the PS5 and the Xbox Series X, which is a rare feat, even among the best gaming headsets.
Wireless headset for both PS5 and Xbox Series X and PC, PlayStation, Xbox, Switch, mobile
The Astro A20 Gaming Headset Gen 2 is an ambitious and full-featured headset from one of the most trusted manufacturers on the market. This wireless peripheral offers excellent sound quality and a comfortable fit. More than that, though, the Astro A20 can also connect wirelessly to both the PS5 and the Xbox Series X, which is a rare feat, even among the best gaming headsets.
 The best wireless Switch headset also for PC, PS4, PS5, Switch, mobile
The Razer Barracuda X is a wireless gaming headset that's ideal for the Nintendo Switch and mobile platforms. Thanks to its small USB-C dongle, it can connect wirelessly o the Switch in handheld mode, a rarity among gaming headsets. However, it also comes with a USB-A adapter, which means you can connect it to just about any other system you like, from PC to PS4, to Switch in docked mode. The USB-C dongle also fits neatly into a PS5.
The best wireless Switch headset also for PC, PS4, PS5, Switch, mobile
The Razer Barracuda X is a wireless gaming headset that's ideal for the Nintendo Switch and mobile platforms. Thanks to its small USB-C dongle, it can connect wirelessly o the Switch in handheld mode, a rarity among gaming headsets. However, it also comes with a USB-A adapter, which means you can connect it to just about any other system you like, from PC to PS4, to Switch in docked mode. The USB-C dongle also fits neatly into a PS5.  A stop error or exception error commonly called the blue screen of death (BSoD) or blue screen, is an error screen displayed on Windows computers following a fatal system error. It indicates a system crash, in which the operating system has reached a condition where it can no longer operate safely. This is caused by many different problems, such as a general hardware failure or a crucial process terminating unexpectedly.
 On Windows 10 systems, a Black Screen of Death can be caused by an unfinished Windows Update.
 It is a diagnostic screen with a white type on a pink background. Pink Screen is mainly seen when the VMkernel of an ESX/ESXi host experiences a critical error, becomes inoperative, and terminates any virtual machines that are running. It is not fatal and generally considered more of a developer testing issue. When encountered, it can be fixed quickly by following the simple action of pressing and holding your computer’s power button to shut down the device.
 The Microsoft Windows 10 Operating System Brown Screen of Death is an on-screen fatal error notification with bug check codes which is seen when a computer crashes due to graphics hardware or software-related problems (failing graphics drivers).
 It affects the functioning of a browser, particularly Mozilla Firefox. The Yellow Screen of Death makes the appearance with a weird buzzing sound in the background when the XML parser refuses to process an XML document causing a parsing error and a weird buzzing sound. The issue persists unless the computer is manually rebooted.
 Commonly the Windows 10 red screen is caused due to the hardware error, particularly if you overclock your Windows PC/laptop. Despite this, sometimes the red screen of death is also caused by outdated or incompatible drivers or due to BIOS issues.
 The Orange Screen of Death on Windows occurs due to fatal hardware errors. Multiple reasons have been reported for the Orange Screen of Death. Some had this issue when watching a YouTube video, some were not able to boot into Windows. It can even occur when waking up from Sleep.
 The green screen of death only appears when you're running an Insider Preview version of Windows 10. It's the same as the blue screen of death, and it will show the same error messages. ... If you see a green screen of death (GSOD) on your PC, that's a sign you're using an Insider Preview build of Windows 10.
 The White Screen on Windows is also an error where the screen of the computer just turns white and freezes. There can be several things that can cause the white screen to appear on the Windows laptop monitor. But the main issue could be because of malfunctioning of the graphics hardware.