Fix File Explorer stuck on Working on it…

One of the most useful utilities on a Windows 10 computer is the Windows File Explorer. It is undeniably one of the File Managers out there full of features on all the platforms. However, it is not without its issues and one of the most common ones most users encounter is when you are trying to open a folder or a location on File Explorer and it displays a message saying, “Working on it…” as it tries to load the content of that location or folder. This kind of issue mainly occurs to computers that run on an HDD although that doesn’t mean that it can’t happen to other computers that run an SDD.

And so if the File Explorer on your Windows 10 computer keeps getting stuck on the “Working on it…” message along with a green animation bar moving very slowly while loading the contents of the folder, then it’s best if you follow the options given below to resolve this problem.

Option 1 – Try deleting the contents of the Automatic Destinations folder

  • Tap the Win + R keys on your keyboard to open the Run utility.
  • And then type “%AppData%MicrosoftWindowsRecentAutomaticDestinations” and hit Enter to open this location.
  • From there, select all the files and tap the Shift + Delete key combination.
  • After that, you will get a prompt that will ask you if you want to delete all the files permanently, just click on Yes. This will delete all the Quick Access cache.
  • Now check if you can now open a folder or a location without the “Working on it…” message.

Option 2 – Try to rebuild the Search Index

  • First, open the Indexing Options using the Search bar.
  • Next, click on the appropriate listing, e.g. Users folder.
  • After that, click on the Advanced button. This will open a mini-sized window and from there, go to the Index Settings tab.
  • Then click on the “Rebuild” option under the Troubleshooting section.
  • Now click on OK after the rebuilding is completed. This should rebuild the search index for all the files and thus, fix the File Explorer stuck on the “Working on it…” message.

Option 3 – Try to optimize the folder for General Items

You might also want to try optimizing the folder for General Items as it can help the File Explorer to load the contents faster.

  • Just right click on the folder that takes time to load the contents in it and is showing the “Working on it…” message.
  • After that, click on Properties to open the Properties mini window.
  • From there, go to the Customize tab and click on the drop-down menu to “Optimize this folder for” under the “What kind of folder do you want?” section and then select General Items.
  • Then check the checkbox with a label that says, “Also apply this template to all subfolders” and click on the OK button to save the changes.
  • Restart File Explorer and check if the problem is now fixed or not.

Option 4 – Try performing a System Restore

Running System Restore can also help you resolve whatever issue that’s causing the “Working on it…” message. You can do this option either by booting into Safe Mode or in System Restore. If you are already in the Advanced Startup Options, just directly select System Restore and proceed with the next steps. And if you have just booted your PC into Safe Mode, refer to the steps below.

  • Tap the Win + R keys to open the Run dialog box.
  • After that, type in “sysdm.cpl” in the field and tap Enter.
  • Next, go to the System Protection tab then click the System Restore button. This will open a new window where you have to select your preferred System Restore point.
  • After that, follow the on-screen instructions to finish the process and then restart your computer and check if the problem is fixed or not.
If you like to learn and find out more about various Windows errors, and how to repair them go to our vast archive or use search to find articles that will explain and help you in solving your issue.
However, if you prefer to do things fast and with automatization then we are proposing to use an automated solution for your issues. The application that we are recommending is Advanced System Repair Pro
Advanced System Repair utilizes multiple tools all in one to give you a quick, simple, reliable, and very thorough diagnosis of your PC. It brings you all the tools you need in one program to clean, fix, protect, optimize and boost your PC!
1-Click Maintenance
All the tools to make it simple and easy! It's like having a professional technician at the click of a mouse.

Junk Cleaner
Keeping your computer free from unnecessary clutter also helps make your computer last longer. Like any other machine, if you keep it clean and take care of it, it will serve you better for longer!

Optimize background apps
Optimize applications background activity with the built-in Application Optimizer feature.

Disk Defrag
With a simple 1-click, Advanced System Repair speeds up your PC by assembling fragmented files on your machine and organizing them more efficiently.

Malware Removal
Finds and removes all types of harmful malware including trojans, worms, bots, adware, spyware, PUPs, and more!

Privacy Cleaner
The all-in-one privacy suite to Clean Your Tracks & Protect Your Privacy! Make your computer safe, secure, and more efficient!

System Tweak/Optimizer
ASR will analyze your complete system and settings to adjust your PC to function at its maximum performance.

Registry Cleaner
Over time, as you install and uninstall applications, the registry can become cluttered with old entries and broken settings which can result in program crashes, and annoying messages and slow the computer down.
Visit our Advanced System Repair Pro Download page to inform yourself about all the benefits of this software and get a free trial copy of it.
advanced system repair pro

Advanced System Repair Pro

One-click automated PC repair solution
ASR logo
With Advanced System Repair Pro you can easily
Replace damaged files
Restore performance
Free disk space
Remove Malware
Protects WEB browser
Remove Viruses
Stop PC freezing
DOWNLOAD
Privacy Policy | Terms of Use | Uinstall
Advanced System Repair Pro is compatible with all versions of Microsoft Windows including Windows 11

Share this article:

You might also like

How to Fix Stop 0x0000000A Error Code

Stop 0x0000000A Error Code Repair

Stop 0x0000000A - What is it?

Stop 0x000000A is a type of blue screen of death error associated with Windows XP. It occurs either during or after the installation of Windows XP. In other cases, the stop 0x000000A error may occur when the device driver uses an incorrect memory address, causing an IRQ conflict. The Stop 0x000000A error message means that a process or a driver attempted to access a memory section without permission.  The stop error message is displayed in the following format:

Stop: 0x0000000A (parameter1, parameter2, parameter3, parameter4) IRQL_NOT_LESS_OR_EQUAL *** Address x has base at x - filename

Solution

Restoro box imageError Causes

The stop 0x000000A error is triggered due to multiple reasons. These include:
  • Faulty hardware
  • The poor device driver installation
  • Incompatible device driver
  • Viruses and malware attack
  • Disk fragmentation
Blue screen of death errors like the stop 0x000000A error code is critical. These errors may pose serious PC threats. When this error occurs the computer screen turns blue, the program running on the system stops and if the error is not fixed in time it may also result in a system crash and failure.

Further Information and Manual Repair

To resolve the Stop 0x000000A error on your PC, here are some solutions that you can try:

1. Roll Back Drivers

To do this, click on the start button and go to the control panel. Then double click the system icon and locate the ‘System Properties’ window. After that click on the ‘hardware’ tab and then click the ‘Device Manager’ button. Here locate the device that you recently updated which could be causing the IRQ conflict. Now double click the device recently updated and click the driver tab. Then click on the ‘Roll Back Driver' button. Wait for the process to finish and then simply reboot your system.

2. Specify the Hardware Abstraction Layer (HAL)

Another method to resolve the Stop 0x000000A error on your system is to specify the hardware abstraction layer (HAL). This can be done during Windows XP installation startup. Simply press the F5 button on your keyboard while the “Setup is inspecting your computer’s hardware configuration’. When prompted, make sure that you specify the correct computer type and HAL (the Hardware Abstraction Layer). Most computers use a single processor, if your computer also has a single processor then simply select ‘Standard PC HAL’ computer type from the menu. Now reboot your PC and then reinstall the Windows XP operating system. If the error is still not resolved then try turning off features in CMOS settings

3. Turn off Features in CMOS Settings

Turn off all the following features in the CMOS settings:
  • All caching, including L2, BIOS, internal/external, and write back caching on disk controllers
  • Plug and Play
  • All shadowing
  • Any BIOS-based virus protection feature
After turning off these features, try reinstalling Windows XP again. If this works, then that’s great! However, if it doesn’t, then try method 4; maybe the cause of the stop 0x000000A is associated with incompatible drivers.

4. Install Windows XP compatible Drivers

Sometimes device driver compatibility can also shoot up the stop 0x000000A error message. First, remove the drivers that are incompatible with Windows XP. Now obtain and install new Windows XP compatible drivers. To do this, go to the start menu and the control panel. Now double click on Add or Remove Programs icon. Select the drivers that are incompatible with Windows XP and click on the remove button. After that restart PC and install Windows XP, compatible drivers, for the hardware devices on your system.

5. Scan for Viruses and Repair the Registry

If all the methods discussed above do not resolve the stop 0x000000A error on your PC, then it means either your computer is affected by an infection virus or the problem is associated with the registry like disk fragmentation and invalid entries. To scan for both viruses and registry issues simultaneously in seconds, it is advisable to download Restoro. Restoro is an advanced and multi-functional PC repair tool integrated with powerful utilities including a registry cleaner, antivirus, and a system optimizer. It also scans for Active X controls and class ID errors. The registry cleaning utility scans your entire PC for all possible registry issues triggering different error codes including the stop 0x000000A error. It wipes out all the unnecessary files cluttering and damaging the registry including cookies, temporary files, junk files, and invalid entries. It repairs the fragmented disk and the registry thereby resolving the stop 0x000000A error on your system. The privacy error utility functions like an antivirus. It detects all kinds of malicious software on your system including malware, adware, spyware, and viruses. These are removed immediately thus making your PC error-free. Restoro is safe, efficient, and user-friendly. It is compatible with all Windows versions including XP.  It has a sophisticated interface and a neat layout which makes it quite easy to operate and workaround. Click here to download Restoro and repair your PC and resolve the stop 0x000000A error code now!
Read More
Intel to reveal roadmap during July 26 webcast
intel graphicsIntel announced that Pat Gelsinger (CEO) and Dr. Ann Kelleher  (technology Department head) will discuss Intel’s process and packaging innovations on an upcoming webcast that will happen on July 26th. The spokesman will talk and provide a deeper look at the process and packaging roadmaps for Intel. As we know Intel is planning to expand its production capabilities, outsource some of its technologies and offer foundry services to other chip design companies. The strategy will also include a shift to a 7nm process and Intel’s effort to set itself again as leader of CPU performance by 2024. There is also a chance that we will hear exact plans for Intel in the next three or four years. Intel didn't reveal much else about what Gelsinger and Kelleher plan to discuss during the webcast. The event will be streamed on July 26 at 2 pm PT via the Intel Newsroom; it will also be available to watch on-demand after the stream ends.
Read More
New vulnerability found in Windows
Windows users need to be on high alert. Microsoft has confirmed a critical vulnerability has been found in all versions of Windows which presents an immediate threat, and you need to act now. A critical new zero-day hack has been found which affects all Windows versions. windows vulnerabilityTracked as CVE-2021-34484, the “zero-day” flaw enables hackers to breach all versions of Windows (including Windows 10, Windows 11, and Windows Server 2022) and take control of your computer. Microsoft mistakenly thought it had patched the vulnerability (which was first found in August) when it was publicly disclosed in October. But the fix itself was found to be flawed, something the company admitted, and this drew even more attention to the vulnerability. Microsoft subsequently promised to “take appropriate action to keep customers protected” but two weeks later, a new fix has still not arrived. Luckily the third-party security specialist 0patch has beaten Microsoft to the punch with a ‘micropatch that it has now made available for all Windows users “Micropatches for this vulnerability will be free until Microsoft has issued an official fix," 0patch confirmed. You will need to register for a 0patch account and install its download agent before the fix can be applied, but with 0patch fast becoming a go-to destination for hot fixes which beat software companies to the punch this is a no brainer. Hopes will be high that Microsoft can release an effective patch sooner rather than later but, until then, all Windows users must act now if they want to be safe. Download 0patch here: https://blog.0patch.com/2021/11/micropatching-incompletely-patched.html
Read More
Windows got stuck on Preparing Windows screen
You might have experienced a situation when you restarted your Windows 10 PC after an upgrade and you tried logging into your account but only a screen with a message saying, “Preparing Windows”. If the screen only stays that way, this indicates that Windows 10 is trying to complete the upgrade or waiting for some files to load up so that you can use your account. Some users also reported that when they tried logging into their accounts, they also get the same message on their screens. To resolve this issue, read on as this post will show you what you can do if your Windows 10 PC is stuck on the “Preparing Windows” screen. A lot of users have tried logging back into their account once more but to no avail as the same screen still greets them. And even when they tried the Ctrl + Alt + Del combo, it still didn’t work. This only goes to show that your account might somehow be corrupted.

Option 1 – Try booting your PC into Safe Mode

The first thing you can do to resolve the issue is to try booting your computer into Safe Mode and then log in using an Admin account. If it seems like your admin account has caused the problem, you need to create an admin account first and then log in after you reboot into the account and then log off. After that, restart your PC normally and check if the problem’s resolved or not. If not, refer to the next given option below.

Option 2 – Try to repair your corrupted profile via Registry

In this second option, you can try to repair the corrupted profile using the Registry but before you proceed, make sure to create a System Restore Point and then follow the steps below.
  • Tap the Win + R keys to open the Run dialog box.
  • Then type “regedit” in the field and hit Enter or click OK to open the Registry Editor.
  • Next, go to this registry key: ComputerHKEY_LOCAL_MACHINESOFTWAREMicrosoftWindows NTCurrentVersionProfileList
  • Once you’ve opened the registry key, you should see a list of all the user profiles on your computer. Now click on each S-1-5 folder and look for the “ProfileImagePath” entry and double-click on it to check which user account it is related to. You will see a path like “CUsersACK” where “ACK” is the username.
  • You should know which among the user account is corrupted. Just look for a key named “RefCount” and change its Value data to “0” and click OK. And if it isn’t available, simply right-click on the right pane and create it.
  • After that, double click on the key named “State” and make sure that the Value data is “0” and click OK.
  • Exit the Registry Editor and restart your computer to apply the changes made.

Option 3 – Try running the System File Checker

System File Checker or SFC is a built-in command utility that helps in restoring corrupted files as well as missing files. It replaces bad and corrupted system files with good system files that might be the cause why your screen is stuck at “Preparing Windows”. To run the SFC command, follow the steps given below.
  • Tap Win + R to launch Run.
  • Type in cmd in the field and tap Enter.
  • After opening Command Prompt, type in sfc /scannow
The command will start a system scan which will take a few whiles before it finishes. Once it’s done, you could get the following results:
  1. Windows Resource Protection did not find any integrity violations.
  2. Windows Resource Protection found corrupt files and successfully repaired them.
  3. Windows Resource Protection found corrupt files but was unable to fix some of them.

Option 4 – Try to repair hard disk errors using the Chkdsk utility

You can also run the Chkdsk utility to resolve the problem. If your hard drive has issues with integrity, the update will really fail as the system will think that it’s not healthy and that’s where the Chkdsk utility comes in. The Chkdsk utility repairs hard drive errors that might be causing the problem.
  • Open Command Prompt with admin privileges.
  • After opening Command Prompt, execute the commands listed below, and don’t forget to hit Enter right after you type in each one of them.
  • chkntfs /t
  • chkntfs /t:10
Read More
Windows 11 was released in beta for all
windows 11 betaMicrosoft has released Windows 11 as a public beta release for all the people that are not willing to be in the insider program. Beta release as of this moment is identical to Insider Preview build 22000.100. and updates will not roll so fast as in insider preview and it is marked as unstable release, same as insider build. I would not install Windows 11 beta on the main PC since some drivers still have issues and may lead to some blue screens. Be aware that the beta build will have all Windows 11 system requirements including TPM 2.0. This is a big difference from insider build which can be installed on systems lacking official requirements. So basically if you have a spare PC that could run Windows 11 install it so you can see what it brings and feel it so you can make a decision will upgrade once it is released later this year.
Read More
How to Enable Last Active Click feature
Microsoft has started to use group along with every open window in the Taskbar ever since the release of Windows 10. Early on, they used to show an individual entry for each one of the windows after grouping them which makes the taskbar look cleaner and organized. However, the main issue lies in the fact that you have to hover on your desired window to get on to them. At the time of writing, you need to tap the Ctrl key and click on the taskbar icon to open the last active window but you have to only click on the program’s taskbar icon after you apply the tweak given in this post for the last active window to open. Take note that the “Last Active” windows feature will only work if the taskbar buttons are combined. Before you get started doing the instructions given below, you need to create a System Restore Point first since you will be dealing with registry files and modifying some of the critical settings in Windows 10. Once you’ve done this, proceed to the given steps below. Step 1: Tap the Win + R keys to open the Run dialog box and then type “Regedit” in the field and hit Enter to open the Registry Editor. Step 2: If a User Account Control or UAC prompt appears, just click on Yes to proceed to open the Registry Editor. Step 3: Next, navigate to the following registry path:
HKEY_CURRENT_USERSoftwareMicrosoftWindowsCurrentVersionExplorerAdvanced
Step 4: From there, right-click on the right side of the panel and select New > DWORD (32-bit) and then name it “LastActiveClick”. Step 5: After that, double click on the newly created DWORd to modify its value. Put “1” as its value data. Step 6: Then click OK and close the Registry Editor. Step 7: Now restart your computer to successfully apply the changes made. Note: In case you want to revert back to the default configuration, all you have to do is set the value data of LastActiveClick to “0” or simply delete that DWORD and restart your computer to successfully apply the changes made.
Read More
Disable password asking in Windows 10
To turn password login in Windows 10 you will need approximately one minute of your time. So let's do it fast and efficient Press ⊞ WINDOWS + X to open the secret menu keyboard with windows and x markedClick on command prompt (admin) Windows menu command prompt adminType in command prompt following:
powercfg /SETDCVALUEINDEX SCHEME_CURRENT SUB_NONE CONSOLELOCK 0
press ENTER
powercfg /SETACVALUEINDEX SCHEME_CURRENT SUB_NONE CONSOLELOCK 0
press ENTER And you are done! Next time when you open your laptop from sleep you will no longer need to type in the password.
Read More
Free Quake upgrade comes to Steam and more
quake remaster
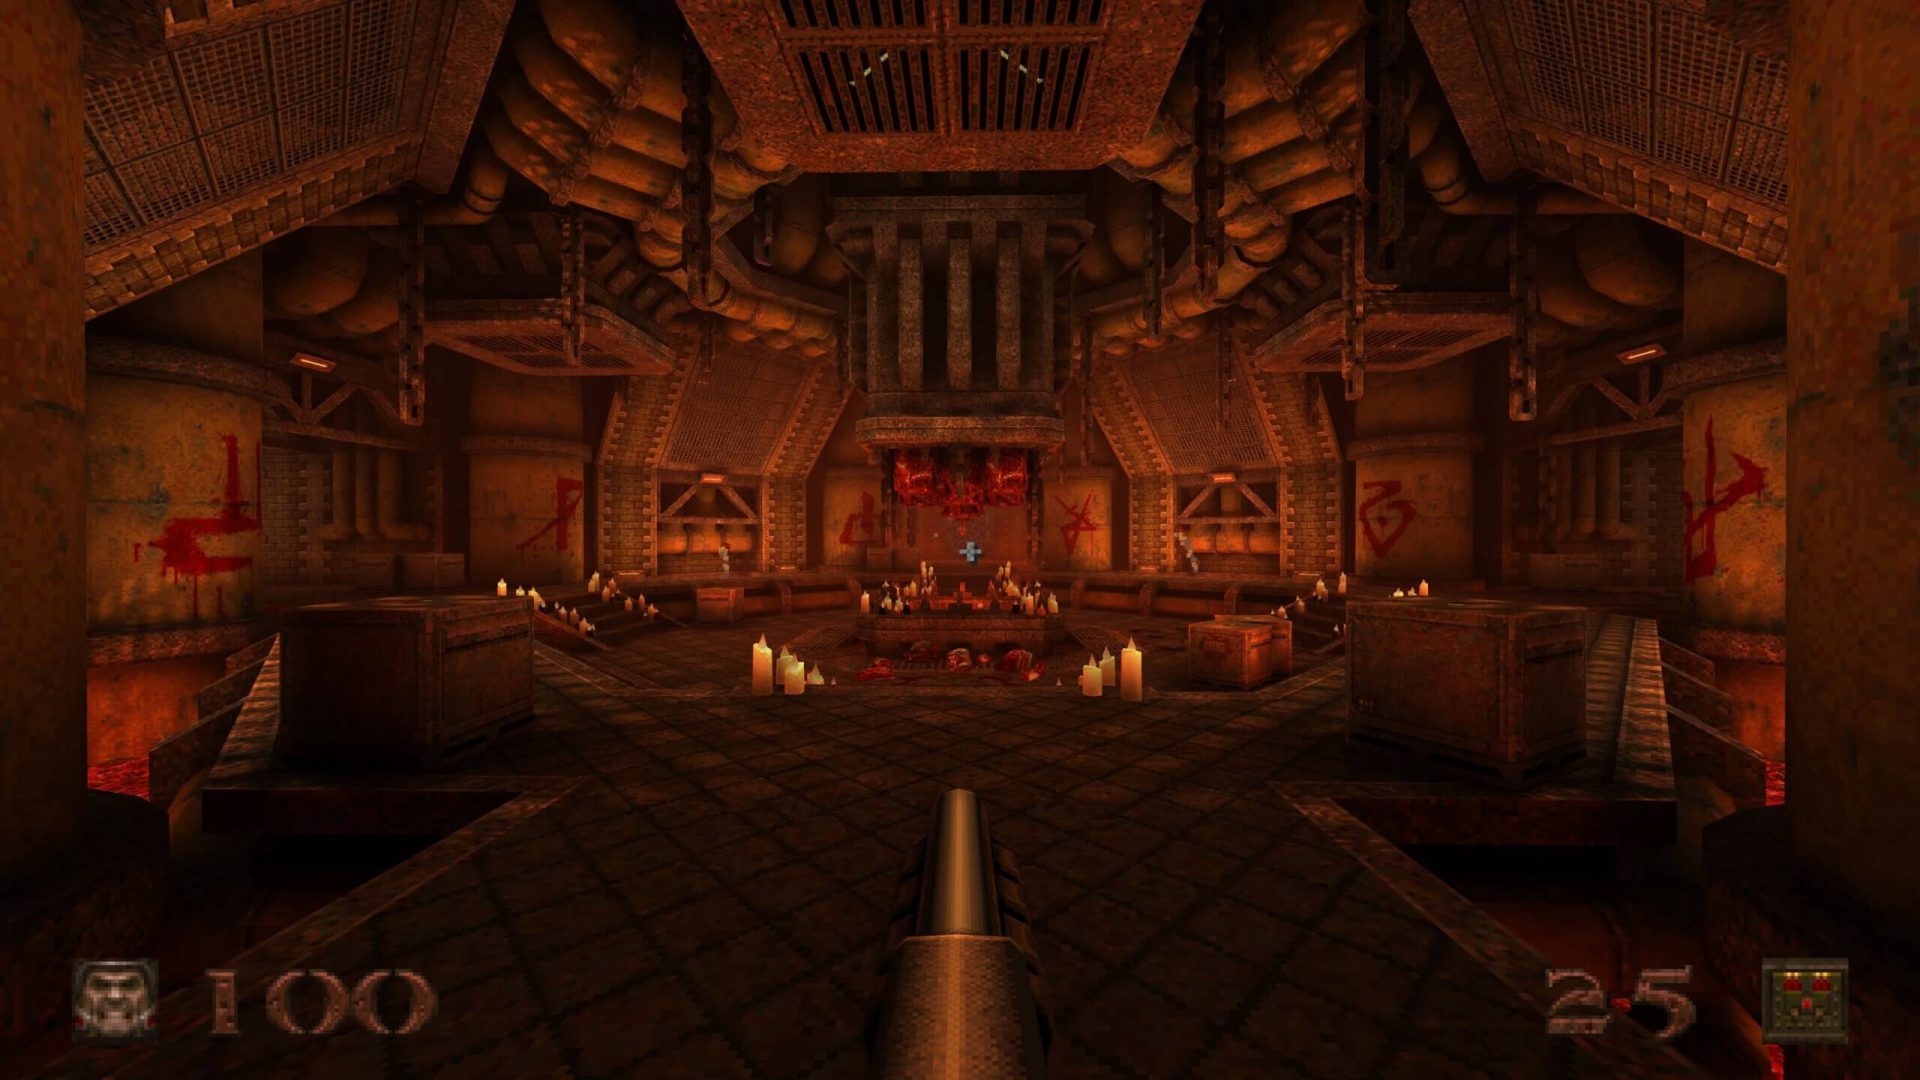
Without any fanfare, news, or information Bethesda has released a completely free upgrade for legendary Quake 1. Free upgrade is automatically applied to all users who possess the original game and it has already been rolled out.

What has changed for good?

New textures, effects, and resolutions are one thing that will come first into your focus when you start the game. From the moment game is started it feels and looks like a game you remember from a long time ago. Models are also upgraded with a higher polygon count. Another thing that will hit you right away is the legendary OST by Trent Reznor in its full glory. If you have the original Quake and played it you will know that OST was missing from the Steam release and having it fully back is a great feature. I would argue that placing just OST alone in the steam release is enough for people to play it again since it adds so much atmosphere. Deathmatch and other multiplayer goodies are all here as well and there is a completely free new episode in the game with several levels. Yes, you get a free Quake upgrade in HD with an extra episode completely free.

The bad side of Quake coin

So this might come as a purist or obsessive nit-picking but there were two things that I, personally am not a fan of and have noticed during my gameplay. Please know that this is personal preference and by no other chance reflects the quality of the game itself but I just had to talk about it. Quake remake is made in a new engine and as such dynamic and gunplay feel different from the original, granted they have done the best they could to replicate the authentic feeling of the original game but there are parts of the game where I have felt that simply put, it feels different. Another thing is also tied to technology and the overall game is somewhat a little brighter and in some areas little softer in dark areas. Like I said this is purely personal preference and might come as nitpicking but I preferred the darker and grittier look of the original game. Darkplaces, the free custom-made upgrade did this in my opinion better.
Read More
login does not appear/password box not showing
As you know, Windows 10 offers its users tons of options to log in to their computers. This includes simple and easy methods like PIN and complex ones like the Windows Hello Face unlock. However, there are instances when you might face a situation where the login screen in Windows 10 does not appear at all. If you are currently facing this problem, worry not for this post will show you what you can do to fix this problem. There are actually two scenarios to this issue, you might encounter one where the login screen does not show up at all, while the second one is when the login screen shows up but there is no username or password box. There are several options you can check out to resolve the problem. You can try to run System Restore or try the combination of Ctrl + Alt + Delete keys. You could also try to enter a username and password to use the computer or disable Fast Startup or troubleshoot the problem in a Clean Boot State. You could also create a new User Account or run Fresh Start or run the Startup Repair. To get started, follow each one of the given options below.

Option 1 – Try using the Ctrl + Alt + Delete key combination

The first and simple thing you can do to fix the login screen is to tap the Ctrl + Alt + Delete keys and see if it makes the credentials appear or not. If not, proceed to the next given option.

Option 2 – Try running System Restore

If you aren’t able to boot into the desktop of your computer, you can run System Restore in the Advanced Startup Options by following these steps:
  • Boot your computer into the Advanced Startup Options screen.
  • From there, you will see some options to troubleshoot when you can’t log in to Windows in the usual way.
  • Now select Troubleshoot > Advanced Options > Command Prompt.
  • After that, type “rstrui” and hit Enter to execute the command which will start the System Restore process.
  • Once it’s done, restart your computer.

Option 3 – Try to turn off Fast Startup

  • Tap the Win + R keys to open the Run dialog box and type in “control” to open the Control Panel.
  • Next, click on the Hardware and Sound section and click on Power Options.
  • Afterward, select the “Choose what the power buttons do” option from the left side menu pane.
  • Now click on Change settings that are currently unavailable and uncheck the entry that says, “Turn on fast startup (Recommended).
  • Then click on Save Changes and restart your computer and see if it has fixed the problem or not.

Option 4 – Try troubleshooting the problem in a Clean Boot State

There are times when some conflicting programs installed in your computer might be the reason why there is an issue with the password box in the login screen of Windows 10. To identify which program is causing the problem, you need to put your computer in a Clean Boot State. To do so, follow the steps below.
  • Log onto your PC as an administrator.
  • Type in MSConfig in the Start Search to open the System Configuration utility.
  • From there, go to the General tab and click “Selective startup”.
  • Clear the “Load Startup items” check box and make sure that the “Load System Services” and “Use Original boot configuration” options are checked.
  • Next, click the Services tab and select the “Hide All Microsoft Services” check box.
  • Click Disable all.
  • Click on Apply/OK and restart your PC. (This will put your PC into a Clean Boot State. And configure Windows to use the usual startup, just simply undo the changes.)
  • From there, start to isolate the problem by checking which one of the programs you installed recently is the root cause of the problem.

Option 5 – Try to run Startup Repair

You might also want to run Startup Repair in fixing the issue with the login screen. To do so, follow the steps below.
  • You can start by creating and booting from a bootable Windows 10 USB Stick.
  • After that, click on Repair your computer located on the bottom left corner when you are on the initial Windows Startup screen.
  • Next, click on Troubleshoot, and then on the other screen, click the Startup Repair option.
  • Now select the operating system you want to repair. Once you do that, it will start to repair your operating system. Wait until the process is completed and then check if the problem’s now fixed.
Read More
How to Fix Windows Update Error 0x800f0900
If you are trying to update or upgrade your Windows 10 computer using the Windows Update and suddenly an “Error 0x800f0900” appears, then you’ve come to the right place as this post will help you resolve this Windows Update issue. When you encounter this error, you will see the following error message on your screen:
There were problems installing some updates, but we’ll try again later. If you keep seeing this and you want to search the web or contact support for information, this may help: 2018-03 Cumulative Update for Windows 10 Version 1709 for x64-based Systems (KB4088776) – Error 0X800F0900”
This kind of Windows Update error is most likely caused by some corrupted files in the system. It is also possible that the Windows Database might have become corrupted as well. So if you are currently experiencing this problem, refer to the options given below and see which one of them works best for you.

Option 1 – Try running the DISM Tool

Running the DISM Tool helps in repairing the Windows System Image as well as the Windows Component Store in Windows 10. Using this built-in tool, you have various options such as the “/ScanHealth”, “/CheckHealth”, and “/RestoreHealth”.
  • Open the Command Prompt as admin.
  • Then type in this command: exe /Online /Cleanup-image /Restorehealth
  • Do not close the window if the process takes a while as it will probably take a few minutes to finish.
After you run this tool, a log file is created at C:WindowsLogsCBSCBS.log. On the other hand, if the Windows Update client is already broken, you will be prompted to use a running Windows installation as the repair source or use a Windows side-by-side folder from a network share, as the source of the files. Although the chances of this happening are less, if it turns out to be the case, you need to run an advanced command in the DISM tool to repair a broken Windows Update. Just repeat the process above but use the following command instead:
DISM.exe /Online /Cleanup-Image /RestoreHealth /Source:C:RepairSourceWindows /LimitAccess

Option 2 – Try running the System File Checker or SFC scan

The SFC scan or System File Checker is a built-in command utility in Windows that helps in restoring corrupted files as well as missing files that cause several issues in the computer like the Windows Update Error 0x800f0900. It replaces bad and corrupted system files with good system files. To run the SFC command, follow the steps given below.
  • Tap Win + R to launch Run.
  • Type in cmd in the field and tap Enter.
  • After opening Command Prompt, type in sfc /scannow
The command will start a system scan which will take a few whiles before it finishes. Once it’s done, you could get the following results:
  1. Windows Resource Protection did not find any integrity violations.
  2. Windows Resource Protection found corrupt files and successfully repaired them.
  3. Windows Resource Protection found corrupt files but was unable to fix some of them.

Option 3 – Try running the Windows Update Troubleshooter

Running the built-in Windows Update troubleshooter could also help you resolve the Windows Update error 0x80073712. To run it, go to Settings and then select Troubleshoot from the options. From there, click on Windows Update and then click the “Run the troubleshooter” button. After that, follow the next on-screen instructions and you should be good to go.

Option 4 – Perform a System Restore

You can also try to perform a System Restore as it can also help you fix the Windows Update Error 0x800f0900. You can do this option either by booting into Safe Mode or in System Restore. If you are already in the Advanced Startup Options, just directly select System Restore and proceed with the next steps. And if you have just booted your PC into Safe Mode, refer to the steps below.
  • Tap the Win + R keys to open the Run dialog box.
  • After that, type in “sysdm.cpl” in the field and tap Enter.
  • Next, go to the System Protection tab then click the System Restore button. This will open a new window where you have to select your preferred System Restore point.
  • After that, follow the on-screen instructions to finish the process and then restart your computer and check if the problem is fixed or not.

Option 5 – Reset both the SoftwareDistribution and Catroot2 folders

You have to stop a couple of services such as BITS, Cryptographic, MSI Installer, and Windows Update Services. And to do that, you need to flush the contents in the SoftwareDistribution folder. The Software Distribution folder in the Windows operating system is a folder that can be found in the Windows directory and is used to store files temporarily which might be required to install the Windows Update on your PC. Thus, it is required by the Windows Update and maintained by WUAgent. Aside from that, it also contains all the Windows Update History files and once you delete them, you will most likely lose the Update history. As a result, the next time you run the Windows Update, it may result in a longer detection time.
  • Open the WinX Menu.
  • From there, open Command Prompt as admin.
  • Then type in the following command – don’t forget to hit Enter right after typing each one of them.
net stop wuauserv net start cryptSvc net start bits net start msiserver
  • After entering these commands, it will stop the Windows Update Service, Background Intelligent Transfer Service (BITS), Cryptographic, and the MSI Installer
  • Next, go to the C:/Windows/SoftwareDistribution folder and get rid of all the folders and files thereby tapping the Ctrl + A keys to select them all and then click on Delete. Note that if the files are in use, you won’t be able to delete them.
After resetting the SoftwareDistribution folder, you need to reset the Catroot2 folder to restart the services you just stopped. To do that, follow these steps:
  • Type each one of the following commands.
net start wuauserv net start cryptSvc net start bits net start msiserver
  • After that, exit Command Prompt and restart your computer, and then try to run Windows Update once more.
Read More
1 2 3 162
Logo
Copyright © 2022, ErrorTools. All Rights Reserved
Trademarks: Microsoft Windows logos are registered trademarks of Microsoft. Disclaimer: ErrorTools.com is not affiliated with Microsoft, nor claim direct affiliation.
The information on this page is provided for information purposes only.
DMCA.com Protection Status