The Windows 10 Orange Screen of Death, unlike Blue Screen of Errors, is quite an uncommon error where the hardware is the culprit which is mostly caused by some issues with the GPU. If you are currently facing this problem, then you’ve come to the right place as this post will guide you on what you can do to fix it.
There have been reports from users that the Orange Screen of Death is caused by various reasons. Some users reported that they encountered Orange Screen of Death when they were watching a YouTube video, while some were not able to boot into their Windows 10 PCs and encountered an error instead of that either says, FAULTY_HARDWARE_CORRUPTED_PAGE or WHEA_UNCORRECTABLE_ERROR error. In addition, this error can also occur when your computer wakes up from Sleep or while using BitLocker, or while you use a second monitor. Whatever the case is, you can try updating your drivers or lower the clock speed of the GPU. You could also try to fix the DRIVER_IRQL issue in case it’s the one that triggers the error or performs Automatic Repair or uninstalls any recently installed software.
One of the possible reasons why you’re getting the Orange Screen of Death error is most likely related to the Graphics card drivers in your computer. Thus, the first thing you can do to resolve it is to update these drivers by following these steps:
Note: You also have the option to go directly to the website of your graphics card manufacturers like NVIDIA, Intel, or AMD and go to the section called Drivers then check if there’s a new available update – if there is, download and install it.
If you have installed a software or two recently and then suddenly encounter this Orange Screen of Death, then they are most likely the culprits. The best thing you can do is to first check the System Log in the Event Viewer for any additional information in case it’s not the GPU but some other driver or device that’s causing the error. Once you have identified the culprits, uninstall them and see if the error is fixed.
If overclocking is enabled, you might have to disable it as some users reported that the WHEA_UNCORRECTABLE_ERROR 0x00000124 error started to appear right after overclocking. To disable it, follow the steps below.
The Driver Verifier Manager is another tool in Windows that could help you fix driver-related issues. And so if you want to fix the Wdf01000.sys Blue Screen error, you need to use the Driver Verifier Manager:
You might also want to use Automatic Repair in fixing the error. To do so, follow the steps below.

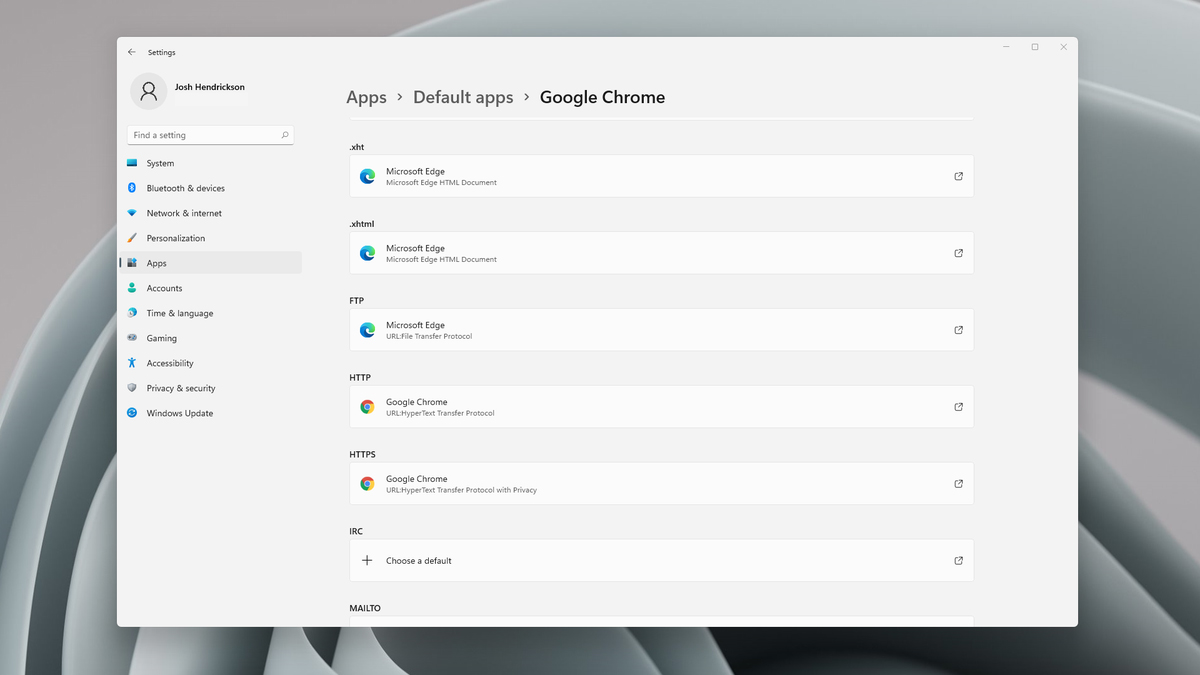 Choosing default browser in settings
“There were some problems installing updates, but we’ll try again later. If you keep seeing this and want to search the web or contact support for information, this may help – (0x80240438).”To resolve Error Code 0x80240438, here are some potential fixes you need to check out:
“This setting allows you to remove access to Windows Update. If you enable this setting, all Windows Update features are removed. This includes blocking access to the Windows Update Web site at http://windowsupdate.microsoft.com, from the Windows Update hyperlink on the Start menu, and also on the Tools menu in Internet Explorer. Windows automatic updating is also disabled; you will neither be notified about nor will you receive critical updates from Windows Update. This setting also prevents Device Manager from automatically installing driver updates from the Windows Update Web site.”If you enable this policy setting, you can configure one of the following notification options:
CHKDSK [volume [[path] filename]] [/F] [/V] [/R] [/X] [/C] [: size]]Note: In the command given above, “[/F]” will try to fix the system errors while “[/R]” will be the one to fix the bad sectors.
 Error Causes
Some Windows 7 and Windows 8.1 users reported experiencing a Compare Exchange128 error when trying to upgrade to Windows 10. The error reads, “You can’t install Windows 10 because your processor doesn’t support CompareExchange128”. In order to upgrade to Windows 10 (64-bit), the CMPXCHG16B instruction must be present. If you receive this error, this mostly means that your CPU doesn’t have the CMPXCHG16B instruction.
Error CausesThe CompareExchange128 error normally occurs due to two possible reasons:
One main requirement to upgrade to Windows 10 is for your CPU to have the CMPXCHG16b instruction. You also need the right BIOS version to guarantee a smooth installation. See below on how to manually fix this issue.
NOTE: If you don’t feel confident using the manual methods listed below, it’s highly advisable to get help from an expert technician. If you don’t know someone, you can also use an automated tool to fix this.
Before performing any fixes, try to determine first if the cause of the error is due to your CPU lacking the CMPXCHG16b instruction. You can use a CPU Info tool that provides complete details about your processor, memory, and motherboard. If you’re looking for more in-depth information, you might also try command-line utilities. But, the safest and easiest way to check this is by simply searching online. Try using the search query: <CPU Model> CMPXCHG16b
This method will download the latest BIOS from your motherboard’s manufacturer. This makes sure your CPU has the CMPXCHG16b instruction needed to complete the Windows 10 64-bit installation. To update your computer’s BIOS, complete the following steps:
If updating the BIOS doesn’t work, what you can do is install a 32-bit version of Windows 10 instead of the 64-bit version. Here’s how to do this:
If the above two methods don’t work, there’s a great chance that this error occurs because of an outdated processor/motherboard. Your next possible solution is to buy an updated model that’s fully compatible with 64-bit Windows 10.
If all else fails, you might want to consider using this powerful automated tool to quickly fix the problem and any other computer-related issues.
 The list contains some nice essential and good things but we gave our best not to break the bank so you will not find any large screens or 300$ keyboards here. Of course, you can always get expensive gifts and if you have money for it do it, it is just we want to have affordable stuff here.
Error Causes
The list contains some nice essential and good things but we gave our best not to break the bank so you will not find any large screens or 300$ keyboards here. Of course, you can always get expensive gifts and if you have money for it do it, it is just we want to have affordable stuff here.
Error Causes