Fix Mfplat.dll missing on Windows 10

Recently, a number of users reported that they were not able to run PLEX and other similar streaming services ever since a Windows Update was automatically installed in the system. The error in these streaming services has something to do with a missing Mfplat.dll DLL file from the Windows Media Feature Pack. On the other hand, some users also reported that the mfplat.dll error occurred on several games as well which used the Media Feature Pack.

Usually, the mfplat.dll error is caused by the missing Media Feature Pack in Windows 10. Although most of the time the Media Feature Pack is installed by the application that needs it or through Windows Update automatically, there are just certain installers that do not have it. It could be that the Media Playback service was disabled by a particular Windows Update. Aside from that, the error might be because your computer is using Windows 10 N – a Windows 10 version that does not include the Media Feature Pack by default. Whatever the cause may be, you can troubleshoot the problem with the help of the options given below. But before you go on, keep in mind that downloading the missing DLL file and copying it to the folder of the program where you encounter the error won’t really help and will only make things even more complicated.

Option 1 – Install the Media Feature Pack for Windows 10 N version

As mentioned, the Windows 10 N version does not come with Windows Media Player. Meaning to say, the Media Feature Pack is also not installed by default or won’t be updated by the Windows Update component. So if you are not quite sure what Windows 10 version you currently have installed, refer to these steps:

  • Tap the Windows key + S and then type “about” in the search box.
  • From the search results, click on the “About your PC” to open the About tab of the Settings app.
  • Afterward, scroll down to the Windows specifications and check your Windows version under Edition.

Note: If you’ve determined that your computer is using the Windows 10 N version, you need to install the appropriate Media Feature Pack for your computer. How? Refer to the steps below:

  • Click this link to download and install the Media Feature Pack from Microsoft’s official website.
  • Upon installation, select the edition you want to install using the drop-down menu and then click on Confirm. Take note that there are few reasons why you’d want to install the older version since most streaming services like PLEX and most games usually require version 1803.
  • After that, wait until the request is validated. The download should begin in a few minutes automatically.
  • Once the download is completed, open the installation executable file and follow the next on-screen instructions to install the Media Feature Pack on your computer.
  • Restart your computer. After your computer has rebooted, open the application where you’re getting the mfplat.dll missing error and then check if the problem is now fixed.

Option 2 – Enable Media Playback via Command Prompt

If you encounter the mfplat.dll missing error when you attempt to run PLEX or other similar streaming service and you’ve already verified that the Media Feature Pack is indeed installed, you might want to try enabling it using an elevated Command Prompt. There are cases when a particular Windows Update ends up disabling the feature and creates the grounds which results in the mfplat.dll missing error. Thus, you can have to enable the feature via Command Prompt.

  • Tap the Win + R keys to open the Run dialog box.
  • Then type “cmd” in the field and hit Enter to open an elevated Command Prompt.
  • Next, click on Yes if a User Account Control prompt pops up.
  • After opening Command Prompt, copy and paste the following command and hit Enter to execute it:

dism /online /enable-feature /featurename:MediaPlayback

  • Close Command Prompt and then open the app once again to check if the problem is now fixed.

Option 3 – Try extracting a copy of the mfplat.dll file from the windows.old directory

If you encounter the error shortly after you just upgraded to Windows 10 from an older version, the best thing you can do to resolve the problem is to use windows.old directory to fetch an old copy of the mfplat.dll file. To do so, follow the steps below.

  • Go to the Windows drive and then look for the windows.old directory where it preserves a copy of your old operating system as well as associated files in case something goes out of hand during the upgrade process.
  • After that, open the windows.old folder and then go to the syswow64 folder.
  • Next, from the syswow64 folder, copy the mfplat.dll file and paste it to C: windows syswow64.
  • Restart your computer and check if the error is now resolved or not.
If you like to learn and find out more about various Windows errors, and how to repair them go to our vast archive or use search to find articles that will explain and help you in solving your issue.
However, if you prefer to do things fast and with automatization then we are proposing to use an automated solution for your issues. The application that we are recommending is Advanced System Repair Pro
Advanced System Repair utilizes multiple tools all in one to give you a quick, simple, reliable, and very thorough diagnosis of your PC. It brings you all the tools you need in one program to clean, fix, protect, optimize and boost your PC!
1-Click Maintenance
All the tools to make it simple and easy! It's like having a professional technician at the click of a mouse.

Junk Cleaner
Keeping your computer free from unnecessary clutter also helps make your computer last longer. Like any other machine, if you keep it clean and take care of it, it will serve you better for longer!

Optimize background apps
Optimize applications background activity with the built-in Application Optimizer feature.

Disk Defrag
With a simple 1-click, Advanced System Repair speeds up your PC by assembling fragmented files on your machine and organizing them more efficiently.

Malware Removal
Finds and removes all types of harmful malware including trojans, worms, bots, adware, spyware, PUPs, and more!

Privacy Cleaner
The all-in-one privacy suite to Clean Your Tracks & Protect Your Privacy! Make your computer safe, secure, and more efficient!

System Tweak/Optimizer
ASR will analyze your complete system and settings to adjust your PC to function at its maximum performance.

Registry Cleaner
Over time, as you install and uninstall applications, the registry can become cluttered with old entries and broken settings which can result in program crashes, and annoying messages and slow the computer down.
Visit our Advanced System Repair Pro Download page to inform yourself about all the benefits of this software and get a free trial copy of it.
advanced system repair pro

Advanced System Repair Pro

One-click automated PC repair solution
ASR logo
With Advanced System Repair Pro you can easily
Replace damaged files
Restore performance
Free disk space
Remove Malware
Protects WEB browser
Remove Viruses
Stop PC freezing
DOWNLOAD
Privacy Policy | Terms of Use | Uinstall
Advanced System Repair Pro is compatible with all versions of Microsoft Windows including Windows 11

Share this article:

You might also like

Upcoming Windows features for future
It is no secret that Microsoft is trying to keep Windows relevant and that it is trying to make it as good as possible. A new Windows update will bring some interesting stuff in it which well some like it, some not so much. Among various technical and security updates Microsoft will bring some directly visible to each user.

First

of these features will be File explorer compact mode. This feature is a sort of spacing content in file explorer giving it easier access if you are using a touch screen device. Now, this feature is somewhat strange, and altho I can understand and get behind the logic of this move I am not sure I like it. Lucky for me and others who feel the same this option can be turned off for now.

Second

feature is something I can get behind, improvements for virtual desktops. There is an article on errortools about virtual desktops feature and I really hope you are using it since it is a great feature. Anyway, new update will bring us separate desktop wallpapers for each desktop and we will be able to arrange them in order we like.

Third

thing that I would like to address is animation features. We will have windows slowly fade and resize when opened, minimized, maximized, etc. So far we are unable to tell how this can and will it affect overall system performance. I am sure it will have some impact but hopes are that it will be kept to a minimum. If you would like to read more helpful articles and tips about various software and hardware visit errortools.com daily.
Read More
New Windows 11 keyboard shortcuts
New Windows brings new keyboard shortcuts, most of them are tied to new features and we are presenting you some new ones that are worth remembering. keyboad shortcuts⊞ WINDOWS + N - notification panel ⊞ WINDOWS + W - News and Interests feed With the News and Interests feed, Windows 11 offers users the ability to check the latest news, the weather, and more without opening a browser window. ⊞ WINDOWS + Z - Snap Layout Instead of the usual two windows snapping capability, Windows 11 allow users to snap their windows in a three-column layout. Users can access this by pressing Windows Key and Z to access the Snap layout. ⊞ WINDOWS + PRT SCN - taking screenshots This one isn’t exactly new, but pressing the Windows Key and Print Screen will automatically capture the entire screen and save a copy of the image on your PC. Once the screen flashes, you will know that the screenshot has been taken, after which you can find the file saved under your Pictures folder in a subfolder called Screenshot. ⊞ WINDOWS + C - Microsoft Teams chat Microsoft Teams app, the service allows anyone with a Microsoft account to quickly start a chat using the Windows + C shortcut.
Read More
Signs of a dying graphic card
Can graphic cards wear out over a longer period of time? Recent studies and experience from crypto miners say no but they can die due to different reasons like improper use, low cleaning habits, factory mistakes, etc. Many gamers and people who use GPU intense applications tend to think that some glitches and hiccups in the software are a sign that graphic card is dying out and that it is time to be replaced. Altho this could be true in many cases these kinds of behavior are mostly due to old drivers and software issues. Older cards can produce these kinds of results due to their old age and new software is often more demanding than these cards can handle. So in order to diagnose and be sure that your GPU is indeed dying out lookout for these signs.

The Main Signs of a Dying GPU:

The Computer Crashes and Won’t Reboot

If your computer shutdown while working in the graphic application or while playing the game and the monitor loses signal there is a high chance the graphic card is soon going to be gone. Some motherboards have hardware detection failure and can signal immediate fail. If when turning your computer ON you are greeted with a blue screen with the message that the signal can not be found or you do not have picture at all it is most likely that GPU has failed.

Graphic Glitches While Playing Games

If you are playing the game and all of sudden you get off-color pixels, screen flickering, strange graphic behaviors, random artifacts, or similar and that keeps repeating in multiple games it is likely that GPU days are coming to an end.

Abnormal Fan Noise or Performance

Fans are an essential part of cooling the GPU and over time if they are intensively used they could wear out and need replacing. If however you have not noticed and have not replaced the fans card can sustain overheating damage. Many cards have cooling fans that are designed to spin at a higher RPM only when the GPU is under load. It prevents bearings in the fans from dying prematurely, so don’t worry if one of your fans is inactive while you are browsing the web. However, when you play games that utilize software that your card isn’t built to support, the bearings in the fans wear out faster. Once the fans stop working under load, the graphics card can quickly die.

How to Diagnose a Dying Graphics Card

Presented next are essential steps in order to recognize a dying graphic card.

Check Motherboard Error Codes

Many motherboards today completely shut down a component that is no longer working. If your graphics card has died completely, this may be one of the easiest ways to tell. If your motherboard doesn’t have display codes, you can try testing the card in a new system.
  • Open the computer case: Use your screwdriver to remove screws on the side panel and gently slide it back.
  • Locate the error code display on your motherboard: If you have a motherboard with error codes, they should appear near an outer corner.
  • Try to reboot your computer: Record each error number you see after you boot your computer.
  • Consult the motherboard manufacturer manual for error codes: Open the manual and locate the list for your error codes. If the code matches a graphics processing unit error, your video card could have died.

Check Hardware for Damage or Debris

A graphics card that has damage or debris on the physical parts might quickly overheat and kill the card.
  • Remove the screws holding the GPU in place: There are typically one or two screws holding the card to a bracket on the case.
  • Unhook the power cords from the GPU and pull the release tab: Remove the power cords from your GPU by pushing in their tabs and gently rocking them out. Once you remove each cord, gently push or pull up on the release tab near the motherboard.
  • Inspect the GPU for damage/debris: Check the card for any dirt or debris buildup and clean it out with a Q-tip. You can replace broken fan pieces from the manufacturer.

Test Your GPU Under Load

Download GPU stress-testing and heat-monitoring software.
  • With the card installed, run a stress test.
  • As you are running the stress test, run heat-monitoring software: With the stress test running, check your heat-monitoring software for GPU overheating. Any reading over 80 degrees Celsius is too hot.
  • Check device manager for outdated drivers: If your GPU is clean, but still running too hot, your software drivers are not installed correctly. To check, type in “device manager” at the bottom of your desktop and click on Device Manager. Find your display adapter and right-click on it to see if it’s working. If your drivers are not working correctly, it is indicated here usually. However, the driver may appear to be functioning even if it says otherwise in the properties.

Keep your graphic card drivers updated

When you don’t have the right driver installed, graphics cards can quickly burn up, and their cooling components may fail faster. That’s why you should always keep drivers updated for each new game you install or play. Older games may also release new software patches, so your GPU drivers should be updated accordingly.
Read More
How to Fix Plugin.dll Error

Repair Plugin.dll Error

Plugin.dll Error - What is it?

Plugin.dll is a dynamic link library file associated with Adobe Photoshop CC powered by Adobe Systems Incorporated for the Windows Operating System. DLL are small programs similar to ‘exe’ files which allow multiple software programs to share the same functionality. It is used to call commands, load applications, and successfully execute applications. Plugin.dll error messages may appear during program installation, while a plugin.dll related software program (Adobe Photoshop CC) is running, during startup and shutdown.

Solution

Restoro box imageError Causes

Plugin.dll errors may occur due to multiple reasons such as:
  • Missing or corrupt Plugin.dll files
  • Viral infection
  • Issues in the Windows registry
  • Broken registry keys
Plugin.dll errors may appear on a Windows-based computer as the following:
  1. “Plugin.dll not found."
  2. “The file Plugin.dll is missing."
  3. “Cannot register Plugin.dll."
  4. "Cannot start Adobe Photoshop CC. A required component is missing: Plugin.dll. Please install Adobe Photoshop CC again."
All the causes of the plugin.dll error code are associated with the registry. It is advisable to repair this error before it causes serious damages to your system.

Further Information and Manual Repair

To repair the plugin.dll error on you system, you don’t have to hire a technician or be adept at computer programming. The best way to resolve this error code is to download Restoro. This is a new, innovative, high and multi-functional PC fixer integrated with powerful and performance-driven multiple utilities. It includes a registry cleaner, and system stability scanner. So, whether the cause of the error code Plugin.dll error on your system is missing DLL files or even broken registry keys, Restoro can help you repair all these issues in no time. It is user-friendly and can be operated by users of all levels. Dll files go missing and registry gets corrupt because of the data overload in the RAM/the hard disk. This happens due to poor PC maintenance. The registry tends to save all the activities performed on the PC this includes even the junk files, invalid registry entries and files from uninstalled programs. If the registry is not cleaned regularly, such files accumulate a lot of disk space which leads to registry malfunctioning. It damages .dll files and eventually corrupts the registry. By scanning your PC with a powerful registry cleaner, you can easily wipe out the files cluttering your PC and clear your disk space. Additionally, it also repairs the damaged plugin.dll files, fragmented disk and corrupt registry.  Thereby restoring your PC to its normal condition and resolving the plugin.dll error code on your system. Besides this, you can also run Restoro on your PC to resolve speed issues and Active X and class errors. It is safe, efficient and compatible with all Windows versions. Click here to download Restoro and resolve the plugin.dll error.
Read More
Fix Boot Configuration Data error 0xc0000185
This post will guide you in fixing a particular problem where your Windows 10 computer does not even let you turn it on and it appears as soon as it starts to boot the operating system and it displays an error message that says, “The Boot Configuration Data for your PC is missing or contains errors, Error code 0xc0000185”. On the other hand, it may also display a different error message saying, “The operating system couldn’t be loaded because a required file is missing or contains errors”. There are various suggestions you can try to resolve this error. You could check the physical status of your hardware or rebuild the Boot Configuration Data, use the Automatic Startup Repair or System Restore, or better yet, reset your Windows 10 computer. Since your computer will not boot, you will have to either try to get into the Advanced Startup Options screen, boot Windows 10 in Safe Mode, or use a bootable Windows 10 media to boot your computer.

Option 1 – Try to rebuild the BCD files

The first thing you can do to resolve the issue is to Rebuild Boot Configuration Data or BCD files.
  • You can start by booting into the installation environment for Windows 10 from an installation media.
  • After that, click on Repair your computer and on the blue screen, select Troubleshoot and then select the Advanced options menu.
  • From there, select Command Prompt and once you open it, enter each one of the commands given below by sequence.
    • bootrec /FixMbr
    • bootrec /FixBoot
    • bootrec /ScanOS
    • bootrec /RebuildBcd
  • Once you’re done executing the commands given above, type “exit” to close the Command Prompt window and then restart your computer and see if it fixed error code 0xc000014c.

Option 2 – Try to run Automatic Startup Repair

In this option, you need to boot your computer into the Advanced Startup Options and from there, run the Automatic Startup Repair and then wait until the process is completed.

Option 3 – Try running System Restore in Advanced Startup Options

Since you probably can’t boot into your Windows 10 computer, you can try to run System Restore again in the Advanced Startup Options.
  • Boot your computer into the Advanced Startup Options screen.
  • From there, you will see some options to troubleshoot when you can’t log in to Windows in the usual way.
  • Now select Troubleshoot > Advanced Options > Command Prompt.
  • After that, type “rstrui” and hit Enter to execute the command which will start the System Restore process.

Option 4 – Try to perform repair install by creating a Windows 10 installation media

  • Click this link and then click the Download Tool Now button.
  • Next, click the “Use the tool to create installation media (USB flash drive, DVD, or ISO file)…” option and follow the next given instructions on the screen.
  • Now select the ISO file option in step 5.
  • After that, you should now have an ISO file.
  • Next, go to the location where you’ve downloaded the ISO file.
  • Then right-click on the Windows 10 ISO file and select the Open with option and then select File Explorer.
  • Now click on “setup.exe” and follow the next instructions that appear on the screen. When asked, you have to select either Nothing (clean install) or Keep personal files only option. Take note that you must not select the “Keep personal files, apps, and Windows settings since it doesn’t really work.

Option 5 – Try to physically check the hardware

You should also check the physical status of the hardware in your computer. You can clean the dust off the hardware components like the Network Card of the computer. You might want to use a small blower or you could also use a soft cloth and run the components gently. Make sure that you don’t damage any parts with moisture or cause harm to any circuits while you carry out this task.
Read More
Windows 11 was released in beta for all
windows 11 beta
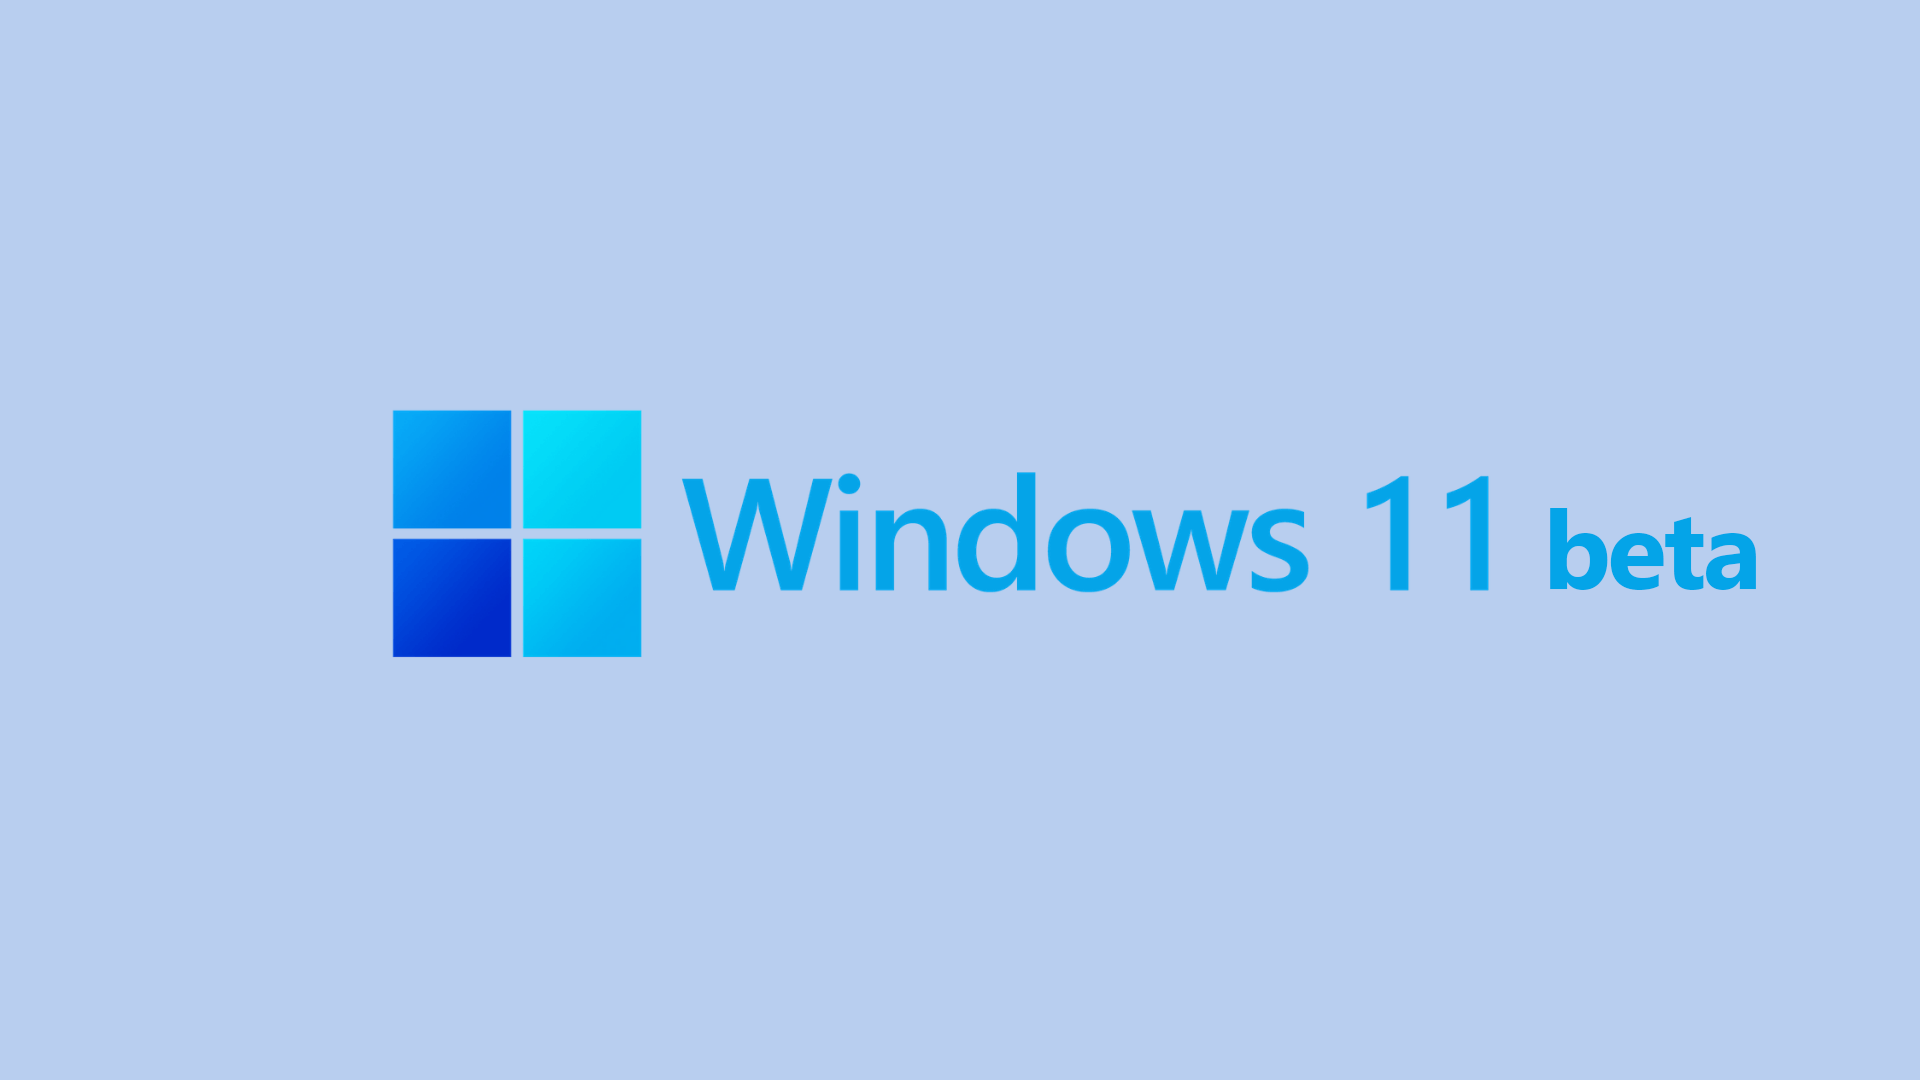
Microsoft has released Windows 11 as a public beta release for all the people that are not willing to be in the insider program. Beta release as of this moment is identical to Insider Preview build 22000.100. and updates will not roll so fast as in insider preview and it is marked as unstable release, same as insider build. I would not install Windows 11 beta on the main PC since some drivers still have issues and may lead to some blue screens. Be aware that the beta build will have all Windows 11 system requirements including TPM 2.0. This is a big difference from insider build which can be installed on systems lacking official requirements. So basically if you have a spare PC that could run Windows 11 install it so you can see what it brings and feel it so you can make a decision will upgrade once it is released later this year.
Read More
Make START menu full screen in Windows 10
Hello and welcome to another great tutorial from errortools.com. Today we will be making Windows START menu full screen. First introduced in Windows 8.1, the start menu has been shifted from full screen to gadget like in Windows 10 but if you prefer to have it over the entire screen with all of its glory and large icons you can do so and we will be happy to show you how. Press ⊞ WINDOWS and choose settings. Windows 10 Star menu with marked settings iconFrom the settings screen, choose Personalization. Windows 10 settings menu with marked Personalization groupUnder personalization options click on START. windows settings start screen sectionAnd then on the right part click on the button under Use Start full screen to turn it ON windows settings start screen switch for full screenThat's it, your start menu is now full screen.
Read More
Fix Something went wrong with the projection
As you know, Windows 10 is created with the goal of developing an operating system that caters to users’ needs and enhances productivity. That’s why modern computers that are running the Windows 10 OS have the capabilities to project their screen to an external display wirelessly. That said, Microsoft has a dedicated and pre-installed app called Connect which helps another device to project their screen on the computer. However, this feature is kind of delicate and won’t work unless it’s properly configured. So if some configuration does not work out well, it will throw an error message that says
“Something went wrong with the projection”.
This kind of error is caused by some issues with the Display driver, hardware, corrupted or damaged system files, and so on. And to fix it, there are several methods you can check out. You can try to update, roll back or reinstall the Display drivers. You could also run the Network Adapter troubleshooter or the Video Playback troubleshooter as well as run System Restore to undo any recent changes that might have triggered the error or reset your Windows 10 computer without deleting any files. For more details, refer to each one of the options provided below.

Option 1 – Try to update or rollback the Graphics driver

You can try to update your Graphics card driver using the Device Manager in your computer to resolve the blank dialog boxes problem or you can also go directly to the website of your graphics card manufacturers like NVIDIA, Intel, or AMD and go to the section called Drivers then check if there’s a new available update – if there is, download and install it. To update your Graphics driver via Device Manager, refer to these steps:
  • First, boot your computer into Safe Mode.
  • After that, tap the Win + R keys to launch Run.
  • Type in MSC into the box and tap Enter or click OK to open the Device Manager.
  • After that, a list of device drivers will be displayed. From there, look for the Display Adapters and click on them.
  • After that, right-click on each entry under the Display Adapters and select the “Uninstall Device” option from the menu.
  • Now restart your computer.
  • After restarting your computer, go to the Settings app and Check for Updates in the Windows Update section.
Note: If updating the Graphics driver didn’t fix the problem, you can also try to roll back to its previous version and see if that helps or you could also try to roll back, update or reinstall the Network Adapter drivers.

Option 2 – Try to run the Network Adapter troubleshooter

To run the Network Troubleshooter, refer to these steps:
  • Open the Search bar on your computer and type in “troubleshoot” to open the Troubleshoot settings.
  • Next, scroll down and select the “Network Adapter” option from the right pane.
  • Then click on the Run Troubleshooter” button.
  • After that, your computer will check for any possible errors and will pinpoint the root cause of the problem if possible.
  • Restart your computer.

Option 3 – Try to run the Video Playback troubleshooter

If the Network Adapter troubleshooter didn’t work in fixing the problem, you can try to run the Video Playback troubleshooter instead. To run it, simply go to Settings > Update & security > Troubleshoot. From there, scroll down until you see the Video Playback option and then click on the “Run the troubleshooter” button to get started. This troubleshooter will detect and automatically fix any problems related to video playback so it should help fix the error.

Option 4 – Try performing a System Restore

You might also want to perform a System Restore that might help you in fixing the error. You can do this option either by booting into Safe Mode or in System Restore. If you are already in the Advanced Startup Options, just directly select System Restore and proceed with the next steps. And if you have just booted your PC into Safe Mode, refer to the steps below.
  • Tap the Win + R keys to open the Run dialog box.
  • After that, type in “sysdm.cpl” in the field and tap Enter.
  • Next, go to the System Protection tab then click the System Restore button. This will open a new window where you have to select your preferred System Restore point.
  • After that, follow the on-screen instructions to finish the process and then restart your computer and check if the problem is fixed or not.

Option 5 – Reset your computer

  • Tap the Win key or click on the Start button located in the Taskbar.
  • Then click on the Power button at the bottom right portion of the screen.
  • Next, press and hold the Shift key on your keyboard and then click on Restart. This will restart your Pc into the Advanced Startup options.
Note: Once you have access to the Advanced Startup options, you have to go to the setting which allows you to Reset your Windows 10 PC. All you have to do is select Troubleshoot > Reset this PC to reach the following screen Afterward, select either the “Keep my files” option and then proceed to the next on-screen instructions that follow to reset your Windows 10 computer without losing your files.
Read More
Fix The backup application could not start
Windows comes with a built-in backup solution. However, if it failed because of an internal error, you will encounter an error message saying, “The backup application could not start due to an internal error, Server execution failed (0x80080005)”. When you get this kind of error, it means that it did not start and the process failed with a Server execution error. If you got this kind of error worries not for this post will guide you in fixing the problem in your Windows 10 computer. The Windows Backup service is an excellent feature in Windows that only works on the NTFS file system and if you want to use this make sure that you have formatted your files system to NTFS. It is performed by the Volume Shadow Copy, all you have to do is right-click on any folder and if you see the “Previous versions” option, this means that a backup process runs from time to time and can bring back old files when needed. To resolve the “The backup application could not start due to an internal error”, here are two suggestions you can check out.

Option 1 – Check if the Volume Shadow Copy service is running and restart it

The first thing you need to do is check if the Volume Shadow Copy service. To do that, refer to the following steps:
  • Click on Start and type “cmd” and right-click on Command Prompt from the search results.
  • Then select the “Run as administrator” option to open Command Prompt with admin privileges.
  • After that, type “net stop sdrsvc” and hit Enter to execute the command in stopping the Volume Shadow Copy service.
  • Next, type the “net start sdrsvc” command and hit Enter to start the service again.
Note: You can also restart the service using the Windows Services Manager.
  • In the Cortana search box, type “services” and click on the Services icon to open the Services Manager. Alternatively, you can also tap the Win + R keys to launch the Run prompt and then type “services.msc” in the field and hit Enter to open the Services Manager.
  • From there, look for the Volume Shadow Service (sdrsv) from the list of services. Its Startup type should be set to Manual by default.
  • Restart the service and if you don’t encounter any error while you turn it on, re-run the backup service and see if the backup process runs successfully.

Option 2 – Try to run the Volume Shadow Copy Service in a Clean Boot State

If the first option didn’t work and the service still keeps on failing even though the service is running, you can try putting your computer in a Clean Boot State and then try to run Windows Backup again.
  • Log onto your PC as an administrator.
  • Type in MSConfig in the Start Search to open the System Configuration utility.
  • From there, go to the General tab and click “Selective startup”.
  • Clear the “Load Startup items” check box and make sure that the “Load System Services” and “Use Original boot configuration” options are checked.
  • Next, click the Services tab and select the “Hide All Microsoft Services” check box.
  • Click Disable all.
  • Click on Apply/OK and restart your PC. (This will put your PC into a Clean Boot State. And configure Windows to use the usual startup, just simply undo the changes.)
  • Now try to run the Volume Shadow Copy service again and see if the process goes smoothly.
Note: You might also want to delete all the files in the backup solution if you want to start fresh with the backup solution. Just go to C:/System/Volume/Information/Windows Backup and take ownership of the folder. After that, make sure to stop the Volume Shadow Copy service and then delete all the files inside it.
Read More
A Quick Guide to Fixing Error 2046

Resolve Error 2046

Error 2046 - What is it?

Error 2046 is an error code related to Adobe Flash Player. It usually occurs while watching movies or videos on the web browser. This error code may interrupt video display and hamper you from watching your favorite movies and videos.

Solution

Restoro box imageError Causes

Narrowing down the reason for the occurrence of this error code is quite difficult virtually because it may trigger due to several reasons such as:
  • There might be issues with Adobe Flash Player settings
  • Ad-blocking products
  • Windows not updated
  • Registry issues
  • Malware infection
  • Flash Player Add on not properly installed

Further Information and Manual Repair

The good news is that the error 2046 is not fatal. It is easy to fix. In fact, it is so easy to repair that you can do it all by yourself even if you are not a computer whiz. You don’t have to hire a professional and spend hundreds of dollars on repairs. Here are some of the many manual solutions that you can try to fix this issue on your computer screen:

Reinstall Adobe Flash Player

Since this error code is largely related to Adobe Flash Player, it is advisable to start by reinstalling the Flash Player. Here is a step-by-step guide to help you work through it.
  1. First, click start and then select the control panel.
  2. Now click on programs and then uninstall Flash Player from the program list.
  3. After that’s done, reboot your computer.
  4. Now download Adobe Flash Player from a reliable website and run it.
If it works perfectly, then the issue is resolved. If not, then try other methods given below.

Re-Enable Flash Player Add-on

Adobe Flash Player add-on is basically installed in IE (Internet Explorer) which is loaded each time you load IE. Sometimes the problem with this add-on can also generate error 2046.
  1. To resolve this, open Internet Explorer and press Alt-Key.
  2. Select tools and then manage add-ons.
  3. Now select Adobe Flash Player Active X and then click disable tab.
Once that’s done, restart the web browser and repeat the same steps but this time click enable button. This will hopefully resolve the issue.

Unblock Ad Blocking Products

Sometimes error 2046 may pop up on your screen if you use ad-blocking products like AdBlock Plus. If so, then try uninstalling ad-blocking products installed on your PC to fix the issue.

Install Window Update

Microsoft releases new updates every now and then. These updates are made with the objective of solving bugs and run-time errors like error 2046. Therefore if the error code is related to Windows updates then to resolve it is it advisable to launch the Windows update program and update your operating system. For this, click Start, All Programs, and then click Windows Update. Now click the Check for updates button and download and install the new updates. Once that is complete, restart your PC to bring changes into effect.

Scan for Malware and Look For Registry issues

Whether the issue is related to malware or the registry, it is recommended to download Restoro. This is a next-generation and a multi-functional PC Fixer embedded with a powerful antivirus and a registry cleaner. Run it on your PC and scan for viruses and registry issues and click repair to resolve. It is user-friendly and compatible with all Windows versions. Click here to download Restoro to resolve error 2046.
Read More
1 2 3 162
Logo
Copyright © 2022, ErrorTools. All Rights Reserved
Trademarks: Microsoft Windows logos are registered trademarks of Microsoft. Disclaimer: ErrorTools.com is not affiliated with Microsoft, nor claim direct affiliation.
The information on this page is provided for information purposes only.
DMCA.com Protection Status