Media Creation Tool Error 0x80042405-0xA001A

As you know, the Windows Media Creation Tool is a great utility in Windows that helps lots of users in installing Windows on their PCs. However, just like any other program in Windows, it also experiences a couple of issues every now and then. So in this post, you will be guided on how you can resolve a particular issue in the Media Creation Tool which is the error 0x80042405-0xA001A. You can encounter this error while creating a USB installation media used in installing Windows 10.

When getting this kind of error in the Windows Media Creation Tool, you will see the following error message on your screen:

“We’re not sure what happened, but we’re unable to run this tool on your PC, Error code 0x80042405 – 0xA001A”

The error 0x80042405 – 0xA001A occurs while creating a bootable USB installation drive. This is a common error faced by many users and it has something to do with the USB hardware. To get this issue fixed, here are some suggestions you could check out.

Option 1 – Try to reformat the USB drive

Reformatting your USB drive might help in fixing error 0x80042405 – 0xA001A.

  • Open This PC and right-click your USB drive from there then select Format.
  • Next, select FAT32 as the drive type and uncheck the “Quick Format” option.
  • After that, try to run the Windows Media Creation Tool again and check if the error is fixed or not. But hopefully, it should work since formatting the drive as FAT32 will give the driver a proper type and would resolve any minor issues in the drive.

Option 2 – Copy the Windows Media Creation Tool to the USB drive

If the first option didn’t work, you might want to copy the latest version of the Media Creation Tool to the USB drive. After you do that, you can run it from inside the drive. This is actually a working fix and can definitely get the USB drive to run with Windows inside it so it should resolve the error 0x80042405 – 0xA001A on the Windows Media Creation Tool.

Option 3 – Run CHKDSK to check the drive for errors

When it comes to some issues concerning the hard drive or removable devices, there is a utility in Windows that might help which is called “chkdsk”. This error check utility can help with several issues in the system including the “Diskpart failed to clear disk attributes” error.

  • Tap the Win + S keys to open the Search box.
  • Then type “command prompt” in the field and from the search results that appear, right-click on Command Prompt and select “Run as administrator”.
  • After opening an elevated command prompt, copy and paste the following command and hit Enter:

CHKDSK [volume [[path] filename]] [/F] [/V] [/R] [/X] [/C] [: size]]

Note: In the command given above, “[/F]” will try to fix the system errors while “[/R]” will be the one to fix the bad sectors.

  • Now if you are prompted to run CHKDSK after your reboot your PC, just tap Y and reboot your PC.
  • If CHKDSK is not able to find any errors, tap the Win + E keys and navigate the access window. From there, right-click on the concerned drive and click on Properties.
  • After opening Properties, click on the tab Tools and then click on the “Check” button under the Error-checking section.
  • Wait until the process is completed and then restart your computer.

Option 4 – Try checking the hardware components

On the other hand, it is also possible that the issue has something to do with a hardware problem and so you need to check the hardware components on your computer to determine that.

If you like to learn and find out more about various Windows errors, and how to repair them go to our vast archive or use search to find articles that will explain and help you in solving your issue.
However, if you prefer to do things fast and with automatization then we are proposing to use an automated solution for your issues. The application that we are recommending is Advanced System Repair Pro
Advanced System Repair utilizes multiple tools all in one to give you a quick, simple, reliable, and very thorough diagnosis of your PC. It brings you all the tools you need in one program to clean, fix, protect, optimize and boost your PC!
1-Click Maintenance
All the tools to make it simple and easy! It's like having a professional technician at the click of a mouse.

Junk Cleaner
Keeping your computer free from unnecessary clutter also helps make your computer last longer. Like any other machine, if you keep it clean and take care of it, it will serve you better for longer!

Optimize background apps
Optimize applications background activity with the built-in Application Optimizer feature.

Disk Defrag
With a simple 1-click, Advanced System Repair speeds up your PC by assembling fragmented files on your machine and organizing them more efficiently.

Malware Removal
Finds and removes all types of harmful malware including trojans, worms, bots, adware, spyware, PUPs, and more!

Privacy Cleaner
The all-in-one privacy suite to Clean Your Tracks & Protect Your Privacy! Make your computer safe, secure, and more efficient!

System Tweak/Optimizer
ASR will analyze your complete system and settings to adjust your PC to function at its maximum performance.

Registry Cleaner
Over time, as you install and uninstall applications, the registry can become cluttered with old entries and broken settings which can result in program crashes, and annoying messages and slow the computer down.
Visit our Advanced System Repair Pro Download page to inform yourself about all the benefits of this software and get a free trial copy of it.
advanced system repair pro

Advanced System Repair Pro

One-click automated PC repair solution
ASR logo
With Advanced System Repair Pro you can easily
Replace damaged files
Restore performance
Free disk space
Remove Malware
Protects WEB browser
Remove Viruses
Stop PC freezing
DOWNLOAD
Privacy Policy | Terms of Use | Uinstall
Advanced System Repair Pro is compatible with all versions of Microsoft Windows including Windows 11

Share this article:

You might also like

Capture screen with Windows 10
if you were following our articles you are aware that Windows 10 has a build-in-game mode that you can summon by pressing ⊞ WINDOWS + G. But did you know that you can use this to capture and record your screen? Hello and welcome to another great tutorial about how to get the maximum out of your Windows 10, today our topic will be recording your screen using Windows 10 game mode.
  • In order to start recording first, we need to bring game mode by pressing ⊞ WINDOWS + G
  • In the Game Bar overlay screen, look for the “Capture” window.
  • If you don’t see it, click the Widget menu icon on the left. It looks like several lines with bullet points to their left.
  • A drop-down list will appear; click “Capture.” The “Capture” shortcut may also be in the Game Bar toolbar.
  • Look for the “Capture” widget window in the overlay. There are four buttons on the Capture widget (from left to right):
    • Screenshot: Takes a screenshot of the active window.
    • Record last 30 seconds: Creates a recording of the previous 30 seconds.
    • Start recording: Starts recording your active window.
    • Turn on the mic while recording: If this option is enabled, Windows 10 will capture audio from your computer’s microphone and include it in the recording.
  • You’ll notice text underneath the buttons. This is how you’ll know what the active window is, aka what will be recorded. For example, if you’re browsing the web, it will show the title of the open tab.
  • To start recording your screen, you must first decide whether you want to use your mic, which is useful if you’re trying to explain something on the screen.
  • Next, simply click the Start Recording button.
  • The screen recording will begin, and you’ll see a little toolbar appear in the corner of the screen. It will show the running time of the recording, and it also has buttons to stop recording and toggle the microphone.
  • When you’re finished, click the Stop icon to end the recording.
  • From the Capture widget, click “Show All Captures” to see your recording.
  • Your recording will be at the top of the list. Click the folder icon to see all recordings and screenshots in File Explorer.
  • These recordings are stored under your Windows user folder at C:\Users\NAME\Videos\Captures by default.
Read More
How to install and remove fonts in Windows 10
Once a tedious and unfriendly task of installing fonts has been severely made easier and more user-friendly. As technology advances daily so do some tasks. One of these tasks which today look unnecessarily complicated is fonts installation in Windows. What was once complicated navigation to control panel with an administrative account, today is two-click with the mouse anywhere, well anywhere on your hard drive, but still a great improvement nonetheless. Ok, so you have found cool new font which you like very much and you are eager to try it out, but how do you install it in Windows so your other software can find it and use it? The task is incredibly easy, let's presume that you have downloaded desired font or fonts to your hard drive from the internet, they are nicely placed in a folder, all you have to do is select which one you would like to install, right-click on any one selected and click on install. That's it, that is all that you need to do. Now in order to remove fonts first, you will have to go to the folder which has all fonts installed in the system. The location of this folder is conveniently enough c:\Windows\Fonts. In there select all fonts that you would like to uninstall from the system and simply delete them, that's it.
Read More
How to place different wallpapers on 2 screens
Two monitor systems are not such a rarity like they were just a couple of years ago. More and more people are finding out the benefits of having 2 screens instead of one no matter if you play games or do serious work. So how technology has moved forward and new norms so have Windows and we can now set different wallpapers to different screens very easy, a task which was very difficult in the past.
  1. Go to the Personalization option in the Control Panel.
  2. Right-click on your home screen and select the Personalize option from the menu.
  3. In the new window, you can browse for images you wish to set as wallpaper on both of your monitors. This way, the images would be preloaded in the “Choose your picture” option.
  4. Right-click on the image. Doing this will open a new menu that will allow you to set wallpapers for each screen. There is also another option called “Choose a fit” which gives you the option to select the fit of the wallpaper.
  5. Choose one wallpaper for “monitor 1” and a different wallpaper for “monitor 2.” You will now see your dual-screen setup customized with two different wallpapers.
Read More
Error 0x00000024 – A Quick Fix
[vc_row][vc_column][vc_column_text]

Repair Error 0x00000024

What is Error 0x00000024?

Error 0x00000024 can be seen when you start up and a screen comes up asking which mode you would startup in. Regardless of the mode you select, it leads up to the Windows screen with the loading bar and your computer crashes from there onwards. When you press F8 in order to select the “Disable Automatic Restart On System Failure” option, that is when this error shows up:
ST0P 0X00000024 (x00190203, 0x82700550, 0xc000012, 0x00000000)
Due to this error, both Safe and Normal modes become inaccessible.

Solution

Restoro box imageError Causes

If you’re having this error then it is the indication of an issue with the file NTFS.sys. Further, there might also be problems with the IRP (Interrupt Request Packet) or the disk may have been corrupted. There are multiple other causes of this error, including heavy fragmentation of your hard drive or problems caused by your antivirus software.

Further Information and Manual Repair

First and foremost, you are suggested to run Chkdsk. In order to do this, you have to enter your BIOS and select CDROM as your primary booting device. Now follow the below-mentioned steps:
  1. Insert your Windows XP installation CD into the CDROM and reboot your PC.
  2. Press any key to proceed with the boot from CD when you are prompted to do so.
  3. When the Windows XP setup menu shows up, hit the “R” key to proceed with repairing Windows.
  4. If there is only one Windows installed on your computer then hit the “1” key and proceed by pressing enter. If there are more than two Windows then hit the number which is associated (according to the screen you are viewing) to the Windows you want to repair. Usually, this is C:/Windows and associated with “1” but if that is not the case then you should simply press the number that corresponds with the windows you want to repair and proceed.
  5. Now, you will see a screen that prompts you to enter your administrator password. Most people don’t have an admin password and in that case, you should simply hit enter and you’d be good to go. If you do have an administrator password, however, then you should type it in, hit enter, and proceed.
  6. When the DOS prompt shows up, type in chkdsk/f and hit return.
If you see no improvement in solving Error 0x00000024, and the problem keeps persisting, then you should start over. But this time you should type sfc/scannow instead of chkdsk/f and hit return. There are a few other complex methods that you can try as well but this is the most recommended procedure as it is easier, quicker, and most likely to fix the error.[/vc_column_text][/vc_column][/vc_row]
Read More
What to do if the Windows 10 Control Panel is not opening
The Control Panel is one of the most important tools in Windows which allows users to control and change various settings. However, there are cases when it experiences some problems like when users aren’t able to open it. Recently, a lot of users complained about not being able to open the Control Panel. To be more specific, users were able to open it but only lasted for a second, and then it’s gone. This is not just some issue you can ignore as this will prevent you from accessing some major settings in your computer and you won’t be able to perform some important task without it. According to security experts, this issue is most likely caused by a bug in the Windows Update. If you have installed an update recently, then it’s most likely the culprit. Aside from the Windows Update, there are also other things that can cause this issue. Some of them are the IDT audio panel and a control panel file that causes conflicting issues with the control panel that leads to this problem. Aside from these aforementioned cases, the Windows Error reporting services could also be one of the causes of this issue. As you can see, since there are a lot of possible causes for this problem, this post prepared a lot of options as well which you have to check out. Follow each one of them and see which one worked best for you.

Option 1 – Try updating your Windows 10 PC

If you haven’t updated your PC to the latest version of Windows 10, then you should. A lot of users found that the issue with the Control Panel was fixed right after they updated their Windows 10 PCs. This is probably because Microsoft has probably released a fix on one of the latest updates.

Option 2 – Try uninstalling the IDT Audio Panel

For some users, uninstalling the IDT Audio Panel from their PCs did the trick. You can also try doing the same thing to fix the vanishing Control Panel. According to these users. The IDT audio panel was the one that’s causing the issue. To uninstall the IDT audio panel, here’s what you have to do:
  • Tap the Win + R keys at the same time to open the Run dialog box.
  • Then type in “appwiz.cpl” in the field and tap Enter to open the “Uninstall or change a program” screen of the Control Panel.
  • From there, look for the IDT audio panel, select it and then select the Uninstall option and follow the next on-screen instructions that appear.
Note: If you are unable to locate the IDT audio panel or you simply can’t access the Uninstall or change program screen or you can’t keep Control Panel open for a long time, here’s what you can do:
  • Tap the Win + R keys at the same time once again to open the Run dialog box.
  • And in the field, type in “devmgmt.msc” and hit Enter to open the Device Manager.
  • After opening the Device Manager, look for the “Sound, video and game controllers” option and double-click on it.
  • From there, locate the IDT audio panel or “IDT High Definition CODEC” and select Uninstall and follow the next instructions that appear.

Option 3 – Try deleting or renaming IDTNC64.cpl

IDTNC64.cpl is a control file in the control panel. However, it might be the one that’s causing the problem as it could be conflicting with the control panel. As a result, the control panel crashes after a second or more. Many users have fixed the problem by either renaming or deleting this file – the safer option would be is renaming it.
  • Tap the Win + E keys to open File Explorer.
  • In the address bar located at the top, type in “C:\Windows\System32” and tap Enter to open this folder.
  • From there, look for the IDTNC64.cpl file, right-click on it and select the Rename option.
  • You can name the file anything you want but it’s better if you rename it to “oldcpl”.
  • After you rename the file, try opening the Control Panel again. It should work fine now.

Option 4 – Try to disable the Windows Error Reporting Service

As mentioned earlier, the Windows Error Reporting Service is also known to cause the issue so some users disable it and got the issue fixed.
  • Tap the Win + R keys.
  • In the field, type in “MSConfig” and hit Enter to open System Configuration.
  • After opening System Configuration, go to the Services tab and look for the Windows Error Reporting Service and uncheck its checkbox.
  • Click the Apply button and click OK. You should now see a date in the Disable Date column. Then check if the Control Panel is now working properly if not, restart your computer and check once more. That should fix the problem.

Option 5 – Try opening Control Panel via Run

This option is more of a workaround than a solution as it does not really fix the issue with the Control Panel but rather helps you in accessing the controls at the very least.
  • Tap the Win + R keys to open Run.
  • Type in “appwiz.cpl” in the field and tap Enter to open the Uninstall or change program screen of the Control Panel.
  • Next, copy and paste “Control panel all control panel items” on the address bar located at the top-mid part of your screen. You must not type the given address and simply copy and paste it. After that, you will see a list of control panel controls you can use.
Read More
Fix VIDEO_DXGKRNL_FATAL_ERROR (0x00000113)
A lot of Windows 10 users have reported recently that their computers are frequently crashing with a Blue Screen error with an error code “VIDEO_DXGKRNL_FATAL_ERROR”. This kind of Stop error appears not so often and its bug check value of 0x00000113 is an indication that there is some violation in the Microsoft DirectX graphics kernel subsystem. This error also occurs when there is a corrupted driver that interferes with the GPU’s normal functionality. According to some security experts, this kind of error is reported to only occur in Windows 10 PCs. Users started getting this error right after a large Windows Update. The cause of this error might have something to do with a violation in the DirectX graphics kernel subsystem where there could be a bad DirectX install or some corrupted Dynamic Link Library or DLL. Aside from that, the error might also be caused by the Nvidia driver which might have crashed or it could also be that there is an intermittent power supply. Moreover, an outdated BIOS as well as a third-party security program might be the ones behind this Blue Screen error. Whichever the case may be, you need to fix the VIDEO_DXGKRNL_FATAL_ERROR BSOD error by following the instructions given below carefully.

Option 1 – Try checking if the NVIDIA graphics card is enabled and update it as well

Although the problem is quite massive, the fix could be as simple as enabling the NVIDIA graphics card if it turns out to be disabled. There might be some strange reason why your graphics card disables itself. Thus, the best and first option you can try is to check if the NVIDIA graphics card is enabled or not. To do so, follow these steps:
  • Tap the Win + R keys to open the Run dialog box.
  • Then type “devmgmt.msc” in the field and hit Enter to open the Device Manager.
  • After opening the Device Manager, look for the Nvidia graphics card option among the list of device drivers. Once you found it, check if it is enabled or not. If it’s not enabled, you should see a gray arrow pointing downwards. Right-click on the card and select Enabled.
  • Next, right-click on the graphics card once more and click on the Update Driver Software option and then click on the “Search automatically for updated driver software” option.

Option 2 – Update or uninstall third-party security program

As mentioned, the VIDEO_DXGKRNL_FATAL_ERROR Blue Screen error might be caused by a third-party security program that’s installed on your computer. So you have to either update it or uninstall it to resolve the issue.

Option 3 – Check the power supply for any inconsistency

The Blue Screen error might also be caused by an intermittent power supply. If there is any intermittent changes between the main supply and the battery power, it might lead to bad contact on your supply to the charger and thus, causes the VIDEO_DXGKRNL_FATAL_ERROR Stop error to appear. So to check if this scenario is applicable to you, you have to monitor your computer for any frequent changes between the power supply and the battery power. If you see that the supply is displaying power On and Off, see if the same goes when the power supply is disconnected. However, if it does not occur, you might have to purchase a new power adapter cable and replace the one that you have right now.

Option 4 – Reinstall the Graphics card drivers

  • Tap Win + R to open Run then type “devmgmt.msc” in the field and hit Enter to open the Device Manager.
  • From there, look for the Display adapters and uninstall each one of the graphics card drivers by right-clicking on them and selecting the Uninstall device option.
  • After uninstalling the graphics card drivers, close the Device Manager and tap Win + R to open Run once again.
  • After that, type “appwiz.cpl” in the field and hit Enter to open Programs & Features in the Control Panel.
  • Next, look for any program that’s related to your GPU manufacturers like Nvidia, AMD, or Intel. Right-click on any GPU-related entry and click on Uninstall to uninstall them and then follow the next on-screen instructions that appear afterward.
  • Now restart your computer.
  • Once your computer has restarted, go to the GPU manufacturer’s website and download the latest driver version for your graphics card model and then install it.
  • Restart your computer once again. That should fix the problem.

Option 5 – Try checking if there are any BIOS updates available for your PC

Updating the BIOS may help you resolve the BSOD error. You can just go to the OEM’s website as they offer utility software that can download BIOS firmware and update it without any problem. BIOS updates usually offer enhancements and fixes to some issues like this one.

Option 6 – Perform a System Restore

Performing a System Restore on your computer can also help you fix the VIDEO_DXGKRNL_FATAL_ERROR Blue Screen of Death error. You can do this option either by booting into Safe Mode or in System Restore. If you are already in the Advanced Startup Options, just directly select System Restore and proceed with the next steps. And if you have just booted your PC into Safe Mode, refer to the steps below.
  • Tap the Win + R keys to open the Run dialog box.
  • After that, type in “sysdm.cpl” in the field and tap Enter.
  • Next, go to the System Protection tab then click the System Restore button. This will open a new window where you have to select your preferred System Restore point.
  • After that, follow the on-screen instructions to finish the process and then restart your computer and check if the problem is fixed or not.
Read More
Fix Windows can not find STEAM.EXE in Windows
If you are getting this error even if STEAM.EXE is present on your system then follow the easy guide to solve the issue.
  1. Scan your system for malware

    Scan your complete system for viruses and other malware. If all the scans come negative then move to the next step.
  2. Disable your anti-virus software

    Some anti-virus and anti-malware software can detect steam as a potential threat and block it. Turn off your protection software and try to run Steam once all your protection is disabled. If this works you will need to either place Steam in the applications exception list or to move to another protection software.
  3. Remove administrator privileges from steam client

    Right-click on steam.exe and choose properties, go to the compatibility tab, and uncheck run this program as administrator. Try to run Steam again.
  4. Delete Steam registry value

    If everything else failed try deleting the registry value for steam. Open registry editor and locate key: HKEY_LOCAL_MACHINE\SOFTWARE\Microsoft\Windows NT\CurrentVersion\Image File Execution Options Double click on Image File Execution, find steam on left, right-click on it, and choose delete. Save and exit the registry editor.
Read More
Fix Error code 30068 when installing Office
If you are trying to install Microsoft Office on your Windows 10 computer but encounter an error code 30068 instead, read on as this post will guide you in fixing this problem. One of the causes of this error is an issue with the Office Click-to-Run service. It can also occur due to issues with the installation. And aside from the error code 30068, the error codes could also appear like this: 30068-29 (2), 30068-4 (3), 30068-4 (1715), 30068-39 (3), and many more. In most cases, the installation of Microsoft Office happens directly from the Microsoft servers which work via Click-to-Run service. This service is an alternative to MSI or offline installation. It is a Microsoft streaming and virtualization technology that helps in reducing the time that’s required to install Microsoft Office. Although it saves a lot of time, it also requires a good and stable internet connection for it to properly work. So if you encounter error code 30068 or any of the aforementioned error codes above when using this service, here are some potential fixes that could help.

Option 1 – Try to restart your computer and reinstall Office

The first thing you can do is restart your computer and then try installing Office again. It is possible that there’s some glitch and a restart might fix it. Once you’ve restarted your computer, install Office again. And if the online installation didn’t work, you can also try to download an offline Office setup.

Option 2 – Try checking if the Click-to-Run service is disabled

The next thing you can do is to verify if the Click-to-Run service is enabled or disabled. You can check its status in Services. How? Refer to these steps:
  • Tap the Win + R keys to open the Run dialog box and then type “services.msc” in the field and tap Enter or click OK to open Services.
  • Next, look for the Microsoft Click-to-Run service from the list of services and once you found it, double click on it.
  • After that, go to the General tab and in the Startup type section, click on the drop-down menu and select Automatic.
  • Then click on the Apply and OK buttons to save the changes made.
  • Once you’re done, try to install Office again and see if the error is now fixed.
Option 3 – Try to uninstall and reinstall Office If neither of the two given options above worked, then you might want to uninstall Office and reinstall it. All you have to do is download the Microsoft Office Uninstall tool from the official site of Microsoft and run it. This will remove any incomplete Office installation as well as unwanted files. It will also get rid of all the Office apps and settings on your computer. This same option can be also applied if you encountered error code 30068-4 (3) when installing Office. On the other hand, if the Uninstaller tool throws an error that says, “Office installation is missing”, you have to check if there is an ongoing installation of Office.
Read More
Fix Shell Infrastructure Host stopped working
The Windows 10 operating system supports the logging in of multiple users at the same time. Aside from that, it also allows administrators to create a Guest Account that has limited rights. However, there are some instances when you could encounter an error when you use the Guest Account. The error may state:
“Shell Infrastructure Host has stopped working. A problem caused the program to stop working correctly. Please close the program”.
This error indicates that the Shell Infrastructure Host or SiHost.exe process that is used for handling graphical elements, has crashed. And to fix this error, there are several options you can check out. You can try to reinstall the Microsoft Redistributable Packages or run a System File Checker scan. In addition, you can also use a new Guest Account or troubleshoot the problem in a Clean Boot State.

Option 1 – Try to install or repair Microsoft Visual C++ Redistributable 2013

A corrupted Microsoft Visual C++ Redistributable package or the absence of it can trigger the “Shell Infrastructure Host has stopped working” error – so if you do not have this package yet, you have to install it but if you already have it, follow the steps below to repair it.
  • Open Control Panel and proceed to Program and Features.
  • Under Programs and Features, look for Microsoft Visual C++ Redistributable package among the list.
  • Then right-click on it and click the Change button.
  • Next, you should see the Repair option – click on it to repair the installation of the Microsoft Visual C++ Redistributable package.
  • The process may take a couple of minutes before it finishes so once it does, you have to restart your PC.
After doing all these steps and you still encounter the problem, you might have to uninstall this package and download it directly from Microsoft’s website. However, if you are using Windows 10, you might not be able to do so since it only supports Windows versions up to Windows 8.1 so just proceed to the next option below.

Option 2 – Try to run a System File Checker scan

  • In the Windows Start Search, type “command prompt” and right-click on Command Prompt from the search results, and then select the “Run as administrator” option.
  • After opening Command Prompt with admin privileges, type the “sfc /scannow” and tap Enter to execute it.
  • Once the scan is finished, restart your computer and see if the Windows Script Host error.

Option 3 – Try using a new Guest Account

You might want to use a new Guest Account as it could help get rid of the error. All you have to do is have your admin delete the old Guest Account and create a new one and see if it helps in fixing the error.

Option 4 – Try troubleshooting the problem in a Clean Boot State

Setting your computer in a Clean Boot State can help you diagnose and later troubleshoot the problems in your computer. During this state, the system will start with a minimal number of drivers and startup programs that help in isolating the problem with the interfering software. To put your computer in a Clean Boot State, follow the given steps below.
  • Log onto your computer as an administrator.
  • Type in MSConfig in the Start Search to open the System Configuration utility.
  • From there, go to the General tab and click “Selective startup”.
  • Clear the “Load Startup items” check box and make sure that the “Load System Services” and “Use Original boot configuration” options are checked.
  • Next, click the Services tab and select the “Hide All Microsoft Services” check box.
  • Click Disable all.
  • Click on Apply/OK and restart your PC. (This will put your PC into a Clean Boot State. And configure Windows to use the usual startup, just simply undo the changes.)
  • From there, start to isolate the problem by checking which one of the programs you installed recently is the root cause of the problem.
Read More
What is Windows Terminal and should you use it
Windows Terminal
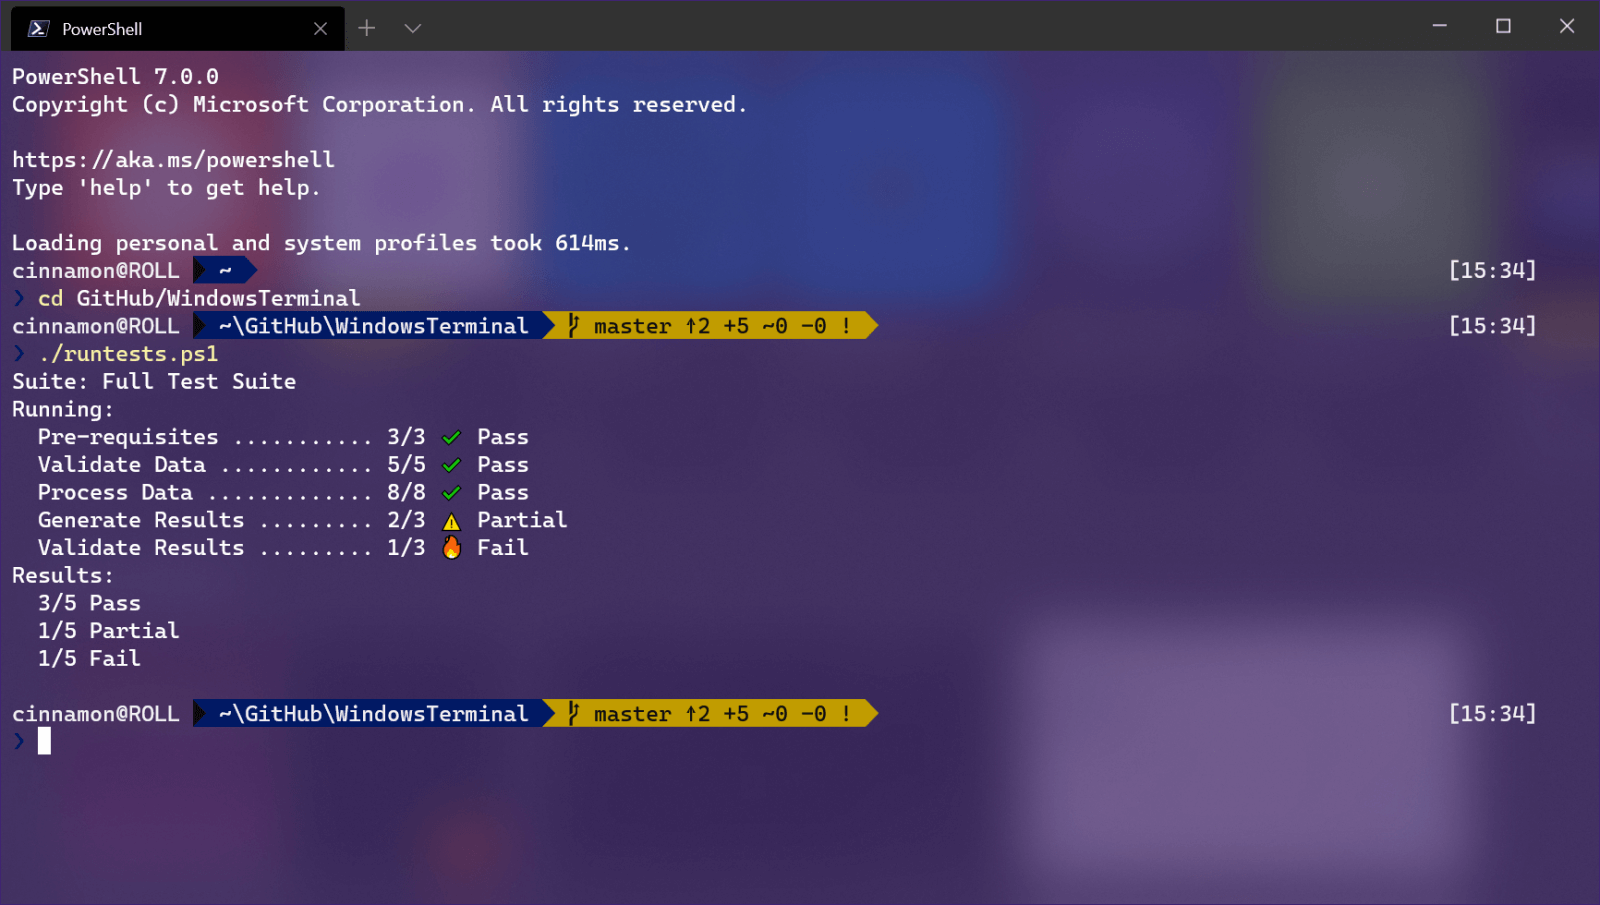
Windows Terminal is a new free Microsoft terminal sort of application. When you open either Power Shell or Command Prompt in Windows they will be opened in different windows, and if you want several of each you will have several windows of each on your screen. Windows Terminal fixes this by opening each of the Instances of Command Prompt and Power Shell as separate tabs inside itself making it much easier to manage multiple instances of named applications. You can also run both Power Shell and Command prompt tabs in the same Windows Terminal. Luckily running command prompt and power shell in different tabs is not the only thing you can do. Windows Terminal lets you choose your own theme, it has emoji support, GPU rendering, split panes, and many more customizable options. Windows 11 will have Terminal as the default command-line environment for opening Power Shell or Command prompt, even Windows Subsystem for Linux (WSL)

Setting Windows Terminal as the default application

If I was successful I have managed to show you that Windows Terminal is something that you should use even if you do not or cannot upgrade to Windows 11. You can use it inside Windows 10 also. First thing is to download and install it. You can get Windows Terminal from the official Microsoft website here: Windows Terminal page After download and installation are completed, open the Terminal app and select the down arrow menu, click Settings. Alternatively, you can use CTRL + + shortcut. Inside Settings by default Default Terminal application would be set to Windows Console Host Click on the Default Terminal application to bring a drop-down menu and choose Windows Terminal from the list. Now by default once opened Windows Terminal will use Power Shell as the default profile, however, you can change this by clicking on the drop-down for the default profile where you can choose between Command Prompt, Power Shell, Windows Power Shell, or Azure Cloud Shell. Pick one that you prefer, click on Save and it will be opened as default on the next run.
Read More
1 2 3 162
Logo
Copyright © 2022, ErrorTools. All Rights Reserved
Trademarks: Microsoft Windows logos are registered trademarks of Microsoft. Disclaimer: ErrorTools.com is not affiliated with Microsoft, nor claim direct affiliation.
The information on this page is provided for information purposes only.
DMCA.com Protection Status