Installing programs on your Windows 10 computer does not go smoothly as you could encounter some issues along the way that could prevent you from successfully installing the program. One of the common errors you can encounter during the installation of programs is Error 2753. There are times when the packages are corrupted or those packages are not working properly or it wasn’t able to create files and paths. When you encounter this kind of error, you will get the following error message:
“Error 2753, The File is not marked for installation.”
Note that this kind of error is not bound to only some specific files but it can also happen with any file, be it an executable file or an MSI file. To fix this error, here are some possible solutions that you could try.
The first thing you can do is to fresh download the setup file from the official homepage and then place it in a different location. Just make sure that you download the correct setup file that’s compatible with your operating system. Then restart your computer and sign in as administrator. After that, right-click on the setup file and select the Run as administrator to proceed with the installation.
If there is a previous version of the program that’s still installed on your computer, you need to uninstall that program since it might be the reason why you’re getting Error 2753.
The setup file may need more permission in order to execute properly and so you need to run it as an administrator. To do so, you need to give it more privileges for it to work as intended by its developer.
Note: If the setup file does not run, you may have to take ownership of the folder where the setup file is located. To take ownership of the folder, refer to these steps:
You may be getting Error 2753 if the setup file is not intended to run on the Windows 10 version you are using which is why you have to run it in Compatibility Mode. This will allow the setup file to think that it is running in a compatible environment as it is intended to.
You may have to re-register the vbscript.dll file using the regsvr32.exe before you can successfully install the program and fix Error 2753. The Regsvr32 tool is a command-line utility that can be used to register and un-register the OLE controls like DLL and ActiveX (OCX) control in the Windows operating system. Follow the steps below to use it.

“We couldn’t install Windows 10. The installation failed in the SAFE_OS phase with an error during INSTALL_UPDATES operation: Error 0x800F081F” “The installation failed in the Safe_OS phase with an error during apply_image operation: Error: 0x800f081f – 0x20003”To fix this kind of Windows Update error, you need not use external programs but you can try to disable the Developer Mode, run the Windows Update troubleshooter or restart all the Windows Update-related services and components. For more details, refer to the options provided below.
 Changes and features
“DrWatson Postmortem Debugger has encountered a problem and needs to close” "drwtsn32.exe - DLL Initialization Failed" when shutting down
 Error Causes
This error code occurs when users fail to activate their Windows operating system. It is one of the more popular Windows error codes since it affects many versions of Windows including Windows 7, Windows 8.1, and Windows 10. Error code 0x8007007b has common symptoms which include the following:
Error CausesWindows error codes such as Error code 0x8007007b can be a complicated issue, requiring the use of technical knowledge and skills. For this reason, we have listed instructions in the simplest of forms to enable even average users to successfully complete manual repair methods that will resolve error code 0x8007007b.
The same approach has been applied to all our error code solutions. See also Error Code 0x00000024 and Error Code 0x80004005.
Below are the two main methods for correcting this issue.This method involves the use of a Multiple Activation Key (MAK) instead of the Key Management Service (KMS) to activate the Windows operating system you intend to use on your PC. This manual repair method requires the use of Command Prompt so ensure you follow the instructions provided carefully so as to avoid the risks of causing harm to your system.
Attempt to activate your Windows installation once you’ve completed the exact instructions above. If you are unable to complete this process, consider getting help from a Windows repair technician or simply move to the next manual repair method listed below.
System File Checker (SFC) enables Windows users to scan and repair errors or corruption on system files. Since such errors within your system files can cause error code 0x8007007b to occur, follow the steps below to fix this error code.
The System File Checker tool will begin scanning your machine for corrupted or missing files in need of repair. If these files are found on your system, the tool will repair and replace them. Once this is done, restart your computer then check to see if you can now activate your Windows operating system.
If you wish to always have at your disposal a utility tool to fix these Windows 8 and other related issues when they do arise, download and install a powerful automated tool.
Error code 0x80070002 is a Windows Update error code. It occurs due to corruption errors which result when missing files in Windows Update prevent users from accessing updates on their system. It affects Windows 10 users and presents similar symptoms as error code 0x80070003, another Windows Update error. These symptoms include the following:
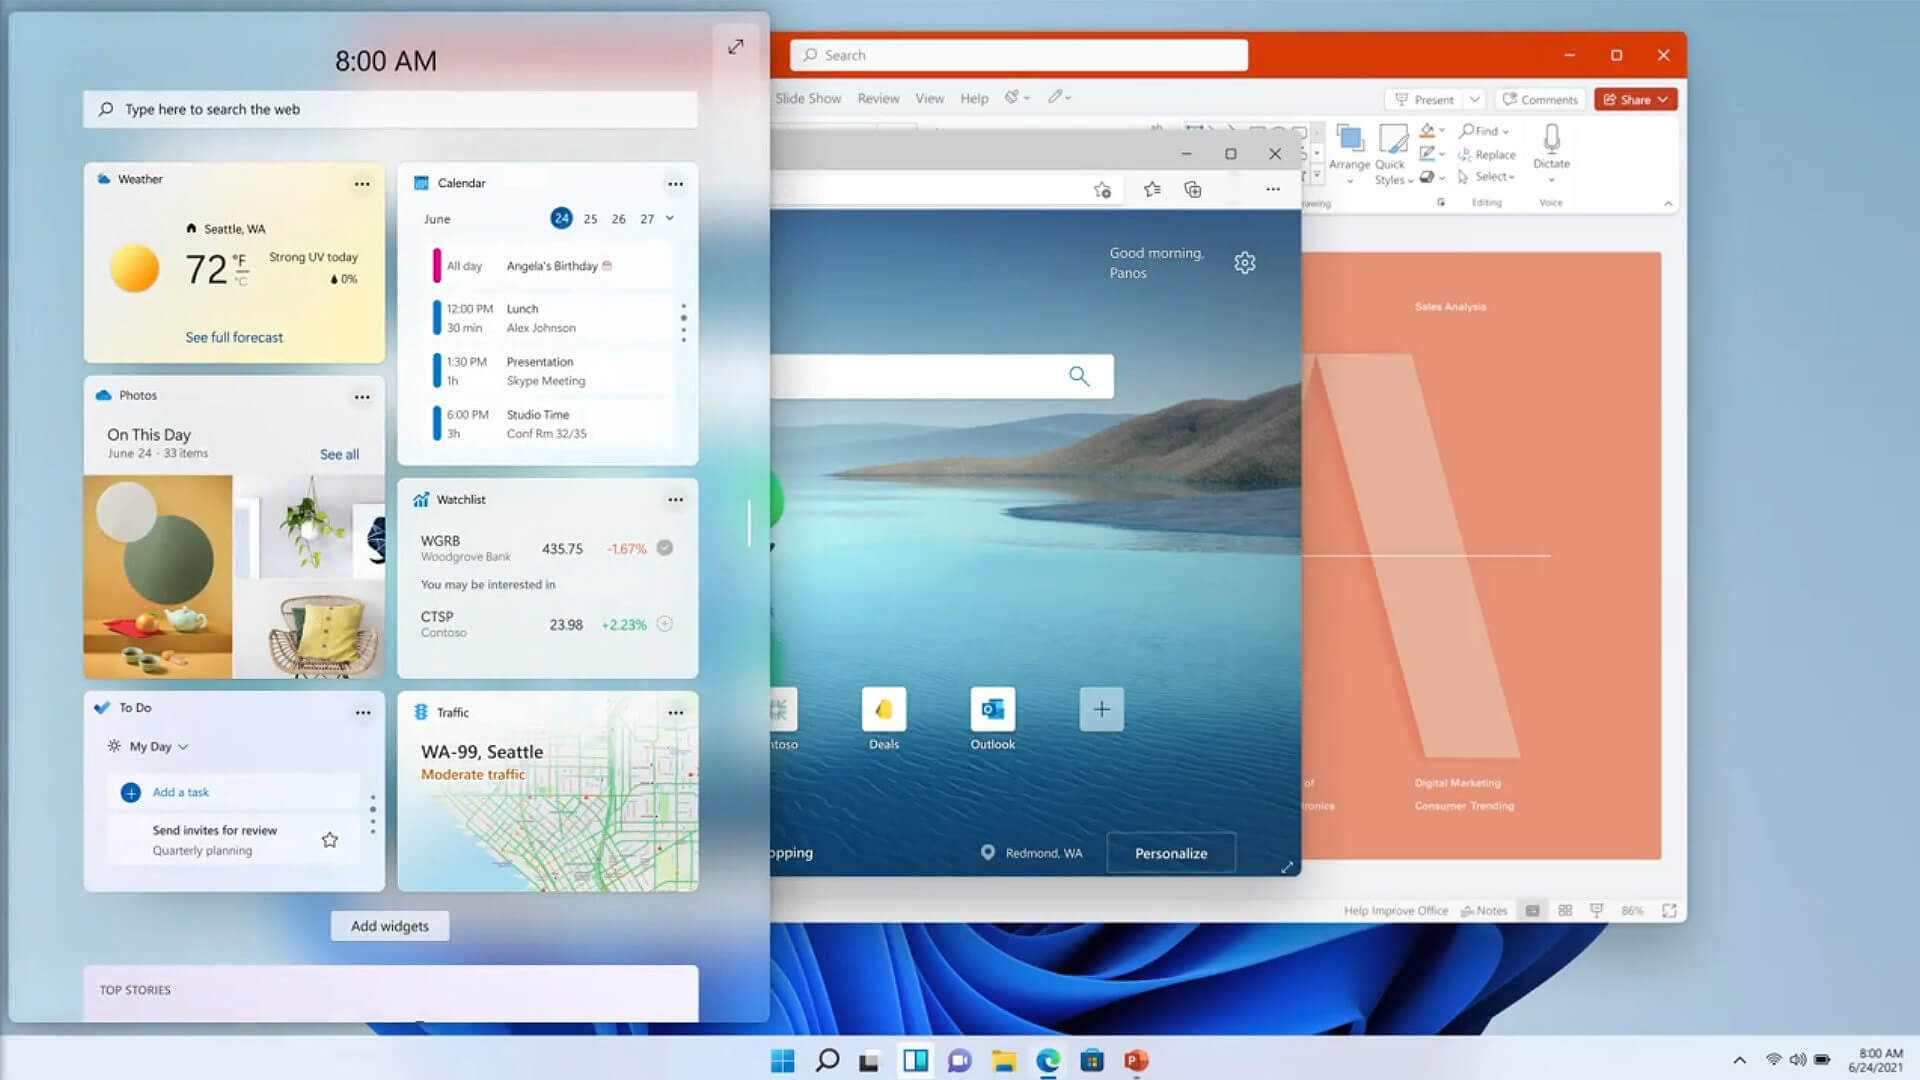
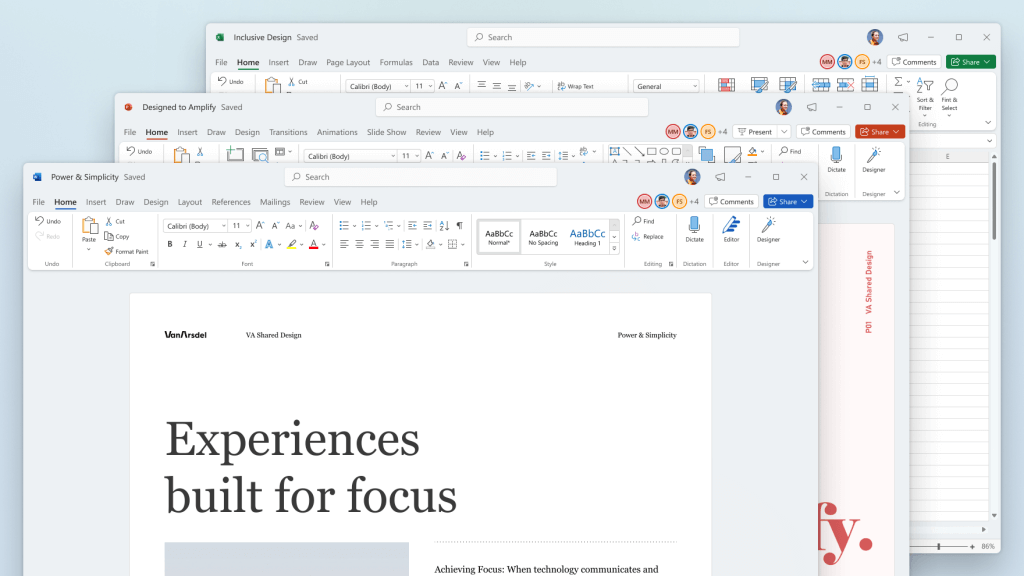
“This Office visual refresh is based on feedback from customers who asked for a more natural and consistent experience within and between your applications, specifically on Windows. With this update, we deliver an intuitive, coherent, and familiar user interface, using the Fluent Design principles, across all your applications: Word, Excel, PowerPoint, OneNote, Outlook, Access, Project, Publisher, and Visio. We aligned this visual refresh with the design of Windows 11 to provide seamless experiences on your PC.”It is always refreshing to hear when a company listens to its user base and actually does what is needed instead of trying to invent the wheel.
 How to switch
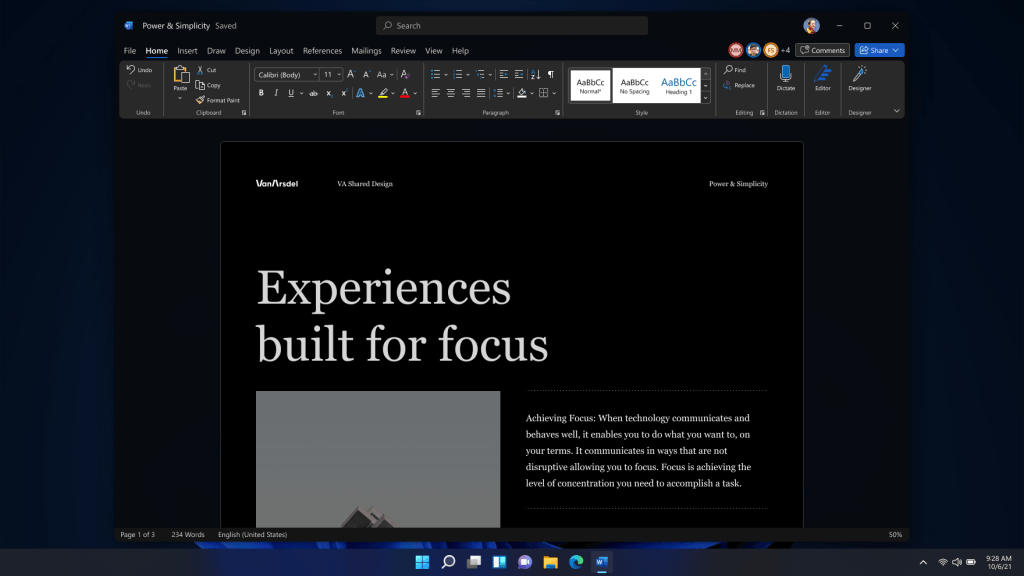 Conclusion