0x80071771, The specified file could not ...

If you are tried encrypting or decrypting a file using the default EFS engine but you receive an error message instead saying, “Error Applying Attributes, An error occurred applying attributes to the file: The specified file could not be decrypted”, read on as this post will help you sort out the problem. If you encounter this error you can use the error code in it. You will most likely get error code 0x80071771. This kind of error occurs when the File Explorer’s copy and paste feature was not able to read the source file being encrypted or decrypted. It could also occur if you try to access a file that has been on another computer previously.

To fix error code 0x80071771 when decrypting or encrypting a file, refer to the instructions provided below.

Step 1: You need to check first if you can decrypt the files encrypted by EFS. However, if you can’t, just proceed and then take full control of the file.

Step 2: To take control of the file, open File Explorer and right-click on the partition, and then click on Properties.

Step 3: After that, click on the Edit button under the Security tab.

Step 4: Next, make sure that “Everyone” is selected under the Group or user names section.

Step 5: Afterwards, the Permissions for Everyone section will be activated. Just make sure that all the checkboxes for Allow are checked and then click on the Apply button.

Step 6: Once you’re done, click on the Advanced button. This will open a new window labeled Advanced Security Settings. From there, click on the Change link under the Owner section.

Step 7: Now type your account name in the field and click on Check Names to verify the account name and click OK.

Step 8: After that, select the “Replace owner on sub-containers and objects” option and then click OK.

Step 9: Next, select Administrators in the Group or User names list and select Full Control in the Permissions for Administrators panel and click OK.

If you like to learn and find out more about various Windows errors, and how to repair them go to our vast archive or use search to find articles that will explain and help you in solving your issue.
However, if you prefer to do things fast and with automatization then we are proposing to use an automated solution for your issues. The application that we are recommending is Advanced System Repair Pro
Advanced System Repair utilizes multiple tools all in one to give you a quick, simple, reliable, and very thorough diagnosis of your PC. It brings you all the tools you need in one program to clean, fix, protect, optimize and boost your PC!
1-Click Maintenance
All the tools to make it simple and easy! It's like having a professional technician at the click of a mouse.

Junk Cleaner
Keeping your computer free from unnecessary clutter also helps make your computer last longer. Like any other machine, if you keep it clean and take care of it, it will serve you better for longer!

Optimize background apps
Optimize applications background activity with the built-in Application Optimizer feature.

Disk Defrag
With a simple 1-click, Advanced System Repair speeds up your PC by assembling fragmented files on your machine and organizing them more efficiently.

Malware Removal
Finds and removes all types of harmful malware including trojans, worms, bots, adware, spyware, PUPs, and more!

Privacy Cleaner
The all-in-one privacy suite to Clean Your Tracks & Protect Your Privacy! Make your computer safe, secure, and more efficient!

System Tweak/Optimizer
ASR will analyze your complete system and settings to adjust your PC to function at its maximum performance.

Registry Cleaner
Over time, as you install and uninstall applications, the registry can become cluttered with old entries and broken settings which can result in program crashes, and annoying messages and slow the computer down.
Visit our Advanced System Repair Pro Download page to inform yourself about all the benefits of this software and get a free trial copy of it.
advanced system repair pro

Advanced System Repair Pro

One-click automated PC repair solution
ASR logo
With Advanced System Repair Pro you can easily
Replace damaged files
Restore performance
Free disk space
Remove Malware
Protects WEB browser
Remove Viruses
Stop PC freezing
DOWNLOAD
Privacy Policy | Terms of Use | Uinstall
Advanced System Repair Pro is compatible with all versions of Microsoft Windows including Windows 11

Share this article:

You might also like

How to Fix Runtime Error 217

Runtime Error 217 Repair

What is Runtime Error 217?

Runtime Error 217 can be a big problem if you use your computer for business purposes and you have confidential data/documents stored on your system. This runtime error is quite dangerous. It can slow down your PC performance, lead to system failure and crash, make your system vulnerable to hacker’s attack, and also corrupt important files on your system.

Solution

Restoro box imageError Causes

There is no one particular cause behind the Runtime Error 217. This error can be attributed to several factors such as:
  • Corrupt, missing, or faulty register DLLs of programs. This is usually the cause for Runtime Error 217 when installation is unsuccessful and the crucial system files fail to be registered within the registry.
  • Exposure to Viruses like malware, adware, and spyware. Once a virus (es) gain access to your PC, you may experience Runtime Error 217. These malicious programs can damage your hard drive, boot sectors, memory banks, and registries.
  • Outdated Msvcrt.dll (a Microsoft Visual C++ file) file called.
  • Incorrect Regional settings

Further Information and Manual Repair

If you see Runtime Error 217 message pop up on your computer screen, you must fix and repair it right away before it becomes a big threat to you and your PC. Though Runtime Error 217 is alarming this does not mean that you need to panic. Keep calm and follow the recommended solutions to fix Runtime Error 217 given below.
  • If the error occurs because you called the outdated Msvcrt.dll file, then you must update the file. This can be easily done by clicking the start menu, accessing the control panel, and then hitting the Windows update tab.
  • When you experience Runtime Error 217 due to incorrect regional settings on your PC, then to resolve this issue simply go to the start menu and select Control Panel. Now in the control panel, you’ll find the option clock, click on it and go to the language and region settings. Choose your specific regional settings and save.
  • If the cause of the Runtime Error 217 is incorrect registry entries and DLL files corruption, then to fix the error, you need to download a Runtime Error 217 fixer. After you download this repair tool, run it on your PC. It scans and detects corrupted files and repairs the error swiftly.
  • Nonetheless, if the cause of this problem is a virus, then you need to install a powerful antivirus program. When you run it, the antivirus scans your PC for viruses. Once the scanning is complete the results are displayed on the screen. The results show exactly how many viruses you have on your PC. Once the scan is complete, delete all the files and click repair.
Regardless of whether you have experienced the Runtime Error 217 on your PC or not, it is advisable to install a powerful antivirus and run it every time you use your PC. By running it regularly, you can make sure that you are not exposed to viruses, malware, and spyware programs. Even if your PC gets infected by them, you can delete and remove them timely before the damage is done.
Read More
Fix Display driver failed to start Error
Recently, a number of users reported an error when they tried to open graphic-intensive apps like video games. According to users, when they tried to open an app, they get the “Display driver failed to start” error instead. Thus, if you encounter the same error, then you’ve come to the right place as this post will guide you on how exactly you can fix it. Here’s the full content of the error message:
“Display driver failed to start; using Microsoft Basic Display Driver instead. Check Windows Update for a newer display driver.”
This kind of error could be due to several factors. It is possible that it could be a result of a corrupted or outdated graphics driver. Aside from that, it could also be due to some issues with the system settings. Worry not though for there are potential fixes that can help you fix the problem. But before you troubleshoot the problem, you need to update your Windows 10 computer first and if it didn’t help fix the problem, then here are the potential fixes that should help resolve the “Display driver failed to start” error.

Option 1 – Try to restart the Graphics driver

Although Windows 10 can recover the graphics driver on its own when it crashes, there are times when it fails to do its job. To restart the graphics driver in your computer, simply tap the Win + Ctrl + Shift + B key combination. After that, the graphics driver will be back in less than a second.

Option 2 – Try running the Hardware and Devices troubleshooter

Running the built-in hardware and devices troubleshooter can also help you in fixing the “Display driver failed to start” error.
  • The first thing you need to do is click on Start and then on the gear-like icon to pull up the window for Settings.
  • After opening Settings, look for the Update and Security option and select it.
  • From there, go to the Troubleshoot option located on the left-hand side of the list.
  • Next, select Keyboard from the list and open the Troubleshooter and run it. Once it is doing its job, wait for it to complete the process and then restart the system.
  • After the system restarts, check if the problem’s now fixed. If not, refer to the next option given below.

Option 3 – Try to update or rollback the Graphics driver

You can try to update your Graphics card driver using the Device Manager in your computer to resolve the “Display driver failed to start” error or you can also go directly to the website of your graphics card manufacturers like NVIDIA, Intel, or AMD and go to the section called Drivers then check if there’s a new available update – if there is, download and install it. To update your Graphics driver via Device Manager, refer to these steps:
  • First, boot your computer into Safe Mode.
  • After that, tap the Win + R keys to launch Run.
  • Type in devmgmt.msc into the box and tap Enter or click OK to open the Device Manager.
  • After that, a list of device drivers will be displayed. From there, look for the Display Adapters and click on them.
  • After that, right-click on each entry under the Display Adapters and select the “Uninstall Device” option from the menu.
  • Now restart your computer.
  • After restarting your computer, go to the Settings app and Check for Updates in the Windows Update section.

Option 4 – Try setting your system for maximum performance

If the first three options didn’t fix the error, you can try setting your computer for maximum performance since Windows 10 allows you to choose the effects you want to activate your system and you can do this by adjusting the performance ratio. Adjusting the performance ratio can be done via a certain setting in your computer – and this setting should be set to “Maximum Performance” to resolve the error.
  • In the Windows Search bar, type in “performance” and from the search results that appear, select the “Adjust the appearance and performance of Windows” option.
  • Next, a mini window will appear and from there, click on the radio button that says, “Adjust for best performance”.
  • Once done, click on the Apply and OK buttons to save the changes made. This should resolve the problem.
Read More
Fix 0xC03A0005 error in Windows 10
When performing a Windows Backup to the NAS device (backup to a network share) that is running Samba, fails with an error message The backup failed, The version does not support this version of the file format (0xC03A0005). The problem occurs because of a conflict with the VHD file that is created by Windows Backup and is mounted during the process. There are three types of VHD files:
  1. Fixed,
  2. Expandable
  3. Differencing
If the VHD file is a sparse file that is not supported by the native VHD driver, the mounting will fail, and you will get this error. An example VHD file is one that keeps expanding depending on the backup size. The problem occurs only in the case of  File Level backup (file/folders in a volume) but not on the block level backup as the vhd file is never mounted. However, in the case of File Level Backup, the vhd is mounted, created by Windows Backup, which does not support the mounting of sparse files.

The solution is to use Strict Allocate: option in the smb.conf file

Login to SMB using SSH. Open the configuration file using the VI editor located at /etc/samba/smb.conf. If the option is not there, you can manually add strict allocate = yes which will make sure there are no sparse file that is created.
Read More
Fixing “The .NET Framework 4.7 is not supported on this operating system” Error in Windows 10
In case you don’t know, the .Net Framework is a programming infrastructure introduced by Microsoft. You will need it to run on lots of services and applications. Note that most of the applications that require the .Net Framework are packed with their installation files which is why it will be installed automatically on your computer when you install an application. However, there are instances when you’ll get an error message saying, “The .NET Framework 4.7 is not supported on this operating system” while trying to install the .NET Framework as a standalone service. The very reason why this error message appears is stated in the error message itself. Although the .Net Framework is supported on Windows 10, it is not actually compatible with some other Windows 10 versions. So it is most likely that you are seeing this error message because the .Net Framework in your computer is not compatible with the Windows 10 version you are running. Since that’s the case, you need to update Windows 10 to fix the problem. Updating your Windows 10 computer is the only solution you can try to fix this problem. Thus, it is advised that you check for Windows Updates even if you are now using the latest version of Windows 10. And since the issue is caused by an incompatible operating system version, once you install the exact version of Windows 10 required by the .Net Framework, the problem will be fixed. Simply follow the steps given below to do so.
  • Step 1: Tap the Win + R keys to open the Run dialog box.
  • Step 2: After that, type in “winver” in the field and tap Enter.
  • Step 3: Next, your Windows 10 version should be given in the new window that appears. Take note that the number after the Version which is in the second line is your version number of Windows 10. And that the number must be 1507 or 1709. The first two digits in these numbers are the year while the second two represent the month when the update was released. So if you are running a 1709 version, this means that the Windows 10 version you are using was released in September 2017.
  • Step 4: The next thing you have to do is to make sure that you have the Windows 10 version that’s compatible with the .Net Framework. To verify, you need to click here and click on the System Requirements.
After opening the link, take a look at the Supported Operating System section where it says, “Windows 10 Anniversary Update” and “Windows 10 Creators Update”. Since there are users who are not familiar with the version numbers related to both the Anniversary and Creators updates, refer to the list given below.
  • November Update (1511)
  • Anniversary Update (14393)
  • Creators Update (1703)
  • Fall Creators Update (1709)
  • Spring Creators Update (1803)
As you can see, the Creators Update has version 1703 while the Anniversary Update has version number 14393 so if you are using a version lower than the 14393 version then it’s no wonder you aren’t able to install the .Net Framework 4.7 on your Windows 10 PC. Now all that’s left to do is to update your Windows 10 version and make sure that you will be updating it to the latest version available and then try installing the .Net Framework again.
Read More
Windows could not start Update service
If you got an error message saying, “Windows could not start the Windows Update service on Local Computer, Error 87. The parameter is incorrect” while you were trying to start the Windows update service on your computer, then this post could help you resolve the problem. Along with this error, you might also get any of these error codes such as 0x80240034, 0x80244019, 0x80070643, and so on. Aside from these error codes, you will also notice that the Windows Update service has been stopped. To fix this issue, here are a couple of suggestions that might help but before you go on, you need to create a System Restore point first.

Option 1 – Try checking Services Dependencies

Dependencies of a Windows Service in Windows 10 are when windows services depend on other services. Such is the case with the Windows Update service – it also depends on three different services such as the Remote Procedure Call or RPC service, DCOM Server Process Launcher, and the RPC Endpoint Mapper. Meaning to say, if two of these services are not working as expected, then the dependant service will also be affected. This could be the reason why the Windows Update service could not start.
  • Tap the Win + R keys to open the Run dialog box.
  • Next, type “services.msc” in the field and hit Enter to open Windows Services.
  • From the list of Services, look for the following services:
    • Remote Procedure Call (RPC) Service
    • DCOM Server Process Launcher
    • RPC Endpoint Mapper
  • After you find these services, double click on each one of them and check whether the Startup type for all is set to Automatic and the Service status is set to Running or not.
  • If the service status is not running, then click the Start button. Afterward, check if you can now run the Windows Update service.

Option 2 – Check the Background Intelligent Service and the Cryptographic Service

  • Tap the Win + R keys to open the Run dialog box.
  • Next, type “services.msc” in the field and hit Enter or click OK to open Services.
  • From the list of Services, look for the following services and make sure that their Startup type is as follows:
    • Background Intelligent Transfer Service – Manual
    • Cryptographic Service ­– Automatic
  • After that, check if the Service status of the listed services above is set to Running. If they’re not, click on the Start button to start these services and then check if you can now enable the Windows Update service or not.

Option 3 – Reset Windows Update components

If the first two options did not work then you might want to reset the Windows Update components manually. Follow the steps below to reset them.
  • Open Command Prompt with admin privileges.
  • After that, type each one of the following commands and hit Enter after you key in one after the other.
    • net stop wuauserv
    • net stop cryptsvc
    • net stop bits
    • net stop msiserver
Note: The commands you entered will stop the Windows Update components such as Windows Update service, Cryptographic services, BITS, and MSI Installer.
  • After disabling WU components, you need to rename both the SoftwareDistribution and Catroot2 folders. To do that, type each one of the following commands below, and don’t forget to hit Enter after you type one command after the other.
    • ren C:WindowsSoftwareDistribution SoftwareDistribution.old
    • ren C:WindowsSystem32catroot2 Catroot2.old
  • Next, restart the services you’ve stopped by entering another series of commands. Don’t forget to hit Enter after you key in one command after the other.
    • net start wuauserv
    • net start cryptsvc
    • net start bits
    • net start msiserver
  • Close Command Prompt and reboot your PC.

Option 4 – Run the Windows Update Troubleshooter

If resetting the Windows Update components didn’t work, you could also try running the Windows Update Troubleshooter as it could also help in fixing any issues related to Windows Update including this one. To run it, go to Settings and then select Troubleshoot from the options. From there, click on Windows Update and then click the “Run the troubleshooter” button. After that, follow the next on-screen instructions and you should be good to go.

Option 5 – Try removing a value from the Windows Registry

If running the Windows Update troubleshooter didn’t help and you receive a message instead saying, “Service Registration is Missing or Corrupt”, you can try to remove a value from the Windows Registry.
  • Tap the Win + R keys to open the Run dialog box.
  • Then type “Regedit” in the field and hit Enter to open the Windows Registry.
  • Next, navigate to this path: HKEY_LOCAL_MACHINESOFTWAREMicrosoftWindowsSelfHostApplicability
  • From this path, look for a value named “ThresholdOptedIn” and if you find it, delete it.
  • Exit the Registry Editor and see if you can now enable the Windows Update service.
Read More
Fix Windows Update Error 0x80244019
Updating your computer does not always end up successfully as there are a number of things that could go wrong with the Windows Update module in your Windows 10 computer. One of the issues you could face when you update your computer is error 0x80244019. This error could be caused by a number of factors. If you are currently having problems fixing this Windows Update error, read on as this post will help you resolve this problem. Here’s the full content of the error:
“There were some problems installing updates, but we’ll try again later. If you keep seeing this and want to search the web or contact support for information, this may help: (0x80244019).”
In this kind of Windows Update error, you might not be able to get the download file of the requested update started to your computer and this could be due to some third-party application or the overall internal components that contribute to the functioning of the Windows Update module. Refer to each one of the following options to fix the Windows Update error 0x80244019.

Option 1 – Restart your computer

The most basic thing you can do to fix the problem is to restart your computer. It usually works in fixing common issues like the Windows Update error 0x80244019. However, if it didn’t work, proceed to the next given options below.

Option 2 – Try to run the Windows Update Troubleshooter

The Windows Update Troubleshooter will help you in fixing error 0x80244019. This is a great built-in tool from Microsoft that helps users fix any issues with Windows Update. So this is worth a try to solve the problem. To use the Windows Update Troubleshooter, follow the steps below.
  • Tap Win + I keys again to open the Windows Settings panel.
  • Go to Update & Security and then go to Troubleshoot.
  • Under the Troubleshoot section, on your left-hand side, scroll down to find Windows Update and then click on Run the troubleshooter option and follow the on-screen instructions and then see if it fixes the problem.

Option 3 – Try configuring the Windows Update-related Services

Configuring all the Windows Update-related services could also help in fixing the error as it makes sure that all the required services are available.
  • Tap the Win + R keys to open the Run dialog box.
  • Then type “cmd” in the field and tap Enter to open an elevated Command Prompt.
  • Next, execute the following commands. Note that you have to type and enter each command one after the other.
    • SC config wuauserv start= auto
    • SC config bits start= auto
    • SC config cryptsvc start= auto
    • SC config trustedinstaller start= auto
  • The commands you executed will make sure that the Windows Update-related services are available. Once it’s done, restart your computer and see if the Windows Update error is now fixed.

Option 4 – Run Windows Update in a Clean Boot State

It could be that some third-party application is the one that’s causing the problem so it’s best if you put your computer in a Clean Boot state. During this state, you can start the system with a minimum number of drivers and startup programs that will surely help you in isolating the root cause of the issue.
  • Log onto your PC as an administrator.
  • Type in MSConfig in the Start Search to open the System Configuration utility.
  • From there, go to the General tab and click “Selective startup”.
  • Clear the “Load Startup items” check box and make sure that the “Load System Services” and “Use Original boot configuration” options are checked.
  • Next, click the Services tab and select “Hide All Microsoft Services” check box.
  • Click Disable all.
  • Click on Apply/OK and restart your PC. (This will put your PC into a Clean Boot State. And configure Windows to use the usual startup, just simply undo the changes.)
  • After that, try to run Windows Update again.
Note: If you are able to install the app without any trouble at all then it means that the error is caused by some third-party application on your computer. You need to look for the culprit and uninstall it once you found it.

Option 5 – Try to fix the Proxy Settings

  • In the Cortana search box, search for Internet Explorer and then click on the related search result.
  • After that, tap the Win + T keys on your keyboard and click on Internet Options.
  • Next, navigate to the Connections tab and click on LAN Settings.
  • Then click on the Advanced button and delete all the entries in the list generated in the Exceptions section. And if the Advanced button is disabled because the “Use a proxy server for your LAN (These settings will not apply to dial-up or VPN connections)” option is disabled then you are good to go. Now proceed to the next step.
  • Tap the Win + X keys or right-click on the Start button and select Command Prompt (Admin) or you could also search for “cmd” in the Cortana search box and right-click on Command Prompt from the search results and select the “Run as administrator” option.
  • If a User Account Control appears, click on Yes to proceed. After that, type each one of the commands listed below, and don’t forget to hit Enter after you type each one of them.
    • netsh winhttp reset proxy
    • net stop wuauserv
    • net start wuauserv
  • Now restart your computer and check if the problem is fixed or not by checking for Windows Updates again.
Read More
Epic games and many more coming in Win store
Microsoft store is ready and prepared for Windows 11 official release on October 5th and it is coming with some surprises. Windows store
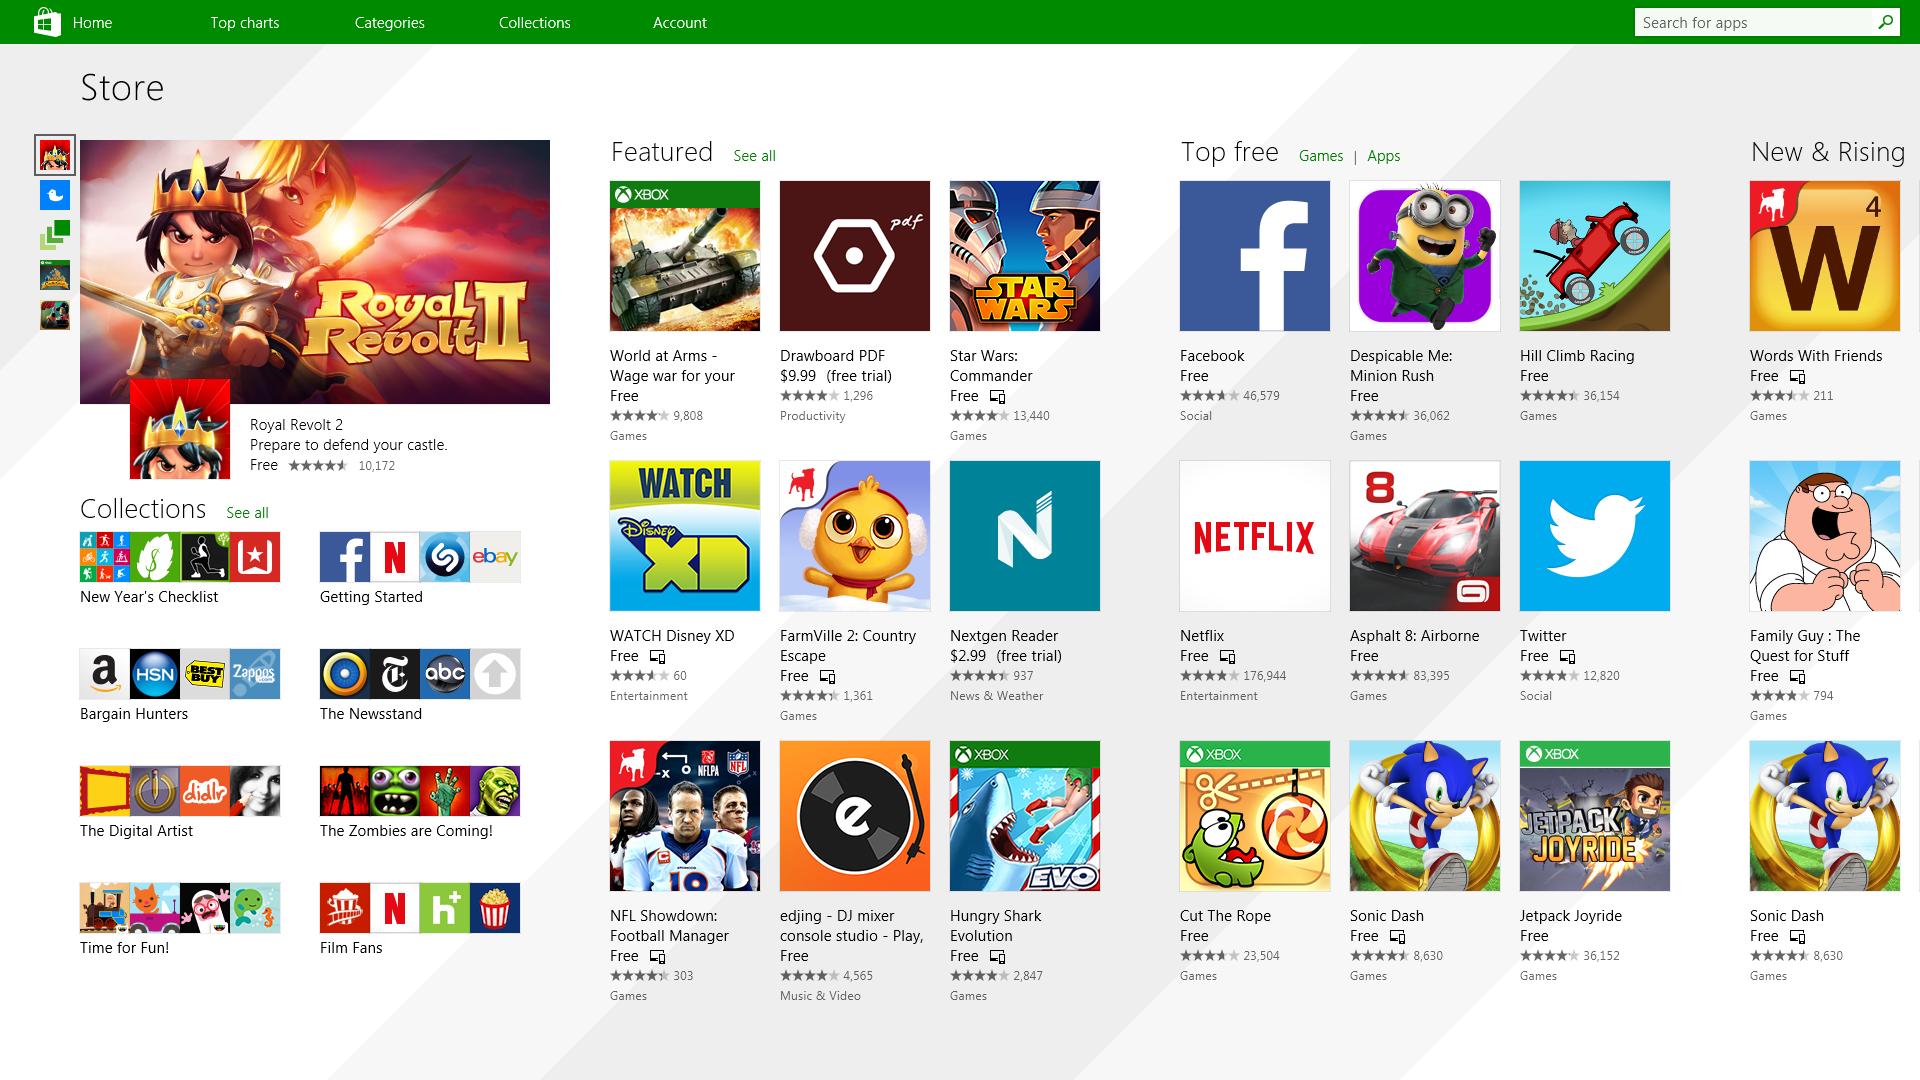
It has officially confirmed that many open source and free applications will be in it like Opera, VLC, discord, Libre office, etc. It seems that Microsoft wants to place its store as one place to go for all of your software needs. Another great surprise is the coming of Epic games store implementation. It was officially confirmed but not explained in detail, will we have Epic store opened in Windows store or we will only get installer as a package we will see but this is some great news. As for how it states now, it seems that the Windows store aims to eliminate searching the web for applications and bring them all into one environment with reviews and ratings so you know which one to install and use. It also features a great search engine to find proper applications for your needs. The new store will come to Windows 10 as well but after all Windows 11 has been mostly released and adopted. So expect it via update in two or three months' time. It would be great if some larger companies decide to join MS stores like Autodesk, Adobe, the Foundry, etc so you can install everything you need from it but one can only hope.
Read More
Can’t remove Bluetooth mouse & keyboard
Windows 10 supports various devices to get connected to which makes it quite a flexible operating system. The connection varies on the fact that the device can be connected either with Bluetooth or other wireless and wired connection. However, no matter how great the features are, there a few times when they bring in some bugs too. One of these bugs won’t allow you to either remove or reinstall the Bluetooth mouse and keyboard device from your Windows 10 computer. So if you are currently experiencing this problem, read on as this post will guide you in fixing it. Before you go over the suggestions laid out below, you need to create a System Restore Point first since, in one of the options, you will be making some changes with the registry files as well as some critical Windows settings. Once you have that covered, refer to the following options.

Option 1 – Configure the Bluetooth Services

The first thing you can do is configure Bluetooth Services.
  • Tap the Win + R key combination to open the Run dialog box.
  • After that, type “services.msc” in the field and hit Enter to open the Windows Services Manager.
  • You will then see a list of services and from there, look for the following services and make sure that their default values are set as follows:
    • Bluetooth Audio Gateway Service – Manual (Triggered)
    • Bluetooth Support Service – Manual (Triggered)
    • Bluetooth User Support Service – Manual (Triggered)
  • Now click on the Start button to start all the aforementioned services and then check if you can now remove or reinstall the Bluetooth mouse and keyboard device.

Option 2 – Try running the Bluetooth Troubleshooter

As you know, Windows 10 has various troubleshooters with user-friendly interfaces where you can utilize them to fix issues in your PC. And since you’re dealing with some Bluetooth problem, you have to run the Bluetooth Troubleshooter.
  • Open the Windows 10 Settings.
  • Then go to Update & Security > Troubleshoot.
  • You should find the option for Bluetooth on your right-hand side – click on it then click on the “Run the troubleshooter” option.
  • Now follow the next screen options.

Option 3 – Try to reinstall or update the Bluetooth driver

The issue might have something to do with the Bluetooth drivers. It could be that it is outdated and needs to be updated or that you recently updated it and since then you have trouble removing the Bluetooth device and so to fix the issue, you can update, roll back or uninstall the Bluetooth drivers. How? Follow the steps below.
  • Tap the Win + X keys to open the Device Manager.
  • Next, look for the Bluetooth device and right-click on it.
  • Select the option “Update driver”.
  • After that, a new popup window will appear. In there, select the option, “Search automatically for updated driver software”.
Note: Checking the update may take a few minutes so you’ll have to wait until it finishes. If it is able to find an update, you must install it.

Option 4 – Get rid of any interference

If you have several wireless devices in the same room as your PC then it might have caused interference with the current connection in your PC which is why you have to switch off all the other devices and then try removing reinstalling the Bluetooth mouse and keyboard devices again.

Option 5 – Remove or reinstall the Bluetooth devices in a Clean Boot State

You might want to uninstall or remove the Bluetooth Devices while your computer is in a Clean Boot State. Putting your computer in this state will surely help especially if there are some processes that prevent the Bluetooth devices from being removed or reinstalled.
  • Log onto your PC as an administrator.
  • Type in MSConfig in the Start Search to open the System Configuration utility.
  • From there, go to the General tab and click “Selective startup”.
  • Clear the “Load Startup items” check box and make sure that the “Load System Services” and “Use Original boot configuration” options are checked.
  • Next, click the Services tab and select the “Hide All Microsoft Services” check box.
  • Click Disable all.
  • Click on Apply/OK and restart your PC. (This will put your PC into a Clean Boot State. And configure Windows to use the usual startup, just simply undo the changes.)
  • After that, try to reinstall or remove the Bluetooth mouse and keyboard devices again.
Read More
Error 0x80004001 Quick Fix Guide

What Is 0x80004001 Error Code?

0x80004001 is an error code that Windows users encounter quite commonly.

This error usually occurs when users try to update an old Windows application or attempt to run a certain application. When this error appears on the screen, the system automatically restarts to stop further processing. The error results in a blue screen after the system boots.

This blue screen is known as the Blue Screen of Death.

Error Causes

There are different files in the Windows operating system responsible for its smooth functioning. Sometimes problems like viruses or incorrect register entries corrupt or damage these files. This is when this 0x80004001 error appears.

Simply put, some of the most common causes that trigger 0x80004001 error are listed below as follows.

  • Corrupt or damaged EXE, VXD, DLL files of Windows
  • Incorrect entry of registry files
  • Presence of viruses or malware in the system
  • Corrupt or damaged system files
  • Unfinished application installation

Irrespective of what causes this error, it is of utmost importance to troubleshoot it as soon as possible.

Further Information and Manual Repair

While there are several ways of troubleshooting this error, the two most useful approaches have been listed below as follows.

  • This solution is for advanced users. Start your system and log on to it as the administrator. Click on the Start button. Now select All Programs->Accessories->System Tools. Finally, click on System Restore. In a new window, select the option “Restore My Computer to an Earlier Time”. Now click on Next. A list of restore points will be displayed. Choose the most recent restore point from this list and click “Next”. Now click next on the confirmation Window again. Once the restoration is finished, the computer will restart itself and you will observe that the error no longer appears.
  • This solution is for beginner or novice users. Download a 0x80004001 error repair utility available online. Install this program on your computer and use it to scan for the error in your system. When the scan completes, find if any feature allows you to fix errors. If yes, click on it. Now restart your computer again. You will notice that the virus has disappeared. It is a good idea to use error repair utilities because they scan the system, diagnose the error and then perform the repair.

Use any of the methods listed above to get rid of the 0x80004001 error once and for all.

Read More
Change default audio output for Narrator
For PC users that are blind or have low vision, the Narrator accessibility feature in Windows 10, lets you use your PC without a display or mouse to complete common tasks – it reads and interacts with things on the screen, like text and buttons. The narrator can be used to read and write an email, browse the internet, and work with documents. In Windows 10, there are a lot of options for Narrator that you can customize. You can change its keyboard shortcuts, personalize Narrator’s voice, enable Caps Lock warnings, and more. You can choose the voice for the Narrator, adjust the speaking rate, pitch, and volume. To change the default audio output device used to play the voice of the Narrator in Windows 10:
  • Press the ⊞ WINDOWS + I
  • From the Settings menu, click Ease of Access.
  • Click Narrator on the left pane.
  • In the Narrator window, on the right pane, toggle the button to On to enable Narrator if required.
  • Scroll down to the Personalize Narrator’s voice section.
  • For the Select where you hear Narrator’s voice option, click the drop-down and select the audio output device you want from the list. Please know that you will not be able to choose if you do not have multiple audio output devices connected to your Windows 10 computer.
  • Exit Settings when done.
If you would like to read more helpful articles and tips about various software and hardware visit errortools.com daily.
Read More
1 2 3 162
Logo
Copyright © 2022, ErrorTools. All Rights Reserved
Trademarks: Microsoft Windows logos are registered trademarks of Microsoft. Disclaimer: ErrorTools.com is not affiliated with Microsoft, nor claim direct affiliation.
The information on this page is provided for information purposes only.
DMCA.com Protection Status