When you encounter an error message that says, Chassis Intruded…Fatal Error…System Halted on your monitor then it indicates that the Chassis or the cabinet that holds the CPU, GPU, motherboard, and many more is open. It is a security feature offered by OEMs wherein a connector that is found in the motherboard can detect if the chassis component has been replaced or removed. There are a few OEMs that offer onboard speaker or PC chassis speaker which goes off in this kind of situation.
Obviously, the problem has something to do with the hardware and in most cases, you have to put the jumper back on the motherboard with the pin-labeled chassis signal and ground. There are times when some OEMs offer a simple switch that is armed automatically when you properly close the chassis. Thus, you need to check if this switch has something to do with the error. If there is no switch or if it doesn’t resolve the issue, although you may be able to get into Windows with a warm boot, the normal Windows boot won’t really work unless you fix the problem. It is rather false positive and has something to do with the RTC RAM state or the BIOS. You might need to completely disable the Chassis intrusion feature to fix the error.
Refer to the suggestions given below to try and fix the “Chassis Intruded, Fatal Error … System Halted” error.
You can easily clear CMOS by shorting two pins which can be found side by side on the motherboard. Keep in mind that it may vary from OEM to OEM although the basics are still the same to clear CMOS. In addition, you might also have to download the manual from the OEM’s website so that you’ll know its exact location.
You can also try booting into the BIOS. All you have to do is tap either the DEL or F2 keys to get there. Note that everything will be set back to their default setting after you reset the CMOS.
In this option, you have to look for the Chassis intrusion feature in your BIOS. It might be located under security. From there, disable it and check if the problem’s fixed.
Once you have disabled the Chassis feature, you need to reconfigure the BIOS the way you expect it to be or to what it was before the reset.

 Check cables
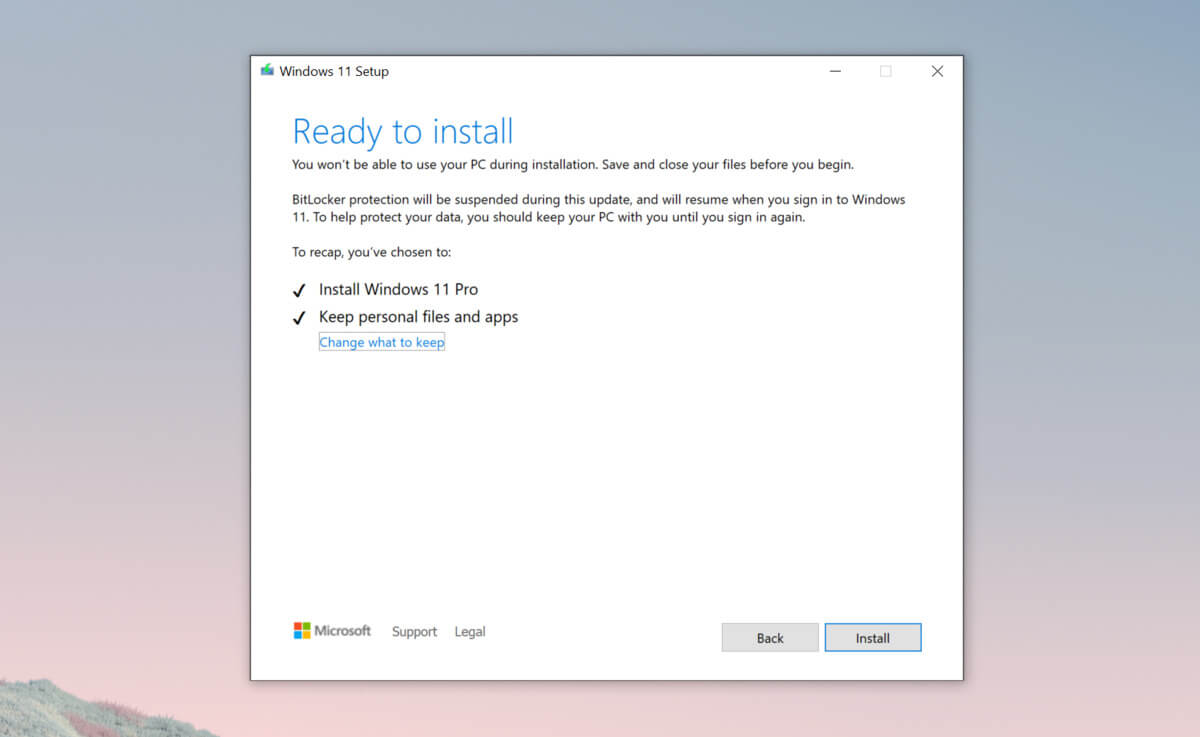 Bypass TPM with changing installation media
Error code 0x8007232B (Code 0x8007232B) is an error that occurs when you attempt to activate Windows Server 2008 or Windows Vista.
Common symptoms include:
Error code 0x8007232B can be seen when you are trying to activate windows, on several different operating systems. This problem can usually be easily corrected, but in the event that it can't, please contact a computer repair technician. When you try to install any of the previously mentioned Windows products, they use a generic product key to install the volume-based license software. If you do have a KMS host computer configuration and see these error codes, that means the correct DNS entries are not being seen on the computer. If there is not a KMS host computer setup, you need to do this setup, otherwise switch to a MAK product key method, and activate the volume license installation that way.
Using a Multiple Activation Key as opposed to KMS activation
Configure a KMS host server for the clients to activate against.
A KMS host server needs to be configured for the clients to activate against. When there are no KMS host servers configured near you, install and activate a KMS server key. After this, configure a computer on the network to host this KMS software and publish the Domain Name System (DNS) settings.
When the client cannot locate a KMS host on the network for activation:
1. Verify that your computer has the KMS host installed and activated by using a KMS key that is registered in DNS. You will follow these steps to do that:
2. A KMS host server registers a DNS SRV record once every 24 hours by default. You should check the registry to see if the KMS host server is registering with the DNS. Follow these steps to do so:


diskpartStep 5: Afterwards, type in either of the following commands to help you in either listing all the Disk connects or all the partitions on those disks formed.
diskpart or list volumeStep 6: Next, you need to select any of the two given commands below depending on the list you entered on the previous step.
select disk # or select volume #Step 7: After you enter the command, it will select the Disk or the Partition you want to select. Now you have to type and enter the following command to clean your drive.
cleanStep 8: Now enter any of the two following commands.
list disk or list volumeStep 9: Then type the next command below to create a specified partition.
create partition primaryStep 10: Once done, type in the following command to select the newly created partition.
select partition 1Step 11: Next, type the following command to mark the selected partition as active.
activeStep 12: Finally, restart your computer to successfully apply the changes made and then see if it has fixed the problem or not.
HKEY_LOCAL_MACHINESOFTWAREMicrosoftWindows NTCurrentVersionScheduleMaintenance
 Microsoft’s initial Windows 11 hardware requirements were not really well received by users and they were not really clearly represented from the start making a lot of potential customers slowly drift away from the hype.
It seems that Microsoft has acknowledged this since they have changed their tune about system hardware requirements for the upcoming Windows 11.
It seems that Windows 11 will be able to be officially installed on unsupported computers but with a little inconvenience.
Microsoft’s initial Windows 11 hardware requirements were not really well received by users and they were not really clearly represented from the start making a lot of potential customers slowly drift away from the hype.
It seems that Microsoft has acknowledged this since they have changed their tune about system hardware requirements for the upcoming Windows 11.
It seems that Windows 11 will be able to be officially installed on unsupported computers but with a little inconvenience.
 Once File Explorer is up and running right-click on the hard drive you wish to run disk cleanup on and click on properties.
 Properties Windows will open on the general tab, on that tab you have disk cleanup on the lower right part of properties, click on it.
 Wait for Windows to gather information about your hard drive and files on it. After it is finished you will be greeted with the next screen:
 Here you can thick and mark which items you would like to get rid of and which ones you would like to keep. Note that you can freely tick all of them and remove them since removing these files will not break WIndows in any way. make your choices and click on ok. You can also click on Clean up system files to run system files cleaner and get rid of junk there, you will not be able to choose any options there, Windows will alone clean up what is not needed.
After disk cleanup is finished least thing you will have is more free disk space, but like mentioned, keeping your Windows and computer healthy goes a long way in its usability, speed, and performance.
Here you can thick and mark which items you would like to get rid of and which ones you would like to keep. Note that you can freely tick all of them and remove them since removing these files will not break WIndows in any way. make your choices and click on ok. You can also click on Clean up system files to run system files cleaner and get rid of junk there, you will not be able to choose any options there, Windows will alone clean up what is not needed.
After disk cleanup is finished least thing you will have is more free disk space, but like mentioned, keeping your Windows and computer healthy goes a long way in its usability, speed, and performance.