Disable Taskbar on the second display

If you have a dual monitor setup on your Windows 10 computer and you mostly use the second screen when you are presenting something, this makes the Taskbar completely unnecessary and is not really required. So if you are using your computer generally and do not want the taskbar on your second screen, read on as this post will guide you in disabling Taskbar on your second display.

The good thing is, Windows comes with a built-in feature to disable Taskbar on your second screen or projector connected to your computer. In this post, you will be guided on how you can hide or disable the Taskbar from the second monitor in Windows 10. This post is coming in handy especially if you are using projectors or multiple displays.

Refer to the steps given below to disable Taskbar on the second display in Windows 10.

Step 1: Go to Settings and click on Taskbar from the left menu.

Step 2: After that, scroll down to lo look for Multiple Displays.

Step 3: Next, turn off the toggle labeled, “Show taskbar on all displays”.

Note: After completing the steps given above, it will disable the Taskbar on all the secondary displays. Bear in mind that these settings will work only if you are running a second screen in Extended mode. Contrariwise, if you are in the Duplicate mode, this setting will not work but you can always set your Taskbar to Autohide so that it won’t be displayed.

On the other hand, if you are facing some issues in finding which screen is primary and which one is secondary, refer to these steps:

Step 1: Go to Settings and select System.

Step 2: Next, from the left menu open Display.

Step 3: From there, select the desired display and make it the primary one as required by your setup.

If you like to learn and find out more about various Windows errors, and how to repair them go to our vast archive or use search to find articles that will explain and help you in solving your issue.
However, if you prefer to do things fast and with automatization then we are proposing to use an automated solution for your issues. The application that we are recommending is Advanced System Repair Pro
Advanced System Repair utilizes multiple tools all in one to give you a quick, simple, reliable, and very thorough diagnosis of your PC. It brings you all the tools you need in one program to clean, fix, protect, optimize and boost your PC!
1-Click Maintenance
All the tools to make it simple and easy! It's like having a professional technician at the click of a mouse.

Junk Cleaner
Keeping your computer free from unnecessary clutter also helps make your computer last longer. Like any other machine, if you keep it clean and take care of it, it will serve you better for longer!

Optimize background apps
Optimize applications background activity with the built-in Application Optimizer feature.

Disk Defrag
With a simple 1-click, Advanced System Repair speeds up your PC by assembling fragmented files on your machine and organizing them more efficiently.

Malware Removal
Finds and removes all types of harmful malware including trojans, worms, bots, adware, spyware, PUPs, and more!

Privacy Cleaner
The all-in-one privacy suite to Clean Your Tracks & Protect Your Privacy! Make your computer safe, secure, and more efficient!

System Tweak/Optimizer
ASR will analyze your complete system and settings to adjust your PC to function at its maximum performance.

Registry Cleaner
Over time, as you install and uninstall applications, the registry can become cluttered with old entries and broken settings which can result in program crashes, and annoying messages and slow the computer down.
Visit our Advanced System Repair Pro Download page to inform yourself about all the benefits of this software and get a free trial copy of it.
advanced system repair pro

Advanced System Repair Pro

One-click automated PC repair solution
ASR logo
With Advanced System Repair Pro you can easily
Replace damaged files
Restore performance
Free disk space
Remove Malware
Protects WEB browser
Remove Viruses
Stop PC freezing
DOWNLOAD
Privacy Policy | Terms of Use | Uinstall
Advanced System Repair Pro is compatible with all versions of Microsoft Windows including Windows 11

Share this article:

You might also like

A Quick Guide to Fixing the Entry.Dll Error

Repair the Entry.Dll Error

Entry.dll Error - What is it?

Entry.Dll is a type of Dynamic Link Library file. This file consists of small programs that are called to load and run desired applications. Just like any other dll file, the entry.dll file is also a shared file. It supports and is compatible with multiple applications. You may experience entry.dll error message on your PC, when the Windows cannot properly load the entry.dll file.  This error most often occurs during PC startup, application startup or while trying to use a specific function in your program. The enrty.dll error message is often displayed in either of the following formats:
  • “Entry.dll not found.”
  • “The file Entry.dll is missing."
  • “Cannot register Entry.dll."
  • “Cannot find C:WindowsSystem32\Entry.dll."
  • “Cannot start YAPC: Europe. A required component is missing: Entry.dll. Please install YAPC: Europe again."
  • “Entry.dll Access Violation."

Solution

Restoro box imageError Causes

The entry.dll file error may occur due to multiple reasons including but not limited to:
  • Corrupt entry.dll registry entry
  • Entry Dll file is not registered properly
  • Open source hardware failure  for example  a bad hard drive
  • Virus or malware infection
No matter what the underlying reason may be, it is advisable to repair and resolve the dll file error on your PC to ensure the program is accessible without any inconvenience.

Further Information and Manual Repair

Here are different ways to fix and resolve the Entry.dll error on your PC:

1. Re-Register Entry.dll File

When you install software that uses the Entry.dll, the software automatically registers that file for you. However, in some cases the dill file may not register properly and as a result you may experience the error Entry.dll not registered. In such situations it is advisable to use ‘Microsoft Register Server’ built-in utility to re-register the entry.dll file. This utility can be accessible in Windows XP, Vista, 7 and 8 through the command prompt. To get started, here’s what you need to do:-
  • Go to the start menu and type command in the search box.
  • Now press Ctrl and Shift together and hit the Enter key.
  • After that you will be prompted with a permission dialog box; click yes to continue.
  • Now type the following command: regsvr32 /u Entry.dll. Press enter to un-register the file.
  • Type the following command: regsvr32 /i Entry.dll and press enter again. This will re-register the file.
  • Close the command prompt window and try accessing the desired program supported my entry.dll file. If the program is accessible and you don’t encounter the error message, this means the error is resolved.

2. Update Outdated and Corrupt Device Drivers

Another method to fix this error is to update the device drivers that are incompatible, corrupt or outdated. Download the latest versions of the corrupt drivers and re-install them on your PC.

3. Clean the Registry to Remove Invalid Entry Files

The entry.dll file error can be related to problems in the Windows registry. The registry gets damaged when it gets overloaded with too many unnecessary and obsolete files such as junk files, bad registry keys, invalid entries and cookies. These files not only take up great deal of disk space but also damage the registry, system and dll files. You can clean the registry manually but it is time consuming and needs technical expertise. However, to repair the error right away in seconds download Restoro. This is a powerful Registry Cleaner integrated with an intuitive algorithm that detects and removes all types of registry issues on your entire PC in no time. It wipes out the unnecessary files and invalid entries, repairs dll files including the entry.dll file and restores the registry.

4. Scan for Malware and Viruses

Another cause of the entry.dll error can be malware and viruses. These malicious programs can also corrupt dll files. It is important to remove all of them from your PC to resolve the issue. For this you need to scan your PC with an antivirus. If you download Restoro, you don’t need to download an antivirus program. This is because Restoro includes multiple utilities including an antivirus too. You can run it to scan and remove all types of malicious programs like malware, viruses, spyware and Trojans on your system. Restoro also features a system optimizer. This utility boosts your system’s speed significantly ensuring your PC performs at its optimum level. It is safe, user-friendly and can be installed on any Windows versions. It has easy navigations making it quite simple to use by all levels of users. It is bug free and efficient. In just a few clicks you can resolve practically all PC related issues. To resolve entry.dll error on your PC, click here to download Restoro today!
Read More
How to Fix Runtime Error 713

Correct Runtime Error 713

What is Runtime Error 713?

Runtime Error 713 is an error that occurs during the distribution of a Visual Basic application that includes a data report. The error is displayed on the screen when you try to open the data report from your desired application.

Error Causes

The reason why computer users often experience the Runtime Error 713 is that the data report run-time file also referred to as Msdbrptr.dll is not included in your setup package. Though this error does not pose any big threat to your computer, however, it is recommended to fix the error because the Runtime error 713 may hamper your ability to install and access new programs.

Further Information and Manual Repair

Don’t you panic if you see Runtime Error 713 message pop up on your PC? This error is rated easy to repair and can be fixed in a couple of minutes. There are two ways to fix Runtime Error 713. You can choose whichever 2 alternatives suit you best.
  • Method 1
First, open your project and include a reference to the data report file, the Msdbrptr.dll file. Locating this file is not difficult. It is listed as Microsoft Data Report Designer v6.0 in the reference dialog box. Sometimes you may see this file listed more than once. Now when this happens be sure to select the file that is associated with Msdbrptr.dll. After you select it, the reference will be verified. Once verification is complete, you are good to go. Now you can try rebuilding your setup package again.
  • Method 2
The second alternative is to add the Msdbrptr.dll file manually in PDW (the Package and Deployment Wizard). Simply add the file in the Included Files dialog box window and run the PDW. Now you are all set to rebuild your setup package. Whether you follow method 1 or 2 after you rebuild the setup package and the installation is complete, you will see the following files in the indicated folders:
  • <windows system>Msdbrptr.dll
  • <program files>Common Files\Designers\Msderun.dll
  • <windows system>Msstdfmt.dll
The presence of these files indicates successful installation and now you can easily try opening the data report. If you’ve noticed, all you have to do to fix Runtime Error 713 was to include the Msdbrptr.dll file. So, next time if you or your friends experience Runtime Error 713, you know exactly what to do and how to fix it. Congratulations, you have just fixed Runtime Error 713 in Windows 10 all by yourself. If you would like to read more helpful articles and tips about various software and hardware visit errortools.com daily. Now that’s how you fix Runtime Error 713 in Windows 10 on a computer. On the other hand, if your computer is going through some system-related issues that have to get fixed, there is a one-click solution known as Restoro you could check out to resolve them. This program is a useful tool that could repair corrupted registries and optimize your PC’s overall performance. Aside from that, it also cleans out your computer for any junk or corrupted files that help you eliminate any unwanted files from your system. This is basically a solution that’s within your grasp with just a click. It’s easy to use as it is user-friendly. For a complete set of instructions in downloading and using it, refer to the steps below Perform a full system scan using Restoro. To do so, follow the instructions below.
      1. Download and install Restoro from the official site.
      2. Once the installation process is completed, run Restoro to perform a full system scan. restoro application screen
      3. After the scan is completed click the “Start Repair” button. restoro application screen
Read More
How to switch to Dark mode in Windows 11
Dark mode
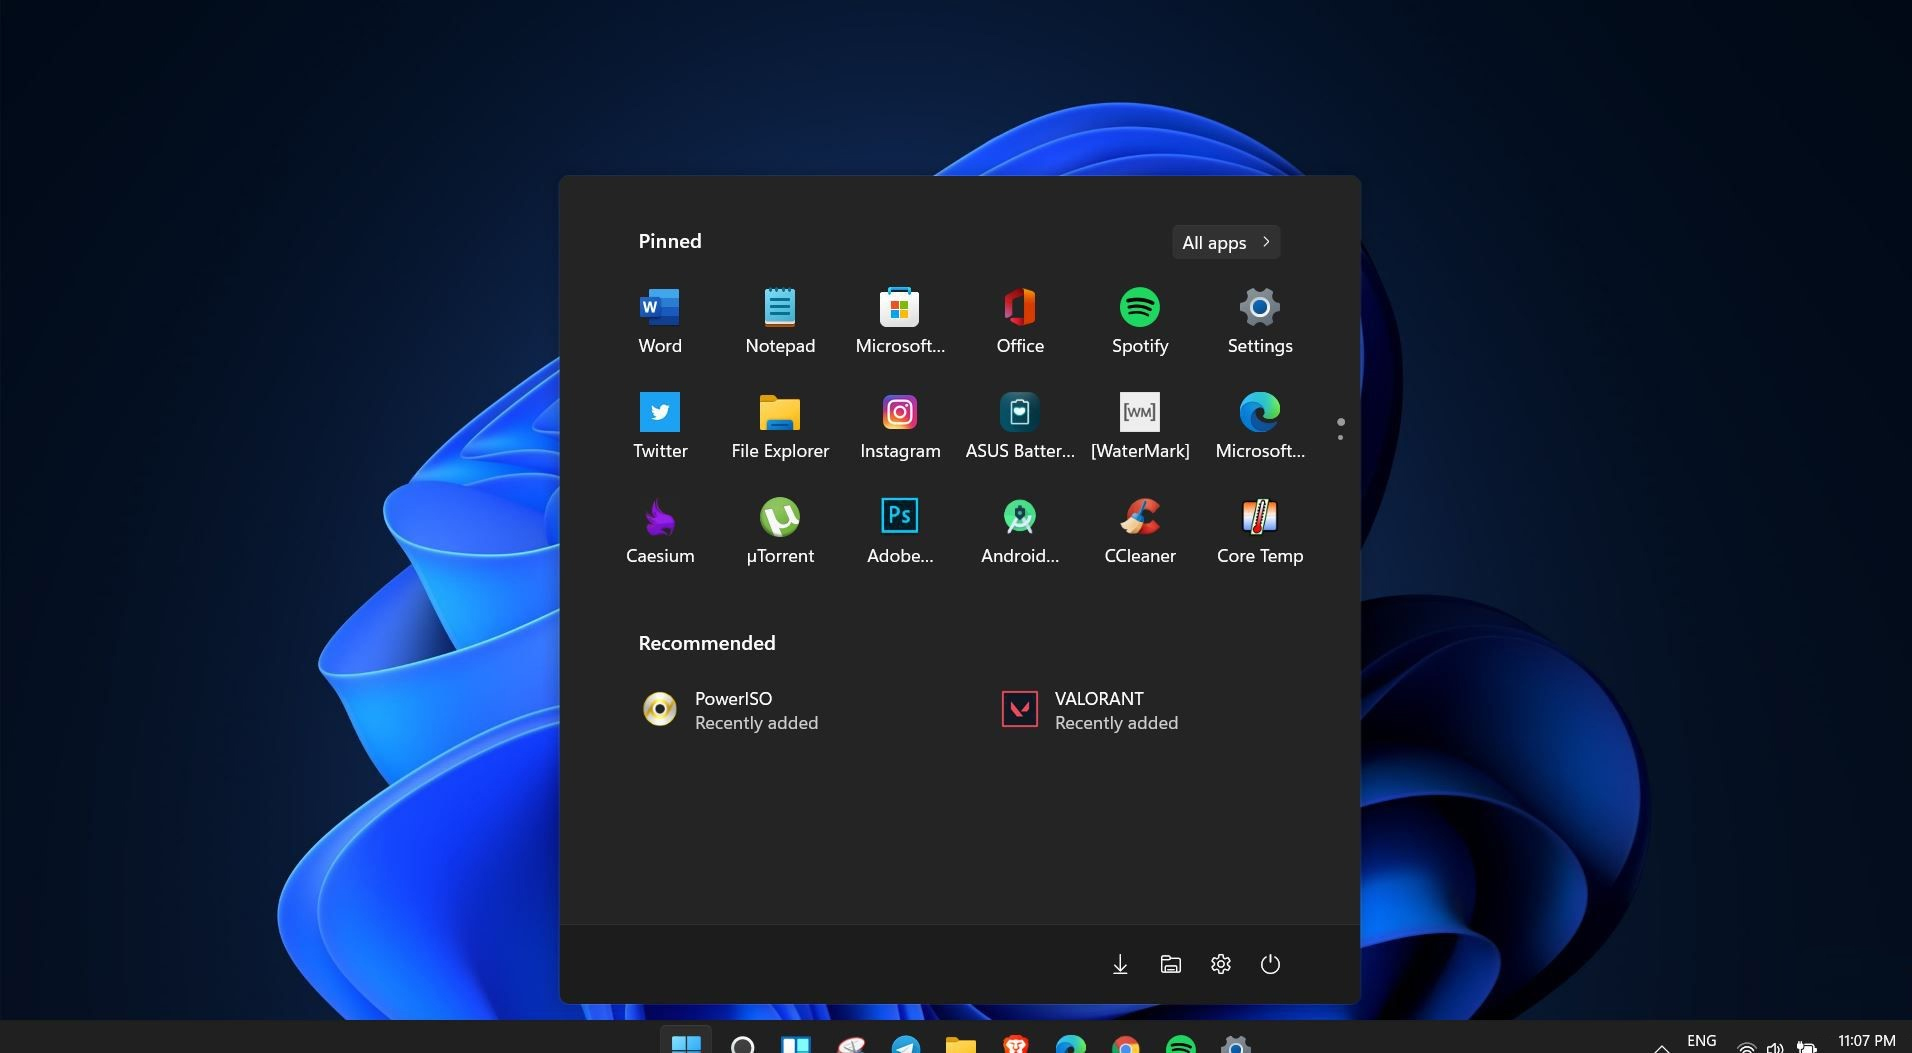
Windows 11 is coming soon, from its typical view and color scheme, Windows 11 will natively support dark mode. The dark mode is very popular in many applications today, some large companies like Adobe, Autodesk, and many more have already adopted a dark color scheme for their software so it is logical for others to follow and Microsoft is aboard for it. The dark mode itself has its benefits, for people who work on computer for longer period of time dark mode inside applications will throw less white and blue light on their eyes making workhours easier and pleasant on them. As a person who does indeed spend a lot of time in front of the screen, I would advise you to switch to dark mode regardless of the time that you spend with a computer, your eyes will be grateful.

Switching to Dark mode in Windows 11

  1. Open Windows 11 Settings by pressing ⊞ WINDOWS + I
  2. Click on Personalization on the left sidebar
  3. On the right side click on Color
  4. In color options click on the drop-down menu right next to Choose your color
  5. Select Dark
Your choice will be applied right away and you can safely close settings.
Read More
Fix boot into the next phase of installation
There are various complex tasks that take place under the hood while you upgrade or clean install the Windows operating system on a computer. Because of its complexity, there are times when you might encounter some errors when you upgrade or clean install Windows 10. One of the errors you could encounter is the error that states, “Windows could not prepare the computer to boot into the next phase of installation. To install Windows, restart the installation”. This error does not only occur in Windows 10 as it could also occur on the other versions of Windows. There are a lot of possible causes for this error. It could be due to incompatible BIOS, corrupted system files, improper installation media or it could also be due to excessive hardware plugged into your computer and so on. Whatever the cause is, here are some potential fixes you need to check out to fix the problem.

Option 1 – Try to disconnect or disable newly installed hardware

In this option, you will have to disable or remove the hardware you’ve just installed recently since external devices could be the one that’s causing the Blue Screen of Death error to appear. To do that, just disconnect any external device that’s connected to your computer physically and then check if it fixes the error.

Option 2 – Try to update the BIOS

As you know, the BIOS is a sensitive part of a computer. Even though it is a software component, the functioning of the hardware depends on it largely. Thus, you must be careful when modifying something in the BIOS. So if you don’t know much about it, it’s best if you skip on this option and try the other ones instead. However, if you are well-versed in navigating the BIOS, then follow the steps below.
  • Tap the Win + R keys to open the Run dialog box.
  • Next, type “msinfo32” in the field and press Enter to open System Information.
  • From there, you should find a search field on the bottom where you have to search for the BIOS version and then press Enter.
  • After that, you should see the developer and version of the BIOS installed on your PC.
  • Go to your manufacturer’s website and then download the latest version of BIOS on your computer.
  • If you are using a laptop, make sure that you keep it plugged in until you have updated the BIOS.
  • Now double click on the downloaded file and install the new BIOS version in your computer.
  • Now restart your computer to apply the changes made.

Option 3 – Try to reconfigure all the created partitions

You could also try to reconfigure the partitions by deleting and recreating all the available partitions on your computer and then see if it fixes the problem.

Option 4 – Make a proper bootable USB Drive/Stick

To make a proper bootable USB drive, you need to use the Windows Media Creation tool. The Media Creation tool in Windows allows you to use the ISO installation file to make a bootable device that you can use to install Windows on your PC. Note that this is kind of different from the usual installation process as it could erase your computer’s current settings and data on the primary drive. Thus, before you proceed, you need to backup all your data into some removable drive and then use the Media Creation Tool to make a bootable drive.
  • After making the bootable drive, you need to plug it into your computer and then reboot.
  • Next, tap the F10 or Esc key to open the boot options.
  • Now set the boot priority of the removable drive the highest. Once the setup comes forth, follow the next onscreen instructions and install Windows without any problems.
Read More
Proven Solutions For Error Code 0x80131700

Fix Error Code 0x80131700

Error Code 0x80131700 - What is it?

0x80131700 is a Windows 7 error that occurs when there is a problem with the Troubleshooting Wizard. The wizard fails to function and with an error message displaying the following message on the computer screen:

‘An unexpected error has occurred’- The troubleshooting wizard can’t continue

Error code: 0x80131700'

Windows 7 features Troubleshooting Wizard, an automated tool that helps users resolve several PC-related problems such as accessing shared files or internet connectivity to name a few.

Error Causes

The error code 0x80131700 largely occurs because of two reasons:
  • The .NET framework is not properly installed on your system
  • Mis-configured System Files and Registry Issues

Further Information and Manual Repair

0x80131700 Windows error is rated easy to fix error code. Thus, repairing this error code is not difficult. It is so easy to fix that you don’t need any technical expertise or professional help for that matter. To begin with, there are 2 methods to resolve the 0x80131700 error code. Let’s take a look at the solutions:

Cause: The .NET framework not properly installed on your system

Solution: If the underlying cause for the error code 0x80131700 is the improper installation of .NET framework on your PC, then the best and easy way to resolve this error is to reinstall it. By default, the built-in version of the .NET framework in Windows is 3.5.1 to reinstall this again on your system follow the steps given below:
  1. Go to the Start menu and type: features in the search box
  2. Now Choose the option ‘Turn Windows Features on or off’ and then press Enter
  3. After this, look for Microsoft .NET framework 3.5.1 and uncheck the box
  4. Once you uncheck it, restart your computer
  5. Repeat the step 1 and 2
  6. Now check the box before .NET framework 3.5.1
  7. Restart your system
  8. Now try using the Troubleshooting Wizard.

Cause: Mis-configured System Files and Registry Issues

Solution: If the error code 0x80131700 triggered due to misconfigured files and registry issues, then the easiest way to fix this error on your system is to download Restoro This program is a useful tool that could repair corrupted registries and optimize your PC’s overall performance. Aside from that, it also cleans out your computer for any junk or corrupted files that help you eliminate any unwanted files from your system. This is basically a solution that’s within your grasp with just a click. It’s easy to use as it is user-friendly. For a complete set of instructions in downloading and using it, refer to the steps below Perform a full system scan using Restoro. To do so, follow the instructions below.
      1. Download and install Restoro from the official site.
      2. Once the installation process is completed, run Restoro to perform a full system scan. restoro application screen
      3. After the scan is completed click the “Start Repair” button. restoro application screen
Read More
File Record Segment is Unreadable in Windows 10
If you suddenly encounter an error message saying, “ File Record Segment is Unreadable ” on a blue screen while booting your PC, it means that your hard drive is in an error state. This particular blue screen of death error might have a lot of bad sectors or might have reached its end. The workarounds you can try to resolve the issue is by locating the bad sectors or checking your hard drive for any discrepancies in the mapping and fix them. Follow the detailed instructions laid out below for these workarounds.

Option 1 – Try to check for any bad sectors and wrong configurations in your hard drive

The first thing you have to check is the boot files on your PC. As you know, your PC boots from these files and if there is anything wrong with any one of them or if one of them ends up getting corrupted, you will most likely see the blue screen of death error or a prompt with an error message saying, “File record segment is unreadable”. According to some users who reported this issue, new hard drives aren’t exempted from this error. That’s why it is recommended that you carry out this solution no matter what kind of scenario you are in. You will have to launch the Command Prompt in recovery mode and see if you can fix the problem by executing the check disk commands.
  • Upon booting, restart your PC and tap F11 to go to the recovery environment then select Troubleshoot.
  • Next, click Advanced from the given options and select Command Prompt.
  • After opening Command Prompt, execute the commands listed below, and don’t forget to hit Enter right after you type in each one of them and if you have installed Windows to some different directory, you must replace “C” with the name of the drive you’ve installed Windows with.
  • chkdsk C: /r /x
  • chkdsk C: /f
Note: The Chkdsk function might take a while before it finishes its operations so you need to be patient and wait until the entire process is completed. And depending on the situation, it might even take a day at most so patience is really the key here.

Option 2 – Try connecting the hard drive to a different computer

If option 1 didn’t work for you and you’re still seeing the error, you can try connecting the hard drive to a different computer and then copy the data first. Make it a priority to salvage the data just in case the hard drive won’t make it in the future. After replicating your hard drive, you can then try running the chkdsk commands that are listed in option 1 above in the new computer you’re connecting your hard drive to and make sure that you key in the correct drive letter that’s assigned to the hard drive you’re using. After executing the chkdsk commands, plug your hard drive back into the previous computer and then check if you can now boot it without any issues.

Option 4 – Replace the faulty hard drive

If none of the options provided above really worked out then maybe it’s time to consider getting a replacement for your hard drive. In about 50% of the cases about this error, some unfortunate users were left with no choice but to replace the hard drive since the problem is with the hard drive itself. Hard drives have a complex running mechanism which includes a head and the disk that rotates accordingly so you can check if the cables connected to the hard drive are connected properly and if it is in a correct position or not. In addition, you also have to make sure that the SATA adapters where the hard drive is connected are working properly. If the drive is showing problems in the I/O operation, there is little chance for you to use it as a normal hard drive. If the hard drive is in warranty, get it checked and replace it. If not, you might consider taking it to the service center for the specialists to take a look into it.
Read More
REvil vanishes over night without trace
REvilREevil is one of the most active and successful hacking groups connected to Russia and operating all over the world. The group recently demanded a huge bitcoin ransom for an attack targeting IT firm Kaseya in the USA. Since Tuesday blog and payment site run by REvil group cannot be longer reached without any kind of explanation or why. The reason behind the disappearance is unknown but has sparked speculation that the group may have been targeted deliberately by authorities. US President Joe Biden said he raised the issue with Vladimir Putin during a phone call on Friday, after discussing the subject during a summit with the Russian president in Geneva last month. Mr. Biden told reporters that he had "made it very clear to him...we expect them to act" on information and also hinted the US could take direct digital retaliation on servers used for intrusions. The timing of Tuesday's outage has sparked speculation that either the US or Russian officials may have taken action against REvil - though officials have so far declined to comment and cyber experts say sudden disappearances of groups are not necessarily uncommon. The development comes after a series of high-profile ransomware attacks which have hit major US businesses this year. The FBI accused REvil - also known as Sodinokibi - of being behind a ransomware attack on the world's largest meat processing company JBS last month.
Read More
What to do when you can't format SD card
SD memory cards have surfaced as standard cards for digital cameras and microSD as phone standard memory cards. Most people have and use at least one daily, so naturally copying files and even formatting SD cards is a natural thing to do, but what if you cannot copy files or format SD cards? SD cardsFear not because we had this issue and tried several things in order to overcome the problem and after some time here is a list of what can you do if you are facing this exact issue. The list is written from most simple solutions to more complex ones and it is advisable to follow it as presented. That being said, let's dive into solving the problem.

1. Remove Write Protection on SD card

First and in my experience the most usual thing preventing deleting, copying files, and formating SD card is due to write protection. Take an SD card out of the laptop, camera, or card reader and visually inspect it. On side of almost every SD card, there is a hardware lock switch and mark where it needs to be positioned in order to be locked. Even if the switch is positioned on unlocked state, switch it to locked and then back to unlocked. Sometimes this easy moving of switch can resolve some contact issues and the card will start working normally. Another type of lock that could be turned ON is a software one. If for any kind of reason data protection has been turned ON, you will need to turn it off in order to be able to format an SD card. In order to do this follow this guide:
  1. Press ⊞ WINDOWS + R to open the Run dialog
  2. In run dialog type in diskpart and press ENTER
  3. Once diskpart is opened in command prompt type in: list disk and press ENTER
  4. Locate your SD card and type in select disk x, where x is disk number followed by ENTER
  5. After the SD card is selected type in: attributes disk clear read-only and press ENTER
This process will clear the software lock on the SD card, after following this method try to format the card again, if the problem still exists go to the next solution.

2. Format SD card using Command prompt

Command prompt is a great tool and can perform some commands that are not been able to be completed using file explorer or another tool inside Windows.
  1. In the taskbar search box, search for cmd and select the Command prompt
  2. On the right part select run as administrator
  3. If needed click on YES on UAC prompt
  4. Inside command prompt type in diskpart and press ENTER
  5. type in list disk followed by ENTER
  6. Select your SD card by locating its number in the list and typing select disk X, where is X SD cards number in list and press ENTER
  7. Once SD card is selected type in format fs=ntfs quick and press ENTER
This should format SD card but if for reason even this step is provided as unproductive, go to the next solution.

3. Format your card with the Disk Management tool

  1. Go into the taskbar and search for Disk Management and open it
  2. Select SD card partition that you wish to format
  3. Right-click on the partition and select format
  4. After the format is done, enter the volume label, file system, and allocation unit size. Confirm with OK
  5. Press OK again to confirm the formatting process.
If you have not managed to format your SD card even with this method go to the next solution.

4. Repartition card with Disk part

If all previous solutions have failed there is a chance that the SD card has bad sectors on it. If this is the case that we will need to partition cards in order to isolate bad sectors and use healthy ones.
  1. Press ⊞ WINDOWS + R to open the Run dialog
  2. In run dialog type in diskpart and press ENTER
  3. Once diskpart is opened in command prompt type in: list disk and press ENTER
  4. Locate your SD card and type in select disk x, where x is disk number followed by ENTER
  5. Type in Clean and press ENTER
  6. Type in Create partition primary and press ENTER
  7. To select a new partition type select partition 1 followed by ENTER
  8. Make partition active by typing active and pressing ENTER
  9. Format the drive by typing format fs=ntfs label=SDCard quick followed with ENTER
  10. Assign a letter to drive by typing assign letter=h followed with ENTER
  11. Type exit to close Command prompt followed again by ENTER and open File Explorer to check if the drive is active

5. Try a dedicated SD card formating fool

If anything failed so far, one last thing you could do is to download and try a dedicated SD card formatting tool. One that I would recommend is SD Memory Card Formatter, which is free software make specifically for formatting SD memory cards.
Read More
Windows 11 launch date set for October 5th
windows 11 release date
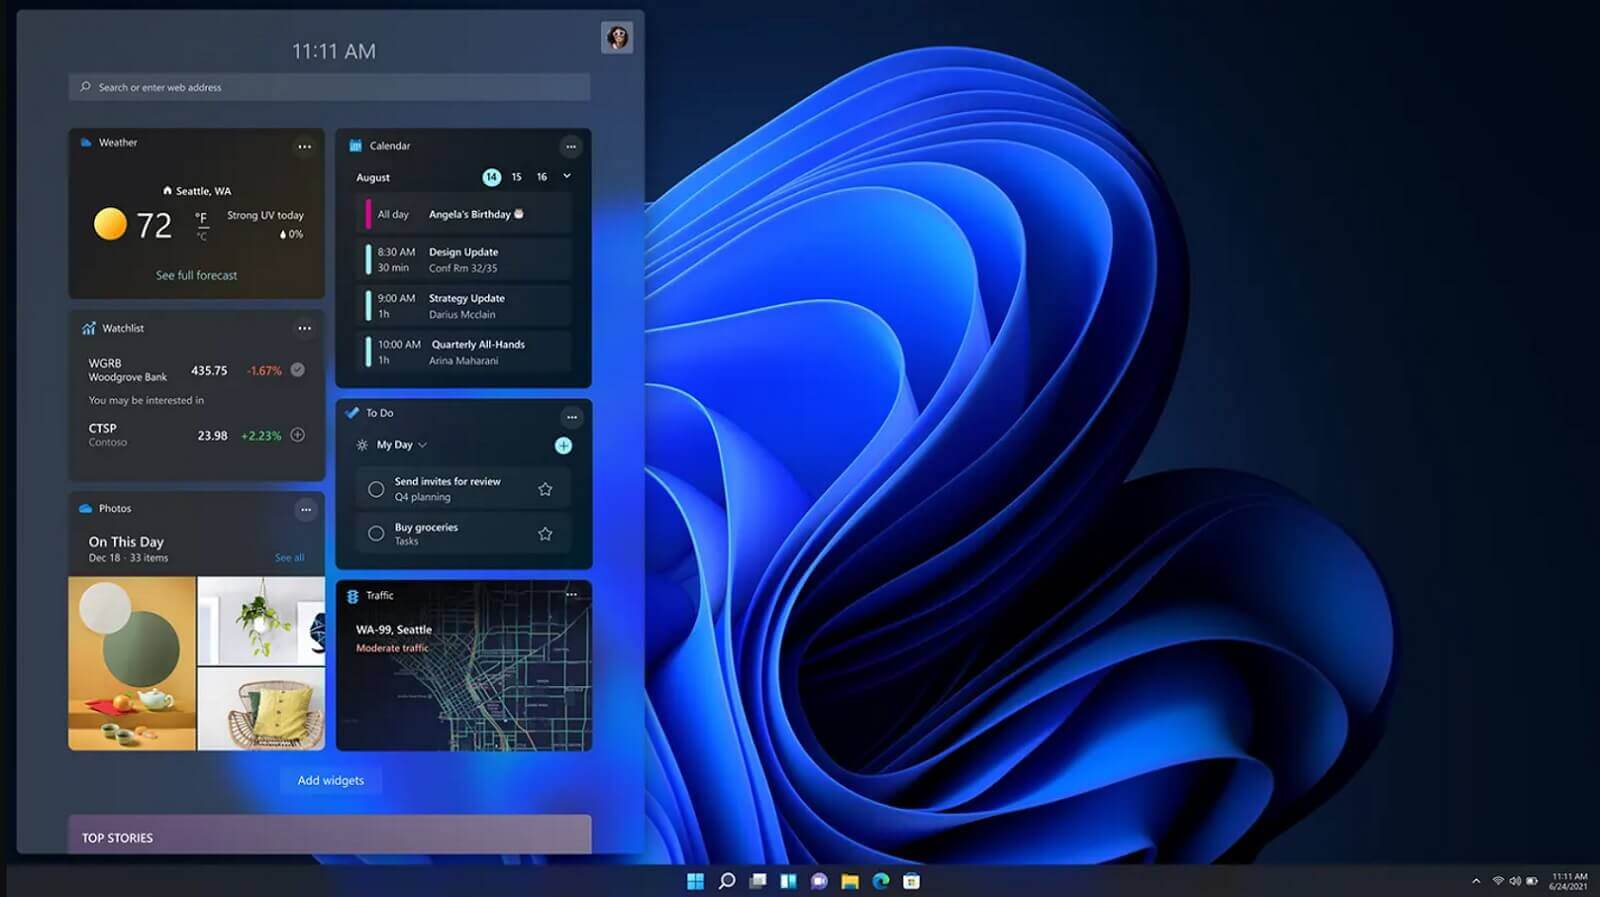
It is officially confirmed, Windows 11 release date is October 5th. Windows 11 will be released as a free upgrade to all registered Windows 10 users that have supported hardware for it. The rest of the users will be able to install it via ISO file as a clean installation if their computer supports Windows 10 hardware requirements. The official price for the license for Windows 11 has not yet been set but I assume after release it will be set. Priority for W11 will have users who are upgrading from W10 as stated by Microsoft. Also, it was officially confirmed that Android apps will not be running natively in this first release of Windows 11, that feature will come in a future update, official statement below:
"We look forward to continuing our journey to bring Android apps to Windows 11 and the Microsoft Store through our collaboration with Amazon and Intel; this will start with a preview for Windows Insiders over the coming months,"
The rest of the features will be all included inside Windows 11 on launch.
Read More
Fix Can’t initialize disk in Windows 10
If you have recently installed a new internal or external hard drive or SSD and you’ve noticed that its status on the left side of the Disk Management tool states “Unknown Not Initialized”, this indicates that Windows can’t initialize the disk and that you won’t be able to use this new SSD or hard drive. You can encounter this kind of issue randomly and not just with a new hard drive or SSD but also with existing drives. There are times when you won’t be able to find your drive or partition in the File Explorer. In such a case, you have to check the Disk Management if your drive or partition is there physically. You also have to check if you can see it as Not Initialized. If it is, then this means that the disk or partition does not have a valid signature that is if it’s not registered with the system properly. Note that a disk is registered when you format it at least once so if the disk was available before, then it could be somehow corrupted. To resolve the problem, you can try to initialize the disk manually or bring it online and add a drive letter. You can also try checking the Device Manager for issues or check the cable physically.

Option 1 – Try to manually initialize the disk

Since initializing the disk is the most common way to resolve the “Unknown Not Initialized” error, this is what you have to try first.
  • To initialize the disk manually, you have to open the Disk Management from the WinX menu by tapping Win + X keys and selecting Disk Management.
  • From there, you can find the non-initialized disk. Right-click on it and select the “Initialize Disk” option.
  • Next, select the partition style. It is recommended that you use the MBR option instead of the GPT or GUID Partition Table.
  • Now click the OK button. Your hard drive or SSD should now initialize without any problem.

Option 2 – Set the disk Online and add the Drive letter

  • If the disk appears to be offline under Disk Management, right-click on it and select the Online option.
  • On the other hand, if the disk is already set Online but does not have a drive letter, right-click on it and select the Change drive letter and path option.
  • Select a letter that is not allocated yet.
  • Once you’re done, you have the option to format the disk in either NTFS or FAT32 but if you are using a 64-bit computer, make sure that you opt for NTFS.

Option 3 – Try to check any issues in the Device Manager

It is also possible that the hard drive is not working properly due to some driver issues. Thus, it’s better if you check the Device Manager and see if that drive is listed with a yellow exclamation mark next to it. And if that’s the case, you have to right-click on that drive and select the Uninstall drive option. After that, click on Action and then run the Scan for hardware changes. It should fix the problem.

Option 4 – Try to physically check the cable

You might also want to check the physical status of the wires and see if they are connected properly or not. Specifically, you have to check two cables, such as:
  • The first one is the power cable that’s connected to your SMPS.
  • Next is the one that’s connected to your motherboard.
If any of the two cables are not working or missing, then it’s no wonder why your drive has an “Unknown Not Initialized” status. Thus, you need to have them replaced to fix the problem.
Read More
1 2 3 162
Logo
Copyright © 2022, ErrorTools. All Rights Reserved
Trademarks: Microsoft Windows logos are registered trademarks of Microsoft. Disclaimer: ErrorTools.com is not affiliated with Microsoft, nor claim direct affiliation.
The information on this page is provided for information purposes only.
DMCA.com Protection Status