How to choose default applications in Windows

Hello everyone and welcome to another tutorial on errortools.com, Windows itself when it is installed has a general idea about certain file types and how to open them, for example, image files would be opened with application photos, web links with the edge, etc. So when we double click on the known file type, Windows will start the default application for that type and open the file in it. But what if we do not want to open files in applications Microsoft thinks we should? What if we want to open the website in firefox or images in photoshop, or whatever.

Luckily we can easily change which application Windows uses for which file type.

Click on ⊞ WINDOWS to open the start menu and choose settings.

Windows 10 Star menu with marked settings iconOn the settings screen, choose Apps.

Windows settings apps section markedWhen the Apps screen opens on the left click on Default apps.

Windows settings default apps markedOn right, you will get a list of Windows default applications for certain types of files. Click on any application you would like to change and choose from the drop-down list a new one. Click on it and you are done.

If you like to learn and find out more about various Windows errors, and how to repair them go to our vast archive or use search to find articles that will explain and help you in solving your issue.
However, if you prefer to do things fast and with automatization then we are proposing to use an automated solution for your issues. The application that we are recommending is Advanced System Repair Pro
Advanced System Repair utilizes multiple tools all in one to give you a quick, simple, reliable, and very thorough diagnosis of your PC. It brings you all the tools you need in one program to clean, fix, protect, optimize and boost your PC!
1-Click Maintenance
All the tools to make it simple and easy! It's like having a professional technician at the click of a mouse.

Junk Cleaner
Keeping your computer free from unnecessary clutter also helps make your computer last longer. Like any other machine, if you keep it clean and take care of it, it will serve you better for longer!

Optimize background apps
Optimize applications background activity with the built-in Application Optimizer feature.

Disk Defrag
With a simple 1-click, Advanced System Repair speeds up your PC by assembling fragmented files on your machine and organizing them more efficiently.

Malware Removal
Finds and removes all types of harmful malware including trojans, worms, bots, adware, spyware, PUPs, and more!

Privacy Cleaner
The all-in-one privacy suite to Clean Your Tracks & Protect Your Privacy! Make your computer safe, secure, and more efficient!

System Tweak/Optimizer
ASR will analyze your complete system and settings to adjust your PC to function at its maximum performance.

Registry Cleaner
Over time, as you install and uninstall applications, the registry can become cluttered with old entries and broken settings which can result in program crashes, and annoying messages and slow the computer down.
Visit our Advanced System Repair Pro Download page to inform yourself about all the benefits of this software and get a free trial copy of it.
advanced system repair pro

Advanced System Repair Pro

One-click automated PC repair solution
ASR logo
With Advanced System Repair Pro you can easily
Replace damaged files
Restore performance
Free disk space
Remove Malware
Protects WEB browser
Remove Viruses
Stop PC freezing
DOWNLOAD
Privacy Policy | Terms of Use | Uinstall
Advanced System Repair Pro is compatible with all versions of Microsoft Windows including Windows 11

Share this article:

You might also like

File is Too Large for the Destination Error
The file is too large for the destination file system is the error when you try to copy a file larger than 4GB on a drive formatted in the FAT32 file system. FAT32 is the old file system used in previous Windows versions and it was replaced by superior NTFS, altho FAT32 is still used because of its compatibility fact that it could be accessed in various operating systems its disadvantage among others is that it can not hold files larger than 4GB in size. This refers to the size of a single file, so if you have a file that is this large and when you try to copy or move it on a drive formatted in FAT32 you will get this message, and the operation will not be able to complete.

Format drive

In order to actually transfer the file in its glorious size, I am afraid that you will need to format destination drive in NTFS or if you have data on drive which you do not want to lose with formatting, use third-party software to convert file system from FAT32 to NTFS without losing data. I would recommend AOMEI partition assistant, it is a free and proven application letting you both manage your partitions and convert any one of them into another file system without data loss. You can get AOMEI here.

Split file

Another option if you are not keen on installing third-party tools or formating is to divide large files into smaller ones that are less than 4GB in size. You can use any archiving application since built-in Windows ZIP support will not let you split file into various different sizes. The best tool in my humble opinion is WinRAR, but you can choose any proven one. When file is split into parts less than 4GB in size, you will have no issues copying or move the file to the destination drive.
Read More
Hardware review: Bytezone Advanced desk
If you spend a large amount of time gaming or working on a computer gaming chair is a very important asset. One other thing that is mostly looked past but could help greatly is a good desk. A great chair accompanied by a great desk can make your long sitting sessions more pleasant and more healthy which is very important in the long run. Hey, but it is only a desk, what is so special about having an expensive desk? Well truth to be told desk is just a desk and any kind of desk can serve the purpose of hosting a keyboard, mice, and screen. But a good desk will offer some other advantages that may not seem so important but they could mean a lot like adjusting desk height so it fits perfectly on your size and sitting position making long hours more pleasant and lower stress on hands sitting on it.

bytezone gaming deskAdvanced desk features

Bytezone might not be a company that will sound familiar to you, mostly because they manufacture gaming chairs and desks, now in the gaming chairs world there are a lot of competitors and Bytezone has managed to make a name for itself despite this fact. But they are more popular in their gaming and office modern-looking desk category. The advanced desk is made from carbon steel and plastic combination, it is very durable and it weighs 27kg. Now that is not really light but it is not very heavy if we compare it to wood desks. The top layer of the table is made from easy-to-clean material and the desk comes with a large mouse and keyboard pad. The table itself includes a cup holder, headphones bracket under the table and it has a cable management drawer in the back. The desk is sized 66x120x76 cm. Also for anyone interested desk itself comes also with RGB lights for that true gaming feel.
Read More
Explanation of deep and dark WEB
Often when we connect to the internet were browsing indexed pages through some well-known search engine, usually Google. But beneath the so-called normal internet lurks deep and dark web. You might have heard of the deep web and dark web if you have some geeky friends and we are here to explain what exactly is the deep and dark web. The first thing to know is that the deep and dark web is not the same thing and they coexist separately from one another, you could say that beneath the deep web lies the dark web, yet another layer of the internet. So let us explore first the deep web. What is exactly a deep web?

Deep web, hidden web, or invisible web

as sometimes referenced are part of worldwide web not indexed by search engines, meaning that engines do not basically see and index content of deep web sites. The content of the deep web is hidden behind HTTP forms and includes many very common uses such as webmail, online banking, private or otherwise restricted access social-media pages and profiles, some web forums that require registration for viewing content, and services that users must pay for, and which are protected by paywalls, such as video on demand and some online magazines and newspapers. The content of the deep web can be located and accessed by a direct URL or IP address but may require a password or other security access to get past public website pages. While it is not always possible to directly discover a specific web server's content so that it may be indexed, a site potentially can be accessed indirectly (due to computer vulnerabilities). To discover content on the web, search engines use web crawlers that follow hyperlinks through known protocol virtual port numbers. This technique is ideal for discovering content on the surface web but is often ineffective at finding deep web content. For example, these crawlers do not attempt to find dynamic pages that are the result of database queries due to the indeterminate number of queries that are possible. It has been noted that this can be (partially) overcome by providing links to query results, but this could unintentionally inflate the popularity of a member of the deep web.

Dark WEB

The dark web is the World Wide Web content that exists on darknets: overlay networks that use the Internet but require specific software, configurations, or authorization to access. Through the dark web, private computer networks can communicate and conduct business anonymously without divulging identifying information, such as a user's location. The dark web forms a small part of the deep web, the part of the Web not indexed by web search engines, although sometimes the term deep web is mistakenly used to refer specifically to the dark web. The darknets which constitute the dark web include small, friend-to-friend peer-to-peer networks, as well as large, popular networks such as Tor, Freenet, I2P, and Riffle operated by public organizations and individuals. Users of the dark web refer to the regular web as Clearnet due to its unencrypted nature. The Tor dark web or Onionland uses the traffic anonymization technique of onion routing under the network's top-level domain suffix .onion.

Dark & Deep WEB difference

The dark web has often been conflated with the deep web, the parts of the web not indexed (searchable) by search engines. The dark web forms a small part of the deep web but requires custom software in order to access its content. This confusion dates back to at least 2009. Since then, especially in reporting on Silk Road, the two terms have often been conflated, despite recommendations that they should be distinguished. Darknet websites are accessible only through networks such as Tor ("The Onion Routing" project) and I2P ("Invisible Internet Project"). Tor browser and Tor-accessible sites are widely used among darknet users and can be identified by the domain ".onion". While Tor focuses on providing anonymous access to the Internet, I2P specializes in allowing anonymous hosting of websites. Identities and locations of darknet users stay anonymous and cannot be tracked due to the layered encryption system. The darknet encryption technology routes users' data through a large number of intermediate servers, which protects the users' identity and guarantees anonymity. The transmitted information can be decrypted only by a subsequent node in the scheme, which leads to the exit node. The complicated system makes it almost impossible to reproduce the node path and decrypt the information layer by layer. Due to the high level of encryption, websites are not able to track the geolocation and IP of their users, and users are not able to get this information about the host. Thus, communication between darknet users is highly encrypted allowing users to talk, blog, and share files confidentially.

Darknet

The darknet is also used for illegal activity such as illegal trade, forums, and media exchange for pedophiles and terrorists. At the same time, traditional websites have created alternative accessibility for the Tor browser in an effort to connect with their users. ProPublica, for example, launched a new version of its website available exclusively to Tor users.
Read More
How to Fix Hal.dll Error Code

Repair the Hal.dll Error

Hal.dll Error - What is it?

Hal.dll error is a type of dynamic link library error that is common in Windows. Hal.dll is the critical file in all Windows installations and the error occurs when this file cannot be correctly loaded. Hal is the abbreviation for ‘Hardware Abstraction Layer’. Communication between Windows and different PC hardware is facilitated with this file. The error causes inconvenience and hampers your ability to use the hardware. The error message is displayed in either one of the following formats:
  • "Windows could not start because the following file is missing or corrupt: C:Windowssystem32hal.dll. Please re-install a copy of the above file."
  • "Cannot find WindowsSystem32hal.dll"
  • "C:WindowsSystem32Hal.dll missing or corrupt: Please re-install a copy of the above file."

Solution

Restoro box imageError Causes

Hal.dll error occurs due to multiple reasons. These include:
  • BIOS are not configured properly
  • Damaged hard drive
  • Hal.dll file is missing, damaged, or corrupt
  • Viral Infection

Further Information and Manual Repair

To fix and resolve the Hal.dll error code on your system, you don’t always have to hire a professional technician for the job. Though Hal.dll error is critical but easy to resolve, here are some solutions that you can try to fix it right away even if you don’t have any technical expertise.

1) Restart Your PC

Sometimes this can be a temporary error, so try restarting your PC. If the error is resolved then that’s great. However, if it still persists, then try other solutions.

2) Change the Boot Order

The underlying cause for the Hal.dll error is often not properly configured BIOS; if this is the cause, simply change the boot order of the bootable devices like your hard drive. The BIOS setup utility is used to change boot order settings. This can be done by restarting your PC. Once you restart, press F2 to enter the setup. Now go to SATA operation and change RAID AHCI to RAID ATA. Save changes and then exit. By doing so, you will be able to re-configure the BIOS and resolve the error.

3) Use BOOTMGR

Another way to resolve is to update the volume boot code to use BOOTMGR. To do this, access advanced startup options, open the command prompt and type bootsect command and then press Enter. Run the command and then you’ll get the following message: C: (\?Volume{37a450c8-2331-11e0-9019-806e6f6e6963}) Successfully updated NTFS filesystem bootcode. Bootcode was successfully updated on all targeted volumes. After that close the command prompt. This is most likely to resolve the error.

4) Repair Registry With Restoro.

In case the error is still not fixed, then this means that the problem is bigger than you thought. It may be due to hard drive failure, viral infection, or sometimes because of hal.dll file corruption. In the event of these error causes, it is recommended to download Restoro. Restoro is an advanced, next-generation, and multi-functional PC repair tool embedded with numerous utilities like a registry cleaner, an antivirus, and a system optimizer. The registry cleaner utility:
  • Scans for all registry issues
  • Wipes out the unnecessary files saved in the hard drive like the junk files, cookies, internet history, and temporary files
  • Cleans the disk
  • Repairs damaged and corrupt files
  • Restores the registry
The antivirus utility scans and removes all malicious software from your PC including viruses, Trojans, malware, adware, and spyware. Simultaneously, it also boosts the speed of your system. It is safe and efficient PC repair software. It has simple navigation and a user-friendly interface. Whether you are using Windows 7, 8 or Vista, it is compatible with all. It can also be used on Windows XP. Click here to download Restoro and resolve the Hal.dll error today!
Read More
8 Android Apps that threaten your security
Security on your PC and on your accounts is the important thing. Security on your phone device is also very very important. That is why we are bringing you a list of 8 applications that are marked by the cybersecurity team as ones that could be used to steal data from you. If you have by any chance any of these applications installed, uninstall them immediately.

List is as follows:

  • Cake VPN (com.lazycoder.cakevpns)
  • Pacific VPN (com.protectvpn.freeapp)
  • eVPN (com.abcd.evpnfree)
  • BeatPlayer (com.crrl.beatplayers)
  • QR/Barcode Scanner MAX (com.bezrukd.qrcodebarcode)
  • Music Player (com.revosleap.samplemusicplayers)
  • tooltipnatorlibrary (com.mistergrizzlys.docscanpro)
  • QRecorder (com.record.callvoicerecorder)
If you would like to read more helpful articles and tips about various software and hardware visit errortools.com daily.
Read More
Photos app Export or Share is not working
The Photos app in Windows 10 is the default photo viewer. However, there are times when it might encounter some problems while you use it. One of these problems in the Photos app reported recently is where users try to export or share the images and videos from the app but weren’t successful in doing so. This can be really quite a hassle in opening images on your computer, especially since the Photos app is the default photo viewer in Windows 10 and if you don’t have any other photo viewer app installed. This kind of problem in the Photos app can be noticed when you try to use the “Remix” function for both photos and videos. In other words, this problem can occur with just pictures, videos, as well as a combination of both. So if you are trying to watch a video using this app, then you wouldn’t be able to play it. In such a case, the only thing you can hear is the audio but you wouldn’t see anything except for a hazy purple screen that has not export or share option. There are several possible causes for this problem and it could be fixed by updating the display driver/graphics driver or disabling the hardware-accelerated video encoding. You could also try updating or resetting or reinstalling the Photos app. For more details, follow each one of the suggestions provided below.

Option 1 – Try to update the Graphics driver

You can try to update your Graphics card driver using the Device Manager in your computer to resolve the blank dialog boxes problem or you can also go directly to the website of your graphics card manufacturers like NVIDIA, Intel, or AMD and go to the section called Drivers then check if there’s a new available update – if there is, download and install it. To update your Graphics driver via Device Manager, refer to these steps:
  • First, boot your computer into Safe Mode.
  • After that, tap the Win + R keys to launch Run.
  • Type in msc into the box and tap Enter or click OK to open the Device Manager.
  • After that, a list of device drivers will be displayed. From there, look for the Display Adapters and click on them.
  • After that, right-click on each entry under the Display Adapters and select the “Uninstall Device” option from the menu.
  • Now restart your computer.
  • After restarting your computer, go to the Settings app and Check for Updates in the Windows Update section.

Option 2 – Try disabling the hardware-accelerated video encoding

The next thing you can do to fix the problem is to disable the hardware-accelerated video encoding in your computer. To do that, follow these steps:
  • Open the Photos app and click on the visible three dots located in the upper right corner of the app and then select Settings.
  • From there, you should see the version number of the app in the “About this app” section. So if your app is version 2018.18071.****0.0 or greater, you should see the Video section which has a toggle button.
  • Turn that toggle button off to disable hardware-accelerated video encoding in the Photos app. This should fix the problem, if not, simply follow the next given options below.

Option 3 – Try to update the Microsoft Photos app

  • Open the Microsoft Store and click on the three horizontal dots for the menu located on the top right portion of the window to see the options.
  • Next, select Downloads and updates and then click the Get updates button in the top right. This will install any pending updates for all the apps including the Microsoft Photos app using the Microsoft Store.

Option 4 – Try resetting the Photos app

  • To get started in resetting the Photos app, open the Windows 10 Settings.
  • Then go to Apps > Apps & features.
  • After that, scroll down until you see the Photos app option – click on it and open its Advanced options.
  • From there, you will see the Reset button, click on it and click and then click on it once more to confirm.
Note: The process may take a couple of minutes to complete. Once it’s done, open the pictures again using the Photos app.

Option 5 – Try reinstalling the Photos app

If none of the options given above worked, then you might want to consider reinstalling the Photos app. Unlike what most users think, it isn’t really that hard reinstalling preinstalled apps as you have the Windows PowerShell for that. To use this program in reinstalling the Photos app, follow these steps:
  • Open the Windows PowerShell program with admin privileges and key in the following command:
Set-ExecutionPolicy Unrestricted
  • After that, execute this second command to re-register and reinstall the Microsoft Photos app.
Get-AppXPackage -AllUsers | Foreach {Add-AppxPackage -DisableDevelopmentMode -Register "$($_.InstallLocation)AppXManifest.xml"}
Note: In the command given, do not forget to replace the “PackageFullName” with the actual package name for the Photos app. After executing the command, it will uninstall the Photos app from your computer so you need to install it again from the Windows Store by simply looking for it. Once you found it, just click on install to start the installation process.
Read More
What to do if USB tethering is not working
This post will guide you in what to do if you are trying to share the internet connection from your Android smartphone to your Windows 10 computer but USB tethering is not working. Although you can always connect your Android phone to your computer using a USB cable, you still won’t be able to access the internet. However, if you’ve already enabled the USB tethering option in your smartphone, you should be able to access the internet but if you still can’t then you can fix this issue by reading this post. There are several potential fixes you can check out to fix the USB tethering issue. You can try running both the Internet Connections and Network Adapter troubleshooters or try installing the USB RNDIS adapter or disable any unnecessary network adapters.

Option 1 – Try to run the Internet Connections and Network Adapter troubleshooter

There are various built-in troubleshooters in Windows 10 that can help fix system issues. Since you are dealing with an internet connection problem, you can try running both the Internet Connections and the Network Adapter troubleshooters. To run them, follow these steps:
  • Go to Settings > Update & security > Troubleshoot.
  • From there, you can select the Internet Connections troubleshooter.
  • Click on the Run troubleshooter button to troubleshoot the problem.
  • Wait until the troubleshooter is done identifying and fixing the problem automatically.
  • Then follow the next on-screen instructions that may appear.
  • Once it’s done, check if the USB tethering issue is now fixed.
Note: You can also try to run the Network Adapter troubleshooter. It is also located under the Troubleshoot section. Just scroll down until you see it and then run it.

Option 2 – Try installing or updating the USB RNDIS adapter

RNDIS or Remote Network Driver Interface Specification can also help you resolve the USB tethering problem. If the pre-installed driver does not help you in connecting to the internet, then you can try installing the USB RNDIS driver that is, if it’s not installed yet. If it is already installed, you can try to update it instead.
  • Tap the Win + R keys to open Run and type “devmgmt.msc” in the field and hit Enter to open the Device Manager.
  • Next, expand the Network adapters section and look for the Remote NDIS based Internet Sharing Device. But if you are using a Samsung smartphone, you might see “Samsung” instead of under Network adapters.
  • Right-click on it and then select the “Update driver” option.
  • Then select the “Browse my computer for driver software” option.
  • After that, select the “Let me pick from a list of available drivers on my computer” option.
  • Now uncheck the checkbox for “Show compatible hardware”.
  • From the given list on your left-hand side, look for Microsoft and then select the Remote NDIS based Internet Sharing Device on your right-hand side.
  • Click on Next. A new popup will appear where you have to click on Yes. This will install the driver.
  • Now click on the Close button and restart your computer.

Option 3 – Try disabling any unnecessary network adapters/connections

Assuming that your Ethernet connection is showing ping loss which indicates that the internet is not stable. In such time, if you use the USB tethering functionality, you won’t be able to access the internet connection from your smartphone. The internet connection will be frequently disconnected since your computer gives priority to the Ethernet connection. Thus, you have to disable the Ethernet connection temporarily.
  • Right-click the network icon on your Taskbar and select the option “Network and Sharing Center”.
  • After that, click the network connection. And then click the Disable button from the status box that opens.
  • After that, check if you can now connect to the internet or not.
Read More
Error 740 Requested operation requires elevation
If you are trying to open a folder or run a program or delete a file but you encounter an error message instead saying, “Error (740), The requested operation requires elevation” on your Windows 10 computer, then this post should help. Make sure that you follow each one of the options given below carefully.

Option 1 – Always run the program as an administrator

There are some apps that require administrator privilege before they can be opened. So if you are got the “Error (740), The requested operation requires elevation” error when you try to open a particular app on your computer, you have to try opening it as administrator instead. On the other hand, if you are already using an administrator account or if you are a member of the administrator group, this option may not work for you so just proceed to the next one but if you’re only using a regular account, then follow these steps:
  • First, right-click on the app you are trying to open and select Properties.
  • After that, go to the Compatibility tab and check the checkbox labeled “Run this program as an administrator”.
  • Next, click the Apply and OK buttons and see if the app opens without any problem.

Option 2 – Try to change the folder permissions

If you encounter Error 740 while opening a folder, then you need to try changing the folder permissions.
  • First, right-click on the folder and click Properties.
  • Next, go to the Security tab and click the Advanced button.
  • After that, check the checkbox labeled, “Replace all child object permission entries with inheritable permission entries from this object” and then click the Apply and OK buttons to save the changes made.

Option 3 – Try disabling UAC

The User Account Control or UAC settings might be the one that’s responsible for Error 740 which is why you have to disable the User Account Control and then verify if it’s the one that triggers the error or not. To do that, simply search for “Change user account control settings” in the Taskbar search box and then drag the blue bar down to the bottom and click the OK button to save the change made.

Option 4 – Select the Elevate without prompting option in the Group Policy Editor

There is an option in the Group Policy Editor which allows you to disable the UAC prompt. Disabling the “Elevate without prompting” option can help in resolving Error 740 and to disable it, follow the steps below.
  • Tap the Win + R keys to open the Run dialog box.
  • Then type “gpedit.msc” in the field and hit Enter to open the Group Policy Editor.
  • Next, navigate to the following path:
Computer Configuration > Windows Settings > Security Settings > Local Policies > Security Options
  • From there, go to the Security Options folder where you can find a policy named “User Account Control: Behavior of the elevation prompt for administrators in Admin Approval Mode”. Double click on it to open its options.
  • Now select the Elevate without prompting option from the drop-down menu and click OK.
Read More
Free Quake upgrade comes to Steam and more
quake remaster
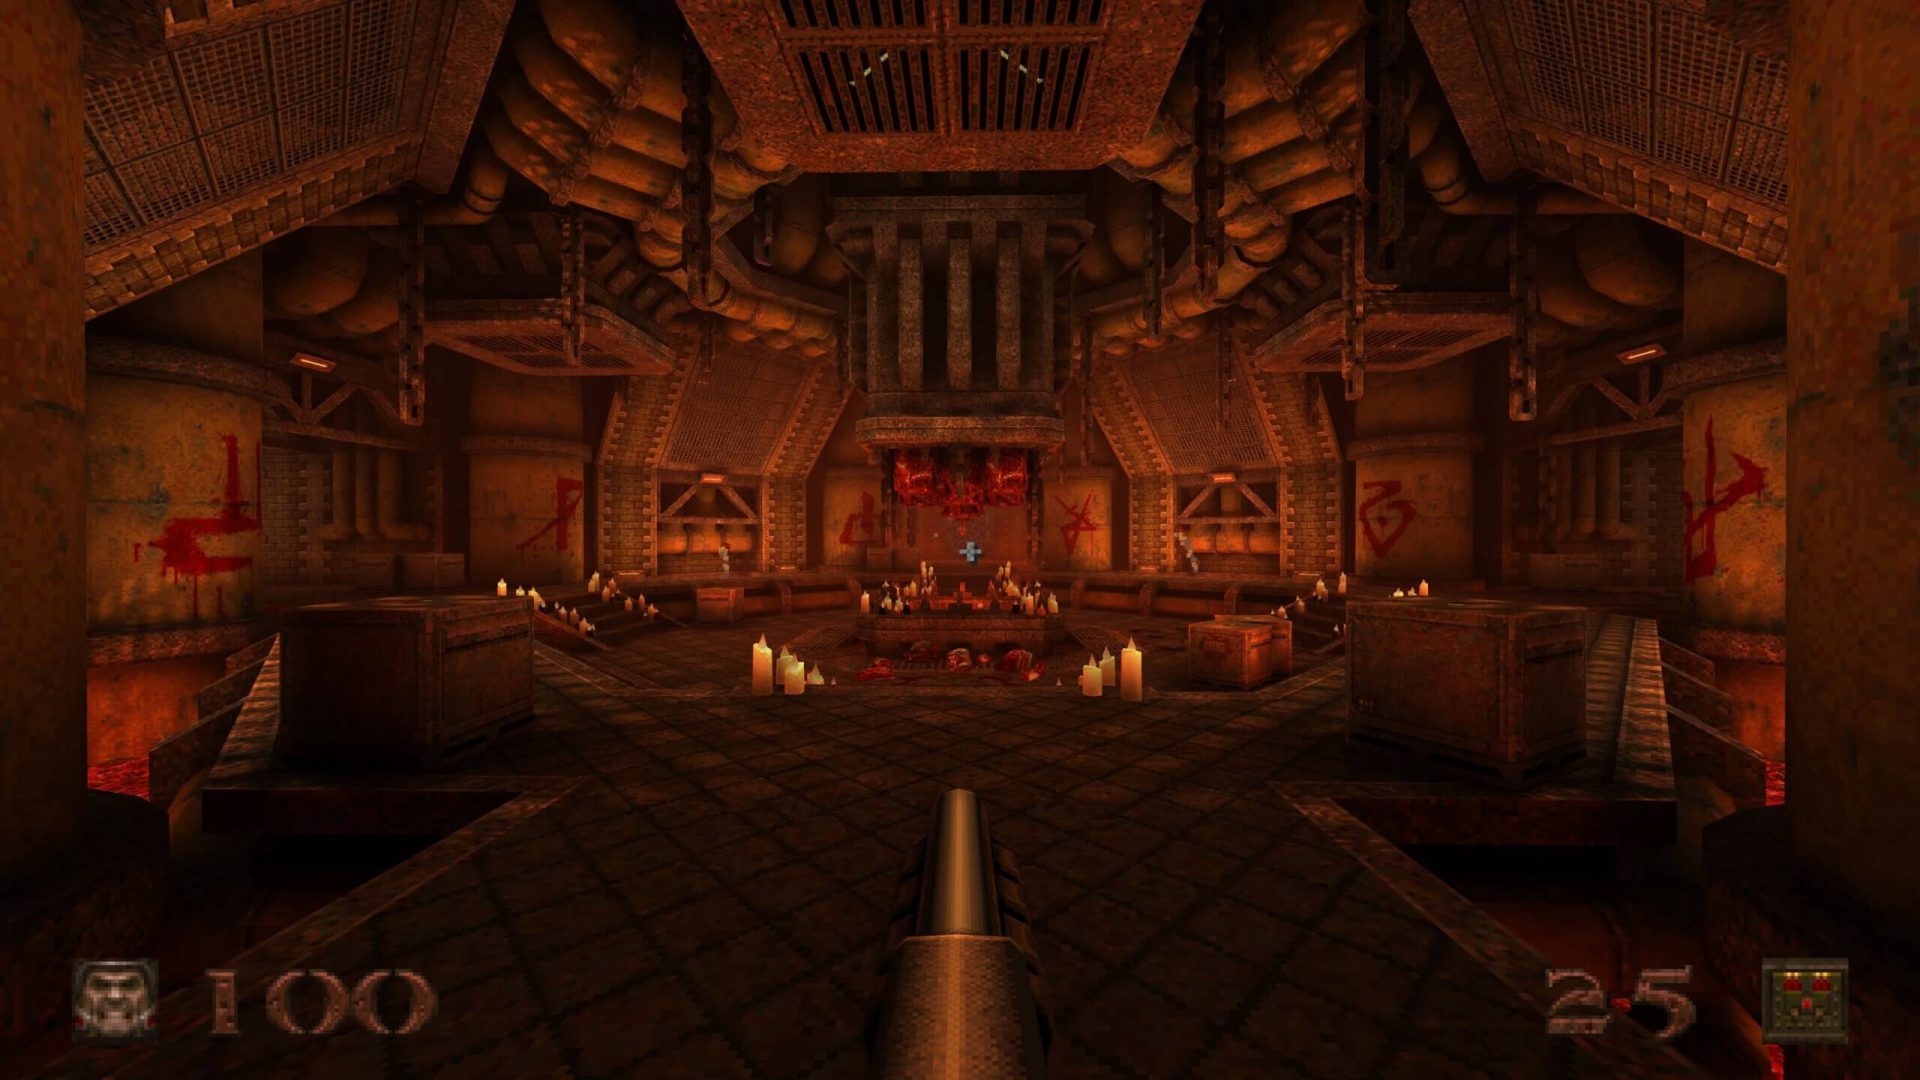
Without any fanfare, news, or information Bethesda has released a completely free upgrade for legendary Quake 1. Free upgrade is automatically applied to all users who possess the original game and it has already been rolled out.

What has changed for good?

New textures, effects, and resolutions are one thing that will come first into your focus when you start the game. From the moment game is started it feels and looks like a game you remember from a long time ago. Models are also upgraded with a higher polygon count. Another thing that will hit you right away is the legendary OST by Trent Reznor in its full glory. If you have the original Quake and played it you will know that OST was missing from the Steam release and having it fully back is a great feature. I would argue that placing just OST alone in the steam release is enough for people to play it again since it adds so much atmosphere. Deathmatch and other multiplayer goodies are all here as well and there is a completely free new episode in the game with several levels. Yes, you get a free Quake upgrade in HD with an extra episode completely free.

The bad side of Quake coin

So this might come as a purist or obsessive nit-picking but there were two things that I, personally am not a fan of and have noticed during my gameplay. Please know that this is personal preference and by no other chance reflects the quality of the game itself but I just had to talk about it. Quake remake is made in a new engine and as such dynamic and gunplay feel different from the original, granted they have done the best they could to replicate the authentic feeling of the original game but there are parts of the game where I have felt that simply put, it feels different. Another thing is also tied to technology and the overall game is somewhat a little brighter and in some areas little softer in dark areas. Like I said this is purely personal preference and might come as nitpicking but I preferred the darker and grittier look of the original game. Darkplaces, the free custom-made upgrade did this in my opinion better.
Read More
How to Disable Restart in Firefox
Mozilla Firefox has introduced a new feature known as Restart with Windows which allows the browser to automatically start when your Windows 10 computer boots. This means that if you leave the Firefox browser opened while shutting down your computer, Firefox will re-open automatically along with the tabs that were opened right before you shut down your computer. Although some users may find this feature convenient, there are others who do not approve at all as it could be a nuisance. So if you’re one of the latter, then read on as this post will show you how you can disable the Restart with Windows feature in the Firefox browser on your Windows 10 computer. Refer to the instructions laid out below to get started.
  • Step 1: Open Mozilla Firefox and if it’s opened already, just open a new tab and then type the following text in the address bar:
about:config
  • Step 2: After typing the text given above, hit Enter and if a prompt with a warning message pops up, simply click on the “I accept the risk!” button to proceed.
  • Step 3: Next, type “Restart” in the search filter which should display the following preference in the window:
“toolkit.winRegisterApplicationRestart”
  • Step 4: After that, check for the preference value and then see if it’s set to true or not. If it is set to true, then it means that the Restart with Windows feature is enabled so obviously, to disable it, you need to set its value to false.
  • Step 5: Now restart your computer without closing Firefox. After restarting your computer, you should no longer see Firefox starting automatically.
The Restart with Windows feature by default is disabled for most users. On the other hand, Mozilla will have this feature enabled as the default configuration in the coming weeks so it’s best that you now know what to do when that time comes since the newer versions of Mozilla Firefox are already being shipped with the Restart with Windows feature. However, if this post did not help you, then you might want to check if the feature has been added to the Startup folder, and from there, you can disable this startup program using the Task Manager > Startup tab.
Read More
1 2 3 162
Logo
Copyright © 2022, ErrorTools. All Rights Reserved
Trademarks: Microsoft Windows logos are registered trademarks of Microsoft. Disclaimer: ErrorTools.com is not affiliated with Microsoft, nor claim direct affiliation.
The information on this page is provided for information purposes only.
DMCA.com Protection Status