VirtualBox FATAL:No bootable medium found!

If you continuously encountered the “VirtualBox FATAL: No bootable medium found, System halted” error when you try to install Windows 10 in VirtualBox, read on as this post will give you some potential fixes to resolve the problem – you will be guided on how to choose the ISO image to fix this error in VirtualBox. This kind of error is a very common one especially if you have a corrupted ISO file or if you have not selected an ISO file for your virtual machine.

Like pointed out, this error pops up when you have a corrupted ISO file or if the ISO file is not attached to the virtual machine. You have to select the ISO file while you create the virtual hard disk, else, you will most likely face this problem, and to fix it, you need to download fresh Windows ISO, create a new IDE Controller, assign Windows ISO to the IDE Controller and then boot your virtual machine. For detailed steps, follow the instructions below but before you start, make sure that you have a valid and uncorrupted Windows ISO.

Step 1: First, you need to open the VirtualBox program on your computer and select the virtual machine.

Step 2: Next, click on the Settings button or you can also right-click on the virtual machine and select Settings from the context menu.

Step 3: Once you’re in the Settings panel, go to the Storage section and from there, create a Controller: IDE.

Step 4: To create a Controller: IDE, click the Add new storage controller icon and select the “Add IDE Controller” option.

Step 5: After that, click the Add optical drive icon and click on the Choose disk button. You will then see all the attached and non-attached ISO files. However, you have to add the new ISO file that you just downloaded.

Step 6: To add the new ISO file, click the Add button and select the ISO file and then select the .iso file from the Non Attached section.

Step 7: Now click the Choose button and afterward, make a checkmark in the Live CD/DVD checkbox and then select the IDE Primary Master from the drop-down menu of the Optical Drive.

Step 8: Once you’re done, save the changes made and try booting into your virtual machine again.

If you like to learn and find out more about various Windows errors, and how to repair them go to our vast archive or use search to find articles that will explain and help you in solving your issue.
However, if you prefer to do things fast and with automatization then we are proposing to use an automated solution for your issues. The application that we are recommending is Advanced System Repair Pro
Advanced System Repair utilizes multiple tools all in one to give you a quick, simple, reliable, and very thorough diagnosis of your PC. It brings you all the tools you need in one program to clean, fix, protect, optimize and boost your PC!
1-Click Maintenance
All the tools to make it simple and easy! It's like having a professional technician at the click of a mouse.

Junk Cleaner
Keeping your computer free from unnecessary clutter also helps make your computer last longer. Like any other machine, if you keep it clean and take care of it, it will serve you better for longer!

Optimize background apps
Optimize applications background activity with the built-in Application Optimizer feature.

Disk Defrag
With a simple 1-click, Advanced System Repair speeds up your PC by assembling fragmented files on your machine and organizing them more efficiently.

Malware Removal
Finds and removes all types of harmful malware including trojans, worms, bots, adware, spyware, PUPs, and more!

Privacy Cleaner
The all-in-one privacy suite to Clean Your Tracks & Protect Your Privacy! Make your computer safe, secure, and more efficient!

System Tweak/Optimizer
ASR will analyze your complete system and settings to adjust your PC to function at its maximum performance.

Registry Cleaner
Over time, as you install and uninstall applications, the registry can become cluttered with old entries and broken settings which can result in program crashes, and annoying messages and slow the computer down.
Visit our Advanced System Repair Pro Download page to inform yourself about all the benefits of this software and get a free trial copy of it.
advanced system repair pro

Advanced System Repair Pro

One-click automated PC repair solution
ASR logo
With Advanced System Repair Pro you can easily
Replace damaged files
Restore performance
Free disk space
Remove Malware
Protects WEB browser
Remove Viruses
Stop PC freezing
DOWNLOAD
Privacy Policy | Terms of Use | Uinstall
Advanced System Repair Pro is compatible with all versions of Microsoft Windows including Windows 11

Share this article:

You might also like

File Record Segment is Unreadable in Windows 10
If you suddenly encounter an error message saying, “ File Record Segment is Unreadable ” on a blue screen while booting your PC, it means that your hard drive is in an error state. This particular blue screen of death error might have a lot of bad sectors or might have reached its end. The workarounds you can try to resolve the issue is by locating the bad sectors or checking your hard drive for any discrepancies in the mapping and fix them. Follow the detailed instructions laid out below for these workarounds.

Option 1 – Try to check for any bad sectors and wrong configurations in your hard drive

The first thing you have to check is the boot files on your PC. As you know, your PC boots from these files and if there is anything wrong with any one of them or if one of them ends up getting corrupted, you will most likely see the blue screen of death error or a prompt with an error message saying, “File record segment is unreadable”. According to some users who reported this issue, new hard drives aren’t exempted from this error. That’s why it is recommended that you carry out this solution no matter what kind of scenario you are in. You will have to launch the Command Prompt in recovery mode and see if you can fix the problem by executing the check disk commands.
  • Upon booting, restart your PC and tap F11 to go to the recovery environment then select Troubleshoot.
  • Next, click Advanced from the given options and select Command Prompt.
  • After opening Command Prompt, execute the commands listed below, and don’t forget to hit Enter right after you type in each one of them and if you have installed Windows to some different directory, you must replace “C” with the name of the drive you’ve installed Windows with.
  • chkdsk C: /r /x
  • chkdsk C: /f
Note: The Chkdsk function might take a while before it finishes its operations so you need to be patient and wait until the entire process is completed. And depending on the situation, it might even take a day at most so patience is really the key here.

Option 2 – Try connecting the hard drive to a different computer

If option 1 didn’t work for you and you’re still seeing the error, you can try connecting the hard drive to a different computer and then copy the data first. Make it a priority to salvage the data just in case the hard drive won’t make it in the future. After replicating your hard drive, you can then try running the chkdsk commands that are listed in option 1 above in the new computer you’re connecting your hard drive to and make sure that you key in the correct drive letter that’s assigned to the hard drive you’re using. After executing the chkdsk commands, plug your hard drive back into the previous computer and then check if you can now boot it without any issues.

Option 4 – Replace the faulty hard drive

If none of the options provided above really worked out then maybe it’s time to consider getting a replacement for your hard drive. In about 50% of the cases about this error, some unfortunate users were left with no choice but to replace the hard drive since the problem is with the hard drive itself. Hard drives have a complex running mechanism which includes a head and the disk that rotates accordingly so you can check if the cables connected to the hard drive are connected properly and if it is in a correct position or not. In addition, you also have to make sure that the SATA adapters where the hard drive is connected are working properly. If the drive is showing problems in the I/O operation, there is little chance for you to use it as a normal hard drive. If the hard drive is in warranty, get it checked and replace it. If not, you might consider taking it to the service center for the specialists to take a look into it.
Read More
Fix Windows Update Error 0x8024000B
As you know, Windows Updates are essential for your operating system as it keeps it protected from potential threats, fixes bugs and improves your experience in using Windows 10. However, there are instances when Windows Updates also cause errors and one of them is the Windows Update Error 0x8024000B. One of the causes of this particular Windows Update error is that Windows was not able to read the Update Manifest file which is needed to install the Windows Updates. This means that the operation was canceled by either the service or the user. On the other hand, this error could also occur if you are not able to filter the results. When you encounter this error, you will see an error message that says, “WU_E_CALL_CANCELLED: Operation was canceled”. This indicates that the operation was canceled by the operating system itself. To resolve the Windows Update Error 0x8024000B, here are some suggestions you need to check out.

Option 1 – Try to run the Cleanup (Decline) Superseded updates PowerShell script

The first thing you can do to fix the Windows Update Error 0x8024000B is to run the Cleanup (Decline) Superseded updates PowerShell script. This is actually an easy fix since all you have to do is download and run it from the Microsoft Technet site. Once you’re done downloading and running the file, restart your computer and see if the error is fixed or not.

Option 2 – Try to rename the Spupdsvc.exe file

If the first option didn’t work, you can try renaming the Spupdsvc.exe file which is one of the reasons why you’re getting the Windows Update Error 0x8024000B.
  • First, tap the Win + R keys to launch the Run utility.
  • Next, type the following command and hit Enter to execute it in cmd:
 /c ren %systemroot%System32Spupdsvc.exe Spupdsvc.old
  • The command you entered will rename the troublesome “Spupdsvc(.)exe” file to “Spupdsvc(.)old”.
  • Now restart your computer after the command has been executed.

Option 3 – Try to restart various Windows Update-related services and components

You could also try to restart some Windows Update-related services to resolve the Windows Update error. Refer to the following steps to do so:
  • Tap the Win + X key combination and select Command Prompt (Admin) to open Command Prompt with admin privileges.
  • After opening Command Prompt, copy and paste each one of the commands listed below one by one and tap Enter right after you enter each command.
    • net stop wuauserv
    • net stop bits
    • net stop appidsvc
    • ren %systemroot%SoftwareDistribution SoftwareDistribution.bak
    • ren %systemroot%system32catroot2 catroot2.bak
  • Once you’ve entered all the commands given above, they will stop all the Windows Update services that are running on your computer as well as clear the SoftwareDistribution folder, and reset the Catroot2 folder. Now you have to start all these Windows Update services you’ve just stopped by executing the following commands:
    • net start wuauserv
    • net start bits
    • net start appidsvc
    • net start cryptsvc
  • After that, restart your computer and try to run the setup again, and see if the error is now fixed.

Option 4 – Try to run the Windows Update Troubleshooter

You should also try to run the built-in Windows Update troubleshooter as it could help you resolve the Windows Update Error 0x8024000B. To run it refer to these steps:
  • Go to Settings and then click on Windows Update from the given menu.
  • Next, click on the Troubleshoot option and select Windows Update from the given options to run the Windows Update troubleshooter.
  • After that, follow the next on-screen instructions and wait until the process is completed, and check if the Windows Update Error 0x8024000B is fixed or not.
Read More
How to Fix File System Error 2147219196
If you receive an error message saying, “File System Error 2147219196” when trying to open a picture, access a file or when moving a folder on your Windows 10 computer then read on as this post will help you resolve this error. According to experts, this error started to appear right after the Windows Update v1803 was released. Users who installed the new Windows version faced the same dilemma. This error might be caused by a corrupted disk or it could be due to some broken Windows components or due to file system encryptions. Before you troubleshoot the problem, make sure that you are logged in as an administrator.

Option 1 – Update Windows

The first thing you can do to Resolve File System Error -2147219196 is to update Windows. Since Microsoft is already aware of this issue, they might have already released a fix for this in one of their new updates so make sure to check for any available updates on your computer and have it installed right away.
  • Tap Win + S to open Search then type “update” in the field and from the search results that appear, click on Windows Update.
  • After that, it will open Windows Update under Settings and from there click the Check for Updates button and let Windows check for any available updates.
  • And if there are any updates available, download and install them on your Windows 10 computer.
  • Restart your PC and check if the error is now fixed or not.

Option 2 – Run CHKDSK to check your disk for errors

When it comes to some issues concerning the hard drive or removable devices, there is a utility in Windows that might help which is called “chkdsk”. This error check utility can help with several issues in the system including File System Error -2147219196.
  • Tap the Win + S keys to open the Search box.
  • Then type “command prompt” in the field and from the search results that appear, right-click on Command Prompt and select “Run as administrator”.
  • After opening an elevated command prompt, copy and paste the following command and hit Enter:
chkdsk /r /f
  • Now if you are prompted to run CHKDSK after your reboot your PC, just tap Y and reboot your PC.
  • If CHKDSK is not able to find any errors, tap the Win + E keys and navigate the access window. From there, right-click on the concerned drive and click on Properties.
  • After opening Properties, click on the tab Tools and then click on the “Check” button under the Error-checking section.
  • Wait until the process is completed and then restart your computer.
  • Once your computer has restarted, try accessing the file and check if the error persists.

Option 3 – Disable the File System Encryption

File System Encryption allows you to encrypt drives to protect them from being accessed from another computer. This is the standard practice in various organizations in order to protect their data. However, there are times when the file encryption system caused issues for users in accessing files and throws the File System Error -2147219196 instead which is why you need to temporarily disable it to access your file. To do so, follow the steps below.
  • Tap the Win + R keys to open the Run dialog box.
  • Then type “control” in the field to open Control Panel.
  • From there, navigate to Security and select the BitLocker Drive Encryption option from the list.
  • After that, make sure that all your drives are not encrypted and if any of them are encrypted, turn off encryption by selecting Turn off BitLocker.
  • Reboot your computer for the changes to take effect.

Option 4 – Run SFC scan

  • Tap Win + R to launch Run.
  • Type in cmd in the field and tap Enter.
  • After opening Command Prompt, type in sfc /scannow
  • Restart your computer once the scan is completed.
Read More
DirectX function GetDeviceRemovedReason
DirectX function GetDeviceRemovedReason error is a DirectX error that comes up during playing games on Windows 11 operating system. Usually, the error occurs in gaming systems powered by AMD and very rarely if any times at all on Nvidia or intel platforms. DirectX function GetDeviceRemovedReason errorIf you are one of the gamers affected by this error, fear not because we have a solution for you. Follow provided fix guide in order to correct this error and get back to gaming asap.

1. Update drivers

The first thing of course is to update your graphic card driver, you can do this with your graphic cards panel software or directly in Windows itself but the best practice and one that I would recommend is to go to your graphic card manufacturer’s website and download the latest driver there, and then install it inside Windows 11.

2. Change power mode

Changing power mode inside Windows 11 can solve this issue since sometimes Windows power manager if it is set to anything except best performance can interfere with the proper functioning of the graphic adapter, and because of this error. To change the power setting do the following:
  1. Press ⊞ WINDOWS + I to open settings
  2. Click on the System tab
  3. Select power & battery on the right part
  4. Click on the menu beside power mode
  5. Select the best performance

3. Run SFC scan

Corrupted system files can also cause this error and if previous steps have not resolved it we will use Windows built-in tool SFC scan to find and repair all bad files in windows.
  1. Press ⊞ WINDOWS + S to open the search menu
  2. Type in Windows terminal and run it as administrator
  3. If prompted click on YES on UAC
  4. Press CTRL + SHIFT + 2 to run command prompt
  5. Type in sfc /scannow and press ENTER
  6. Wait for the whole process to finish and then reboot your system

4. Reinstall the problematic game

Sometimes game files can get corrupt and maybe even overwritten, try with game reinstallation if the problem still persists.
Read More
Could not find this item, no longer in path
If you were trying to copy, move modify or delete a folder or a file in your computer but you’re not able to do so and encountered an error instead that says, “Could not find this item, This is no longer located in <path>, Verify the item’s location and try again”, then you’ve come to the right place as this post will guide you on how you can fix this error. You can encounter this error when you delete, rename, open or copy a certain file which is often created by third-party software and lacks important information like file format, and so on. Although you can see these files in File Explorer, you might not be able to perform some operations in them. To fix this problem, you need to check out the given suggestions below.

Option 1 – Try to rename the file via Command Prompt

If you were trying to rename the file but unable to do so, you can achieve that by executing a command in Command Prompt. Make sure to follow the steps carefully.
  • Type in “Command Prompt” In the Start menu to search for it or you could also click the search button right next to the Start menu and then right-click on the related result and select the option “Run as administrator” to open Command Prompt with admin privileges.
  • Next, type in “cd” followed by the path where the file is located with this format – “C:/Folder1/Folder2/Folder3”. However, you have to omit the problematic file this time. To put it simply, the last folder in the command must be the folder where the file is located.
  • After inputting the command, press Enter on your keyboard and then use the set of commands given below. Note that each command is a new line so you need to tap Enter after copying each line.
    • DIR /A /X /P
    • RENAME (the current name of the problematic file) (a non-problematic name)
    • EXIT
Note: Make sure that you only input the current name and the new name separated by a space. You must not write the brackets in the command. If everything goes well, you will now be able to operate the file like you used to before.

Option 2 – Try to delete the file using Command Prompt

On the other hand, if you were trying to delete the file instead of renaming it, you can execute another command in Command Prompt.
  • Open Command Prompt with admin privileges like what you did earlier.
  • Once you’ve opened Command Prompt, copy and paste the command given below and tap Entre after you do so. You also have to make sure that you key in the correct path where the file is located as well as its name.
rd /s \?X:badfolderpath
Note: In the command above, “X” is the placeholder letter so you must input the letter that corresponds to the drive’s letter where the file is located.
  • After that, you will see the “Operation completed successfully” message on your screen. If you don’t, check if you’ve really inputted the correct location of the file or its name.

Option 3 – Delete the file without any extension

If the file you were trying to delete does not have an extension, this means that Windows does not know what to do with this file which is why it’s throwing an error message. The best thing to do in such cases is to delete the file especially if it takes up a lot of memory. To delete these kinds of files, here’s what you have to do:
  • Follow the first two steps from the previous option above so you can navigate to the location of the file accurately just be careful in inputting the folders.
  • Don’t forget to tap Enter right after each command and then use the next command below so you can delete the affected file which has no extension:
del *.*
  • After you’re done, open the File Explorer and then check if the file is now deleted or not.
Read More
Fix The driver detected a controller error
One of the worst problems users can encounter on their computers is Blue Screen of Death errors as some of them are quite hard to fix. One of them is the “The driver detected a controller error” Blue Screen error. It could be followed by “DeviceIdeIdeport0 OR”, “on deviceharddisk0dr0”, or “DR3” or the name of the drive or port that’s causing the problem. If you are one of the users who encountered this error, then the suggestions provided in this post would definitely help you in fixing the problem.

Option 1 – Try to disconnect and reconnect all hardware and cables

A lot of users reported that they were able to fix the problem by disconnecting and reconnecting cables and hardware like scanners, printers, cameras can help in fixing the problem. In addition, you can also boot your computer in a Clean Boot State so that you can find the problematic hardware by hit and trial method. Refer to the steps below to do so:
  • Log onto your PC as an administrator.
  • Type in MSConfig in the Start Search to open the System Configuration utility.
  • From there, go to the General tab and click “Selective startup”.
  • Clear the “Load Startup items” check box and make sure that the “Load System Services” and “Use Original boot configuration” options are checked.
  • Next, click the Services tab and select the “Hide All Microsoft Services” check box.
  • Click Disable all.
  • Click on Apply/OK and restart your PC. (This will put your PC into a Clean Boot State. And configure Windows to use the usual startup, just simply undo the changes.)

Option 2 – Update the device drivers

Updating the outdated device drivers in your computer can also help in fixing the problem. To do so, refer to these steps:
  • First, boot your computer into Safe Mode.
  • After that, tap the Win + R keys to launch Run.
  • Type in devmgmt.msc into the box and tap Enter or click OK to open the Device Manager.
  • After that, a list of device drivers will be displayed. From there, look for any outdated device drivers and click on each one of them.
  • After that, right-click on each entry of the device drivers and select the “Uninstall Device” option from the menu.
  • Now restart your computer.
  • After restarting your computer, go to the Settings app and Check for Updates in the Windows Update section.

Option 3 – Try to update the BIOS

Updating the BIOS can help you fix the ATTEMPTED_WRITE_TO_READONLY_MEMORY BSOD error but as you know, BIOS is a sensitive part of a computer. Even though it is a software component, the functioning of the hardware depends on it largely. Thus, you must be careful when modifying something in the BIOS. So if you don’t know much about it, it’s best if you skip on this option and try the other ones instead. However, if you are well-versed in navigating the BIOS, then follow the steps below.
  • Tap the Win + R keys to open the Run dialog box.
  • Next, type “msinfo32” in the field and press Enter to open System Information.
  • From there, you should find a search field on the bottom where you have to search for the BIOS version and then press Enter.
  • After that, you should see the developer and version of the BIOS installed on your PC.
  • Go to your manufacturer’s website and then download the latest version of BIOS on your computer.
  • If you are using a laptop, make sure that you keep it plugged in until you have updated the BIOS.
  • Now double click on the downloaded file and install the new BIOS version on your computer.
  • Now restart your computer to apply the changes made.

Option 4 – Try running the Blue Screen Troubleshooter

You might also want to run the Blue Screen troubleshooter. It is one of the built-in tools in Windows 10 that helps users in fixing system issues including Blue Screen errors. It can be found in the Settings Troubleshooters page. To use it, refer to these steps:
  • Tap the Win + I keys to open the Settings panel.
  • Then go to Update & Security > Troubleshoot.
  • From there, look for the option called “Blue Screen” on your right-hand side and then click the “Run the troubleshooter” button to run the Blue Screen Troubleshooter and then follow the next on-screen options. Note that you might have to boot your PC into Safe Mode.

Option 5 – Try running the Memory Diagnostic Tool

The Memory Diagnostic tool in windows can help resolve the “The driver detected a controller error” Blue Screen error by checking and automatically fixing any memory-based issues. To run it, refer to these steps:
  • Tap the Win + R keys to open Run and type mdsched.exe and hit Enter to open the Windows Memory Diagnostic Tool.
  • After that, it will give two options such as:
    • Restart now and check for problems (Recommended)
    • Check for problems the next time I start my computer
  • Once your computer has restarted, perform a basic scan or you could also go for the “Advanced” options such as “Test mix” or “Pass count”. Simply tap the F10 key to start the test.
Note: After you select your preferred option, your computer will restart and check for memory-based issues. If it finds any issues, it will automatically fix them and if there’s no issue found, then it’s most likely not a memory-based issue so you should try the other options given below.

Option 6 – Replace your motherboard

If your computer is still under warranty, you should consider replacing your computer’s motherboard in case the options given above failed to work in fixing the Blue Screen error.
Read More
Lock folder with password in Windows 10
Hello and welcome everyone. In today's article, you will learn how to lock folder and content in it. Please be aware of few things:
  1. The method is shown here works, but you need to be careful and follow step by step or you will damage your files permanently,
  2. If you forget your password, you can not access your files anymore
  3. Your files altho protected can still show up in recent files of some applications
All of that being said, let us start with locking the local folder on the computer with the password. Go to the folder where you have files that you would like to hide and lock with a password. Enter the folder and create the new text file inside it. Skip the name for now and go inside it. Copy and paste the following code inside the file:
cls @ECHO OFF title Folder Locker if EXIST "Control Panel.{21EC2020-3AEA-1069-A2DD-08002B30309D}" goto UNLOCK if NOT EXIST Locker goto MDLOCKER :CONFIRM echo Are you sure u want to Lock the folder(Y/N) set/p "cho=>" if %cho%==Y goto LOCK if %cho%==y goto LOCK if %cho%==n goto END if %cho%==N goto END echo Invalid choice. goto CONFIRM :LOCK ren Locker "Control Panel.{21EC2020-3AEA-1069-A2DD-08002B30309D}" attrib +h +s "Control Panel.{21EC2020-3AEA-1069-A2DD-08002B30309D}" echo Folder locked goto End :UNLOCK echo Enter password to Unlock folder set/p "pass=>" if NOT %pass%==Your-Password-Here goto FAIL attrib -h -s "Control Panel.{21EC2020-3AEA-1069-A2DD-08002B30309D}" ren "Control Panel.{21EC2020-3AEA-1069-A2DD-08002B30309D}" Locker echo Folder Unlocked successfully goto End :FAIL echo Invalid password goto end :MDLOCKER md Locker echo Locker created successfully goto End :End
Now locate this line of code in the document: if NOT %pass%==Your-Password-Here goto FAIL and replace Your-Password-Here with your password. !!! Write down somewhere your password, if you lose it you will lock the folder even for you !!! Save the file as FolderLocker.bat and double-click on it to execute it. If everything was done correctly, a new folder with the name: Locker Move files that you want to hide and protect inside that folder. Double click again on FolderLocker.bat The command prompt will appear with the question do you want to lock the folder, press Y, and press ENTER. The command prompt will close and the Locker folder will disappear. In order to unhide and access the folder, you will need to double click on FolderLocker.bat again but this time command prompt with ENTER your password will appear. Type in your chosen password and the folder is back. If you wish to hide and lock it again just double click on FolderLocker.bat again, confirm with Y and it is hidden again.
Read More
Run File Explorer with admin privileges in W11
Typical use of file explorer will probably not need any kind of elevated privileges, but from time to time you might encounter some tasks that will require administrator rights in order to perform them. If this is the case you will need to run file explorer with these rights but inside Windows 11 that is somewhat hidden and not 1 click away. File Explorer W11
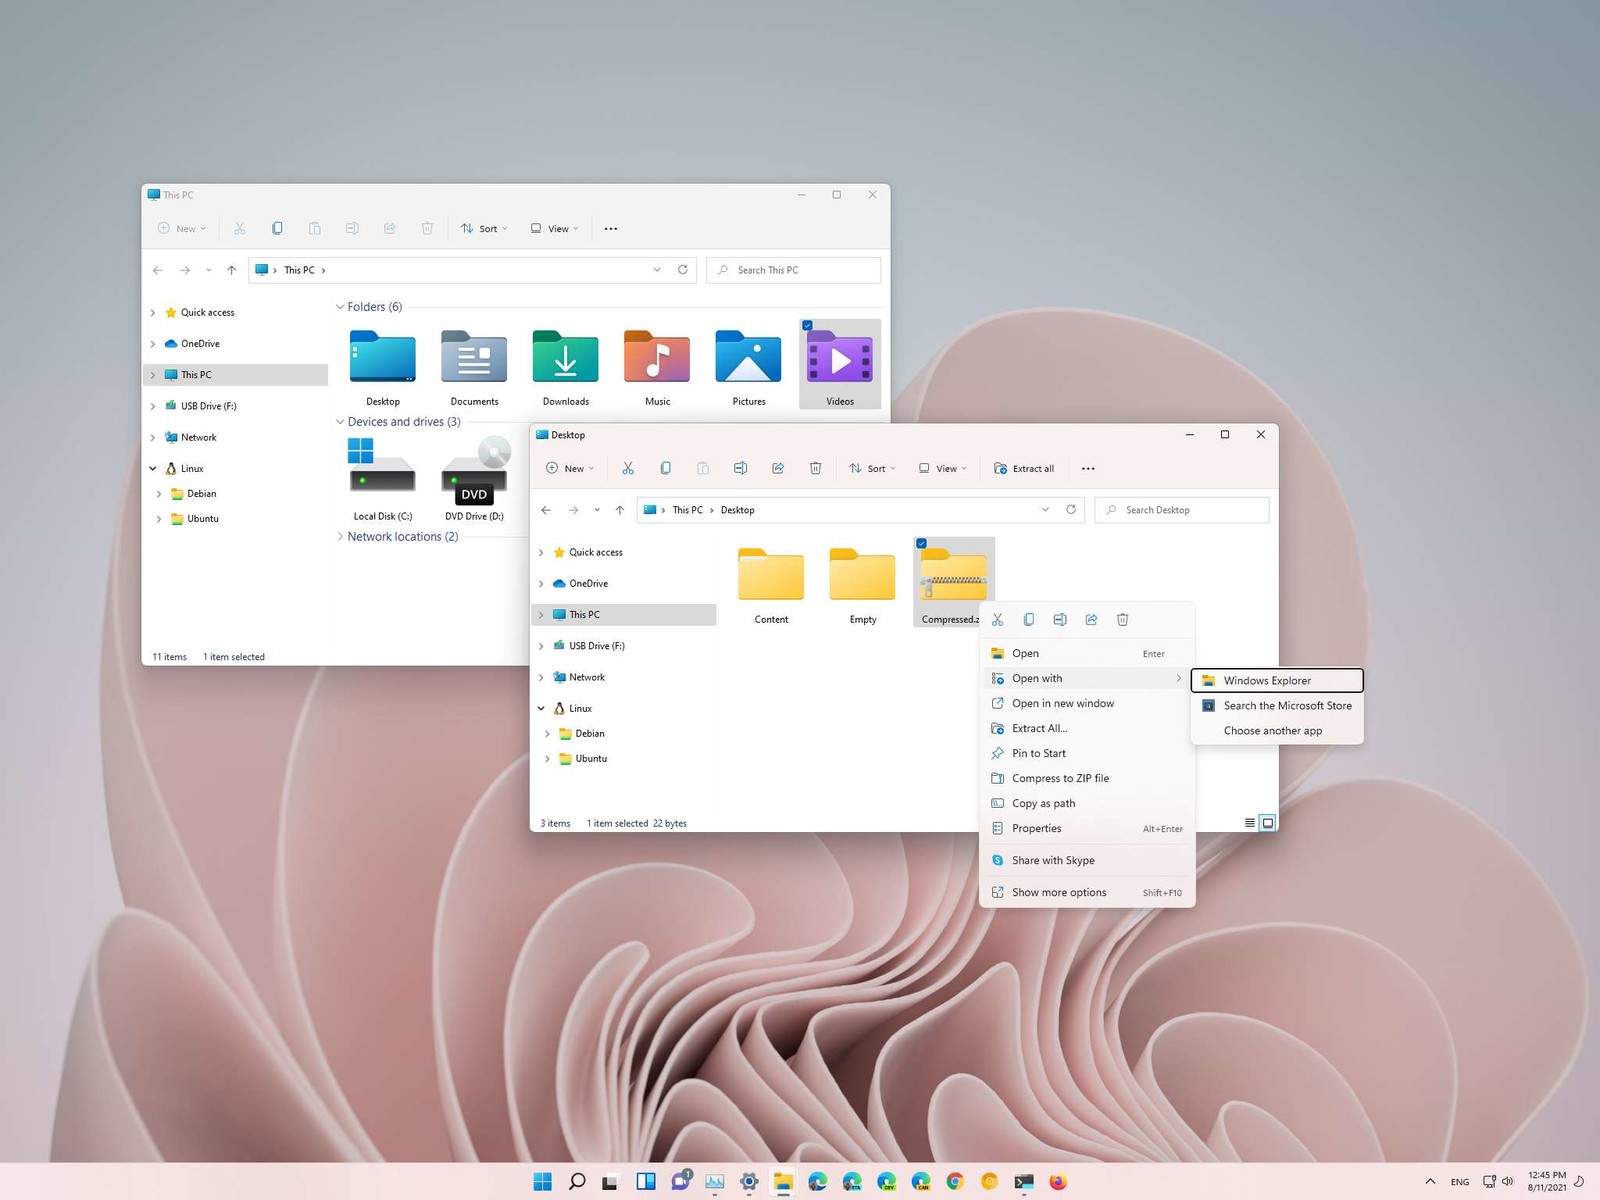
How this is the case we have decided to put a little tutorial on how to accomplish this very task and run file explorer with administrator privileges.

Open File Explorer via EXE file

  1. Open File Explorer typically
  2. Navigate to This PC > Windows (C:) > Windows
  3. Locate file explorer application
  4. Right-click on it and select Run as Administrator
  5. Run File Explorer
A new instance of file explorer will pop with elevated administrator privileges.

Run it as an administrator using the Task Manager

  1. Open the Task Manager ( CTRL + SHIFT + ESC )
  2. Click on More details (at the bottom)
  3. After the task manager expands click on the File tab
  4. Click on Run New Task
  5. Type in explorer.exe and check the box next to it that says Create this task with administrative privileges
  6. Click on OK
File Explorer will now run as administrator.
Read More
There is No Sleep Option in Power Menu
If the Sleep option is missing from the Power Menu then this could be caused by the power settings, local group policy configuration, etc. in your computer. Based on the reports of users who experience the same problem, the issue occurred after they’ve updated or upgraded their Windows 10 computers. As you know, the sleep mode is quite useful in certain cases and is utilized by most users. If you put your computer in sleep mode, it actually minimizes the power usage of your computer while at the same time keeps your current session running. So if sleep mode is suddenly missing, then that could be a problem but worry not for this post will give you possible fixes to resolve the issue. Make sure to follow each one of them carefully to achieve good results.

Option 1 – Check the Power settings

As mentioned, one of the reasons why the Sleep option is missing could be the power settings in your computer. To check this possibility, make sure that you’ve enabled the sleep mode in the Power options setting window. How? Refer to these steps:
  • First, go to the Start menu, and from there open Control Panel.
  • Next, set the View by Large icons and select the Power Options.
  • After that, click on the “Choose what the power buttons do” option on the left-hand side.
  • Then click on the “Change settings that are currently unavailable” option and make sure that Sleep is checked under the Shutdown settings.
  • Afterward, click on Save changes.

Option 2 – Modify the Local Group Policy

If the Power setting isn’t the cause of the problem, then you might want to check the Local Group Policy and modify it. There is a dedicated policy for showing the sleep option in the power menu and if this policy is disabled, then it’s no wonder why you don’t see the sleep option in the power menu. To change this policy, refer to the steps below.
  • Tap the Win + R keys to open the Run dialog box.
  • Then type “gpedit.msc” in the field and hit Enter to open the Group Policy Editor.
  • Next, navigate to this path: Computer Configuration -> Administrative Templates -> Windows Components -> File Explorer
  • Look for the “Show sleep in the power options menu” option from the right-hand side pane and double click on it.
  • Now change it to Enabled and click on the Apply and OK buttons to save the changes made and restart your computer.

Option 3 – Try to turn on Standby

Standby, also known as InstantGo, is a feature in Windows 8 and 10 that allows users to maintain network connectivity after a computer has been put into sleep mode. Thus, if this feature is disabled, it can cause the Sleep option to disappear from the power menu. To turn it on, follow these steps:
  • Tap the Win + R keys to open Run.
  • And type “Regedit” in the field and tap Enter to open the Registry Editor.
  • Next, navigate to this path: HKEY_LOCAL_MACHINESYSTEMCurrentControlSetControlPower
  • From this path, look for the “CsEnabled” key on the right-hand side of the pane and double-click on it.
  • Set its value to “1” and click OK to save the changes made.
  • Now reboot your PC.
Note: If you were not able to find the CsEnabled key, then this indicates that your computer does not support the Standby feature. And if that’s the case, proceed to the next given option below.

Option 4 – Try to install a Video Card driver

On the other hand, some users reported that the problem was caused by the video card driver. And if your computer lacks the video adapter driver, it can also cause the same problem. Windows 10 typically install the video card driver on its own, however, there are rare cases when it doesn’t which is why you have to do it yourself manually. All you have to do is go to your manufacturer’s website and look for the video card driver, download it and then install it. Once you’ve installed the video card driver, reboot your computer and check if it has fixed the problem.
Read More
How to Fix Windows 10 Error 0xC1900200, 0x20008

How to Fix Windows 10 Error 0xC1900200, 0x20008

Error Code 0xC1900200, 0x20008 (Code 0xC1900202 – 0x20008)   – What is it?

Error Code 0xC1900200, 0x20008 (Code 0xC1900202 – 0x20008)  is an error that occurs when you attempt to upgrade to Microsoft Windows 10, but the minimum requirements have not been met by your computer. You will therefore be unable to upgrade to Microsoft Windows 10 until your computer is updated or upgraded to meet those requirements. Common symptoms include:
  • When attempting to upgrade a dialog box with Code 0xC1900200 – 0x20008 (Code 0xC1900202 – 0x20008) is displayed.
  • Your computer is unable to begin the Microsoft Windows 10 upgrade process.

Solution

Restoro box imageError Causes

Error Code 0xC1900200 – 0x20008 (Code 0xC1900202 – 0x20008)  occurs when you are unable to begin the Microsoft Windows 10 upgrade because your computer does not meet the minimum requirements to run Microsoft Windows 10.
  • You are unable to begin the upgrade because your computer does not meet the required system or hardware specifications.
  • You are not running the correct version of Microsoft Windows to be able to begin the upgrade.
  • You are not running the latest updated version of Microsoft Windows 7 SP1 or Microsoft Windows 8.1.
Error Code 0xC1900200 – 0x20008 (Code 0xC1900202 – 0x20008) as stated, simply means your computer does not meet the requirements to update and does not indicate a permanent problem or inability to continue to use your computer. This error only means that you will not be able to upgrade to Microsoft Windows 10 until your computer is made to meet these requirements.

Further Information and Manual Repair

There are several solutions that the user can complete at home that should fix the problem resulting in a manifestation of Error Code 0xC1900200 – 0x20008 (Code 0xC1900202 – 0x20008). Below are several options that should resolve this error.

Method 1:

Verify what version of Microsoft Windows you are currently running, older, outdated, or no longer supported versions of Microsoft Windows are not able to upgrade to Microsoft Windows 10. If you are not running one of the following versions you will have to update before being able to upgrade.
  • The most current version of Microsoft Windows 7 SP1
  • The most current version of Microsoft Windows 8.1

Method 2:

Your computer's system specifications do not meet the requirements to be able to upgrade to and run Microsoft Windows 10. To check your system specifications do the following.
  1. Click on the start button in the bottom left corner, then locate the control panel on the menu, click on it to open.
  2. Once it opens, locate system and security on the menu and click to open, click on system and this will show you your amount of RAM and processor speed.
  3. Find device manager on the left-hand side click this then select display adapter, and it will show you your current video card.
  4. Click on the start button again, then click on the computer in the menu, this will show you your hard drive size, and available space.
If you have the option available you can simply run the get Microsoft Windows 10 app to check compatibility. Once you have your system specs make sure they meet or exceed the following.
  • 1 GHz or higher processor or SoC
  • 1 gig of RAM for 32 bit and 2 gigs of RAM for 64 bit
  • 16 GB available hard drive space for 32 bit, 20 GB for 64 bit
  • Minimum of DirectX9 that has 1.0 WDDM
  • At least an 800x600display
If your computer does not meet these minimum requirements, upgrade the components necessary to meet them. If you do not possess the technical expertise required to accomplish this yourself or do not feel comfortable doing so, download and install a powerful automated tool to get the job done.

Method 3:

Your computer might not meet the aforementioned requirements to make an upgrade because of insufficient hard drive space or resources. Learn how to create or make space on your computer here.

Method 4:

Many people hold on to and use the same computer for a very long time. It is possible that your computer cannot be upgraded to meet the requirements, or that the cost to do so would be so high that a new computer would be cheaper. If that is the case, your only option may be to replace your computer.
Read More
1 2 3 162
Logo
Copyright © 2022, ErrorTools. All Rights Reserved
Trademarks: Microsoft Windows logos are registered trademarks of Microsoft. Disclaimer: ErrorTools.com is not affiliated with Microsoft, nor claim direct affiliation.
The information on this page is provided for information purposes only.
DMCA.com Protection Status