Fix The default gateway is not available Error

If you were having some problems with your internet connection and you tried to run the Internet Connections troubleshooter but it displays an error message instead that says, “The default gateway is not available”, read on as this post will show you what you can do to fix this error.

The first thing you can do to fix this error is to restart your computer and then try to run the Internet Connections troubleshooter again. However, if you still see the same error message, then you might want to troubleshoot the problem further. You can try to install the Network driver or reinstall the Network adapter drivers. You could also verify the power saving mode or reset TCP/IP as well as disable the Firewall temporarily.

Option 1 – Try installing the Network driver

The very first thing you can do to resolve the error is to install the network driver. It is a common solution to this kind of problem and most users encounter it right after a fresh installation of Windows 10. So if you have done this, then you need to install the network driver so that the network adapters can start working. You can find the network driver in the motherboard CD. On the other hand, if you are using a laptop, you might have to use another computer or mobile to download the network driver from the manufacturer’s website.

Option 2 – Update the Network Adapter drivers

If the first option is not applicable to you since you already have network drivers in your computer, you might want to update the Network Adapter drivers by following these steps:

  • Tap the Win + R keys to launch the Run window and then type in the “msc” command and hit Enter to open the Device Manager window.
  • Under the Device Manager, you will see a list of drivers. From there, look for the Network Adapters and expand them.
  • Then right-click on each one of the Network drivers and update them all.
  • Restart your PC and see if it helped in fixing the BSOD error.

Note: If updating the network drivers didn’t help in fixing the “Windows could not find a driver for your network adapter” error, you can also try to uninstall the very same drivers and restart your Windows 10 PC. After that, the system itself will reinstall the drivers you just uninstalled. Alternatively, you can also download and install the drivers from the manufacturer’s website directly.

You could also try to reinstall the network adapter driver, refer to these steps:

  • Open the Devices Manager from the Win X Menu.
  • Then locate the device drivers and right-click on them to open the Properties.
  • After that, switch to the Driver tab and click on the Uninstall Device button.
  • Follow the screen option to completely uninstall it.
  • Finally, restart your computer. It will just reinstall the device drivers automatically.

Option 3 – Try to verify power-saving mode

If you are using a Windows 10 laptop, then you should know that the Power Options panel plays an important role. So if you’re getting an error in your laptop, you have to check some settings that are related to the Power Saving mode. To do so, follow these steps:

  • Open Control Panel and go to Hardware and Sound and click on Power Options.
  • Next, click on the “Change plan settings” option of your selected plan and then click the “Change advanced power settings” option.
  • After that, you should see the Power Options window, and here, expand the Wireless Adapter Settings and Power Saving Mode.
  • Now make sure that the Maximum Performance option is selected. If it’s not, select it and save the changes you’ve made.

Option 4 – Try to reset the TCP/IP

As you know, the TCP/IP or the Internet Protocol is the most important thing if you want to use the internet on your computer. That’s why if it ends up getting corrupted, you need to reset the TCP/IP to fix the problem. To reset TCP/IP, refer to these steps:

  • In the Windows start the search, type “command prompt” and right-click on Command Prompt from the search results.
  • Then select the “Run as administrator” option to open Command Prompt with admin privileges.
  • After that, execute this command: netsh int ip reset resettcpip.txt
  • Once it’s done, exit Command Prompt and restart your computer and then check if the error is now fixed.

Option 5 – Temporarily disable Firewall

On the other hand, the error could also be due to the Firewall software installed on your computer. Thus, disabling them or any security software installed on your computer is always a good idea you can try when you’re not able to access the shared drive on your computer. There are times when you encounter problems like the error “The default gateway is not available” due to interference of antivirus or security programs. Thus, you have to disable both your antivirus program and Windows Defender Firewall for the meantime and check if it fixes the error or not

If you like to learn and find out more about various Windows errors, and how to repair them go to our vast archive or use search to find articles that will explain and help you in solving your issue.
However, if you prefer to do things fast and with automatization then we are proposing to use an automated solution for your issues. The application that we are recommending is Advanced System Repair Pro
Advanced System Repair utilizes multiple tools all in one to give you a quick, simple, reliable, and very thorough diagnosis of your PC. It brings you all the tools you need in one program to clean, fix, protect, optimize and boost your PC!
1-Click Maintenance
All the tools to make it simple and easy! It's like having a professional technician at the click of a mouse.

Junk Cleaner
Keeping your computer free from unnecessary clutter also helps make your computer last longer. Like any other machine, if you keep it clean and take care of it, it will serve you better for longer!

Optimize background apps
Optimize applications background activity with the built-in Application Optimizer feature.

Disk Defrag
With a simple 1-click, Advanced System Repair speeds up your PC by assembling fragmented files on your machine and organizing them more efficiently.

Malware Removal
Finds and removes all types of harmful malware including trojans, worms, bots, adware, spyware, PUPs, and more!

Privacy Cleaner
The all-in-one privacy suite to Clean Your Tracks & Protect Your Privacy! Make your computer safe, secure, and more efficient!

System Tweak/Optimizer
ASR will analyze your complete system and settings to adjust your PC to function at its maximum performance.

Registry Cleaner
Over time, as you install and uninstall applications, the registry can become cluttered with old entries and broken settings which can result in program crashes, and annoying messages and slow the computer down.
Visit our Advanced System Repair Pro Download page to inform yourself about all the benefits of this software and get a free trial copy of it.
advanced system repair pro

Advanced System Repair Pro

One-click automated PC repair solution
ASR logo
With Advanced System Repair Pro you can easily
Replace damaged files
Restore performance
Free disk space
Remove Malware
Protects WEB browser
Remove Viruses
Stop PC freezing
DOWNLOAD
Privacy Policy | Terms of Use | Uinstall
Advanced System Repair Pro is compatible with all versions of Microsoft Windows including Windows 11

Share this article:

You might also like

Close non responsive application in Windows
We have all been there, unfortunately, the application freezes, and sometimes it can even freeze whole windows. Well if the whole Windows freezes because of the application there is not much we can do except hard reset but if only the application freezes we can still kill it and return the PC in working condition. The first thing you can try is to press ALT + F4, this shortcut is for closing the program, if the application is frozen Windows will try to close it when using this shortcut, and if it succeeds you will find yourself on the desktop environment in Windows with non-responsive application taken care of. If however, this fails and the application is not closed, try ending it in the task manager. To open task manager press CTRL + SHIFT + ESC, locate unresponsive application select it, and click on the end task button on the bottom right.
Read More
Intel i9 Alder Lake better than AMD Ryzen 9
Alder LakeIf we are to believe news from Intel, new series of processors based on Alder Lake architecture are about to be released somewhere in October. Alder Lake is the 12th Generation Core of Intel processors and it is meant to have all advantages of the current CPU structure. I9 is aimed to pack a punch against its competitors with technology including eight high-performance Golden Cove cores (P-cores) with Hyper-Threading and eight energy-efficient Goldmont (E-cores) equipped with a 30MB L3 cache and operating at high clock speeds. During the benchmark test, the new CPU outperformed all of Intel’s previous Rocket Lake structure processors which is logically expected but the big surprise came from results that indicate better performance than Apple’s new M1 processor even in single-threaded performance which is supposed to be best in that field. Another surprise was really beating AMD Ryzen 9 in each field. If we take into account that i9 has 16 cores in total and can process 24 threads against Ryzen 9 with 16 Cores and 32 threads this is an impressive feature. Now truth to be told Alder lake has massive L3 cache and microarchitectural advantages and consumes much more power but the results of performance are high. Also, note that this early CPU is not really a mass production one and maybe some things will still change but early results are very satisfactory. We will see what will price tag be since in this age of shortage and competition that will also play a big role in its overall success. Speaking of competition I eagerly await AMD’s response to this, in any way it seems that the CPU market is for some turbulence which is always a good thing for the final customer and I welcome it.
Read More
How to Repair Bad_Pool_Header Error

Fix Bad_Pool_Header Error

Bad_Pool_Header Error - What is it?

Bad_Pool_Header is one of the types of BSOD (Blue Screen of Death) error codes. This error triggers a problem with Windows memory allocation. When this error message occurs, the screen turns blue and locks the user out of the application running on the system. The computer shuts down or restarts.

Solution

Restoro box imageError Causes

There is no one particular cause for the occurrence of the Bad_Pool_Header error code. It may appear on your system due to multiple reasons such as:
  • Device driver issues
  • Cluttered disk
  • Disk writing issues
  • Faulty memory hardware
Driver issues and disk writing issues occur when your try to update new driver versions. During this process, users often forget to remove the files of the uninstalled version from the registry. And due to the presence of the uninstalled driver files in the registry updating and disk writing becomes an uphill task which leads to the Bad_Pool_Header display on the computer screen. The main database of your system is the registry so you need to keep it clean to avoid disk cluttering. The hard disk clutters because the registry saves all the activities that you perform in your system. It saves junk files, internet history, invalid entries, and other unnecessary files. This occupies a lot of your disk space thus resulting in disk cluttering and faulty memory hardware issues triggering the Bad_Pool_Header. Ignoring the Bad_Pool_Header error is not wise. It is advisable to repair the Bad_Pool_Header right away as it can lead to serious threats like system failure and data loss.

Further Information and Manual Repair

The easiest, time and money-saving way to resolve the Bad_Pool_Header error on your system is to install Restoro. This is a high and multi-functional repair tool that features a powerful inbuilt registry cleaner, anti-virus, and a system optimizer. This tool is the one-stop solution for all your PC-related errors including the Bad_Pool_Header blue screen of death error. Whether it’s a driver issue, faulty memory, or cluttered disk, all the causes triggering the Bad_Pool_Header error code fall under the registry which is why it is recommended to install Restoro. Its innovative and powerful registry cleaner scans detect and repair all the errors related to the registry in one go including the Bad_Pool_Header errors. With this helper, you can easily remove all the unnecessary files cluttering your hard disk and damaging your registry. It wipes out the clutter in seconds and frees up disk space.

Why Should You Clean The Registry?

Sometimes the registry also gets cluttered by malicious software like viruses, spyware, and malware. These may also take up your disk space and prevent you to perform disk writing successfully and also corrupt the registry. The privacy error finding utility embedded in Restoro helps you scan for such malicious software on your system and removes them immediately. It lends the software anti-virus properties. When it comes to using repair tools, many users who are not technically sound often worried. They think it may be difficult to operate. If you think the same way, let us tell you that Restoro is very easy to use. It is integrated with a high-functional yet user-friendly interface complemented by simple navigation.

Restoro Special Features

This makes it simple for all levels of users to operate it regardless of whether they are technically adept or not. Restoro is compatible with all Windows versions. You can download it with ease and run it for scans on any Windows version you have installed on your system. To get started, all you have to do is:
  • Click here to install Restoro.
  • Once the installation is complete now run it to scan for errors like the Bad_Pool_Header
  • After that simply click on the ‘repair’ button to resolve
Read More
How to Fix fltmgr.sys in Windows 10
The fltmgr.sys file or the Filter Manager is the one that’s responsible in making sure that all the file stored in a computer’s hard drive stays on their respective locations and is located in C:/Windows/System32/drivers. Now when you encounter a Blue Screen of Death or BSOD error saying, “Your PC ran into a problem that it couldn’t handle, and now it needs to restart. SYSTEM_SERVICE_EXCEPTION”. This kind of Stop error is due to an error with the driver that’s responsible for enabling the communication between the hardware and the computer. It indicates that this driver allows direct access to the internal hardware from the CPU itself. What’s worse about the SYSTEM_SERVICE_EXCEPTION BSOD error is that there are times when you won’t be able to log in to your computer even after it reboots. However, you need not worry as this post will guide you into fixing this BSOD error. All you have to do is follow the given options below carefully and that before you proceed make sure that you create a System Restore point just in case something goes wrong.

Option 1 – Run the Windows Update

Obviously, since the fltmgr.sys file is a system file from Microsoft, you can try running the Windows Update and see if it fixes the problem or not.

Option 2 – Run the System File Checker

The System File Checker, also known as the SFC scan, is a built-in utility in Windows that can be found in the C:/Windows/System32 folder. This tool allows you to scan and restore any corrupted system files in Windows that might be causing the SYSTEM_SERVICE_EXCEPTION BSOD error. To use this tool, follow the steps below.
  • Tap Win + R to launch Run.
  • Type in cmd in the field and tap Enter.
  • After opening Command Prompt, type in sfc /scannow
The command will start a system scan which will take a few whiles before it finishes. Once it’s done, you could get the following results:
  1. Windows Resource Protection did not find any integrity violations.
  2. Windows Resource Protection found corrupt files and successfully repaired them.
  3. Windows Resource Protection found corrupt files but was unable to fix some of them.
  • Restart your computer and then check if it has fixed the error or not.

Option 3 – Run the Blue Screen Troubleshooter

The Blue Screen troubleshooter is a built-in tool in Windows 10 that can be found on the Settings Troubleshooters page. To use it, refer to these steps:
  • Tap the Win + I keys to open the Settings panel.
  • Then go to Update & Security > Troubleshoot.
  • From there, look for the option called “Blue Screen” on your right-hand side and then click the “Run the troubleshooter” button to run the Blue Screen Troubleshooter and then follow the next on-screen options. Note that you might have to boot your PC into Safe Mode.

Option 4 – Check your hardware for any physical issues

There are times when faulty hardware can result in serious problems in the system such as the SYSTEM_SERVICE_EXCEPTION Blue Screen error. Thus, it is highly recommended that you check the internal components of your CPU to find out if there are any problems. And if there is any physical damage, you need to bring that to a technician to get it fixed or have it replaced.

Option 5 – Run the CHKDSK utility

You can also run the Chkdsk utility to resolve the BSOD error. The Chkdsk utility is the one that repairs hard drive errors that might be causing the problem.
  • Open Command Prompt with admin privileges.
  • After opening Command Prompt, execute the commands listed below, and don’t forget to hit Enter right after you type in each one of them and if you have installed Windows to some different directory, you must replace “C” with the name of the drive you’ve installed Windows with.
  • chkdsk C: /r /x
  • chkdsk C: /f
Read More
Repair Windows 10 Update Error 0x80070003, 0x20007

Error Code 0x80070003, 0x20007 - What is it?

Update Error 0x80070003, 0x20007 One of the most common errors encountered by users who updated to Windows 10 is the Error Code 0x80070003-0x20007. Normally, this error code is accompanied by the message saying “Windows could not search for new updates. An error occurred while checking for new updates or your computer” or “Error(s) found: Code 0x80070003 Windows update encountered an unknown error”.

This update-related error is often encountered any time while your device automatically installs updates once there’s an available system update or during manually installing updates for a specific app. Regardless if you are using a tablet, laptop, or PC, this update-related error could occur after upgrading your system to Windows 10.

Solution

Restoro box imageError Causes

There are several reasons why the update-related Error Code 0x80070003-0x20007 occurs. This includes the following:

  • Windows Firewall-related problem
  • A conflict in your device’s system might be present
  • Not enough space in your RAM
  • Not enough space in your installation disk
  • Problems in your system memory

Further Information and Manual Repair

An effective way to address problems like the Error Code 0x80070003-0x20007 is by applying certain manual repair methods. However, ensure that you strictly follow instructions since one slight slip-up might result in critical issues. If you’re not knowledgeable enough, it would be best to consult help from a professional Windows technician or you can make use of an automated tool to solve any issues you’re encountering.

When you encounter the update-related Error Code 0x80070003-0x20007, you must take action immediately to address the problem to lessen the risk of losing all your data or damaging the Windows registry host.

In fixing Error Code 0xC1900101-0x30018, you can repeat the same steps used for 0xc000021a (Method One) then apply the following steps as well:

  • Uninstall your antivirus prior to upgrading your system
  • Ensure that you have a simple machine name with no periods, dashes, or hyphens.
  • Restart several times then try again.
  • Disable the General USB Devices in your machine like the Smart Card Reader.
  • If you use a SCSI hard disk, ensure that you have available drivers you can use as your storage such as a thumb drive, and ensure as well that it is connected. Once you’re on the Windows 10 setup, click on Custom Advanced Option then use the Load Driver command in order to load the right driver for the SCSI drive. If this fails, try switching to an IDE-based hard disk.
  • Once done, perform a clean boot then try restarting the device again.
  • If you are upgrading your system using the .ISO file, disconnect your device from the Internet during setup. If your device is connected to the Internet by LAN or Wi-Fi, you need to disable both first then proceed to set up again.
  • If you’re performing the update through Windows Update, disconnect from the Internet LAN or Wi-Fi once the download reaches 100% then proceed with the installation.
  • If this still does not work, you can try using the .ISO file in upgrading.
  • Switch to a local account if your machine is connected to a domain.
  • Disconnect all external devices attached to your machine including gaming controllers, external hard disk, USB keys, and printers.

If the above steps still do not work, you can try performing a repair by doing the following steps:

  1. Put the installation disc into the disc drive. Afterward, boot the computer.
  2. Once the message: “Press any key to boot from CD or DVD…” appears, press any key.
  3. Choose a language, currency, time, and a keyboard or another input method. Click Next.
  4. Click on Repair your computer
  5. Select the operating system that you wish to repair then click Next
  6. Open the Command Prompt by clicking it in the System Recovery Options dialog box.
  7. Type BOOTREC /FIXMBR then hit Enter
  8. Type BOOTREC /FIXBOOT then hit Enter
  9. Type Drive:bootBootsect.exe /NT69 All then hit Enter

Can’t seem to put up with the long and technical manual repair process? You can still fix this error by downloading and installing a powerful automated tool that will surely get the job done in a jiffy!

Read More
Reliability Monitor is not updating or working
In case you don’t know, there is a built-in tool in Windows 10, known as Reliability Monitor that provides a day-to-day snapshot of the health of your system. It warns users of any looming issues or disasters before your computer breaks down finally. So obviously, Reliability Monitor is useful, however, there are times when it could behave incorrectly. For instance, it might fail to show you any updates even when they are installed. Thus, if you experience any malfunctions with the Reliability Monitor tool in Windows 10, read on as this post will guide you in updating or working in Windows 10. To fix the problem with the Reliability Monitor, there are several fixes you can check out. You can try to enable the data collection for Reliability Monitor or reset it, as well as put your computer in a Clean Boot State. For more information, refer to each one of the options given below.

Option 1 – Try to enable the Data Collection for Reliability Monitor

The Reliability Monitor tool uses data provided by the RAC Agent scheduled task and it will start to display a Stability Index rating and specific event information 24 hours after the system installation. The RACAgent scheduled task, by default, runs after the operating system is installed. And if it is disabled, it must be manually enabled from the Task Scheduler snap-in for MMC or Microsoft Management Console. Thus, you need to enable the Data Collection for Reliability Monitor to fix the problem.

Option 2 – Try to reset the Reliability Monitor

The next thing you can do to fix the issue with the Reliability Monitor might want to reset it to resolve the problem. If the Reliability Monitor is already open, you have to close it and open it again. After the reset is done, it may take up to 24 hours for the Reliability Monitor to display results again. This should fix the problem.

Option 3 – Troubleshot the problem in a Clean Boot State

There are some instances that some conflicting programs installed in your computer might be the one that’s causing the Black border issue. To identify which program is causing the problem, you need to put your computer in a Clean Boot State. To do so, follow the steps below.
  • Log onto your PC as an administrator.
  • Type in MSConfig in the Start Search to open the System Configuration utility.
  • From there, go to the General tab and click “Selective startup”.
  • Clear the “Load Startup items” check box and make sure that the “Load System Services” and “Use Original boot configuration” options are checked.
  • Next, click the Services tab and select the “Hide All Microsoft Services” check box.
  • Click Disable all.
  • Click on Apply/OK and restart your PC. (This will put your PC into a Clean Boot State. And configure Windows to use the usual startup, just simply undo the changes.)
  • From there, start to isolate the problem by checking which one of the programs you installed recently is the root cause of the problem.
Read More
Razer unveils their first internal PC hardware
razer pc hardware componentsRazer is a well-known brand among PC gamers and users, it started as a peripheral manufacturer focused on keyboards and mouse but after years passed Razer expanded its inventory offerings. It soon started offering headphones and lately has branched into wider product lines like gaming chairs and protection masks. 
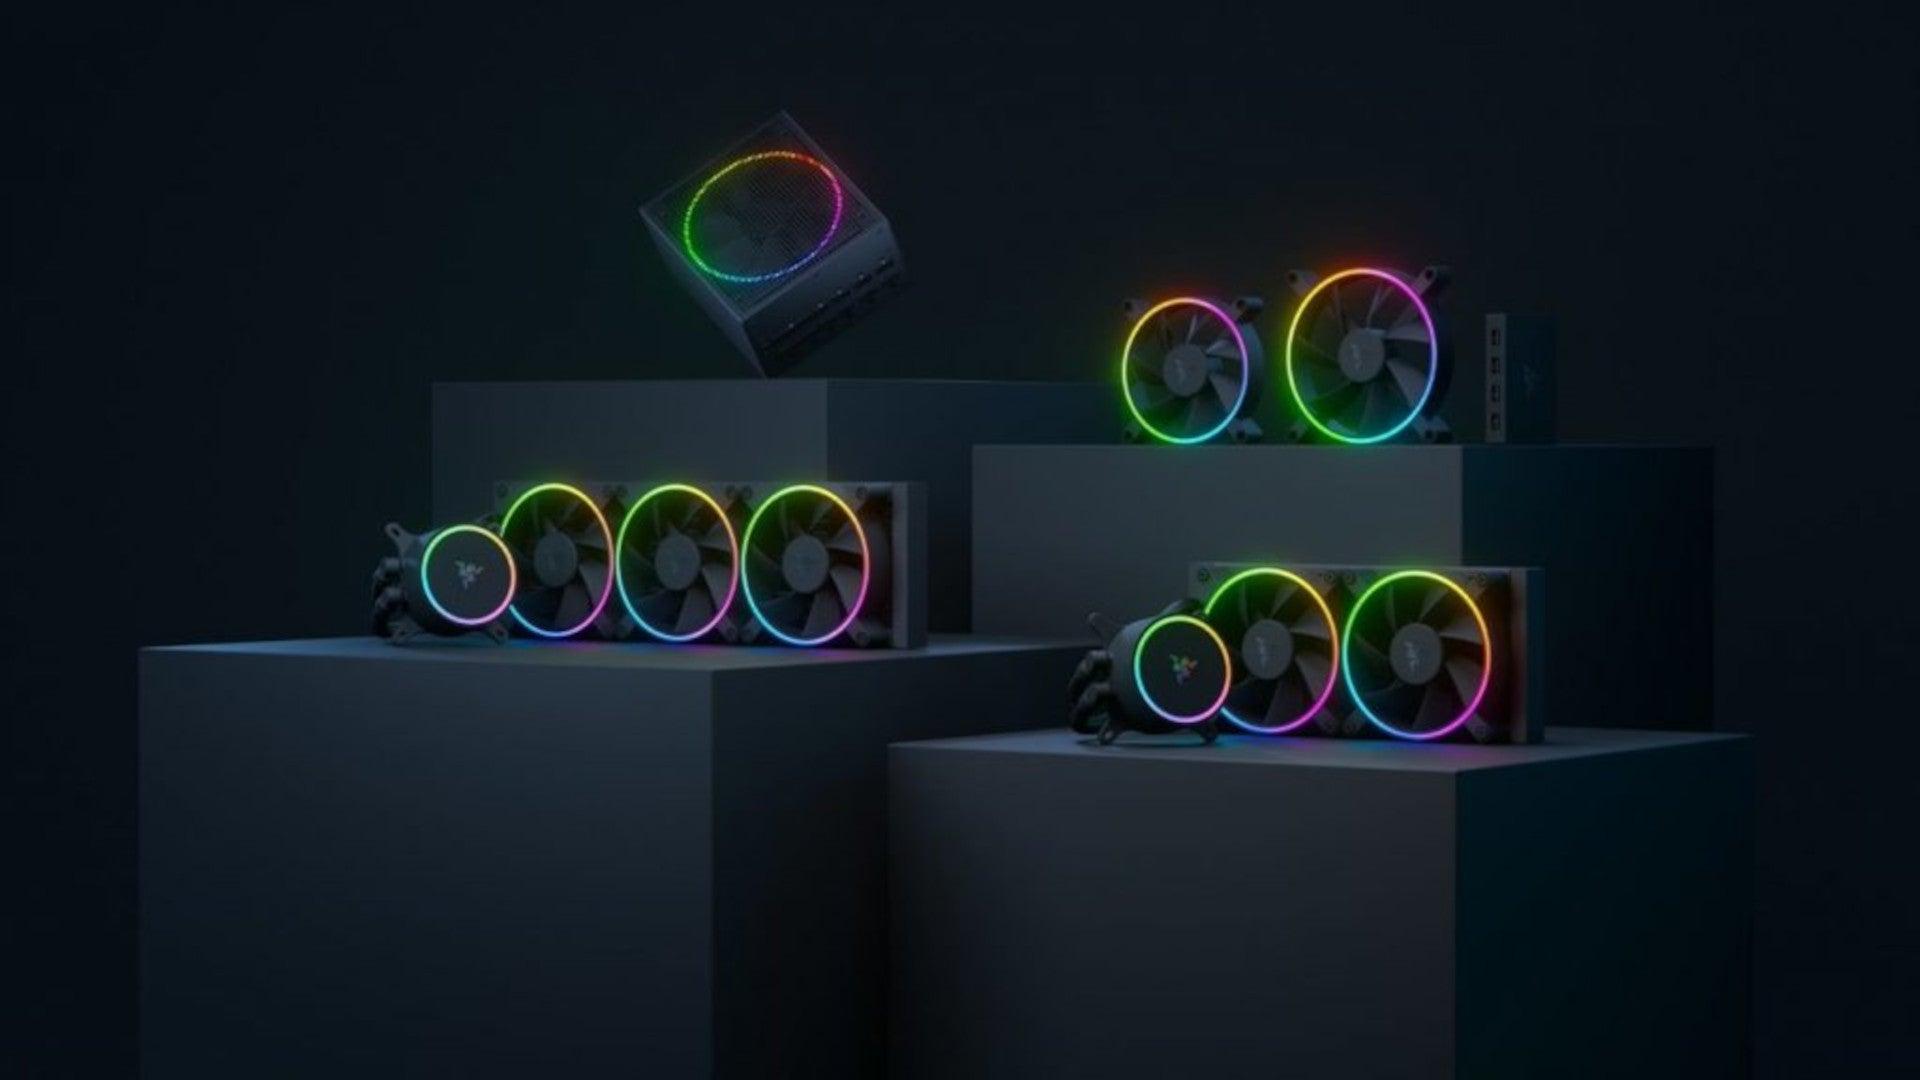
It is not a big surprise that Razer is expanding into other branches of the PC industry. This time, however, it has revealed not one but three new hardware for your PC. Case fans, all in one liquid cooler and power supply. There are not many details about the products themselves but one thing is one hundred percent confirmed, they come with Razer Chroma, all of them, even the fans.

Katana Chroma ATX PSU

razer power supply
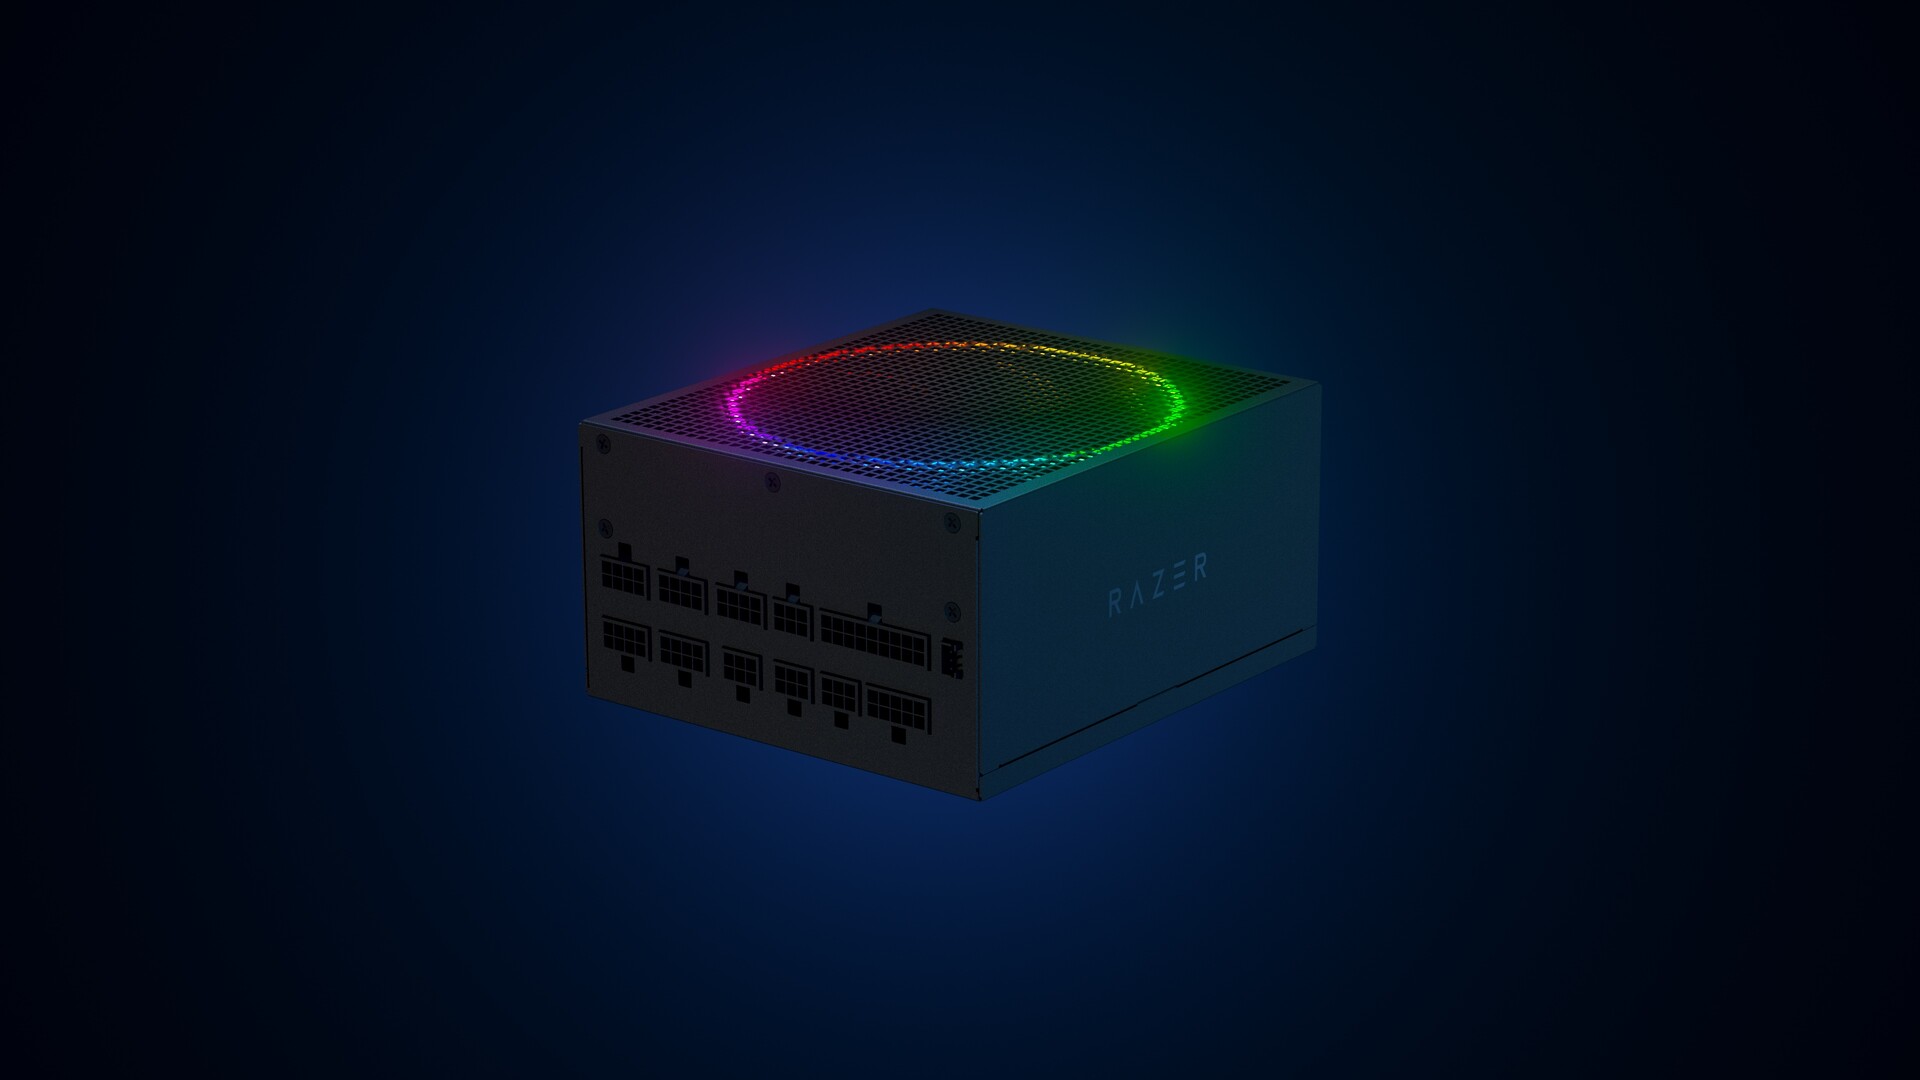
Most interesting for me personally is Razers Katana, the power supply unit. It is a modular power supply ranging from 750W to 1200W with the additional option of Titanium rated one with an impressive 1600W of power. Power supply will start shipping in early 2022 and at the time of writing this article no price range has been released.

Razer Hanbo AIO

razer water cooling
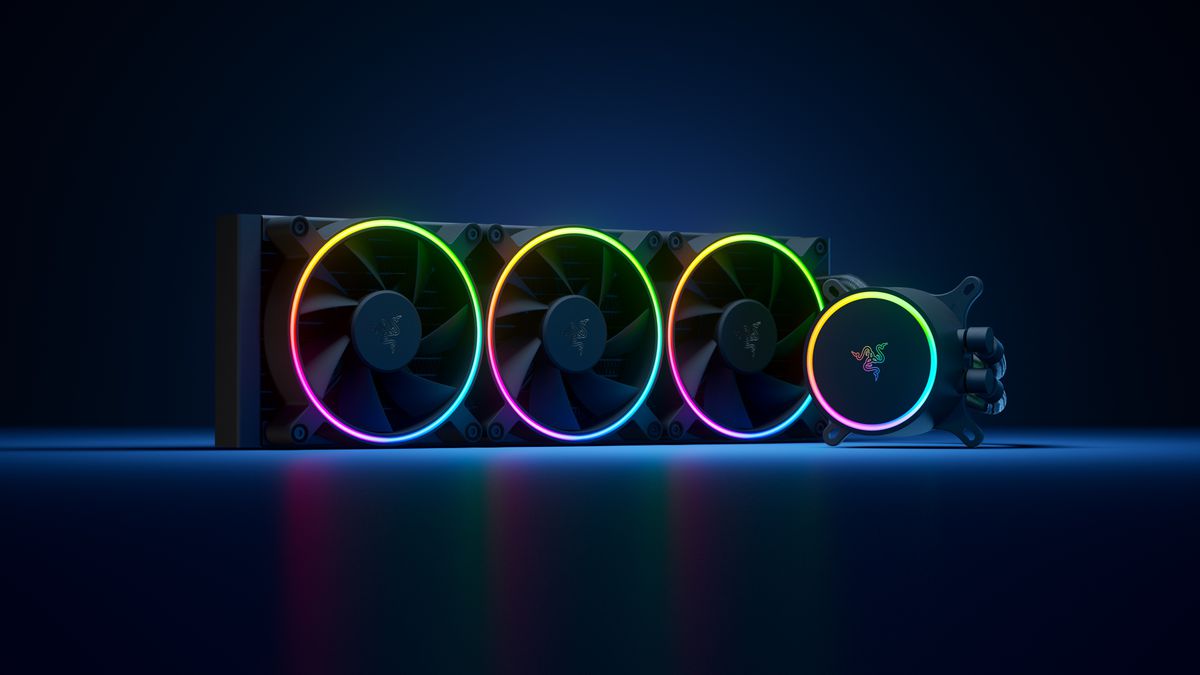
Hanbo liquid cooler will feature an optimized intake design so it can ensure greater heat transfer and fluid dynamic for improved reliability and silent operation. Radiator comes in 240mm size with two fans and a larger one of 360mm with three fans. The pump will be able to rotate in any direction of full 360 degrees so it can fit in any case. Hanbo will be released in November this year but no pricing has been released so far.

Razer Kunai Chroma case fans

razer case fansKunai fans will boast high static pressure performance with lowered noise. They will go as far as 2200rpm for the 120mm version where the 140mm version will go up to 1600rpm. They will come with addressable LEDs and up to eight fans will be able to be connected to Razer’s PWM fan controller that will come with a magnet at the back for easy attachment to any steel part of PC casing. PWM will use Razer’s Synapse software to customize pulse width modulation in order to improve airflow and noise. PWM will be priced at $49.99 in the Razer Store and it is available for preorder. Fans are priced at $44.99 for one 120mm or $129.99 for a three-pack of 120mm. One 140mm will go for $49.99 and a three-pack will be $129.99.
Read More
Malware Guide: How to Remove Solimba

How to Easily remove Solimba from your system

What is Solimba?

Solimba is a bundled executable program. It was created to be launched as a promotional tool to get advertisements loaded on a user’s system, upon installation. As a bundle, Solimba offers installation of various programs, with the objective of promoting various products and services. It utilizes unethical techniques, as in the case with adware tactics to influence or for want of a better word, hijack an Internet Browser to affect a website’s result on a search results page. In this assessment, Solimba distributed ads on Internet Explorer, Chrome, and Mozilla browsers, by hijacking various Internet Browsers to change the user's experience. (Images are shown below) Technical details about Solimba PUP include:
Digital Signature:  POPELER SYSTEM, S.L. Entry Point:   0x0000C1DC

Assessment of Solimba Potentially Unwanted Program

Solimba PUP is all about the ads. Once this executable is installed, it penetrates your computer system and sends ads all over your Internet Browser – Chrome, Internet Explorer, Mozilla Firefox, and the likes. For this assessment of Solimba.exe PUP, two installations were carried through. In layman's terms, I actually installed Solimba on two occasions to decipher the true nature of the PUP. It was shocking to find that both installations revealed different bundled programs and advertisements. In the first instance (as shown below), Solimba proved more aggressive in featuring ads for revenue advancements.
 Solimba employed aggressive advertising techniques
It’s important to note that hijacked results resulting from the installation of Solimba. This affected the results of the website on the Internet browser to boost its ranking, even without the use of a search engine. The advertisement displayed on the Internet Explorer search page routes the user to a software installation website. The utility tool in question was a “Windows 8.1 PC Repair” tool used to identify threats present on the Windows 8.1 OS.Advertisement shown on Chrome after Solimba Installation The advertisement displayed on the Chrome Browser search page routes the user to a health and beauty magazine website. This site advocates health and beauty, especially issues concerning weight loss. Several ads were visible on-site, displaying products to assist people in losing weight. During my installation of Solimba, the installation wizard underscored that four programs would be downloaded. These programs included N8Fanclub.com_KinoniRemoteDesktop, Lolliscan, PaceItUp, and SearchProtect. Interestingly, only two programs from the list were apparent or obvious. An N8Fanclub.com_KinoniRemoteDesktop file was made on the Desktop and SearchProtect was seen in “All Programs”, along with files stored on the computer’s Local Drive. The other programs that were “supposedly” installed remained concealed. A test was done to determine whether these were counted as extensions or add-ons to the varying web browsers but nothing was found on any of the tested browsers – Google Chrome, Internet Explorer, and Mozilla Firefox.

Description of 4 Installed Files

N8Fanclub.com_KinoniRemoteDesktop

When this file was initially found on the Desktop, a rootkit came to mind. A rootkit was used as a means to an end. Whoever was on the receiving end of this unwanted file would be able to connect to an infiltrated system without the knowledge of the user. After running the file to determine its behavior, nothing much happened. A message appeared indicating that the software couldn’t execute on the computer. That was pretty tricky since, to begin with, I didn’t place that specific file on the desktop but it came along with the territory and so I had to accept it. Further research online into N8Fanclub.com_KinoniRemoteDesktop proved very rewarding. A search of the entire file name was not able to do the trick so I had to do research on both terms separately. After landing on N8Fanclub.com, I was nicely asked to disable my adblocker. There seemed nothing harmful about the site. However, due to the fact that it was not what I initially installed, the program was an unwanted program. That’s exactly what Solimba does. It installs several other programs that were not requested by the user in an attempt to make money from advertising. The mere fact that this program got installed meant that it was to promote an online service.

KinoniRemoteDesktop

was a separate program. It was combined with N8Fanclub as a way to allow users to use their PC computer “as if they were sitting in front of it.” A user would be able to make use of a full web browser, watch Flash videos, play games, and even use office applications. This would be done from the user’s Nokia device. This is an advertisement at its best.

Lolliscan

This program did not allow me to see much since it didn’t leave a physical trace behind. However, during the installation, Lolliscan was listed as one of the four programs that would be installed. Overall, Lolliscan supposedly should be able to save people money since this form of the ad focuses on showing coupons when visiting sites such as Amazon. While this seems like a good deal, this ad will invade your personal space and distribute pop-ups at the most inopportune times.

PaceItUp

As the name states, PaceItUp is software added to a browser with the intent to speed your computer. Quite the contrary, PaceItUp does the total opposite since it installs bundled programs that slow down a computer system. PaceItUp is also known for displaying ads and tracking what the user does on his/her computer system.

SearchProtect

It’s known for hijacking your computer’s homepage. In fact, this addition is very stubborn and often possesses a challenge when a request to uninstall is made.

Further Information on Solimba

The second installation of Solimba also had its own dose of bundles to display. In comparison to the first installation, two programs from the bundle were different while two remained the same. two additional programs were installed along with the second installation of this bundle. These were dubbed Optimizer Pro and GamesDesktop. SearchProtect and N8Fanclub.com_KinoniRemoteDesktop remained triumphant and unbeatable. They were repeated within the installation. To completely remove Solimba from your computer, click here to download and install Spyhunter.
Read More
New vulnerability found in Windows
Windows users need to be on high alert. Microsoft has confirmed a critical vulnerability has been found in all versions of Windows which presents an immediate threat, and you need to act now. A critical new zero-day hack has been found which affects all Windows versions. windows vulnerabilityTracked as CVE-2021-34484, the “zero-day” flaw enables hackers to breach all versions of Windows (including Windows 10, Windows 11, and Windows Server 2022) and take control of your computer. Microsoft mistakenly thought it had patched the vulnerability (which was first found in August) when it was publicly disclosed in October. But the fix itself was found to be flawed, something the company admitted, and this drew even more attention to the vulnerability. Microsoft subsequently promised to “take appropriate action to keep customers protected” but two weeks later, a new fix has still not arrived. Luckily the third-party security specialist 0patch has beaten Microsoft to the punch with a ‘micropatch that it has now made available for all Windows users “Micropatches for this vulnerability will be free until Microsoft has issued an official fix," 0patch confirmed. You will need to register for a 0patch account and install its download agent before the fix can be applied, but with 0patch fast becoming a go-to destination for hot fixes which beat software companies to the punch this is a no brainer. Hopes will be high that Microsoft can release an effective patch sooner rather than later but, until then, all Windows users must act now if they want to be safe. Download 0patch here: https://blog.0patch.com/2021/11/micropatching-incompletely-patched.html
Read More
HolidayPhotoEdit Removal Guide for Windows

Holiday Photo Edit is a Browser Extension for Google Chrome developed by Mindspark Inc. and offers users a basic photo editing tool alongside links to some popular editing websites.

When installed this extension changes your default search engine to MyWay and hijacks your New Tab page, changing it to HolidayPhotoEdit. It monitors user browsing activity recording visited websites and clicked links in order to learn more about the user, this data is later used/sold to better target Injected Ads.

While browsing the internet with the HolidayPhotoEdit extension enabled, users will experience more ads throughout their search results, additional sponsored links to partner products, and sometimes even pop-up ads with special giveaways designed to lure users to buy something.

Popular anti-virus scanners have marked HolidayPhotoEdit as a Browser Hijacker, and it is recommended to remove it from your computer.

About Browser Hijackers

Browser hijackers (sometimes called hijackware) are a type of malware that changes internet browser configuration settings without the computer owner’s knowledge or approval. These hijacks appear to be increasing at an alarming rate across the world, and they could be actually nefarious and often dangerous too. Practically all browser hijackers are made for advertising or marketing purposes. In most cases, it will drive users to particular sites which are trying to boost their advertising campaign revenue. Though it might appear naive, all browser hijackers are harmful and therefore always regarded as security risks. Browser hijackers can even permit other vicious programs without your knowledge to further damage your PC.

Find out how to identify a browser hijack

The typical signs that signify having this malicious software on your PC are: 1. the home page of the web browser is changed suddenly 2. you observe new unwanted bookmarks or favorites added, usually directed to advertisement-filled or pornography websites 3. the essential web browser settings are modified and unwanted or unsafe resources are put into the trusted sites list 4. unwanted new toolbars are added to your browser 5. many pop-up ads appear and/or your web browser pop-up blocker is disabled 6. your web browser has become unstable or starts running sluggishly 7. you have prohibited entry to particular websites, for example, the website of an anti-malware software developer like SafeBytes.

How does a browser hijacker infect a computer?

Browser hijackers can get into a PC by some means or other, including via file sharing, downloads, and email also. They also come from add-on software, also called browser helper objects (BHO), web browser plug-ins, or toolbars. Some internet browser hijackers spread in user’s PC using a deceptive software distribution method called “bundling” (generally through freeware and shareware). A good example of some well-known browser hijackers includes Anyprotect, Conduit, Babylon, SweetPage, DefaultTab, Delta Search, and RocketTab, but the names are constantly changing.

Removing browser hijackers

Certain hijackers can be removed by just uninstalling the related free software or add-ons from the Add or Remove Programs in the Microsoft Windows Control Panel. However, many hijackers are quite tenacious and require specialized tools to get rid of them. And there is no denying the very fact that the manual fixes and removal methods could be a difficult job for an amateur computer user. Furthermore, there are various risks associated with tinkering around with the pc registry files. Browser hijackers can be effectively removed by installing and running anti-malware software on the affected PC. To eradicate any kind of browser hijacker from your PC, you could download this particular professional malware removal program – SafeBytes Anti-Malware. Together with the antivirus tool, a system optimizer, such as SafeBytes’s Total System Care, could help you in deleting all related files and modifications in the registry automatically.

Can't Install Safebytes Anti-malware because of Malware? Try This!

Malware could potentially cause many different types of damage to PCs, networks, and data. Some malware variants modify internet browser settings by adding a proxy server or change the PC’s DNS configuration settings. When this happens, you’ll be unable to visit certain or all internet sites, and thus not able to download or install the required security software to clear out the computer virus. If you’re reading this right now, you may have probably realized that a malware infection is the cause of your blocked internet traffic. So how to proceed if you need to download and install an anti-malware program such as Safebytes? Even though this kind of issue will be difficult to get around, there are a few actions you can take.

Install the antivirus in Safe Mode

If the malware is set to load at Windows startup, then booting in safe mode should prevent it. Only the bare minimum required applications and services are loaded whenever you start your computer in Safe Mode. You will have to do the following to eliminate malware in Safe mode. 1) At power-on/startup, hit the F8 key in 1-second intervals. This would invoke the “Advanced Boot Options” menu. 2) Select Safe Mode with Networking using arrow keys and hit ENTER. 3) When this mode loads, you should have internet access. Now, use your web browser normally and go to https://safebytes.com/products/anti-malware/ to download Safebytes Anti-Malware. 4) After installation, run a full scan and allow the program to delete the threats it discovers.

Utilize an alternate internet browser to download anti-malware software

Malicious program code may exploit vulnerabilities on a particular internet browser and block access to all anti-virus software websites. The ideal way to overcome this issue is to select an internet browser that is renowned for its security features. Firefox contains built-in Malware and Phishing Protection to help keep you secure online.

Create a bootable USB antivirus drive

Another way is to download and transfer an anti-malware program from a clean PC to run a scan on the infected computer. Adopt these measures to employ a flash drive to clean your corrupted PC. 1) On a clean computer, download and install Safebytes Anti-Malware. 2) Plug the Thumb drive into the uninfected computer. 3) Double-click the Setup icon of the anti-malware program to run the Installation Wizard. 4) Choose the drive letter of the flash drive as the place when the wizard asks you where you would like to install the antivirus. Follow the instructions on the computer screen to finish off the installation process. 5) Now, insert the pen drive into the corrupted PC. 6) Double click the Safebytes Anti-malware icon on the flash drive to run the software. 7) Click on the “Scan” button to run a full computer scan and remove viruses automatically.

Protect Your PC and Privacy With SafeBytes Anti-Malware

To protect your PC from various internet-based threats, it’s very important to install an anti-malware application on your PC. However, with countless numbers anti-malware companies in the marketplace, nowadays it’s hard to decide which one you should purchase for your personal computer. Some of them are great and some are scamware applications that pretend as authentic anti-malware software waiting around to wreak havoc on your PC. You have to look for a product that has got a good reputation and detects not just computer viruses but other types of malware too. One of the recommended software is SafeBytes AntiMalware. SafeBytes has a superb reputation for top-quality service, and clients are very happy with it. SafeBytes anti-malware is a highly effective and easy-to-use protection tool that is made for end-users of all levels of computer literacy. After you have installed this software program, SafeBytes advanced protection system will ensure that no viruses or malicious software can seep through your computer.

SafeBytes anti-malware offers an array of enhanced features that sets it aside from all others. Some of them are given as below:

Live Protection: SafeBytes provides complete and real-time security for your personal machine. It’ll continuously monitor your computer for hacker activity and also gives end-users sophisticated firewall protection. World-class AntiMalware Protection: Built upon a highly acclaimed anti-virus engine, this malware removal application can identify and get rid of many obstinate malware threats like browser hijackers, PUPs, and ransomware that other typical antivirus programs will miss. Safe Browsing: SafeBytes checks and gives a unique safety ranking to each and every website you visit and block access to web pages known to be phishing sites, thus safeguarding you from identity theft, or known to contain malicious software. Lightweight Application: SafeBytes is a lightweight and user-friendly anti-virus and antimalware solution. As it utilizes minimal computer resources, this tool leaves the computer’s power exactly where it belongs: with you. Fantastic Tech Support Team: You could get high levels of support 24/7 if you’re using their paid software. SafeBytes has developed a wonderful anti-malware solution to help you conquer the latest computer threats and virus attacks. There is no doubt that your computer system will be protected in real-time as soon as you put this software program to use. You will get the very best all-around protection for the money you pay on SafeBytes anti-malware subscription, there’s no question about it.

Technical Details and Manual Removal (Advanced Users)

If you do not want to use malware removal software and prefer to get rid of HolidayPhotoEdit manually, you may accomplish this by going to the Windows Add/Remove Programs menu in the control panel and removing the offending software; in cases of web browser plug-ins, you could uninstall it by visiting the browsers Add-on/Extension manager. You’ll probably also want to totally reset your internet browser to its default configuration settings. Lastly, examine your hard disk for all of the following and clean your computer registry manually to remove leftover application entries following an uninstallation. But bear in mind, this is often a challenging task and only computer experts could accomplish it safely. Furthermore, some malware keeps replicating which makes it difficult to remove. Completing this task in Safe Mode is recommended.
Files: %LOCALAPPDATA%\HolidayPhotoEditTooltab %LOCALAPPDATA%\Google\Chrome\User Data\Default\Local Extension Settings\ompcmhnafgchjgmdcdopfhlebohkgall %UserProfile%\Local Settings\Application Data\Google\Chrome\User Data\Default\Local Extension Settings\ompcmhnafgchjgmdcdopfhlebohkgall %LOCALAPPDATA%\Google\Chrome\User Data\Default\Extensions\ompcmhnafgchjgmdcdopfhlebohkgall %UserProfile%\Local Settings\Application Data\Google\Chrome\User Data\Default\Extensions\ompcmhnafgchjgmdcdopfhlebohkgall Registry: HKEY_LOCAL_MACHINE\Software\Microsoft\Internet Explorer\DOMStorage\www.holidayphotoedit.com HKEY_LOCAL_MACHINE\Software\Google\Chrome\PreferenceMACs\Default\extensions.settings, value: ompcmhnafgchjgmdcdopfhlebohkgall HKEY_LOCAL_MACHINE\Software\Microsoft\Internet Explorer\DOMStorage\holidayphotoedit.dl.myway.com HKEY_LOCAL_MACHINE\Software\Microsoft\Internet Explorer\DOMStorage\holidayphotoedit.dl.tb.ask.com HKEY_CURRENT_USER\SOFTWARE\HolidayPhotoEdit HKEY_CURRENT_USER\SOFTWARE\Wow6432Node\HolidayPhotoEdit HKEY_LOCAL_MACHINE\Software\[APPLICATION]\Microsoft\Windows\CurrentVersion\Uninstall..Uninstaller HolidayPhotoEditTooltab Uninstall Internet Explorer
Read More
1 2 3 162
Logo
Copyright © 2022, ErrorTools. All Rights Reserved
Trademarks: Microsoft Windows logos are registered trademarks of Microsoft. Disclaimer: ErrorTools.com is not affiliated with Microsoft, nor claim direct affiliation.
The information on this page is provided for information purposes only.
DMCA.com Protection Status