Hello everyone, last time we were talking about disk cleanup and its benefits, but as you need to keep your System clean you should also clean and keep your hardware clean as well. Many system issues could be traced and could happen due to dirty PC. In this article, we will give you tips on how to perform safely cleaning on your computer and hopefully point good sides to it so you can develop a healthy habit of regularly cleaning it and keeping it tidy.

Keeping your PC clean is not rocket science and you can do it with things you already and probably have in your house. One thing that I would recommend tho to purchase is antistatic gloves since they could prevent any kind of electrostatic discharges thus protecting your electric components.
If you have the option to disconnect your PC and get it outdoors, I would highly recommend this approach since all the dust will be dusted outside and not in the room where your computer is. If you can not it is still ok, but since some portion of dust will be set in the room, you might need to dust your room after cleaning your computer.
Cleaning outside case & redusting inside
The first thing after disconnecting your computer is to dust it from outside, here you will need a vacuum cleaner and a brush, gently brush outside dust from your casing and vacuum it with your vacuum cleaner. You can use dustcloth for larger parts but use the brush for fans and connectors.
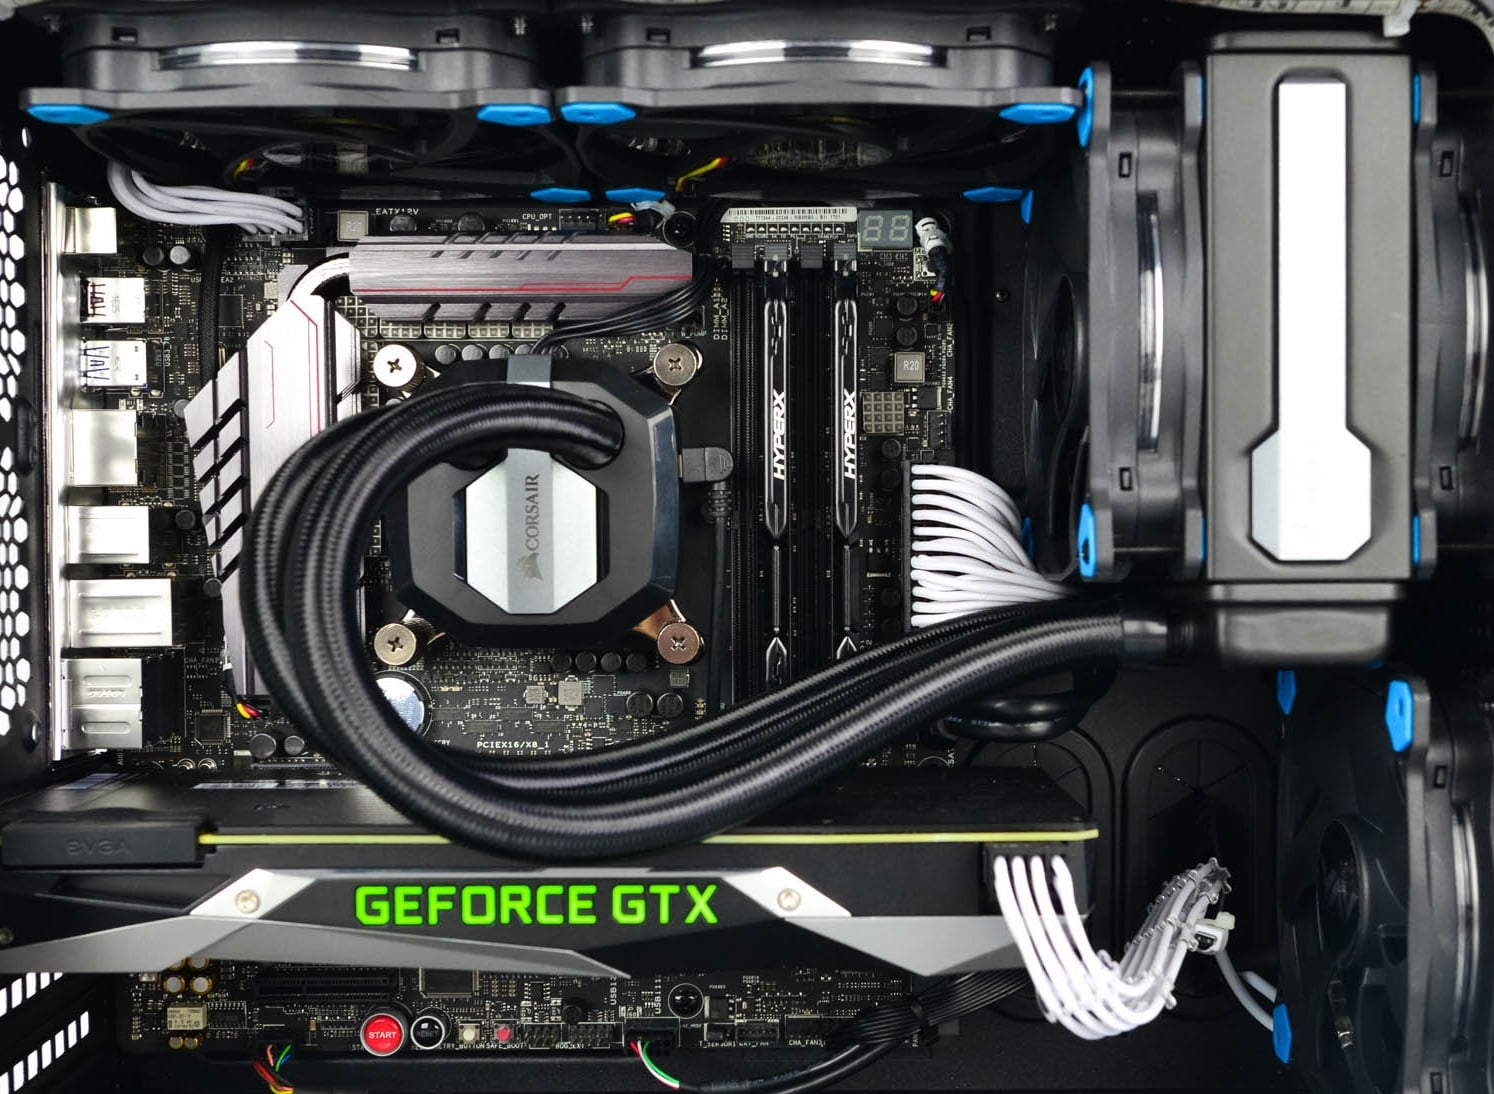
After you have done cleaning the outside part, open the side of your computer casing, put on your antistatic gloves, and get a fine and soft brush, repeat dusting and vacuuming of the inner parts of your computer. If your computer is not regularly been cleaned this part will take a little longer since there would be excess dust inside and it will take a longer time to vacuum it all but keep going until you are left with no dirt.
Cleaning it inside
Fans are troublesome to clean since they will rotate when brushed and that could make you miss certain sports, in order to battle this get a tape and stick the fan into one position, brush areas that you can reach, then unstick it, rotate the head, stick it again in another position and dust off remaining areas which you could not reach before.
If your computer is very dirty and some hard dirt is at bottom of the connectors, disconnect desired component and clean the connection properly. plug it back in immediately after cleaning to avoid connecting it somewhere else.
Harder stains that could not be dusted could be cleaned with little alcohol. Get your dustcloth just a little wet with alcohol, just a corner, and gently wipe out sticky dust or spills if they are present. Leave it 10 minutes for alcohol to evaporate before plugging it back into an electric socket.
Thermal paste and cable management
If you have money and expertise, every 2 years would be a good idea to change the thermal paste on your processor, all you need to do is buy it from your local computer store online, remove the CPU fan clean the CPU and bottom of the fan and apply new thermal paste, place fan back and lock it. If you do not have expertise in this area, call someone who has to show you how it is done.
When cleaning it would be a good idea if you do not have any cable management to do it now, nice and tidy cables not only look good, they also improve your air circulation inside your casing making your computer cooling better.
once you are done with it, close back the casing side and plug it back in the wall.
Peripherals
When you are cleaning your computer, do yourself a favor and clean your keyboard, mouse, and screen as well. the keyboard can be quickly cleaned with compressed air in the can and screen and mouse with dustcloth.
That's it, remember, keep your PC clean and tidy and enjoy the benefits of non-hardware malfunctions caused by dirt and dust.


 If you consider yourself a power user or you value your privacy then firefox is the browser for you. It is open source and is packed with great features like reporting when your email has been used for a known data breach, it stops annoying pop-up notifications, stops browser fingerprinting, and many more. Firefox is also a cross-platform browser making it a great choice if you want to transfer and use your data across multiple devices with one account. The downside of firefox however is its speed, this browser is the slowest on this list, I guess features and advantages took their tool in the speed department, but if that is not a concern for you and you feel like the positives outweigh some slower speed, grab it here.
 Chrome browser has been a game-changer when it was released and even today some of its features are still great and needed. It is packed with some great features like tab freezing, for example, it is cross-platform meaning that also as firefox you can change data between browsers on different devices. it is a very expandable browser with tons of extensions and its speed performance is very very good. The downside of Chrome are two things sadly, one of them is its hunger for RAM, the browser takes a big chunk of RAM once it is active and on some older computer with limited RAM it performs slowly, another is telemetry which its sending, in other words, other browsers don’t come with the lingering fear that Google’s just a little bit too involved in all of our lives. But if downsides do not trouble you and you have a decent amount of RAM in your system chrome might be the best solution for you, grab it here and check it out.
 Or should I say Microsoft edge 2.0 since this new Edge is completely recoded and rethought, a completely new browser based on chromium. The first version of the edge was an inhouse attempt from Microsoft and it was a disaster, I guess the lesson was learned, and this new edge we have today is a great Browser, it is lightning fast and packed with some great features with one among them standing out I just love, that is the ability to save web pages as applications and truth to be told you have to try this in order to see al great advantages it offers. A very interesting feature is that edge itself wins the speed race from all of the 5 contestants here which is a great surprise. Of course, the downside of annoying Microsoft pushing it to be your default is, well it's Microsoft, as chrome is tied to Google so is edge tied to Microsoft, and the same dreaded feeling that big MS is watching you. If however, you do not concern yourself with these kinds of things, since it is already part of Windows 10, give it a spin and try it, I am sure you will at least love its blazing speed.
 A new kid on the block, relatively unknown Browser Vivaldi offers some great customizable features no other one on this list offers, a very unique and down to each detail customization option, you can literally tweak each and every aspect of this browser making it best customizable and personal browser ever. How it is also based o chromium, every chrome extension works in it naturally. It is very good in speed and constantly updated and developed. The downside, well if you are anything like me, you could spend ages trying to customize it, ages, it has tons of features, and making it really feel and tick as you want can consume a really lot of time. If this thing does not bother you at all, grab Vivaldi here.
 Last but not least, we have another relic of the old browser age, the Opera browser. Packed with great security and great in-house features like a built-in VPN, built-in ad blocker, built-in crypto wallet, etc this browser seems like a swiss army knife. Opera is full of features and it shows once you start using it. The downside of opera is that its look and feel are specifically tailored to a certain type of user and not everyone will find that appealing or attractive, add some great but hidden and hard to come by features and it may go unnoticed. However, I think you should really give it a go since it definitely deserves more attention than it gets. Grab it here and check it out.
 Builders with no depth knowledge and experience can sometimes choose improper CPU or GPU, picking one of them to be much more powerful than another thus not using it to its full potential because another component cannot handle stuff at the same speed. In order to not be trumped by this kind of stuff, there is a website that is completely free and you do not even need to be registered in order to use it.
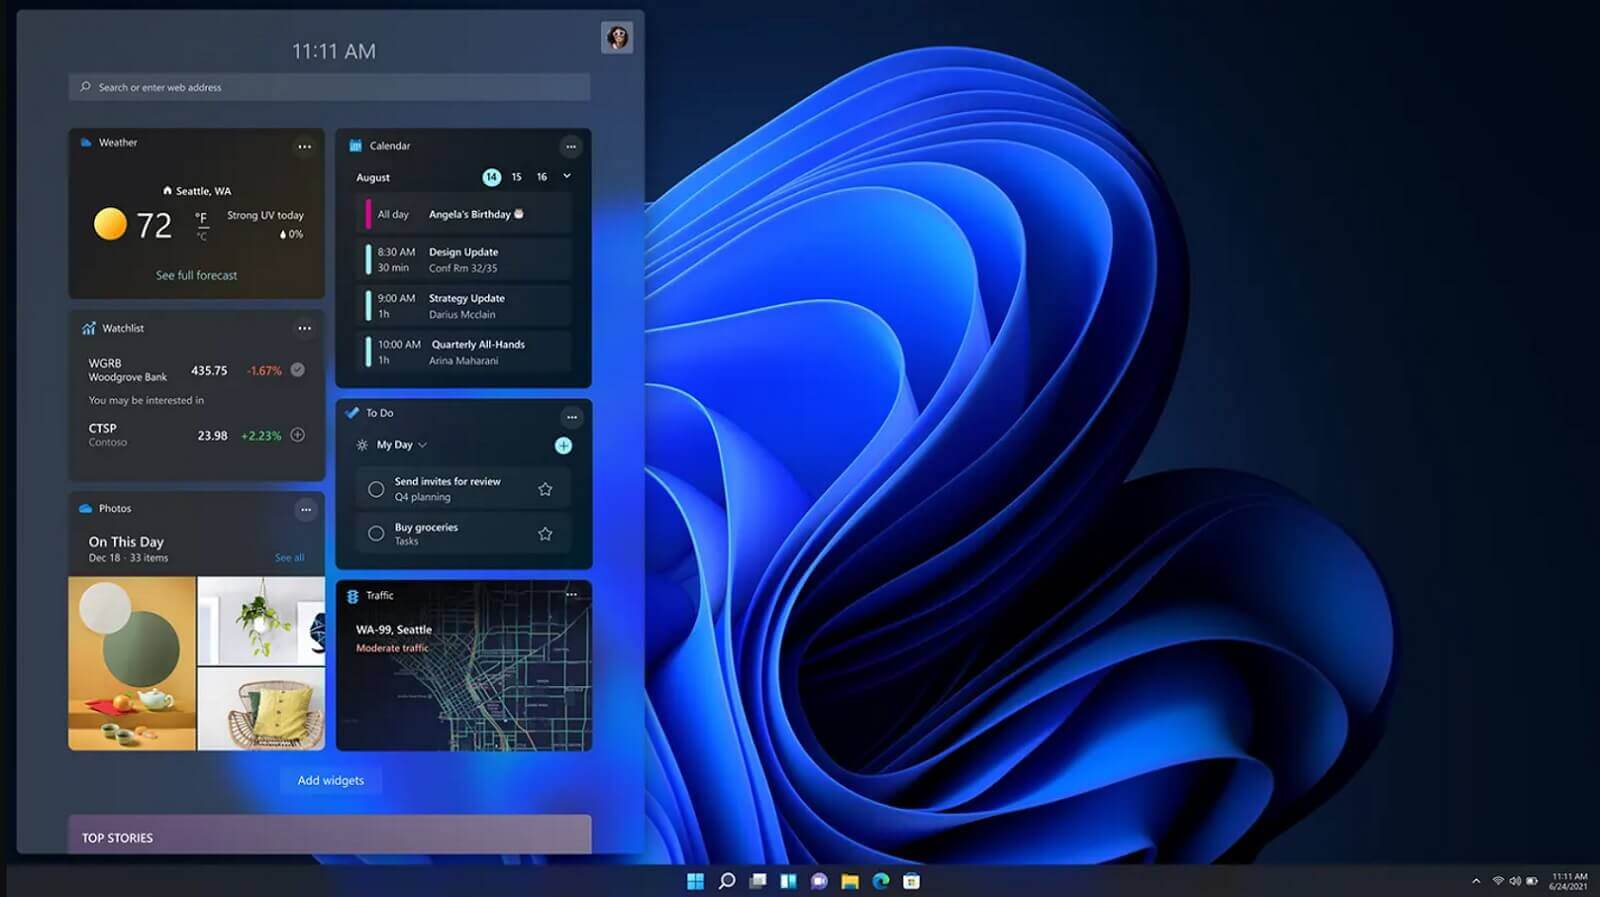 It is officially confirmed, Windows 11 release date is October 5th. Windows 11 will be released as a free upgrade to all registered Windows 10 users that have supported hardware for it.
The rest of the users will be able to install it via ISO file as a clean installation if their computer supports Windows 10 hardware requirements. The official price for the license for Windows 11 has not yet been set but I assume after release it will be set.
Priority for W11 will have users who are upgrading from W10 as stated by Microsoft.
Also, it was officially confirmed that Android apps will not be running natively in this first release of Windows 11, that feature will come in a future update, official statement below:
It is officially confirmed, Windows 11 release date is October 5th. Windows 11 will be released as a free upgrade to all registered Windows 10 users that have supported hardware for it.
The rest of the users will be able to install it via ISO file as a clean installation if their computer supports Windows 10 hardware requirements. The official price for the license for Windows 11 has not yet been set but I assume after release it will be set.
Priority for W11 will have users who are upgrading from W10 as stated by Microsoft.
Also, it was officially confirmed that Android apps will not be running natively in this first release of Windows 11, that feature will come in a future update, official statement below: