0x8019019a when setting up Yahoo Mail

The error code 0X8019019A is shown when a user fails to add his Yahoo account to the Mail app due to the outdated or corrupt installation of the Mail app. Not using an App-specific but a normal Yahoo account password may also result in the error at hand.

In this guide, we will show you how to effectively fix this error so you can set up Yahoo mail.

  1. Reboot PC

    Perform a restart of your system to rule out a temporary glitch in the system. Also, check if you can successfully access your email through a web browser using the same credentials as you are using with the Mail app. Additionally, make sure that no VPN or proxy server is being used to access the internet (VPN/proxy may work fine with the web version of Yahoo mail but may hinder the access through a mail client).

  2. Update Windows and the Mail App to the Latest Build

    If your system is not updated to the latest build it can create incompatibility between the OS modules. Updating the Windows and Mail app of your system to the latest build may solve the problem.

  3. Re-add the Yahoo Account to the Mail App

    The Yahoo account issue could be a result of a temporary glitch in the communication modules of the system. The glitch may get cleared if you remove and then re-add the Yahoo account to the Mail app.

  4. Reset the Mail App to the Defaults

    You may fail to add the Yahoo account to the Mail app if the installation of Mail itself is corrupt. In this scenario, resetting the Mail app to the defaults may solve the problem.

  5. Generate an App Password and Use it to Add the Yahoo Account to the Mail App

    Yahoo has implemented tons of security features to its accounts. One such feature is the use of app-specific passwords for less secure apps like the Mail app. If your Yahoo username or password is not working with the Mail app, then using the App-specific password may solve the problem.

If you like to learn and find out more about various Windows errors, and how to repair them go to our vast archive or use search to find articles that will explain and help you in solving your issue.
However, if you prefer to do things fast and with automatization then we are proposing to use an automated solution for your issues. The application that we are recommending is Advanced System Repair Pro
Advanced System Repair utilizes multiple tools all in one to give you a quick, simple, reliable, and very thorough diagnosis of your PC. It brings you all the tools you need in one program to clean, fix, protect, optimize and boost your PC!
1-Click Maintenance
All the tools to make it simple and easy! It's like having a professional technician at the click of a mouse.

Junk Cleaner
Keeping your computer free from unnecessary clutter also helps make your computer last longer. Like any other machine, if you keep it clean and take care of it, it will serve you better for longer!

Optimize background apps
Optimize applications background activity with the built-in Application Optimizer feature.

Disk Defrag
With a simple 1-click, Advanced System Repair speeds up your PC by assembling fragmented files on your machine and organizing them more efficiently.

Malware Removal
Finds and removes all types of harmful malware including trojans, worms, bots, adware, spyware, PUPs, and more!

Privacy Cleaner
The all-in-one privacy suite to Clean Your Tracks & Protect Your Privacy! Make your computer safe, secure, and more efficient!

System Tweak/Optimizer
ASR will analyze your complete system and settings to adjust your PC to function at its maximum performance.

Registry Cleaner
Over time, as you install and uninstall applications, the registry can become cluttered with old entries and broken settings which can result in program crashes, and annoying messages and slow the computer down.
Visit our Advanced System Repair Pro Download page to inform yourself about all the benefits of this software and get a free trial copy of it.
advanced system repair pro

Advanced System Repair Pro

One-click automated PC repair solution
ASR logo
With Advanced System Repair Pro you can easily
Replace damaged files
Restore performance
Free disk space
Remove Malware
Protects WEB browser
Remove Viruses
Stop PC freezing
DOWNLOAD
Privacy Policy | Terms of Use | Uinstall
Advanced System Repair Pro is compatible with all versions of Microsoft Windows including Windows 11

Share this article:

You might also like

GoDaddy data breach compromised 1.2M accounts
A very serious data breach has happened to the unfortunate GoDaddy hosting service placing a little over 1.2 million accounts affected. Security breaches sadly are not a rare occurrence but this time it is a little different. GoDaddy breachEach time when the company is breached data is stolen and that places the company in a bad light usually because its user database has been compromised and people are concerned about their data being misused. This is very rational fear and concern but this time things are a little bit different than usual, why is that, you might ask? Well, as before mentioned GoDaddy is a hosting company and the vector of attack was aimed at the part where it is hosting WordPress. Attackers were able to get their hands on the sFTP credentials of customers on that server meaning that all of the websites are also been relieved of their user base as well. This potentially means that there is a high chance that all of the hosted web site's content is also compromised, meaning that your data could also be compromised even if you were not a GoDaddy customer, all you needed to do is to be a member of any site hosted on their platform. GoDaddy has reset WordPress passwords and private keys, so it’s already taken the steps required to stock the attacker from exploiting anything with the passwords obtained. The company is in the process of generating new SSL certificates for customers. Bad thing is that the attack used a compromised password to get into systems all the way back around September 6th, 2021, the breach was discovered on November 17th, 2021, which is more than a 2-month active time where the attacker could harvest tons of data. The outcome of this attack will be seen in the upcoming time, until then be safe, and Just in case change your passwords.
Read More
How to Resolve Dsound.dll Error Code

Patch Dsound.dll Error

Dsound.dll Error Code - What is it?

Dsound.dll is a type of Dynamic Link Library. This is one of the many files that are associated with DirectX software. And DirectX software is used by most Windows-based games. Dsound.dll contains small programs that help run and load Windows-based games on your system. The Dsound.dll error pops when Windows-based games are unable to load and run on the computer. The error code appears on the screen in one of the following formats:
  • "The file dsound.dll is missing"
  • "File dsound.dll not found"
  • "Dsound.dll not found. Reinstalling might help fix this."
  • "Dsound.DLL Not Found"

Solution

Restoro box imageError Causes

Dsound.dll error is generated due to multiple reasons. These include:
  • Corrupt, damaged, or missing Dsound.dll file
  • Malware infection
  • Outdated drivers
To play the games on your computer, it is important to fix the Dsound.dll error immediately.

Further Information and Manual Repair

To resolve Dsound.dll error at home on your own without hiring a professional and spending hundreds of dollars in repair, here are some methods you can try:

Method 1 - Restart Your PC to Resolve

Sometimes the error may be a fluke and can be resolved by simply restarting your PC. So, before you try other methods, it is recommended that you restart your system first. If it resolves the issue, then that’s great. If it doesn’t, then try other methods given below!

Method 2 - Reinstall the Deleted Dsound.dll File

Since DLL files are shared files, there is a possibility that while uninstalling a game on your PC, you might have accidentally deleted this file too. If so, check your recycle bin and search for the deleted file. If you locate it, simply restore it. But if you can’t, then download the Dsound.dll file from a reliable DLL website. Make sure that the site is authentic because the last thing you want is to download malware instead of a DLL file.

Method 3 - Update Driver for Your Video Card

If Dsound.dll error occurs because of outdated drivers, then update them to resolve. You can do this by using a driver update wizard from within Device Manager. The wizard will guide you through the process, making updates simple.

Method 4 - Remove Malware

Download a powerful antivirus to scan and remove malware from your system. A malware infection can trigger a Dsound.dll error too.

Method 5 - Uninstall the Game and then reinstall it again

Try uninstalling the game during which you experienced this error. Sometimes the error may pop because of improper game installation. Uninstall it and then reinstall it. Once you’ve reinstalled it, try accessing it again. If it is accessible, the error is resolved.

Method 6 - Repair the Registry

DLL errors are also related to the registry. These files can get damaged if the registry gets loaded with junk files and cookies. In such as situation clean and repair the registry. You can do this manually but it can be time-consuming and tricky if you are not technically sound. Therefore download Restoro. It is a powerful and user-friendly PC Fixer embedded with a registry cleaner. The registry cleaner scans and removes all junk files clean the registry and repairs damaged DLL files immediately. Click here to download Restoro and resolve error Dsound.dll today!
Read More
Hearthstone lost connection to the game server
Since its release, Hearthstone has changed and innovated how digital card games are played. From its cross-platform matchmaking to interesting random mechanics and making the game free to play from day 1 have paved the road to Hearthstone's success. If you by any chance get lost connection to game server error and find yourself unable to play please stay awhile and listen Keep reading and try provided solutions as they are presented to fix this issue and continue gaming.
Read More
OneXPlayer Mini Handheld Gaming PC
OneXPlayer is a direct competitor to Valve’s upcoming steam deck. This device is clearly inspired by Valve’s offering and it shows all over the place, from its looks to its purpose and aims to PC gamers as a handheld device.

OneXPlayer miniHardware under the hood

This device is packing a 7-inch 1080p display, 11th generation Intel Core i7-1195G7 CPU, stunning 16GB of RAM, 512GB SSD drive with the option to purchase 1TB or 2TB model. GPU of choice is Intel iris Xe Graphics that is in our opinion a bottleneck in the whole system and for more demanding games, we believe switching them to 720p would be a better option. Everything here is powered with a 10455 mAh lithium-ion battery.

OneXPlayer inputs and other stuff

Handheld is equipped with dual bumpers and dual linear triggers. The console comes with dual speakers on both sides of it. Inside the console, there is an aluminum heat sink with copper heat pipes and a fan in order to cool internal hardware. On the outside, we have two USB-C ports and one USB-A port for connections, and of course, a headphone jack for headphones. The console comes with Wi-Fi 6 and Bluetooth 5.0 for wireless connectivity.

Price

The base entry model will cost you a whopping $1.259, 1TB model $1.399 and 2TB one will go as far as $1,599. With this kind of price, I am not sure it can come up as a winner against Valve. Sure it is packing fully licensed Windows 11 that will for sure offer more options than Stem’s OS based on Linux but even with that advantage I do not think it justifies such a big price difference.

Conclusion

Of course, this kind of console or handheld PC will still find its customer base, many users will probably like it since it comes Windows ready out of the box. Sure, you can place Windows on Steam deck as well but you will need to know how, where everything is ready and you can run beside steam other launchers without issues like origin, uplay, gog, etc. How this will be accepted by community time will tell but it is good to see that there is variety and competition in handheld PC space.
Read More
KFConsole enters the console competition
Yes, you read that right, KFC is making a console partnered with Cooler Master. Bizzare at it sounds, it is even more bizarre that the console is designed to keep your food warm!!! You can pull out the drawer from the console out on its top and place some food there in order to keep it warm. kfconsole drawerThe console itself is coming in cylindrical shape powered by Intel CPU and ASUS GPU of the unknown chipset. It has Seagate Baraccuda 1TB SSD and it is VR-ready. The console will have raytracing and will be 4K ready.

My thoughts

Well, my thoughts are somewhat strange, on one side I am not really sold on food heating gimmicks and without specific hardware specifications, it is difficult to say how much power the console will have. Price is also not leaked so that is also a stumbling stone for making an informed opinion. I am a little puzzled and concerned about this whole heating food thing because personally, I can see 2 issues: Console overheating and fat dripping on inside hardware, I am sure they have somehow eliminated this but I would be very interested to see how.
Read More
Some update files aren’t signed, 0x800b0109
Windows Updates are checked for their validity every time they are downloaded from Microsoft servers just like how browsers check websites for a valid certificate. And so if you got an error message saying, “ Some update files aren’t signed correctly, error code 0x800b0109 ” while trying to update your computer, it indicates that the Windows service was unable to verify the validity of the Windows Update. To fix this error, you can try out the options prepared in this post.

Option 1 – Reboot your computer and try again

Save your work and reboot your computer and then try checking for updates again. In some cases, all you need is a restart to fix errors like error code 0x800b0109.

Option 2 – Try to update Windows after an hour or so

There are times when the issue is from Microsoft’s end. It could be that there’s some issue with Microsoft’s server so it would be better if you give it an hour or so before trying to run Windows Update again.

Option 3 – Try running the Windows Update Troubleshooter

Running the built-in Windows Update troubleshooter is one of the things you can first check out as it is known to automatically resolve any Windows Update errors like Error 0x8007001E. To run it, go to Settings and then select Troubleshoot from the options. From there, click on Windows Update and then click the “Run the troubleshooter” button. After that, follow the next on-screen instructions and you should be good to go.

Option 4 – Delete the contents in the Temporary folder

You can also try deleting the contents in the Temporary folder – all the downloaded, pending, or failed Windows 10 updates. You can do that using the simple and easy steps below.
  • Tap the Win + R keys to open the Run dialog box.
  • Then type “%temp%” in the field and press Enter to open the Temporary folder.
  • After that, select all the folders and files within the Temp folder and delete all of them.

Option 5 – Clear the contents in the Software distribution and Catroot2 folders

  • Open the WinX Menu.
  • From there, open Command Prompt as admin.
  • Then type in the following command – don’t forget to hit Enter right after typing each one of them.
net stop wuauserv net start cryptSvc net start bits net start msiserver
  • After entering these commands, it will stop the Windows Update Service, Background Intelligent Transfer Service (BITS), Cryptographic, and the MSI Installer
  • Next, go to the C:/Windows/SoftwareDistribution folder and get rid of all the folders and files thereby tapping the Ctrl + A keys to select them all and then click on Delete. Note that if the files are in use, you won’t be able to delete them.
After resetting the SoftwareDistribution folder, you need to reset the Catroot2 folder to restart the services you just stopped. To do that, follow these steps:
  • Type each one of the following commands.
net start wuauserv net start cryptSvc net start bits net start msiserver
  • After that, exit Command Prompt and restart your computer, and then try to run Windows Update once more.

Option 6 – Install the updates in a Clean Boot State

You might want to try putting your computer in a Clean Boot state and then install Windows Updates again without any trouble. During this state, you can start the system with a minimum number of drivers and startup programs that will surely help you in isolating the root cause of the issue.
  • Log onto your PC as an administrator.
  • Type in MSConfig in the Start Search to open the System Configuration utility.
  • From there, go to the General tab and click “Selective startup”.
  • Clear the “Load Startup items” check box and make sure that the “Load System Services” and “Use Original boot configuration” options are checked.
  • Next, click the Services tab and select the “Hide All Microsoft Services” check box.
  • Click Disable all.
  • Click on Apply/OK and restart your PC. (This will put your PC into a Clean Boot State. And configure Windows to use the usual startup, just simply undo the changes.)
  • After that, try to install the Windows Updates or upgrade again.
Read More
Fix GeForce Experience error code 0x0001
The GeForce Experience on graphics card manufactured by NVIDIA is an advantage for users who loves gaming as it makes enhances users’ gaming experience. However, there are times when it may also encounter some problems. One of the problems users may encounter is the error code 0x0001. This kind of error occurs when users open the NVIDIA GeForce Experience utility. Here’s the full content of the error message:
“Something went wrong, try rebooting your PC and then launch GeForce Experience, ERROR CODE: 0x0001.”
Errors like this one diminish the overall experience of users due to the fact that when this error occurs, the NVIDIA GeForce experience wouldn’t even start which renders its features useless. There are several potential fixes you can check out to resolve this error but before you check them out, you can try to restart your computer first and then open the NVIDIA GeForce Experience once again, if you still encounter the error, then you need to check the NVIDIA Display Driver Services or update your NVIDIA display drivers or switch to the BETA release. You could also try to install and reinstall the NVIDIA display drivers or perform System Restore and see if it helps. For detailed instructions, follow the given options below.

Option 1 – Try to check the NVIDIA Display driver services

  • Tap the Win + R keys to open Run and then type “services.msc” in the field and hit Enter to open the Services Manager.
  • From there, look for the following NVIDIA services and make sure that their Startup types are as follows:
    • NVIDIA Display Container LS – Automatic
    • NVIDIA NetworkService Container – Manual
    • NVIDIA LocalSystem Container – Automatic
    • NVIDIA LocalSystem Container – Automatic
    • NVIDIA GeForce Experience Service – Automatic (Delayed Start)
    • NVIDIA Geforce Experience Backend Service – Automatic (Delayed Start)
    • NVIDIA Telemetry Container service – Automatic
  • Next, double click on each one of the services and go to Properties. Here, check if the service is running. If it’s not, just click on the Start button. On the other hand, if they’re already running, just click on Stop and then click on Start again.

Option 2 – Try to update the NVIDIA Display drivers

You can also try updating the NVIDIA display drivers as it might help in fixing the error. To update them, follow the steps below.
  • Tap the Win + R keys to open the Run dialog box.
  • Next type in “dxdiag” in the field and click OK or hit Enter to open the DirectX Diagnostic Tool.
  • From there, you can see what type of NVIDIA graphics card that your system is on.
  • Take note of your graphics card information and then look for the best drivers for your operating system. Once you’ve downloaded and installed the file, restart your PC.
Note: If you want to try out the beta release of the NVIDIA display drivers, click on this link. Beware though that the beta software is unstable and buggy and may cause some different bugs.

Option 3 – Try to roll back the driver to the previous version

If updating the NVIDIA display drivers didn’t work for you, then it’s time to roll back the device drivers. It is most likely that after you updated your Windows computer that your driver also needs a refresh.
  • Tap the Win + R keys to launch the Run window and then type in the “msc” command and hit Enter to open the Device Manager window.
  • Under the Device Manager, you will see a list of drivers. From there, look for the NVIDIA Drivers and expand it.
  • Next, select the driver entries that are labeled appropriately.
  • Then select each one of them and double click to open a new mini window.
  • After that, make sure that you’re on the Driver tab and if you are not, just navigate to it then click the Roll Back Driver button to switch back to the previous version of the NVIDIA Drivers.
  • Now restart your computer to successfully apply the changes made.

Option 4 – Try to run System Restore

You could also run System Restore as it might help fix the error code 0x0001 in NVIDIA GeForce Experience.
  • Tap the Win + R keys to open the Run dialog box.
  • After that, type in “sysdm.cpl” in the field and tap Enter.
  • Next, go to the System Protection tab then click the System Restore button. This will open a new window where you have to select your preferred System Restore point.
  • After that, follow the on-screen instructions to finish the process and then restart your computer and then check if the error code 0x0001 in GeForce Experience is now fixed.

Option 5 – Do a clean install on the NVIDIA driver

  • Before you do a clean install on the NVIDIA driver, you have to download the latest version of the Display Driver first.
  • Boot your Windows 10 PC into Safe Mode.
  • After that, double click on the executable file of the Display Driver Uninstaller to run and install it.
  • After the installation, open the program. Once you do, you should see the following window on your screen:
  • In the program window, click on the “Clean and restart” button.
  • After your PC has rebooted, download the NVIDIA drivers.
  • Then select your Product Type, Product Series, Product, Operating System, and Language appropriate for your hardware specifications as well as personal requirements.
  • Next, click on Search to display the latest available driver as per the information you entered.
  • And click on Agree and Download to start downloading the latest driver executable file.
  • Run the executable file after you finished downloading the latest driver executable file and then select Custom and click on Next.
  • Afterward, select “Clean Install” and proceed. Doing so would install the latest driver on your PC.
  • Restart your PC and check if the error’s now fixed. If not, you can try installing an older version of the driver instead.
Read More
How to Fix Run Time Error 429

Repair Run Time Error 429

Runtime Error 429 - What is it?

Error 429 is a type of runtime error. It sometimes occurs when you use the new operator or the CreateObject function in Microsoft Visual Basics to create an instance of a Microsoft Office application. The error code is displayed on your computer screen in the following format:

Runtime Error ‘429’: Active X component Can’t Create Object

Solution

Restoro box imageError Causes

The runtime error code 429 is triggered for several reasons. These include:
  • Mistake in the application
  • Incorrect system configuration
  • Missing ActiveX components in the application
  • Damaged Active X and class application components
  • DLL required by the application is damaged
  • Active X object was not registered properly
  • Corrupted applications
  • Corrupted Windows registry
  • Class ID issues
The runtime error code 429 not only causes you inconvenience as it hampers your ability to access programs but delays in repairing this error code can lead to serious PC damages such as system freezes, crashes, and failures.

Further Information and Manual Repair

To resolve the runtime error 429 on your PC, try the following recommended solutions:

1. Re-register the Application Causing the Error

Identify the Office application causing the error and re-register it. For instance, if Office Excel is the prime cause of the error message pop up, simply re-register it. Click on the start menu and then run. Then type this in “: C:/Program Files/Microsoft Office/Office/Excel.exe /regserver” and press OK. This will hopefully resolve the issue.

2. Go to The Microsoft Windows Script Update Page and Download Microsoft Updated Installation File

This will also assist you in repairing runtime error 429. Simply follow the installation wizard and update your MS Office Applications. The corrupted files and missing components in them would be easily corrected by the update file. However, if this doesn’t work, then this means that the cause is more crucial than you think. It is either related to damaged Active X objects or a corrupted Windows registry.

3. Repair the Active X objects and the Registry

To repair both the registry and the Active X objects in one go, it is advisable to download Restoro. This is an advanced, next-generation, highly and multi-functional PC repair tool. It is deployed with powerful and numerous utilities like a registry cleaner, Active X and class scanner, privacy error detector, and system stability module. The registry cleaner embedded in this repair tool enables you to wipe out obsolete, unnecessary, malicious, and invalid files and registry entries saved in the registry. It frees up your disk space, repairs damaged DLL files and the registry thus resolving the runtime error 429 on your system. The Active X object and Class feature identifies and scans Active X issues on your PC and resolves them right away. Besides this, with this error tool, you can also scan for viruses and also improve your PC performance.

Why Total System Care?

Total System Care is a one-stop solution to resolve all kinds of PC-related issues including the runtime error 429. To run it on your system, you don’t have to be a computer programmer. It is very easy to operate. It has easy navigation and a user-friendly interface. There is nothing complex about it. It is safe and efficient. It resolves all PC issues in a few seconds. You can run it in the background while performing other tasks on your system. Furthermore, it is compatible with all Windows versions. Click here to download Total System Care and resolve the Runtime Error 429 on your system today.
Read More
Diablo 2 is trending after launch looking good
Finally, some good news for Blizzard entertainment after tons of bad stuff happening around it regarding lawsuits and people layoffs. Diablo 2 has become the most-watched game on Twitch after its official release and sold copies are on a satisfactory level. Diablo 2 resurrectedFor people not familiar with recent events, the state of California has sued Blizzard for various things including discrimination and offensive behavior. Later Blizzard executives were caught shredding some evidence and things just started to go to worse from there. After much drama, many people believed that this is the end for Blizzard entertainment and that they would not be able to recover from this since the community has sided with California and Blizzard has received a large punch as many subscribed WOW players have left the game. 
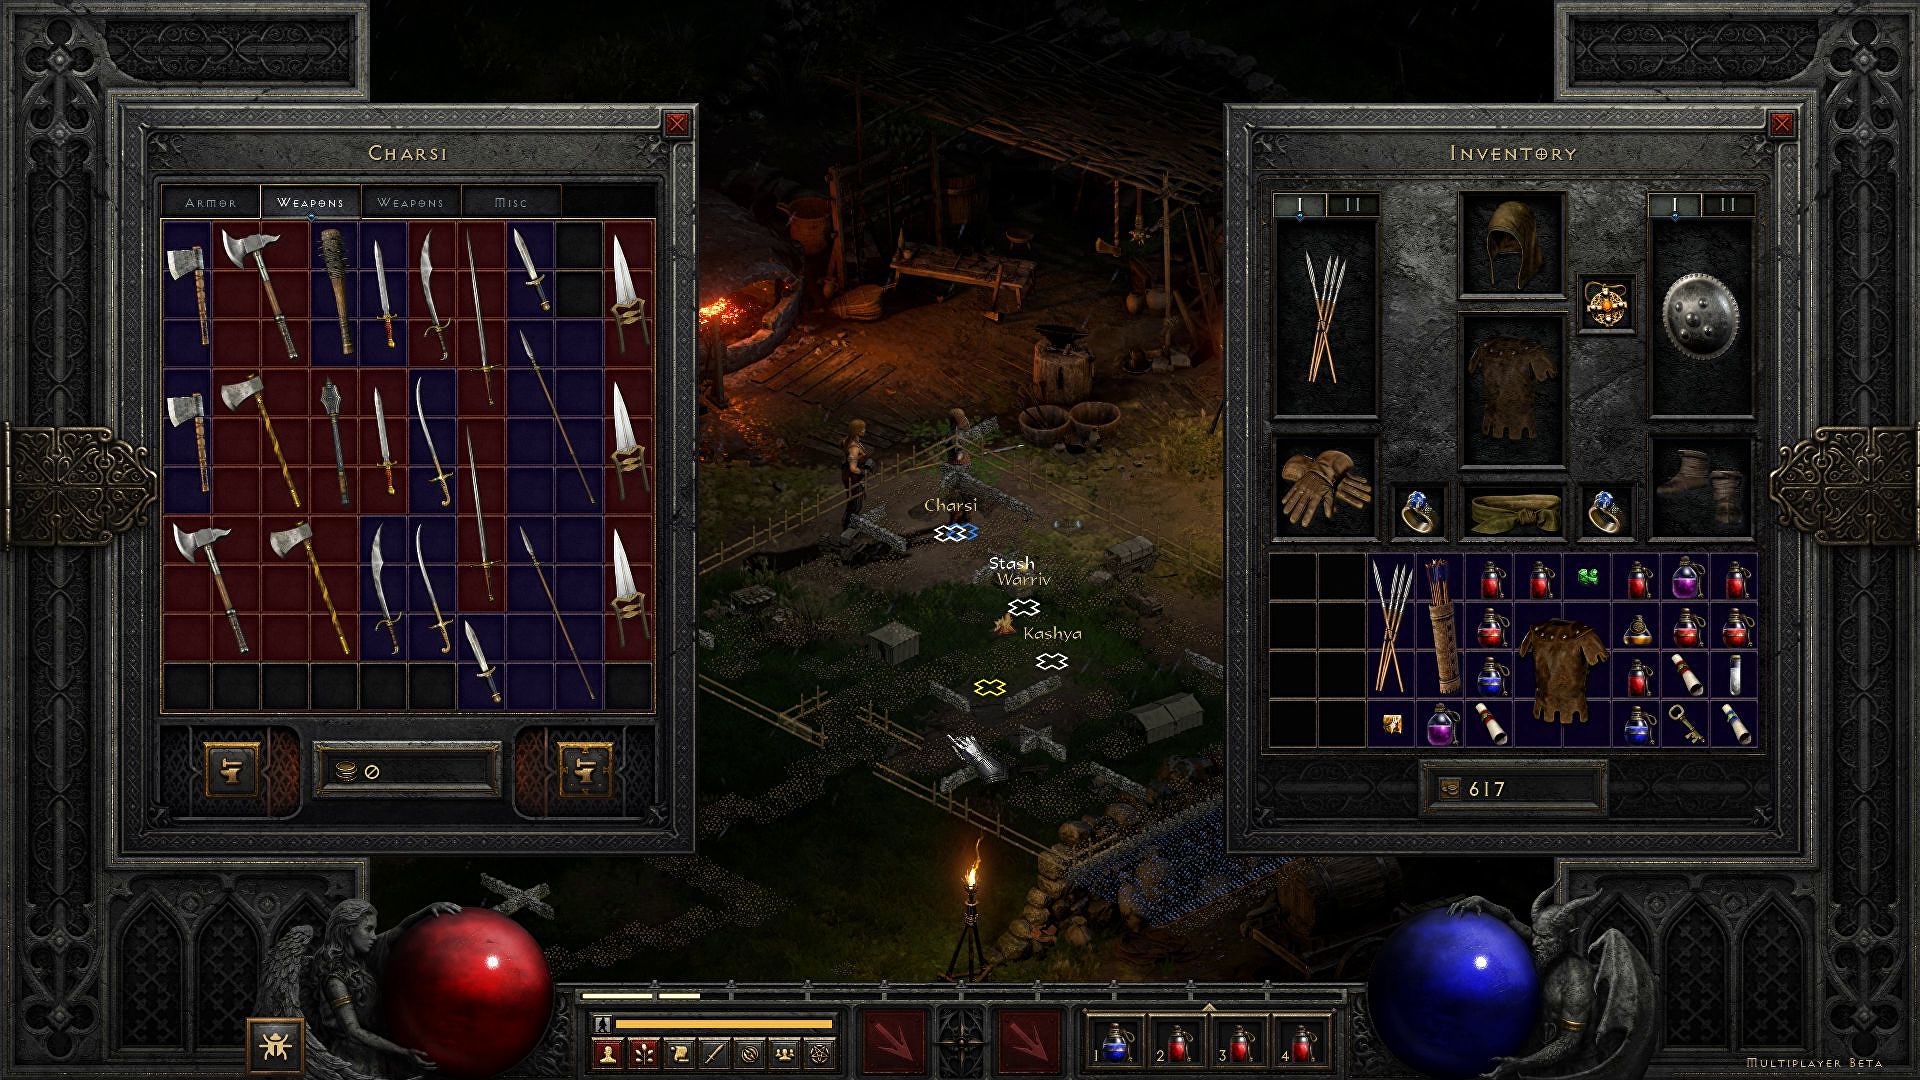
Things are not so grim as they were looking as their Diablo 2 remake has made moderate success despite being released in these troubling times and there are rumors of Overwatch 2 planned release date as of the first quarter of 2022. overwatch 2
Read More
New Windows 11 keyboard shortcuts
New Windows brings new keyboard shortcuts, most of them are tied to new features and we are presenting you some new ones that are worth remembering. keyboad shortcuts⊞ WINDOWS + N - notification panel ⊞ WINDOWS + W - News and Interests feed With the News and Interests feed, Windows 11 offers users the ability to check the latest news, the weather, and more without opening a browser window. ⊞ WINDOWS + Z - Snap Layout Instead of the usual two windows snapping capability, Windows 11 allow users to snap their windows in a three-column layout. Users can access this by pressing Windows Key and Z to access the Snap layout. ⊞ WINDOWS + PRT SCN - taking screenshots This one isn’t exactly new, but pressing the Windows Key and Print Screen will automatically capture the entire screen and save a copy of the image on your PC. Once the screen flashes, you will know that the screenshot has been taken, after which you can find the file saved under your Pictures folder in a subfolder called Screenshot. ⊞ WINDOWS + C - Microsoft Teams chat Microsoft Teams app, the service allows anyone with a Microsoft account to quickly start a chat using the Windows + C shortcut.
Read More
1 2 3 162
Logo
Copyright © 2022, ErrorTools. All Rights Reserved
Trademarks: Microsoft Windows logos are registered trademarks of Microsoft. Disclaimer: ErrorTools.com is not affiliated with Microsoft, nor claim direct affiliation.
The information on this page is provided for information purposes only.
DMCA.com Protection Status