Recently, a number of Windows 10 users reported that they were not able to use Cortana properly because it wasn’t able to connect to the internet. According to these users, Cortana won’t connect to the internet even when their internet connection is stable. According to security experts, this issue is confirmed to occur only with Microsoft accounts.
This problem might have something to do with a proxy server that interferes with Cortana. There were reports that this issue was caused by a proxy that was filtering the network connection which also happens to interfere with Cortana’s ability to adapt search results and queries based on the user’s location. It could also be caused by some glitch in the home network or your Microsoft account information is inconsistent or your Microsoft account has to be verified.
Here are some suggestions that could help fix the connection issue in Cortana, just start with the first one and work your way down until you encounter an option that fixes the problem.
Option 1 – Restart or reset your modem or router
The first thing you can try is restarting or resetting your modem or router. All you have to do is unplug the power cable of the modem and then plug it back in after a few seconds. You could also use the reset button of the modem at the back if it is one. But before you press the reset button, keep in mind that it will erase all the connection credentials and it will be set back to its default settings. After rebooting the network, you can restart your computer to force your modem or router to reassign an IP address to your computer.
Option 2 – Restart Cortana
Restarting Cortana can help you resolve the issue.
- To restart Cortana, open the Task Manager, right-click on Cortana and select the “End process” option.
- Then go to the File tab and select “Run new task”.
- After that, type in “cortana.exe” and press Enter to restart the process.
Option 3 – Try to remove Proxy
Removing the Proxy might also help you in fixing the connection issue in Cortana. Here’s how you can do it:
- Tap the Win + R keys to open the Run dialog box.
- Then type “inetcpl.cpl” in the field and hit Enter to pull up the Internet Properties.
- After that, go to the Connections tab and select the LAN settings.
- From there. Uncheck the “Use a Proxy Server” option for your LAN and then make sure that the “Automatically detect settings” option is checked.
- Now click the OK and the Apply buttons.
- Restart your PC.
Note: If you are using a third-party proxy service, you have to disable it.
Option 4 – Open another app that uses a Microsoft account
This might seem like an odd fix, however, a couple of users tried doing this and it worked for them as it allowed Cortana to connect to the internet again. In this option, you just have to launch another app that uses your Microsoft account information in the same way as Cortana, for instance, the Store app. Once you open the app, a prompt should appear along with a dialog box that allows you to update your Microsoft account with the information required. After that, restart your computer and check if Cortana is now able to connect to the internet or not.
Option 5 – Verify your Microsoft account
In some cases, Cortana might not be able to connect to the internet because your Microsoft account is no longer verified. This usually happens when you use a two-step authentication system with your Microsoft account. To verify it, just open Settings and click on Accounts. After that, check if you have a Verify hyperlink under your Microsoft account or not then click on Verify. Afterward, follow the next on-screen prompts to verify your Microsoft account. Once your account is verified, restart your computer.
Option 6 – Reset Cortana settings
- Open Cortana and go to the Settings section where you’ll see the “Turning off Cortana clears what Cortana knows on this device, but won’t delete anything from the Notebook. After Cortana is off, you can decide what you’d like to do with anything still stored in the cloud” option. Turn this option off.
- Restart your PC.
- After your computer boots, launch Cortana again and check.

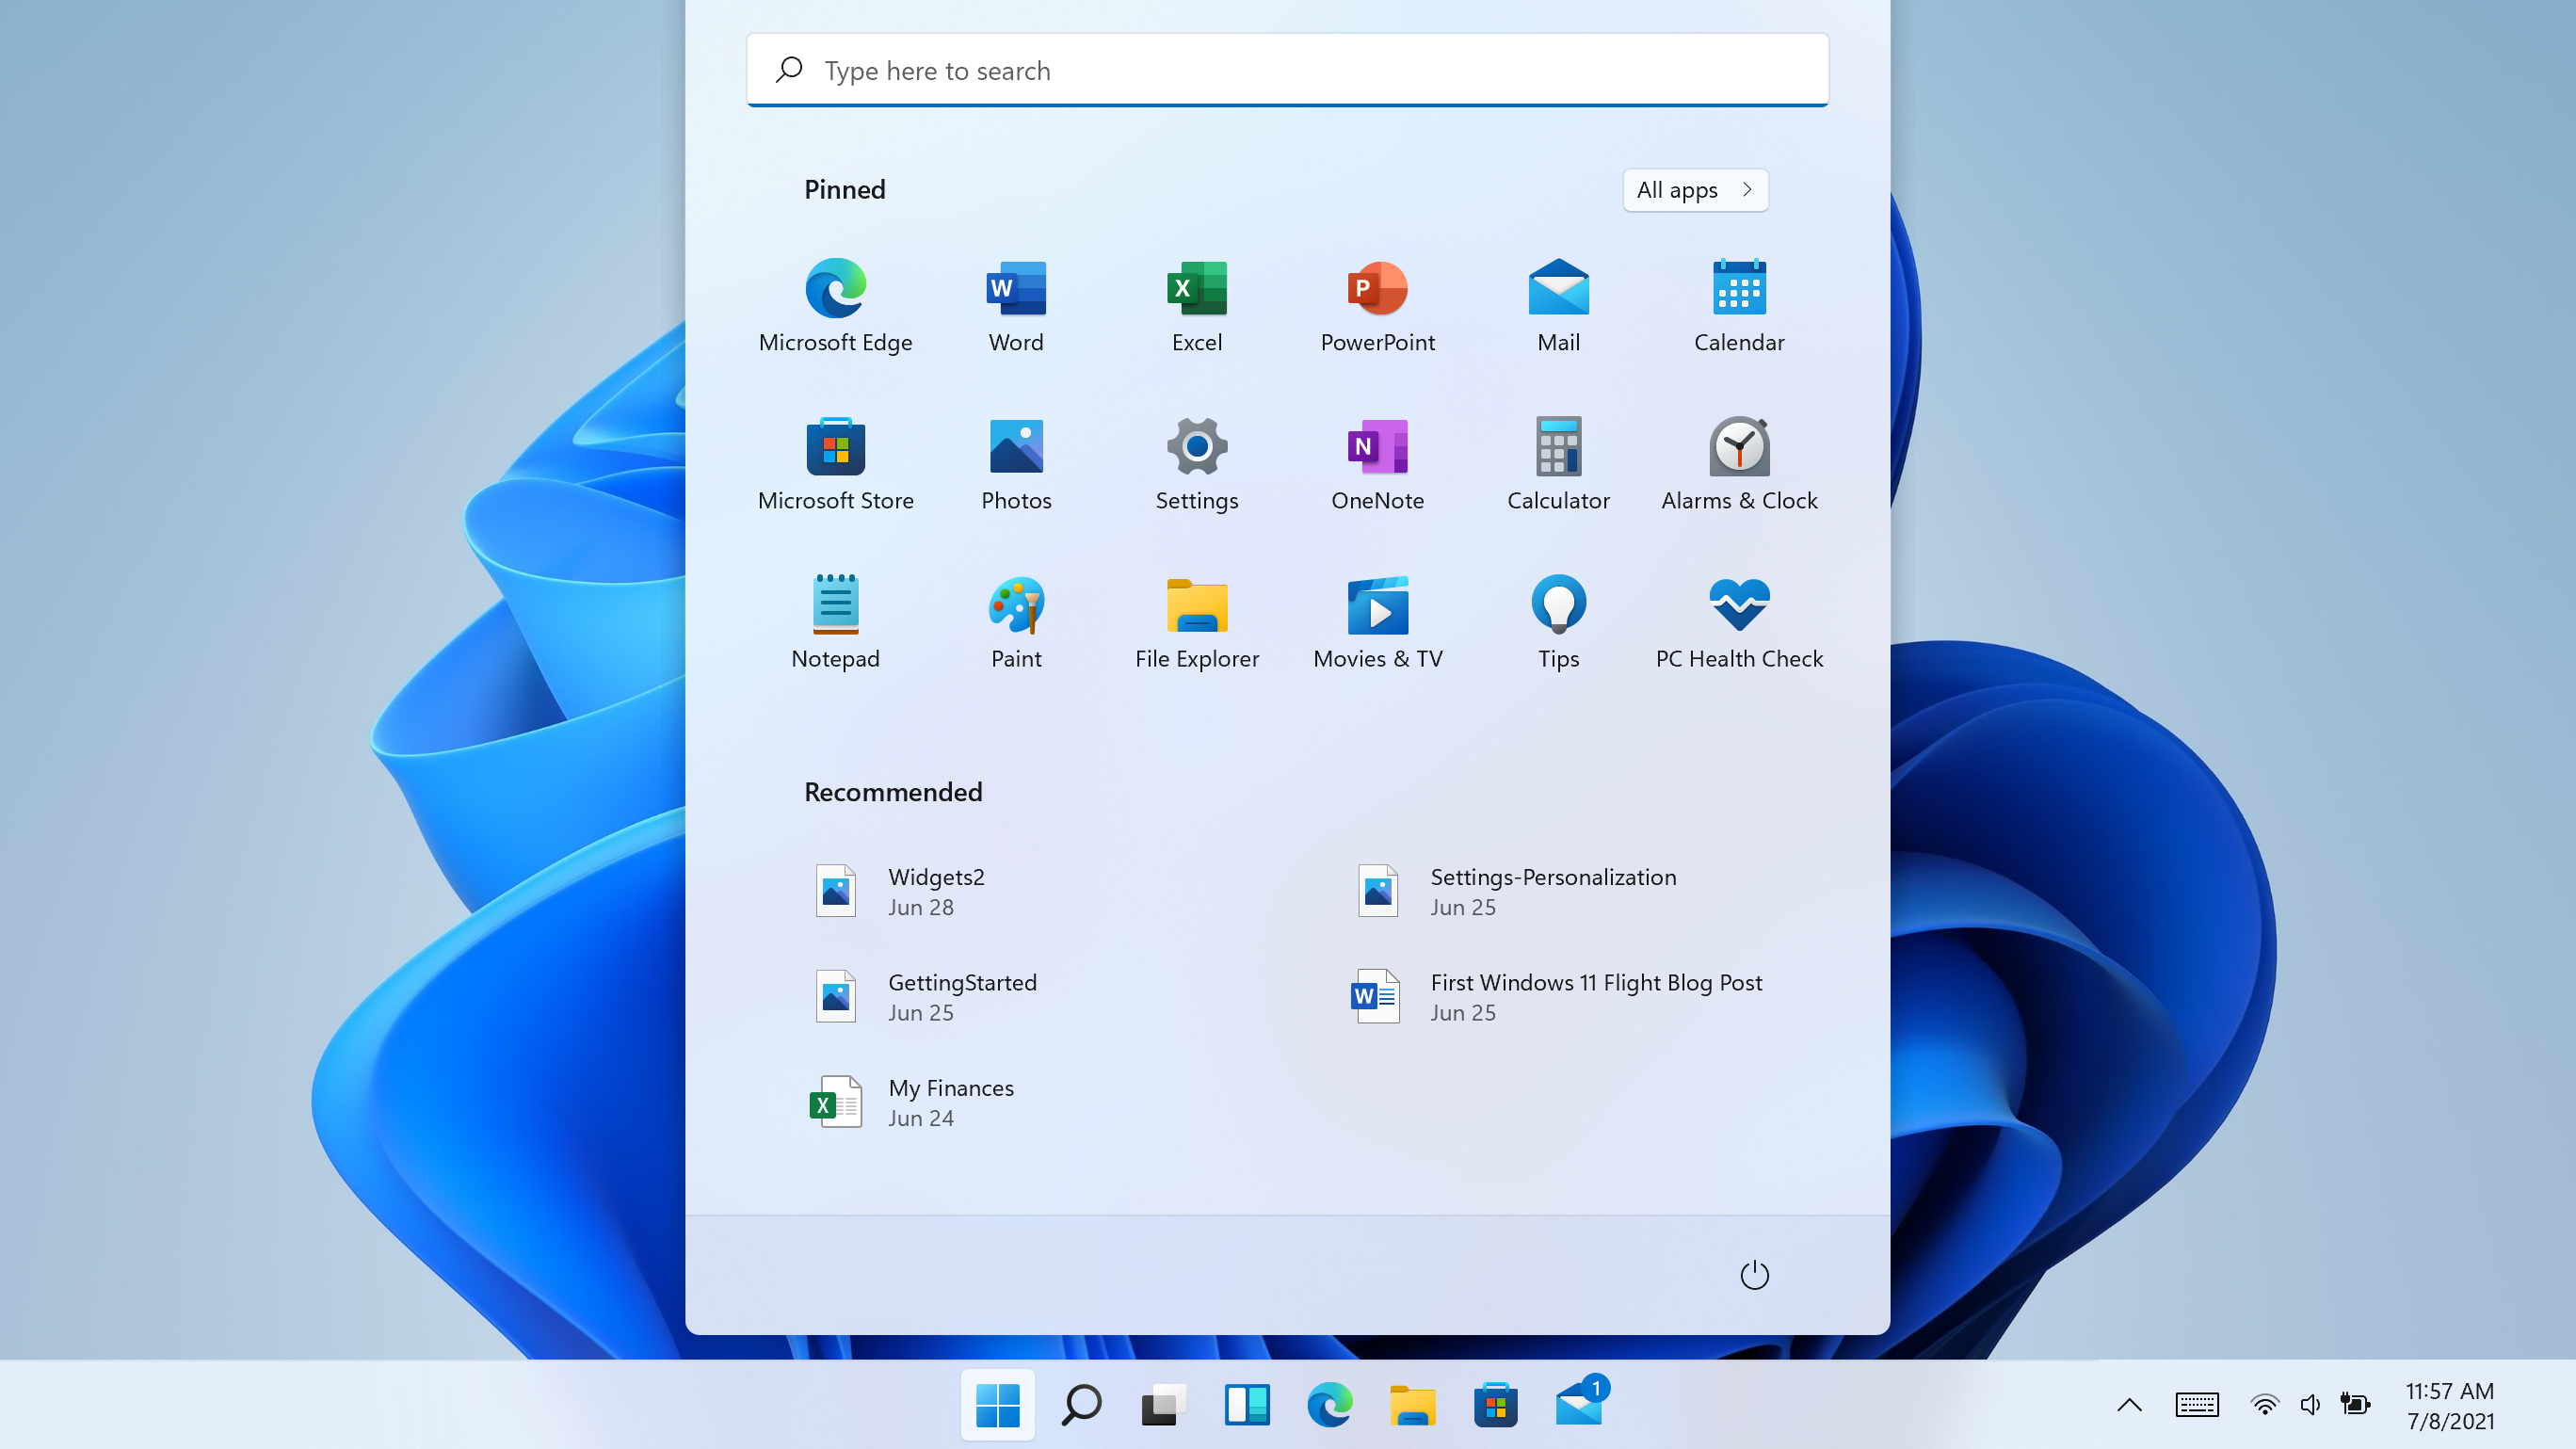 I do not know about you, but I prefer to set my Windows to be more to my liking and not how Microsoft thinks it should be. Let’s face it, not all users feel comfortable whit Microsoft settings and idea how things should be.
One of the things I particularly did not like even in Windows 10 is icons that come by default on my taskbar, now so far, well until the latest Windows 11 update you could remove default taskbar icons the same way as in Windows 10, just right-click on them and unpin, sadly with latest update build on Windows 11 this option has been removed.
In order to remove default icons from the taskbar, one must go now to Windows 11 settings and choose from there which one you would like to be placed on it. Of course, this is nothing game-breaking but it still feels strange why the standard option has been removed, it just makes no sense but lately not many things that come from Microsoft do.
I do not know about you, but I prefer to set my Windows to be more to my liking and not how Microsoft thinks it should be. Let’s face it, not all users feel comfortable whit Microsoft settings and idea how things should be.
One of the things I particularly did not like even in Windows 10 is icons that come by default on my taskbar, now so far, well until the latest Windows 11 update you could remove default taskbar icons the same way as in Windows 10, just right-click on them and unpin, sadly with latest update build on Windows 11 this option has been removed.
In order to remove default icons from the taskbar, one must go now to Windows 11 settings and choose from there which one you would like to be placed on it. Of course, this is nothing game-breaking but it still feels strange why the standard option has been removed, it just makes no sense but lately not many things that come from Microsoft do.