Disabling Windows 10 startup delay

First time when your computer is turned ON and when Windows is booting it will wait 10 seconds before starting your startup applications. This 10 second is used to load all of Windows services so everything is running smoothly. If by any chance you do not want to wait for this startup delay and wish to start applications right away then keep on reading and follow this guide precisely.

This guide will require you to play ad tweak with the registry of Windows, it is always recommended to make a registry backup before attempting any tweaks. Also, it is imperative to follow the guide as it is presented step by step.

be aware that this guide will eliminate a 10-second delay for all of your starting applications, there is no way currently to remove delay for only one or a few.

  1. Press ⊞ WINDOWS + R to open the run dialog
  2. In run dialog type Regedit and press ENTER
  3. Locate HKEY_CURRENT_USER\SOFTWARE\Microsoft\Windows\CurrentVersion\Explorer\Serialize
  4. If the key does not exist, make a new one,  Go to HKEY_CURRENT_USER\SOFTWARE\Microsoft\Windows\CurrentVersion\Explorer\, right-click on the explorer and choose new > key. Name it Serialize
  5. Right-click on Serialize and choose New > DWORD (32-bit) Value
  6. Name the value StartupDelayInMSec
  7. Double click on StartupDelayInMSec and locate Value data
  8. Set the value to 0
  9. Save changes and Exit Registry editor
  10. Reboot

If you want to reverse changes and enable delay again, go back to the Registry Editor and delete the StartupDelayInMSec value.

If you like to learn and find out more about various Windows errors, and how to repair them go to our vast archive or use search to find articles that will explain and help you in solving your issue.
However, if you prefer to do things fast and with automatization then we are proposing to use an automated solution for your issues. The application that we are recommending is Advanced System Repair Pro
Advanced System Repair utilizes multiple tools all in one to give you a quick, simple, reliable, and very thorough diagnosis of your PC. It brings you all the tools you need in one program to clean, fix, protect, optimize and boost your PC!
1-Click Maintenance
All the tools to make it simple and easy! It's like having a professional technician at the click of a mouse.

Junk Cleaner
Keeping your computer free from unnecessary clutter also helps make your computer last longer. Like any other machine, if you keep it clean and take care of it, it will serve you better for longer!

Optimize background apps
Optimize applications background activity with the built-in Application Optimizer feature.

Disk Defrag
With a simple 1-click, Advanced System Repair speeds up your PC by assembling fragmented files on your machine and organizing them more efficiently.

Malware Removal
Finds and removes all types of harmful malware including trojans, worms, bots, adware, spyware, PUPs, and more!

Privacy Cleaner
The all-in-one privacy suite to Clean Your Tracks & Protect Your Privacy! Make your computer safe, secure, and more efficient!

System Tweak/Optimizer
ASR will analyze your complete system and settings to adjust your PC to function at its maximum performance.

Registry Cleaner
Over time, as you install and uninstall applications, the registry can become cluttered with old entries and broken settings which can result in program crashes, and annoying messages and slow the computer down.
Visit our Advanced System Repair Pro Download page to inform yourself about all the benefits of this software and get a free trial copy of it.
advanced system repair pro

Advanced System Repair Pro

One-click automated PC repair solution
ASR logo
With Advanced System Repair Pro you can easily
Replace damaged files
Restore performance
Free disk space
Remove Malware
Protects WEB browser
Remove Viruses
Stop PC freezing
DOWNLOAD
Privacy Policy | Terms of Use | Uinstall
Advanced System Repair Pro is compatible with all versions of Microsoft Windows including Windows 11

Share this article:

You might also like

Fix The driver detected a controller error
One of the worst problems users can encounter on their computers is Blue Screen of Death errors as some of them are quite hard to fix. One of them is the “The driver detected a controller error” Blue Screen error. It could be followed by “DeviceIdeIdeport0 OR”, “on deviceharddisk0dr0”, or “DR3” or the name of the drive or port that’s causing the problem. If you are one of the users who encountered this error, then the suggestions provided in this post would definitely help you in fixing the problem.

Option 1 – Try to disconnect and reconnect all hardware and cables

A lot of users reported that they were able to fix the problem by disconnecting and reconnecting cables and hardware like scanners, printers, cameras can help in fixing the problem. In addition, you can also boot your computer in a Clean Boot State so that you can find the problematic hardware by hit and trial method. Refer to the steps below to do so:
  • Log onto your PC as an administrator.
  • Type in MSConfig in the Start Search to open the System Configuration utility.
  • From there, go to the General tab and click “Selective startup”.
  • Clear the “Load Startup items” check box and make sure that the “Load System Services” and “Use Original boot configuration” options are checked.
  • Next, click the Services tab and select the “Hide All Microsoft Services” check box.
  • Click Disable all.
  • Click on Apply/OK and restart your PC. (This will put your PC into a Clean Boot State. And configure Windows to use the usual startup, just simply undo the changes.)

Option 2 – Update the device drivers

Updating the outdated device drivers in your computer can also help in fixing the problem. To do so, refer to these steps:
  • First, boot your computer into Safe Mode.
  • After that, tap the Win + R keys to launch Run.
  • Type in devmgmt.msc into the box and tap Enter or click OK to open the Device Manager.
  • After that, a list of device drivers will be displayed. From there, look for any outdated device drivers and click on each one of them.
  • After that, right-click on each entry of the device drivers and select the “Uninstall Device” option from the menu.
  • Now restart your computer.
  • After restarting your computer, go to the Settings app and Check for Updates in the Windows Update section.

Option 3 – Try to update the BIOS

Updating the BIOS can help you fix the ATTEMPTED_WRITE_TO_READONLY_MEMORY BSOD error but as you know, BIOS is a sensitive part of a computer. Even though it is a software component, the functioning of the hardware depends on it largely. Thus, you must be careful when modifying something in the BIOS. So if you don’t know much about it, it’s best if you skip on this option and try the other ones instead. However, if you are well-versed in navigating the BIOS, then follow the steps below.
  • Tap the Win + R keys to open the Run dialog box.
  • Next, type “msinfo32” in the field and press Enter to open System Information.
  • From there, you should find a search field on the bottom where you have to search for the BIOS version and then press Enter.
  • After that, you should see the developer and version of the BIOS installed on your PC.
  • Go to your manufacturer’s website and then download the latest version of BIOS on your computer.
  • If you are using a laptop, make sure that you keep it plugged in until you have updated the BIOS.
  • Now double click on the downloaded file and install the new BIOS version on your computer.
  • Now restart your computer to apply the changes made.

Option 4 – Try running the Blue Screen Troubleshooter

You might also want to run the Blue Screen troubleshooter. It is one of the built-in tools in Windows 10 that helps users in fixing system issues including Blue Screen errors. It can be found in the Settings Troubleshooters page. To use it, refer to these steps:
  • Tap the Win + I keys to open the Settings panel.
  • Then go to Update & Security > Troubleshoot.
  • From there, look for the option called “Blue Screen” on your right-hand side and then click the “Run the troubleshooter” button to run the Blue Screen Troubleshooter and then follow the next on-screen options. Note that you might have to boot your PC into Safe Mode.

Option 5 – Try running the Memory Diagnostic Tool

The Memory Diagnostic tool in windows can help resolve the “The driver detected a controller error” Blue Screen error by checking and automatically fixing any memory-based issues. To run it, refer to these steps:
  • Tap the Win + R keys to open Run and type mdsched.exe and hit Enter to open the Windows Memory Diagnostic Tool.
  • After that, it will give two options such as:
    • Restart now and check for problems (Recommended)
    • Check for problems the next time I start my computer
  • Once your computer has restarted, perform a basic scan or you could also go for the “Advanced” options such as “Test mix” or “Pass count”. Simply tap the F10 key to start the test.
Note: After you select your preferred option, your computer will restart and check for memory-based issues. If it finds any issues, it will automatically fix them and if there’s no issue found, then it’s most likely not a memory-based issue so you should try the other options given below.

Option 6 – Replace your motherboard

If your computer is still under warranty, you should consider replacing your computer’s motherboard in case the options given above failed to work in fixing the Blue Screen error.
Read More
How to Fix 0xc000001d Error
[vc_row][vc_column][vc_column_text]

Repair Error 0xc000001d

What Is 0xc000001d Error?

The 0xc000001d error is a common yet critical error that can occur when Windows is damaged or fails to work as a result of either missing system files or corrupt system components. This error can be extremely dangerous to Windows as it can inflict major damage to data and component files.

Error Causes

A 0xc000001d error code can occur because of a number of reasons, of which corrupt registry files are the most common, and about 94% of the time, this results in the error. However, virus infection or an adware or spyware invasion can also result in this error. Outdated drivers and missing DLL files can also be critical and will lead to this error causing major damage to computer files. Contrary to popular belief, incomplete installation and unfinished uninstalls can also because of this error. Other causes include improper shutting down of computers and improper hardware or software deletion.

Solution

Restoro box imageFurther Information and Manual Repair

Because of this 0xc000001d error code, Windows can fail in starting some processes and the system’s performance can significantly slow down. In some cases, Windows has problems starting up and the system can freeze. Lastly, this error code can even result in the Blue screen of death error message, just like other critical Windows errors. If any of the above problems and symptoms occur in your PC, then you should immediately seek to resolve this problem. In order to resolve this 0xc000001d error code or repair the corrupted and damaged Windows files, you will need a 0xc000001d repair tool. There is more than one method of treating this kind of error code, and here is how you can manually do it:
  • Start the computer and log in as administrator
  • Go to the start button and select All Programs. Go to Accessories, System Tools, and then System Restore
  • Click on System Restore and in a new window, select the ‘Restore my computer to an earlier time’ option and click Next
  • On the new confirmation window that appears, click Next
  • Restart your computer after the restoration has been completed
Another way to manually repair this 0xc000001d error code is to:
  • Manually edit the Windows registry
  • Update all the drivers for the device
Congratulations, you have just fixed 0xc000001d Error in Windows 10 all by yourself. If you would like to read more helpful articles and tips about various software and hardware visit errortools.com daily. Now that’s how you fix 0xc000001d Error in Windows 10 on a computer. On the other hand, if your computer is going through some system-related issues that have to get fixed, there is a one-click solution known as Restoro you could check out to resolve them. This program is a useful tool that could repair corrupted registries and optimize your PC’s overall performance. Aside from that, it also cleans out your computer for any junk or corrupted files that help you eliminate any unwanted files from your system. This is basically a solution that’s within your grasp with just a click. It’s easy to use as it is user-friendly. For a complete set of instructions in downloading and using it, refer to the steps below Perform a full system scan using Restoro. To do so, follow the instructions below.
      1. Download and install Restoro from the official site.
      2. Once the installation process is completed, run Restoro to perform a full system scan. restoro application screen
      3. After the scan is completed click the “Start Repair” button. restoro application screen
[/vc_column_text][/vc_column][/vc_row]
Read More
Fix File Explorer stuck on Working on it…
One of the most useful utilities on a Windows 10 computer is the Windows File Explorer. It is undeniably one of the File Managers out there full of features on all the platforms. However, it is not without its issues and one of the most common ones most users encounter is when you are trying to open a folder or a location on File Explorer and it displays a message saying, “Working on it…” as it tries to load the content of that location or folder. This kind of issue mainly occurs to computers that run on an HDD although that doesn’t mean that it can’t happen to other computers that run an SDD. And so if the File Explorer on your Windows 10 computer keeps getting stuck on the “Working on it…” message along with a green animation bar moving very slowly while loading the contents of the folder, then it’s best if you follow the options given below to resolve this problem.

Option 1 – Try deleting the contents of the Automatic Destinations folder

  • Tap the Win + R keys on your keyboard to open the Run utility.
  • And then type “%AppData%MicrosoftWindowsRecentAutomaticDestinations” and hit Enter to open this location.
  • From there, select all the files and tap the Shift + Delete key combination.
  • After that, you will get a prompt that will ask you if you want to delete all the files permanently, just click on Yes. This will delete all the Quick Access cache.
  • Now check if you can now open a folder or a location without the “Working on it…” message.

Option 2 – Try to rebuild the Search Index

  • First, open the Indexing Options using the Search bar.
  • Next, click on the appropriate listing, e.g. Users folder.
  • After that, click on the Advanced button. This will open a mini-sized window and from there, go to the Index Settings tab.
  • Then click on the “Rebuild” option under the Troubleshooting section.
  • Now click on OK after the rebuilding is completed. This should rebuild the search index for all the files and thus, fix the File Explorer stuck on the “Working on it…” message.

Option 3 – Try to optimize the folder for General Items

You might also want to try optimizing the folder for General Items as it can help the File Explorer to load the contents faster.
  • Just right click on the folder that takes time to load the contents in it and is showing the “Working on it…” message.
  • After that, click on Properties to open the Properties mini window.
  • From there, go to the Customize tab and click on the drop-down menu to “Optimize this folder for” under the “What kind of folder do you want?” section and then select General Items.
  • Then check the checkbox with a label that says, “Also apply this template to all subfolders” and click on the OK button to save the changes.
  • Restart File Explorer and check if the problem is now fixed or not.

Option 4 – Try performing a System Restore

Running System Restore can also help you resolve whatever issue that’s causing the “Working on it…” message. You can do this option either by booting into Safe Mode or in System Restore. If you are already in the Advanced Startup Options, just directly select System Restore and proceed with the next steps. And if you have just booted your PC into Safe Mode, refer to the steps below.
  • Tap the Win + R keys to open the Run dialog box.
  • After that, type in “sysdm.cpl” in the field and tap Enter.
  • Next, go to the System Protection tab then click the System Restore button. This will open a new window where you have to select your preferred System Restore point.
  • After that, follow the on-screen instructions to finish the process and then restart your computer and check if the problem is fixed or not.
Read More
Software review series: Adobe Photoshop
From photo editing and compositing to digital painting, animation, and graphic design you can do it all in Photoshop. Bring ideas to life across desktop and iPad. Magically transform images with the power of AI. Learn new skills and share your projects via Livestream. Started as a photo editing application, photoshop has surpassed the original ideas and designs in the following years growing with each release and including more tools and flexibility not matched in other applications. Photoshop was the first to introduce many new features and set standards for other applications. How years have passed product grew and innovation was pushed forward, it took some time but eventually, photoshop was able to set itself as the industry-standard application for pixel editing and it holds that position even today. Throughout the world artist all over the globe are using it to create digital art in various fields be that illustrations, film, photography, texturing, etc. Its vast majority of tools and possibilities as well as its extensibility with plugins, actions, brushes have cemented it in the highest place in any designer or artist toolkit. Today you can get it as a part of a creative suite for a monthly fee on the official adobe website and even if you do not need other creative suite applications photoshop is worth the fee alone. Simply you have to try it, learn it, and then harvest its power. If you would like to read more helpful articles and tips about various software and hardware visit errortools.com daily.
Read More
Setting a Static IP Address in Windows 10
If you are having issues with your network connection and you have it configured to DHCP, then you shouldn’t have any issues in figuring your IP address out. If you want to prevent conflicts between network devices and enable their easy management, then you have to set a static IP address in your Windows 10 computer, worry not for this post will show you how it’s done. The IP addresses for computers are usually configured to the Dynamic Host Configuration Protocol or DHCP automatically by the respective router. This is really convenient since the devices instantly connect to your network and through this, you can save yourself the trouble of configuring the IP address for each new device manually. However, there’s a shortfall in the process – the computer’s IP address can change every now and then. Moreover, you might also find it a lot easier to share a printer or configure a Port forwarding when you set a static IP address. There are three ways to do it – you can set it via Control Panel or Windows Settings or using Windows PowerShell. For more details, follow the options provided below.

Option 1 – Set a static IP address via Control Panel

  • Right-click on the network or Wi-Fi icon located in the Taskbar.
  • Then select the “Open Network and Internet settings” option from the given list of options.
  • Next, go to Wi-Fi settings and scroll down until you see the “Related Settings” section. Here, click on the “Change adapter options” link which will open a new window that will direct you to the Network Connections section of the Control Panel.
  • After that, right-click on the network connection you want to set a static IP address for and then select the Properties option.
  • Then select Internet Protocol Version 4 (TCP/IPv4) under the Networking tab and click the Properties button.
  • Now switch the selector to the “Use the following IP address” option and make the entry for the following fields that correspond to your network setup.
    • IP address (Find it using the “ipconfig /all” command)
    • Subnet Mask (On a home network, it is 255.255.255.0)
    • Default Gateway (It is your router’s IP address.)
  • Then check the “Validate settings upon exit” option to help Windows check your new IP address quickly as well as the other relevant information to make sure that it’s working.
  • Once you’re done, click the OK button and close the network adapter’s properties window.

Option 2 – Assign Static IP address using Settings

  • First, click on the gear icon for Settings and select the Network & Internet tab.
  • Next, select Wi-Fi > Current connection where you’ll have to select the network connection your computer is connected to.
  • After that, scroll down until you reach the IP settings section and then click the Edit button.
  • Now click the drop-down arrow when the IP settings window pops up and select the Manual option.
  • Now turn on the IPv4 toggle switch and set the static IP address. You also have to set the Subnet prefix length (subnet mask). For instance, if your subnet mask is “255.255.255.0”, then the subnet prefix length in bits should be 24.
  • Afterward, configure the Default Gateway address and the Preferred DNS address and then save the changes you’ve made.

Option 3 – Assign the static IP address using Windows PowerShell

  • In the Start Search, type “PowerShell” and right-click on Windows PowerShell from the search results to open PowerShell with admin privileges.
  • After that, enter this command to view your computer’s current network configuration: Get-NetIPConfiguration
  • Next, take note of the following information:
    • InterfaceIndex
    • IPv4Address
    • IPv4DefaultGateway
    • DNSServer
  • Once you’re done, execute this command to set a static IP address: New-NetIPAddress -InterfaceIndex 15 -IPAddress 192.168.29.34 -PrefixLength 24 -DefaultGateway 192.168.29.1
  • Afterward, change the default gateway with the default gateway address of your network and make sure that you change the InterfaceIndex number with the one that corresponds to your adapter and IPAddress with the IP address you want to assign to your computer.
  • Now execute this command to assign a DNS server address: Set-DnsClientServerAddress -InterfaceIndex 4 -ServerAddresses 10.1.2.1
  • Finally, save the changes you’ve made and restart your computer.
Read More
Fix Call of Duty 4 crashes in Windows 10
Call of Duty is a fun and good game, a great time killer with a squad of friends, however sometimes the game crashes, and fun is interrupted. In this guide, we will address and solve this unpleasant issue.
  1. Scan game files

    inside launcher choose options and under them, choose scan and repair game files This process can take 5-30 minutes, as the game is 60GB large. This will look through all your game files and make sure they’re all valid and that none are corrupted, which may cause crashes. When it’s complete, you’ll get a notification that the game is now playable. Try again and see if your crashes continue.
  2. Update drivers

    Keeping drivers updated is crucial for the game to run smoothly, GPU drivers are possibly important. Go to your GPU manufacturer's website and get the latest drivers.
  3. Lower graphic settings

    Intensive graphic requirements can overload GPU and cause crashes, try lowering details in-game and see if this will fix the issue.
  4. Disable overlays

    If you’re using a program like Discordthat has an overlay, you’ll want to disable it as it may be causing the graphic error
Read More
Fix Windows Update error 0xC1900209
What is Windows Update Error 0xC1900209? Before you can install any updates on your Windows 10 computer, there are a lot of conditions that have to be fulfilled and one of these conditions is software compatibility. It is one of the important factors in installing Windows Updates. So if one of the software in your computer is not compatible with the new Windows Update for your OS, then the Windows 10 setup will not proceed and will block the installation of the new update. This both applies to the cumulative updates and feature updates. In such cases, you will get the following error message when you run Windows Update:
“0xC1900209, Incompatible software is blocking the upgrade process. Uninstall the application and try the upgrade again.”
This error message comes under the umbrella of the Windows 10 pre-upgrade validation using Setup.exe. And for you to identify the incompatible app, you need to grab a Windows 10 install image using the Windows Media Creation tool to download the suitable Windows 10 version and mount it. After that, execute the setup.exe file that’s located in the root folder of the Windows 10 install image. Once you execute the setup file, the upgrade wizard will give you a list of incompatible apps. Once you have determined which software is not compatible with the Windows Update, there are two options you can try to resolve the Windows Update error 0xC1900209 – you can either try to update the conflicting software or uninstall it. For more details, follow the given options below.

Option 1 – Try to update the conflicting software

If you are using an older version of the software that’s in conflict with the Windows Update, you might want to update it to its latest version and then try to apply the updates again to your Windows 10 computer. You can update the concerned software by visiting the official website of the software or any of its distribution sources. On the other hand, you can also use the Check for updates feature of that particular software if it’s available.

Option 2 – Try to uninstall the conflicting software

If updating the problematic program didn’t work, the next option you can try is to uninstall it. All you have to do is follow these steps to uninstall it successfully:
  • Tap the Win + R keys to open the Run dialog box.
  • Then type “appwiz.cpl” in the field and tap Enter to open the Programs and Features in Control Panel.
  • Next, arrange the list of installed programs in the order of the installation date.
  • After that, look for the problematic program and right-click on it, and then select Uninstall.
  • Once the uninstallation process is done, restart your computer and see if the Windows Update error 0xC1900209 is fixed or not.
Read More
Transferring characters in diablo 2 remake
Diablo 2 resurrected has hit official release and servers seem to be finally taken care of and everything seems to be running smoothly now. The game also received great praise from gamers and attracted old players of the original Diablo 2 game. diablo 2 gameplay
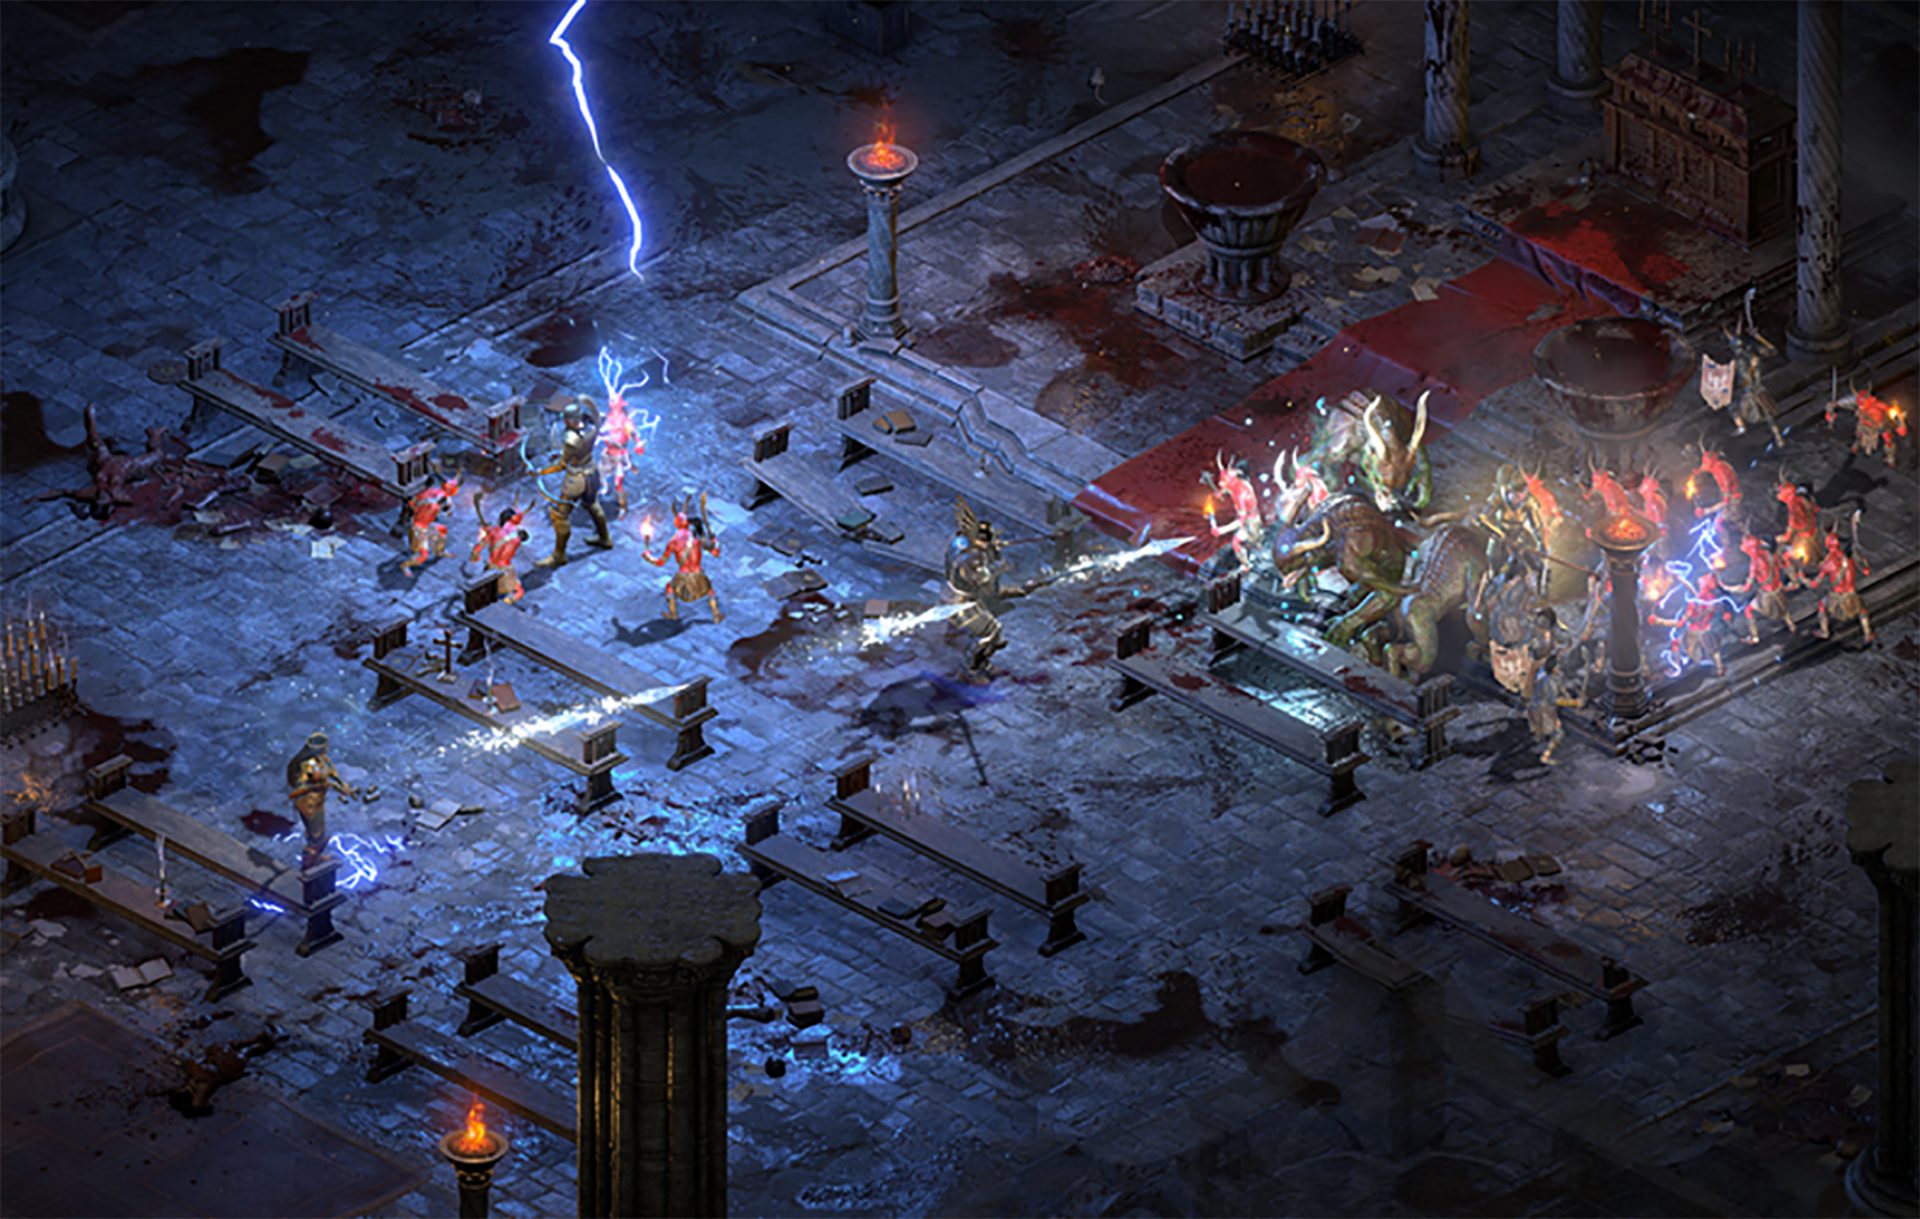
Speaking of old players of old Diablo 2, they can transfer their old characters into remaster and continue playing them within this new great HD environment. There are some steps and requirements but we are here to help and transferred characters will bring full stash, inventory, and equipped items with them.

Requirements

There are not many requirements for this transfer to occur but they must be respected in order to be successful. The first thing is a minor requirement and somewhat annoying but it needs to be done, firstly fire up Diablo 2 resurrected and create a character, any kind of character with any kind of name, any kind of class. This strange requirement is to actually create a character folder and register it inside D2 resurrected so we can copy old ones there. The second requirement will be that characters that you wish to be transferred must be offline characters. Old battle net online characters cannot be transferred at this moment and probably will not be in the future as well. So for all of you that wish to transfer online characters, bad luck, for the rest of us casuals playing offline single-player mode, we can enjoy our characters.

Process of diablo 2 character trasfer

The process itself of transferring characters when previously mentioned requirements are met is just a simple and copy operation. If you have somewhere backed your characters go into your backup folder and copy files in c:\users\*current user*\saved games\*diablo 2 resurrected folder* If you do not have characters backed up and just have old Diablo 2 installed and playing it, you can go to c:\users\*current user*\saved games\*diablo 2 folder* and just copy all characters files into c:\users\*current user*\saved games\*diablo 2 resurrected folder* Your old characters end with .d2s extension, grab all that you want to transfer, and copy them into D2R. Take note that copied characters cannot be brought back into Diablo 2, once they are copied into Diablo 2 resurrected all further progress on them will be tied to the new game.

Conclusion

That’s it about the transfer process and requirements for it. Fire up the new game version and enjoy.
Read More
Fix microphone not working in Windows 10
The microphone has become from exclusive niche hardware to everyday requirements. In today's world when we live in a pandemic most of the work has shifted from office to home where people need working computers with microphones, working microphones. So what do we do when the microphone stops working? Keep reading on to find out and hopefully, we will fix this as fast as possible.

Check Microphone Privacy Settings

In 2019, Microsoft introduced new privacy features to Windows that give you more granular control over which apps are accessing your microphone. The side effect of this is that certain apps may be blocked from using your microphone without you even knowing. To find out if this is the issue, go to Settings > Privacy > Microphone. Click Change and make sure the slider is set to On. This will broadly mean that the mic is now enabled on your PC.
Next, make sure the slider under Allow apps to access your microphone is set to On, then look through the list of Microsoft Store apps to make sure the apps you want to use are selected.
You’re likely to be using many apps, not from the Microsoft Store, so to make sure these are enabled, scroll down even further and set the Allow desktop apps … slider to On.

Check Microphone Driver

The outdated or corrupted driver could be the issue for the microphone not working in Windows 10. To check the driver status, follow these steps:
  1. In your Start menu search for Device Manager
  2. In the device manager window search for sound and expand it.
  3. Once expanded, you should see your audio drivers. Note that the names of these will vary depending on the manufacturer.
  4. On Audio, right-click, and select properties. On the General tab, check to see if the device is working properly.
  5. If it is not working properly, click on the driver tab and select the update option.
  6. Repeat for the other audio drivers.
  7. Restart the computer.

Check the Sounds setting

  1. In the taskbar, right-click on the speaker icon at the far-right corner and select the sound option.
  2. On the Recording tab, click on the microphone and select the Properties option.
  3. Select the levels tabs and increase the volume for both microphone and microphone boost.
  4. Go to the Enhancement tab of the same pop-up and make sure that the immediate mode checkbox is checked.
  5. Click Ok and restart the computer.

The sound troubleshooter

  1. Right-click on the sound icon at the far-right corner of the taskbar and select troubleshoot sound problems.
  2. The computer will detect any fault that exists with your audio and recommend fixes for you. You just need to read through the prompts and click the options that you think will work for you.

Try microphone on another computer

If previous steps have not produced results, try the microphone on another computer, if it is not working there then it is a hardware malfunction
Read More
Fix Windows Update Install Error 0x80070020
Getting a few errors here and there when updating your Windows 10 computer is not uncommon. Some of these errors won’t allow the Windows Update service to initiate while the other ones will halt the process while it’s running. So in this post, we’ll show you what you can do to fix the Windows Update error 0x80070020. The Windows Update error 0x80070020 is most likely caused by some programs installed in the system which interferes with the Windows Update process. It might be an antivirus program, an incompatible program, a potentially unwanted program, or worse, malware. In addition, corrupted or missing files might also be the culprit. Whichever the cause may be, here are some suggestions you need to check out to resolve the problem.

Option 1 – Try to reset the Windows Update components manually

  • To manually reset the Windows Update components, first, you need to stop the Background Intelligent Transfer Service, Windows Update, and the Cryptographic Services. To do so, run the following command in Command Prompt and make sure to press Enter after you enter each one of them:
    • net stop bits
    • net stop wuauserv
    • net stop cryptsvc
  • Next, delete the “qmgr*.dat” file in order to reset the Windows Update components. To do delete this file, run the following command in Command Prompt:
    • Del “%ALLUSERSPROFILE%Application DataMicrosoftNetworkDownloaderqmgr*.dat
  • Now you have to rename both the SoftwareDistribution and Catroot2 folders by entering the following command in Command Prompt:
    • Ren %systemroot%SoftwareDistributionSoftwareDistribution.bak
    • Ren %systemroot%system32catroot2catroot2.bak
  • Reset BITS and Windows Update service by entering the following commands in Command Prompt:
    • sc.exe sdset bits D:(A;;CCLCSWRPWPDTLOCRRC;;;SY)(A;;CCDCLCSWRPWPDTLOCRSDRCWDWO;;;BA)(A;;CCLCSWLOCRRC;;;AU)(A;;CCLCSWRPWPDTLOCRRC;;;PU)
    • sc.exe sdset wuauserv D:(A;;CCLCSWRPWPDTLOCRRC;;;SY)(A;;CCDCLCSWRPWPDTLOCRSDRCWDWO;;;BA)(A;;CCLCSWLOCRRC;;;AU)(A;;CCLCSWRPWPDTLOCRRC;;;PU)
  • Now enter the following command:
  • cd /d %windir%system32
  • RE-register BITS and other Windows Update related files by typing each one of the following commands:
    • regsvr32.exe atl.dll
    • regsvr32.exe urlmon.dll
    • regsvr32.exe mshtml.dll
    • regsvr32.exe shdocvw.dll
    • regsvr32.exe browseui.dll
    • regsvr32.exe jscript.dll
    • regsvr32.exe vbscript.dll
    • regsvr32.exe scrrun.dll
    • regsvr32.exe msxml.dll
    • regsvr32.exe msxml3.dll
    • regsvr32.exe msxml6.dll
    • regsvr32.exe actxprxy.dll
    • regsvr32.exe softpub.dll
    • regsvr32.exe wintrust.dll
    • regsvr32.exe dssenh.dll
    • regsvr32.exe rsaenh.dll
    • regsvr32.exe gpkcsp.dll
    • regsvr32.exe sccbase.dll
    • regsvr32.exe slbcsp.dll
    • regsvr32.exe cryptdlg.dll
    • regsvr32.exe oleaut32.dll
    • regsvr32.exe ole32.dll
    • regsvr32.exe shell32.dll
    • regsvr32.exe initpki.dll
    • regsvr32.exe wuapi.dll
    • regsvr32.exe wuaueng.dll
    • regsvr32.exe wuaueng1.dll
    • regsvr32.exe wucltui.dll
    • regsvr32.exe wups.dll
    • regsvr32.exe wups2.dll
    • regsvr32.exe wuweb.dll
    • regsvr32.exe qmgr.dll
    • regsvr32.exe qmgrprxy.dll
    • regsvr32.exe wucltux.dll
    • regsvr32.exe muweb.dll
    • regsvr32.exe wuwebv.dll
  • Now type each one of those commands below.
    • net start bits
    • net start wuauserv
    • net start cryptsvc

Option 2 – Install the updates in a Clean Boot State

You might want to try putting your computer in a Clean Boot state and then install Windows Updates again without any trouble. During this state, you can start the system with a minimum number of drivers and startup programs that will surely help you in isolating the root cause of the issue.
  • Log onto your PC as an administrator.
  • Type in msconfig in the Start Search to open the System Configuration utility.
  • From there, go to the General tab and click “Selective startup”.
  • Clear the “Load Startup items” check box and make sure that the “Load System Services” and “Use Original boot configuration” options are checked.
  • Next, click the Services tab and select the “Hide All Microsoft Services” check box.
  • Click Disable all.
  • Click on Apply/OK and restart your PC. (This will put your PC into a Clean Boot State. And configure Windows to use the usual startup, just simply undo the changes.)
  • After that, try to install the Windows Updates or upgrade again.

Option 3 – Clear the contents of both the SoftwareDistribution and Catroot2 folders

  • Open the WinX Menu.
  • From there, open Command Prompt as admin.
  • Then type in the following command – don’t forget to hit Enter right after typing each one of them.
net stop wuauserv net stop bits
  • After entering these commands, it will stop the Windows Update Service and the Background Intelligent Transfer Service.
  • Next, go to the C:/Windows/SoftwareDistribution folder and get rid of all the folders and files thereby tapping the Ctrl + A keys to select them all and then click on Delete. Note that if the files are in use, you won’t be able to delete them.
  • Once all the contents in the Software Distribution folder are deleted, restart your PC and then go back to Command Prompt and input the following commands again.
net start wuauserv net start bits
 Since the folder has already been flushed, it will be populated afresh the instant your restart your computer and open Windows Update.

Option 4 – Try to run the Windows Update Troubleshooter

Running the built-in Windows Update troubleshooter could also help you resolve the Windows Update error 0x80070020. To run it, go to Settings and then select Troubleshoot from the options. From there, click on Windows Update and then click the “Run the troubleshooter” button. After that, follow the next on-screen instructions and you should be good to go.

Option 5 – Try restarting the Windows Update Services

  • Open the Services Manager.
From there, make sure that you set the following services and Startup types:
  • Background Intelligent Transfer Service: Manual
  • Cryptographic Service: Automatic
  • Windows Update Service: Manual (Triggered)
Read More
1 2 3 162
Logo
Copyright © 2022, ErrorTools. All Rights Reserved
Trademarks: Microsoft Windows logos are registered trademarks of Microsoft. Disclaimer: ErrorTools.com is not affiliated with Microsoft, nor claim direct affiliation.
The information on this page is provided for information purposes only.
DMCA.com Protection Status