Disable Speech Recognition feature in Windows

Speech Recognition is a technology used to control computers using voice commands. Through this feature, you can say commands that your computer will respond to, and aside from that, you can also dictate text to your computer which eliminates the need to type words in any word processing program or text editor. All in all, the Speech Recognition feature allows you to communicate with your computer and improves your computer’s ability to understand your own voice better as well as improve its diction accuracy. However, before you can improve its accuracy, you need to “train the feature” first. And if so far you are not satisfied with its performance, you actually have the option to disable it. So in this post, you will be guided on how you can disable the Speech Recognition feature in Windows 10 v1809.

To disable Speech Recognition on your computer, follow the steps below.

Step 1: Go to Settings > Ease of Access.

Step 2: From there, go to Speech.

Step 3: Now switch off the toggle button for Speech Recognition to disable this feature.

On the other hand, you can also disable the Online Speech Recognition feature if you really don’t want to have anything to do with it. You have two options to do that – you can either do it using Settings or using the Registry Editor.

Disable Online Speech Recognition feature via Settings:

  • Click on the Start button and select Settings.
  • Next, go to the Privacy section and click on the Speech option located at the right pane.
  • Then switch the toggle button off to turn off the Online Speech Recognition feature.

Note: Speech services exist on your computer and even in the cloud since Microsoft collects essential information from these services in order to enhance user experience and if you want to stop this, you have to turn off the “Getting to know you” option under the “Inking and typing Personalization” section.

Disable Online Speech Recognition feature via Registry Editor:

Before you proceed, you need to create a System Restore Point first.

  • Tap the Win + R keys to open the Run dialog box.
  • Then type “Regedit” in the field and hit Enter to open the Registry Editor.
  • Next, navigate to the following registry path:

HKEY_CURRENT_USERSoftwareMicrosoftSpeech_OneCoreSettingsOnlineSpeechPrivacy

  • After that, check the default value of the “HasAccepted” key located in the right pane. As you can see its value is set to “1” which means that the Speech Recognition feature is enabled. And so to change it, you have to set “0” as its new value to permanently disable the feature.
  • Just double click on the key and change the value from “1” to “0”. Keep in mind that even if you are using a 64-bit Windows 10 computer, you still have to create a 32-bit DWORD value.
  • After that, restart your computer to apply the changes made.
If you like to learn and find out more about various Windows errors, and how to repair them go to our vast archive or use search to find articles that will explain and help you in solving your issue.
However, if you prefer to do things fast and with automatization then we are proposing to use an automated solution for your issues. The application that we are recommending is Advanced System Repair Pro
Advanced System Repair utilizes multiple tools all in one to give you a quick, simple, reliable, and very thorough diagnosis of your PC. It brings you all the tools you need in one program to clean, fix, protect, optimize and boost your PC!
1-Click Maintenance
All the tools to make it simple and easy! It's like having a professional technician at the click of a mouse.

Junk Cleaner
Keeping your computer free from unnecessary clutter also helps make your computer last longer. Like any other machine, if you keep it clean and take care of it, it will serve you better for longer!

Optimize background apps
Optimize applications background activity with the built-in Application Optimizer feature.

Disk Defrag
With a simple 1-click, Advanced System Repair speeds up your PC by assembling fragmented files on your machine and organizing them more efficiently.

Malware Removal
Finds and removes all types of harmful malware including trojans, worms, bots, adware, spyware, PUPs, and more!

Privacy Cleaner
The all-in-one privacy suite to Clean Your Tracks & Protect Your Privacy! Make your computer safe, secure, and more efficient!

System Tweak/Optimizer
ASR will analyze your complete system and settings to adjust your PC to function at its maximum performance.

Registry Cleaner
Over time, as you install and uninstall applications, the registry can become cluttered with old entries and broken settings which can result in program crashes, and annoying messages and slow the computer down.
Visit our Advanced System Repair Pro Download page to inform yourself about all the benefits of this software and get a free trial copy of it.
advanced system repair pro

Advanced System Repair Pro

One-click automated PC repair solution
ASR logo
With Advanced System Repair Pro you can easily
Replace damaged files
Restore performance
Free disk space
Remove Malware
Protects WEB browser
Remove Viruses
Stop PC freezing
DOWNLOAD
Privacy Policy | Terms of Use | Uinstall
Advanced System Repair Pro is compatible with all versions of Microsoft Windows including Windows 11

Share this article:

You might also like

Creating custom Keyboard shortcuts in Windows
Keyboard shortcuts are undeniably one of the most utilized ways and are helpful in maximizing productivity through the various applications at top speed in Windows 10. It offers the option to create custom keyboard shortcuts that allow users to launch apps, and even websites, instantly. There are already tons of keyboard shortcuts that are built-in in Windows 10 but in case you don’t know, you can actually create new ones. Doing so is not a difficult task and in this post, you will be guided on how you can exactly create custom keyboard shortcuts in your Windows 10 computer. Most users would create desktop shortcuts or pin the apps in the taskbar to speed up the process of working on their computers. It is an easy task to do since you can easily do it by dragging an app from the Start Menu to the desktop or by simply right-clicking on the executable app and selecting the “Create Shortcut” option. However, doing so would take physical effort and there are times when you have to minimize all the apps to get to the desktop so you can click the shortcut and this is where the Custom Keyboard Shortcuts come in handy. You can create Custom Keyboard Shortcuts in Windows 10 for various programs – from the traditional desktop apps to the new universal apps – you can fling in a shortcut so that you can instantly open them faster compared to when doing it manually and besides this also wouldn’t affect any of the ongoing system activity. To get started, you need to follow the steps provided below carefully.

To add Custom Keyboard hotkeys to a program and website desktop shortcuts, here’s what you have to do:

Step 1: First, you have to right-click on the app or website and select Properties. Step 2: After that, go to the Shortcut tab and from there, you will see the “Shortcut key” textbox which allows you to enter a new or custom keyboard shortcut for the app or website. Step 3: In the textbox field, input your preferred letters to set up the new hotkey. Keep in mind that this custom shortcut has to be combined with the Ctrl + Alt keys which means that if you want to select “N”, you have to tap the Ctrl + Alt + N keys. Step 4: Once done, click on the Apply and OK buttons to save the changes made and then close the window. Step 5: After that, tap the newly created keyboard shortcut, Ctrl + Alt + N keys again to open the app or website you’ve set up earlier.

To add Custom Keyboard hotkeys to a desktop app or an independent program that can be installed using direct download, here’s what you have to do:

Step 1: First, open the Start Menu and look for the icon/tile of the required app in the menu. However, if you are not able to find the desired app, then just click on the All Apps option to navigate through all the apps that are installed on your PC. Step 2: Once you find the app, just right-click on it and select More and then click on the “Open file location” option. Step 3: This will open a new window with the shortcut icon. Right-click on the app’s shortcut icon and select Properties. Step 4: This will open the Properties window where you can add the shortcut combination. Keep in mind that just like the previous method, the custom shortcut has to be combined with the Ctrl + Alt keys. For instance, if you select E, then you also have to set a keyboard shortcut that includes Ctrl + Alt, so it will be, Ctrl + Alt + E. Step 5: Once you’re done, click on the Apply and OK buttons to save the changes made. You should now be able to use the custom shortcut key you’ve set.
Read More
Uninstalling the Weather App in Windows
Windows 10 has a pre-installed Weather app that offers the local weather information, forecast, temperature gradient, historical data, multiple locations, and many more. It can be handy especially if you tend to check on the weather. However, if you are one of those users who barely use this app, you have the option to uninstall it from your computer and that’s exactly what we’re going to do in this post. There are several methods to uninstall the Weather app in Windows 10. You can uninstall it via Settings or Start Menu or even using a command in Windows PowerShell. Note that uninstalling the Weather app does not affect the functionality of your Windows 10 computer by any means so you shouldn’t worry about uninstalling it. To get started, follow the instructions provided below.

Option 1 – Uninstall the Weather app through Settings

The first option you can try to uninstall the Weather app is through Settings. It’s a very simple process so you wouldn’t have any trouble following it.
  • First, click on the Start menu and go to Settings.
  • From there, select System > Apps & Features.
  • After that, wait until the list of apps is opened, and then look for the Weather app and click on it.
  • Next, click on Uninstall in the given menu to uninstall the Weather app from your computer.

Option 2 – Uninstall the Weather app through the Start Menu

Another simple way to uninstall the Weather app is through the Start Menu. It only takes a right click and there are actually two ways to go about this – one is new with the recent feature update of Windows. How? Refer to these steps:
  • Click on the Start button and type in “weather” and right-click on the Weather app which appears in the list.
  • Next, click on the Uninstall option. This will uninstall the Weather app.
  • You can also use the other uninstall option which you can find on the right side of the list that also shows other quick action for the app.

Option 3 – Uninstall the Weather app through a command in Windows PowerShell

  • Tap the Win + X key combination and click on the “Windows PowerShell (Admin)” option to open PowerShell with admin privileges.
  • After that, execute the following Remove App package command for the Weather app to uninstall it.
Get-AppxPackage Microsoft.BingWeather | Remove-AppxPackage
  • Once done, it will remove the Weather app from your computer.
Read More
KFConsole enters the console competition
Yes, you read that right, KFC is making a console partnered with Cooler Master. Bizzare at it sounds, it is even more bizarre that the console is designed to keep your food warm!!! You can pull out the drawer from the console out on its top and place some food there in order to keep it warm. kfconsole drawer
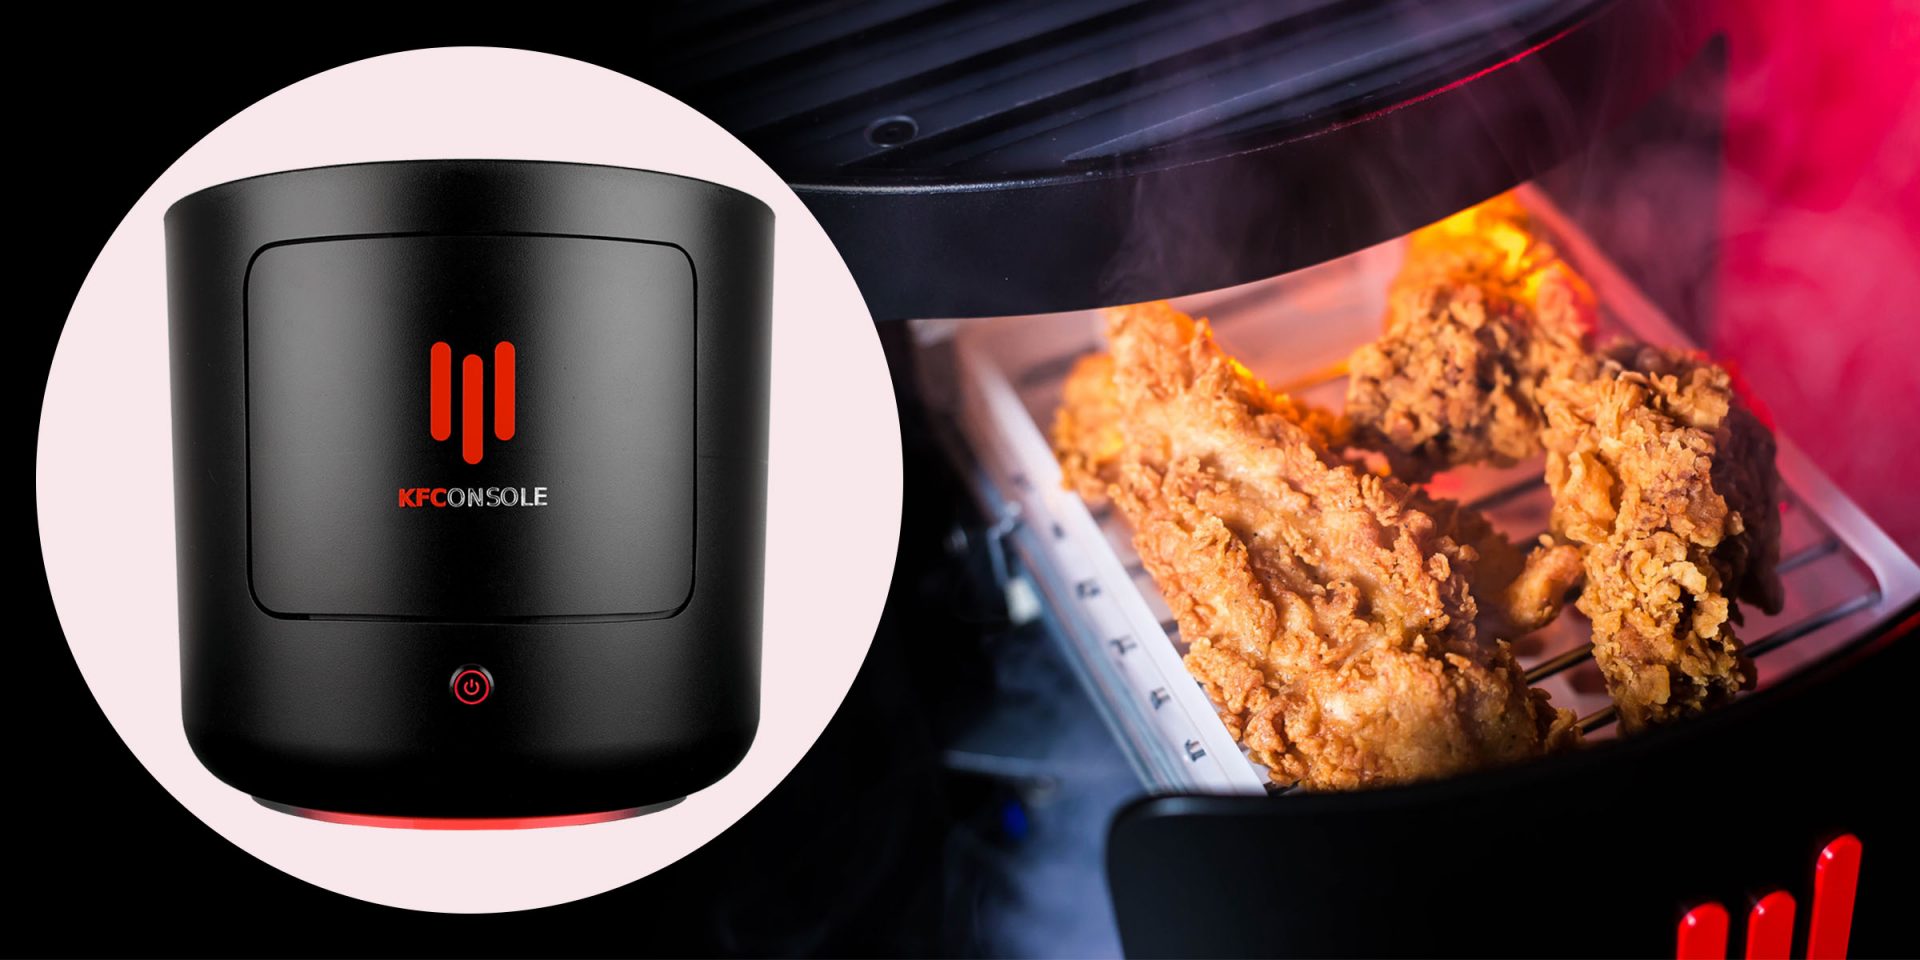
The console itself is coming in cylindrical shape powered by Intel CPU and ASUS GPU of the unknown chipset. It has Seagate Baraccuda 1TB SSD and it is VR-ready. The console will have raytracing and will be 4K ready.

My thoughts

Well, my thoughts are somewhat strange, on one side I am not really sold on food heating gimmicks and without specific hardware specifications, it is difficult to say how much power the console will have. Price is also not leaked so that is also a stumbling stone for making an informed opinion. I am a little puzzled and concerned about this whole heating food thing because personally, I can see 2 issues: Console overheating and fat dripping on inside hardware, I am sure they have somehow eliminated this but I would be very interested to see how.
Read More
How to Fix the Blue Screen Locale ID 1033 Error Code

Troubleshoot Locale ID 1033 Error Code

What is the Blue Screen Locale ID 1033 Error?

Blue screen locale id 1033 error as the name suggests, is a type of BSoD error. This error may occur during Windows startup, program load, or while the program is running. The error indicates poor PC maintenance and occurs without any warning. The error message is prompted in the following format:
Problem signature: Problem Event Name: BlueScreen OS Version: 6.0.6002.2.2.0.16.7 Locale ID: 1033
When the error occurs, the computer screen turns blue and the user is unable to view or access the program. It is advisable to fix the error right away, virtually because BSoD is a critical PC error, it can pose serious threats to your system.

Error Causes

The two most common causes of the occurrence of the Blue Screen Locale ID1033 error code are:
  • Registry issues
  • Viral infection

Further Information and Manual Repair

You don’t need to hire a technician or be a computer whiz to resolve Blue Screen Locale ID1033 error code. Here are some methods that you can try to resolve this error on your PC. These methods are easy to perform and result-driven.

Method 1: Perform a PC Scan by Downloading an Anti-Virus

Since this error is indicative of a viral infection, it is suggested you perform a PC scan by installing an antivirus on your system. Make sure you download an antivirus that is powerful and has the ability to scan all kinds of viruses.

Method 2: Clean and Repair the Registry

Another alternative method is to clean and repair the registry. The Registry is a component of the PC that stores all information and activities performed on the PC. This includes both important and unnecessary files like junk files, cookies, internet history, temporary files, invalid entries, bad registry keys, and more. These files not only accumulate in the registry but also damage and corrupt it thereby generating error codes like the Blue Screen Locale ID1033 error code. Congratulations, you have just fixed Blue Screen Locale ID 1033 Error Code in Windows 10 all by yourself. If you would like to read more helpful articles and tips about various software and hardware visit errortools.com daily. Now that’s how you fix Blue Screen Locale ID 1033 Error Code in Windows 10 on a computer. On the other hand, if your computer is going through some system-related issues that have to get fixed, there is a one-click solution known as Restoro you could check out to resolve them. This program is a useful tool that could repair corrupted registries and optimize your PC’s overall performance. Aside from that, it also cleans out your computer for any junk or corrupted files that help you eliminate any unwanted files from your system. This is basically a solution that’s within your grasp with just a click. It’s easy to use as it is user-friendly. For a complete set of instructions in downloading and using it, refer to the steps below Perform a full system scan using Restoro. To do so, follow the instructions below.
      1. Download and install Restoro from the official site.
      2. Once the installation process is completed, run Restoro to perform a full system scan. restoro application screen
      3. After the scan is completed click the “Start Repair” button. restoro application screen
Read More
Fix Windows Update Install Error 0x80070020
Getting a few errors here and there when updating your Windows 10 computer is not uncommon. Some of these errors won’t allow the Windows Update service to initiate while the other ones will halt the process while it’s running. So in this post, we’ll show you what you can do to fix the Windows Update error 0x80070020. The Windows Update error 0x80070020 is most likely caused by some programs installed in the system which interferes with the Windows Update process. It might be an antivirus program, an incompatible program, a potentially unwanted program, or worse, malware. In addition, corrupted or missing files might also be the culprit. Whichever the cause may be, here are some suggestions you need to check out to resolve the problem.

Option 1 – Try to reset the Windows Update components manually

  • To manually reset the Windows Update components, first, you need to stop the Background Intelligent Transfer Service, Windows Update, and the Cryptographic Services. To do so, run the following command in Command Prompt and make sure to press Enter after you enter each one of them:
    • net stop bits
    • net stop wuauserv
    • net stop cryptsvc
  • Next, delete the “qmgr*.dat” file in order to reset the Windows Update components. To do delete this file, run the following command in Command Prompt:
    • Del “%ALLUSERSPROFILE%Application DataMicrosoftNetworkDownloaderqmgr*.dat
  • Now you have to rename both the SoftwareDistribution and Catroot2 folders by entering the following command in Command Prompt:
    • Ren %systemroot%SoftwareDistributionSoftwareDistribution.bak
    • Ren %systemroot%system32catroot2catroot2.bak
  • Reset BITS and Windows Update service by entering the following commands in Command Prompt:
    • sc.exe sdset bits D:(A;;CCLCSWRPWPDTLOCRRC;;;SY)(A;;CCDCLCSWRPWPDTLOCRSDRCWDWO;;;BA)(A;;CCLCSWLOCRRC;;;AU)(A;;CCLCSWRPWPDTLOCRRC;;;PU)
    • sc.exe sdset wuauserv D:(A;;CCLCSWRPWPDTLOCRRC;;;SY)(A;;CCDCLCSWRPWPDTLOCRSDRCWDWO;;;BA)(A;;CCLCSWLOCRRC;;;AU)(A;;CCLCSWRPWPDTLOCRRC;;;PU)
  • Now enter the following command:
  • cd /d %windir%system32
  • RE-register BITS and other Windows Update related files by typing each one of the following commands:
    • regsvr32.exe atl.dll
    • regsvr32.exe urlmon.dll
    • regsvr32.exe mshtml.dll
    • regsvr32.exe shdocvw.dll
    • regsvr32.exe browseui.dll
    • regsvr32.exe jscript.dll
    • regsvr32.exe vbscript.dll
    • regsvr32.exe scrrun.dll
    • regsvr32.exe msxml.dll
    • regsvr32.exe msxml3.dll
    • regsvr32.exe msxml6.dll
    • regsvr32.exe actxprxy.dll
    • regsvr32.exe softpub.dll
    • regsvr32.exe wintrust.dll
    • regsvr32.exe dssenh.dll
    • regsvr32.exe rsaenh.dll
    • regsvr32.exe gpkcsp.dll
    • regsvr32.exe sccbase.dll
    • regsvr32.exe slbcsp.dll
    • regsvr32.exe cryptdlg.dll
    • regsvr32.exe oleaut32.dll
    • regsvr32.exe ole32.dll
    • regsvr32.exe shell32.dll
    • regsvr32.exe initpki.dll
    • regsvr32.exe wuapi.dll
    • regsvr32.exe wuaueng.dll
    • regsvr32.exe wuaueng1.dll
    • regsvr32.exe wucltui.dll
    • regsvr32.exe wups.dll
    • regsvr32.exe wups2.dll
    • regsvr32.exe wuweb.dll
    • regsvr32.exe qmgr.dll
    • regsvr32.exe qmgrprxy.dll
    • regsvr32.exe wucltux.dll
    • regsvr32.exe muweb.dll
    • regsvr32.exe wuwebv.dll
  • Now type each one of those commands below.
    • net start bits
    • net start wuauserv
    • net start cryptsvc

Option 2 – Install the updates in a Clean Boot State

You might want to try putting your computer in a Clean Boot state and then install Windows Updates again without any trouble. During this state, you can start the system with a minimum number of drivers and startup programs that will surely help you in isolating the root cause of the issue.
  • Log onto your PC as an administrator.
  • Type in msconfig in the Start Search to open the System Configuration utility.
  • From there, go to the General tab and click “Selective startup”.
  • Clear the “Load Startup items” check box and make sure that the “Load System Services” and “Use Original boot configuration” options are checked.
  • Next, click the Services tab and select the “Hide All Microsoft Services” check box.
  • Click Disable all.
  • Click on Apply/OK and restart your PC. (This will put your PC into a Clean Boot State. And configure Windows to use the usual startup, just simply undo the changes.)
  • After that, try to install the Windows Updates or upgrade again.

Option 3 – Clear the contents of both the SoftwareDistribution and Catroot2 folders

  • Open the WinX Menu.
  • From there, open Command Prompt as admin.
  • Then type in the following command – don’t forget to hit Enter right after typing each one of them.
net stop wuauserv net stop bits
  • After entering these commands, it will stop the Windows Update Service and the Background Intelligent Transfer Service.
  • Next, go to the C:/Windows/SoftwareDistribution folder and get rid of all the folders and files thereby tapping the Ctrl + A keys to select them all and then click on Delete. Note that if the files are in use, you won’t be able to delete them.
  • Once all the contents in the Software Distribution folder are deleted, restart your PC and then go back to Command Prompt and input the following commands again.
net start wuauserv net start bits
 Since the folder has already been flushed, it will be populated afresh the instant your restart your computer and open Windows Update.

Option 4 – Try to run the Windows Update Troubleshooter

Running the built-in Windows Update troubleshooter could also help you resolve the Windows Update error 0x80070020. To run it, go to Settings and then select Troubleshoot from the options. From there, click on Windows Update and then click the “Run the troubleshooter” button. After that, follow the next on-screen instructions and you should be good to go.

Option 5 – Try restarting the Windows Update Services

  • Open the Services Manager.
From there, make sure that you set the following services and Startup types:
  • Background Intelligent Transfer Service: Manual
  • Cryptographic Service: Automatic
  • Windows Update Service: Manual (Triggered)
Read More
Fix Error 30053-4 or 30053-39, language pack
As you know, the Office Language Packs need to be installed right after installing Office. It also has to be on the correct version of Office so if any of these conditions are not met, you will most likely get error codes 30053-4 or 30053-39 when you install a language pack in Microsoft Office. If you are currently facing this error, read on as this post will help you fix the problem. Here’s the full context of the error message:
“Something went wrong, Sorry, installation cannot continue because no compatible office products are detected.”
When you have to work on two different languages, that’s where the language packs come in handy. You might have to work on one language but when it comes to proofreading or help, you need another language. Note that some language accessory packs offer partial localization which is why some parts of the Office might show the default language. If you are using Office 365 or Office 2019, 2016, 2013, or 2010, you need to go to the language accessory pack page from office.com and select your language. Once you see the download link, click on it to start downloading the pack. It includes the display in the chosen language, proofing tools for the selected language, as well as the Help in the selected language. Once the installation is complete, follow each one of the given options below to configure the language accessory pack properly.

Option 1 – Select Editing and Proofing language

  • You need to open any Office program and navigate to File > Options > Language.
  • From there, you need to make sure that the language you want to use is in the list under the Choose Editing Languages section.
  • After that, you can add or remove the language that Office uses for editing and proofing tools.

Option 2 – Configure the Display and Help languages

In this option, you can change the default display and help languages for all the Office applications so whatever you choose will be used for all the buttons, menus, and support of all the programs. After you select the language, restart all the Office applications to apply the changes made successfully. On the other hand, if you are using Office volume license versions, note that only an administrator account can install this if you are using the Volume License version of Microsoft Office 2016. You have to download the ISO image of the language packs, language interface packs, and the proofing tools from the VLSC or Volume Licensing Service Center. This process can be quite complicated so you might have to go to the docs.microsoft.com page to be guided accordingly. After you installed everything correctly, the error code 30053-4 or 30053-39 should now be fixed.
Read More
Personalize Windows 11 Start menu
Windows 11 is released and its adoption goes slower than Microsoft would like but nevertheless, it is slowly getting adopted, especially among new computers. Windows 11 has brought us a new modern look of OS but if you would like to personalize it a little more you can. Follow the guide on various things that you can change inside Windows 11.

windows 11 desktop iconsPersonalize list of recently added apps, opened items, folders

The recommended section that shows recently added apps and recently open items can be turned off and hidden now to be shown. In order to do this follow these steps:
  1. Open Windows Settings by pressing WINDOWS + I
  2. Click on personalization in the sidebar
  3. Click on START and go through the options
  4. Turn OFF switch beside recently accessed files
  5. Additionally, you can also change which folders appear on the Start menu.

Remove apps or change app order on the Start Menu

To remove application not to be shown in the Start menu at all follow this simple guide:
  1. Right-click on app
  2. Choose unpin
  3. To place the application on Start click on All Apps, right-click on the app and choose Pin to Start
  4. To drag and rearrange apps, simply click on them and drag them to the new place.

Change the Start Menu location

When Windows 11 was first released Start Menu could only be located in the middle of the screen but thanks to plenty of backlash from users now it is possible to move it on a more traditional left side.
  1. Press WINDOWS + I to open the settings app
  2. Click on Personalization
  3. Look for taskbar behaviors
  4. Inside taskbar behaviors look for Taskbar alignment
  5. Change alignment to left

Change the Start Menu color

In order to change the color of the Start Menu follow the next steps:
  1. Open Settings app
  2. Go to personalization settings
  3. Go to Colors
  4. Switch to custom
  5. Under accent color pick a color you like or make your custom one.
Read More
Fix Network driver issue in Windows
The network driver error is a not serious Windows issue.  It happens from time to time and luckily it can be solved with a little effort and in a short time period. Today in this article we will explore the most common solutions for driver malfunction for Network adapter inside Windows 10. If you have this particular problem, go from step 1 to the last step since all steps are meant to go from simplest to the most complex. All of that being said let us fix your Network driver issue.
  1. Check to see if the cable is plugged in and not malfunctioned

    The first common issue of the network now working can be cable malfunction or bad contact in your network adapter or in HUB/SWITCH. There are various tools to check the quality and working order of cable but you could also make sure that it is not a cable issue by trying connection with the correct working cable. If the network is restored with another cable then change the malfunctioning cable and your issue is resolved if the problem persists move to the next step.
  2. Check if Windows troubleshooter will resolve the issue

    Righ-click on the network icon in the taskbar and choose to troubleshoot problems. Windows built-in tools could resolve issues and fix them for you. If by any chance Windows is not able to find or resolve issues move to the next step.
  3. Check if the Device Manager is reporting an error and update the driver

    If the hardware is functioning properly then the issue might be in Windows not detecting device or driver malfunction. In any case, the Device Manager will be the one who will report this problem. In order to check to see if the driver is properly working press ⊞ WINDOWS + X to open the hidden start menu. keyboard with windows and x marked Once it opens, click on Device Manager to open it, If you have a driver device error inside Windows, you should see it immediately when entering the Device Manager, it will have a yellow exclamation mark beside it. Right-click on it and choose update driver.
  4. Reinstall driver

    If driver update failed or you already have the latest drivers, reinstalling them could fix the issue since drivers might have corrupted during installation of some update or application. Follow steps from point 3 to get to the driver in Device Manager, then right-click on it but instead of update choose to uninstall. Reboot Windows once the driver is uninstalled and Windows will install a new one automatically. If you do not want to update drivers automatically, do not restart your system, instead install the latest driver for your device, then reboot. Since this is a network error, you will have to get drivers on another computer and transfer them via USB to malfunctioning one.
  5. Check Windows update

    Check to see if the latest Windows update is installed, update your Windows if needed
  6. Fix driver issue with DRIVERFIX

    If everything else fails, get DRIVERFIX, a premium solution for your PC issues, and fix driver errors.
Read More
Fix Error 1310, Error writing to file
If you were trying to install a program on your Windows 10 computer but encounter an error instead that says, “Error 1310, Error writing to file: <PATH>, Verify that you have access to that directory” then read on as this post will guide you on how you can fix it. This kind is a fairly common type of error encountered by many Windows users. You can get this error when you try to install certain programs like Excel, AutoCAD, Adobe Photoshop, and some other Adobe products on Windows. One of the most likely causes for this error is that the required files or location is already used by some other software which means that Windows finds that you are trying to overwrite a software that is already installed. Aside from that, it could also occur if the program installer does not have access to write to that directory. To fix Error 1310, here are some potential fixes that could help.

Option 1 – Clear up temporary or junk files

The error could be caused by some temporary or junk files in your computer and so you need to clear them up to fix the problem. You can achieve that using the Storage Sense feature.
  • Open Setting > System > Storage from the WinX Menu.
  • From there, you will see a list of all the local and connected storage devices along with the details on the free space. Make sure that Storage Sense is on.
  • Next, find a link that says “Free Up Space” and click it to open.
  • After that, a screen which is the built-in program in Windows 10 will appear and will scan your computer for the following junk files so you can free up disk space:
    • Windows Upgrade Log Files
    • The system created Windows Error Reporting Files
    • Thumbnails
    • Temporary Internet Files
    • Previous Windows Installation Files
    • Delivery Optimisation Files
    • DirectX Shader Cache
  • Choose the files you want to get rid of and then click on the remove files option. Note that you’ll have an idea of the total size as you select any of the junk files listed above.
  • Now go to the “Free Up Space Now” section and click the Clean Now button. This will get rid of all the temporary or junk files in your computer and should hopefully fix Error 1310.

Option 2 – Reinstall the program in a Clean Boot State

You can also troubleshoot Error 1310 in a Clean Boot state. It could be that there are some third-party applications in your computer that's preventing the program from getting installed and to isolate this possibility, you need to boot your computer in a Clean Boot State and then try installing the program again. Putting your computer in this state can help you identify which program is the culprit and thus isolates the problem. In a Clean Boot state, your computer will start using only the pre-selected minimal set of drivers and startup programs. Note that you have to disable and enable one process at a time.
  • Log onto your PC as an administrator.
  • Type in MSConfig in the Start Search to open the System Configuration utility.
  • From there, go to the General tab and click “Selective startup”.
  • Clear the “Load Startup items” check box and make sure that the “Load System Services” and “Use Original boot configuration” options are checked.
  • Next, click the Services tab and select the “Hide All Microsoft Services” check box.
  • Click Disable all.
  • Click on Apply/OK and restart your PC. (This will put your PC into a Clean Boot State. And configure Windows to use the usual startup, just simply undo the changes.)
  • After you’ve set your computer into a Clean Boot State, make sure that you’re signed in as administrator and then try to install the program again.

Option 3 – Try to unregister and re-register the Windows Installer Module

  • Tap the Win + R keys to open the Run dialog box.
  • Then type the “msiexec /unregister” command and hit Enter to unregister the Windows Installer Module.
  • Next, type the “msiexec /regserver” command and hit Enter to re-register the Windows Installer Module.
  • Now restart your computer and see if un-registering and re-registering the Windows Installer Module fixed the problem or not.

Option 4 – Take ownership of the location where you want to install the app

The next thing you can try to do is to take ownership of the particular folder as this worked for some users who experienced the same problem. But before you do that, you have to create a System Restore Point first, once that’s done, proceed to the given steps below.
  • First, locate the concerned folder and right-click on it then select Properties.
  • Next, click on the Edit button in the Properties window and click OK to confirm if you got a User Account Control elevation request.
  • After that, select user/group from the permission windows or click on the Add button to add another user or group. It would be best if you add “Everyone” to give permission.
  • Then check “Full Control” under the “Allow” column to assign full access rights control permissions.
  • Now edit the permission to Full Control for “Everyone”.
  • Click OK to save the changes made and then exit.
  • Finally, try to install the application again.
Read More
Outlook: We are unable to connect right now
If you are trying to start the Microsoft Outlook application on your Windows 10 computer but you suddenly receive a message box with an error message that says, “We are unable to connect right now, Please check your network and try again later”, read on as this post will guide you on how you can fix this error. This kind of error in Microsoft Outlook could be due to some issues with your internet connection or it could also be due to the VPN software if you’re using one. Whatever the cause is, there are several potential fixes you can check out to fix the error. You have to check your internet connection or try changing it. You could also try to disable your VPN software or restart your computer or Microsoft Outlook and try starting the app again. In addition, you can also try entering your password again or check some settings in the Windows Registry or open Microsoft Outlook in Safe Mode. Refer to the guidelines provided below to further troubleshoot the problem.

Option 1 – Try to check your internet connection

The first thing you can do to resolve the problem is to check your internet connection. You have to make sure that you are connected to the internet and that it has a stable connection.

Option 2 – Try to restart your computer or Microsoft Outlook and try again

The next thing you can do to fix the error is to restart your computer or Microsoft Outlook. This simple process can actually help you fix the problem as it could only be a glitch that can be fixed with a simple restart.

Option 3 – Try to enter your password again

You could also try entering your password again to resolve the error. Just click on the Cancel button to open a dialog box and then enter your password again and see if it helps. Note that you might have to do it for all your email IDs in Microsoft Outlook.

Option 4 – Try opening Microsoft Outlook in Safe Mode and disabling its add-ins

Putting Microsoft Outlook into Safe Mode can help you identify the problems in it. Safe Mode also helps you fix a certain issue caused by some corrupted add-in. To start your Microsoft Outlook in Safe Mode, refer to these steps:
  • Tap Win + R on your keyboard to open the Run dialog box.
  • Next, type in “Outlook /safe” and press Enter to run the command.
  • After that, it will ask you to select a profile that you want to use. Just simply select a profile from the drop-down menu and click on the OK button.
  • Now you have successfully opened Microsoft Outlook in Safe Mode. As a result, it will start with disabling the add-ins. Meaning to say, there is some corrupted add-in that’s causing the problem, and that you need to look for that add-in and either disable it or have it permanently removed.
  • Once you’ve identified the corrupted add-in, you can disable or remove it by going to File > Options > Add-ins. From there, select the option “COM Add-ins” from the drop-down menu and then click the Go button.
  • Finally, close Microsoft Outlook once you’ve covered the given steps above and then try to open it normally.

Option 5 – Try disabling the VPN

As pointed out earlier, if you are using VPN, this could be the reason why you’re getting the “We are unable to connect right now, Please check your network and try again later” error so the most obvious thing to do is for you to turn off the VPN and try to run the Windows Update once more. And if you use a VPN software that works using their software, you can just completely exit or log-off from its account. On the other hand, if you are using a built-in Windows 10 VPN, you can simply turn it off or delete all the settings you have created there.

Option 6 – Try to check the settings in the Registry

  • Tap the Win + R keys to open the Run utility and type “Regedit” in the field and tap Enter to open the Registry Editor.
  • Next, navigate to this registry path: HKEY_LOCAL_MACHINESYSTEMCurrentControlSetservicesNlaSvcParametersInternet
  • From there, look for the DWORD named “EnableActiveProbing” and make sure that its value is set to “1”. When the value is set to 1, it means that it is Enabled. This is the default setting and is used to identify the status of the network connectivity of your computer.
Read More
1 2 3 162
Logo
Copyright © 2022, ErrorTools. All Rights Reserved
Trademarks: Microsoft Windows logos are registered trademarks of Microsoft. Disclaimer: ErrorTools.com is not affiliated with Microsoft, nor claim direct affiliation.
The information on this page is provided for information purposes only.
DMCA.com Protection Status