If you receive an error message saying, “The proxy server is refusing connections” while trying to open a website on your Google Chrome or Mozilla Firefox browser in Windows 10, then read on as this post will guide you in fixing this error.
This kind of error occurs when you have a wrong or dead proxy configuration or when you are using some VPN service. However, this kind of error could also mean that your computer might be infected by malware which caused some changes in the internal settings. Whatever triggered the error, here are some suggestions that could help in fixing it.
Option 1 – Check the proxy settings in your browser
Like other browsers, Firefox allows users to set up proxy in several ways. However, if you’ve made any changes recently which might have caused the error, the first thing you can do is to check the proxy settings in your Firefox browser. Follow the steps below to do so.
-
- Open the browser and go to Menu and then click Options.
- After that, go to the General tab and scroll down and click the Settings button under Network Settings.
- From there, make sure that the Use system proxy settings option is set. If not, you have to enable No proxy and then save the changes made.
- Now check if the “The proxy server is refusing connections” error is fixed or not.
Note: If you want to use a proxy in Firefox, you have to select the Manual proxy configuration and set it up properly. And if your network has a proxy setting and you want to grab that, you have to opt for the Auto-detect proxy settings for this network option.
Option 2 – Try disabling the proxy server for your LAN
If your PC was just attacked by some adware or malware as of late, it is possible that it has changed the network settings in the system and might display spam advertisements. Thus, you have to disable the proxy server for your LAN. To do that, refer to these steps:
- Tap the Win + R keys to open the Run dialog box.
- Then type “inetcpl.cpl” in the field and hit Enter to pull up the Internet Properties.
- After that, go to the Connections tab and select the LAN settings.
- From there. Uncheck the “Use a Proxy Server” option for your LAN and then make sure that the “Automatically detect settings” option is checked.
- Now click the OK and the Apply buttons.
- Restart your PC.
Note: If you are using a third-party proxy service, you have to disable it.
Option 3 – Try disabling the manual proxy setup from Settings
In case you miss it, there is actually an option in the Settings panel that you can use to set up a proxy in your Windows 10 computer. So if you encounter the “The proxy server is refusing connections” error, you should disable manual proxy for the meantime and check if it fixed the error or not.
- Tap the Win + I keys to open the Windows Settings.
- Then go to Network & Internet > Proxy.
- And on your right-hand side, ensure that the Automatically detect settings are enabled and that the Use a proxy server option under the Manual proxy setup is disabled.
- Now try to open any website again and see if the problem’s fixed.
Option 4 – Check your VPN
If you are using a VPN application, there are times when it causes some issues like this error. If that’s the case, you can try to disable your VPN temporarily and see if the error is resolved or not and if turns out that your VPN is the culprit, you have to uninstall it and install a new one or its latest version. To uninstall it, follow the steps below.
- Tap the Win + R keys to open the Run dialog box
- Then type “appwiz.cpl” in the field and hit Enter to open the Programs and Features in Control Panel.
- From there, look for the VPN service you are using, select it and then click on Uninstall to remove it.
- After that, restart your computer and try to install the latest version of the program again. It should work now. If not, proceed to the next available option below.
Option 5 – Clear your browser’s internet cache
You actually have the option to Hard Refresh in order to clear the cache of your browser either pressing key combination Ctrl +F5.
Option 6 – Try scanning your computer using Windows Defender
As mentioned, the “The proxy server is refusing connections” might be caused by some malware in the system and so to eliminate the malware, you have to scan your computer using security programs like Windows Defender.
- Tap the Win + I keys to open Update & Security.
- Then click on the Windows Security option and open Windows Defender Security Center.
- Next, click on Virus & threat protection > Run a new advanced scan.
- Now make sure that Full Scan is selected from the menu and then click the Scan Now button to get started.

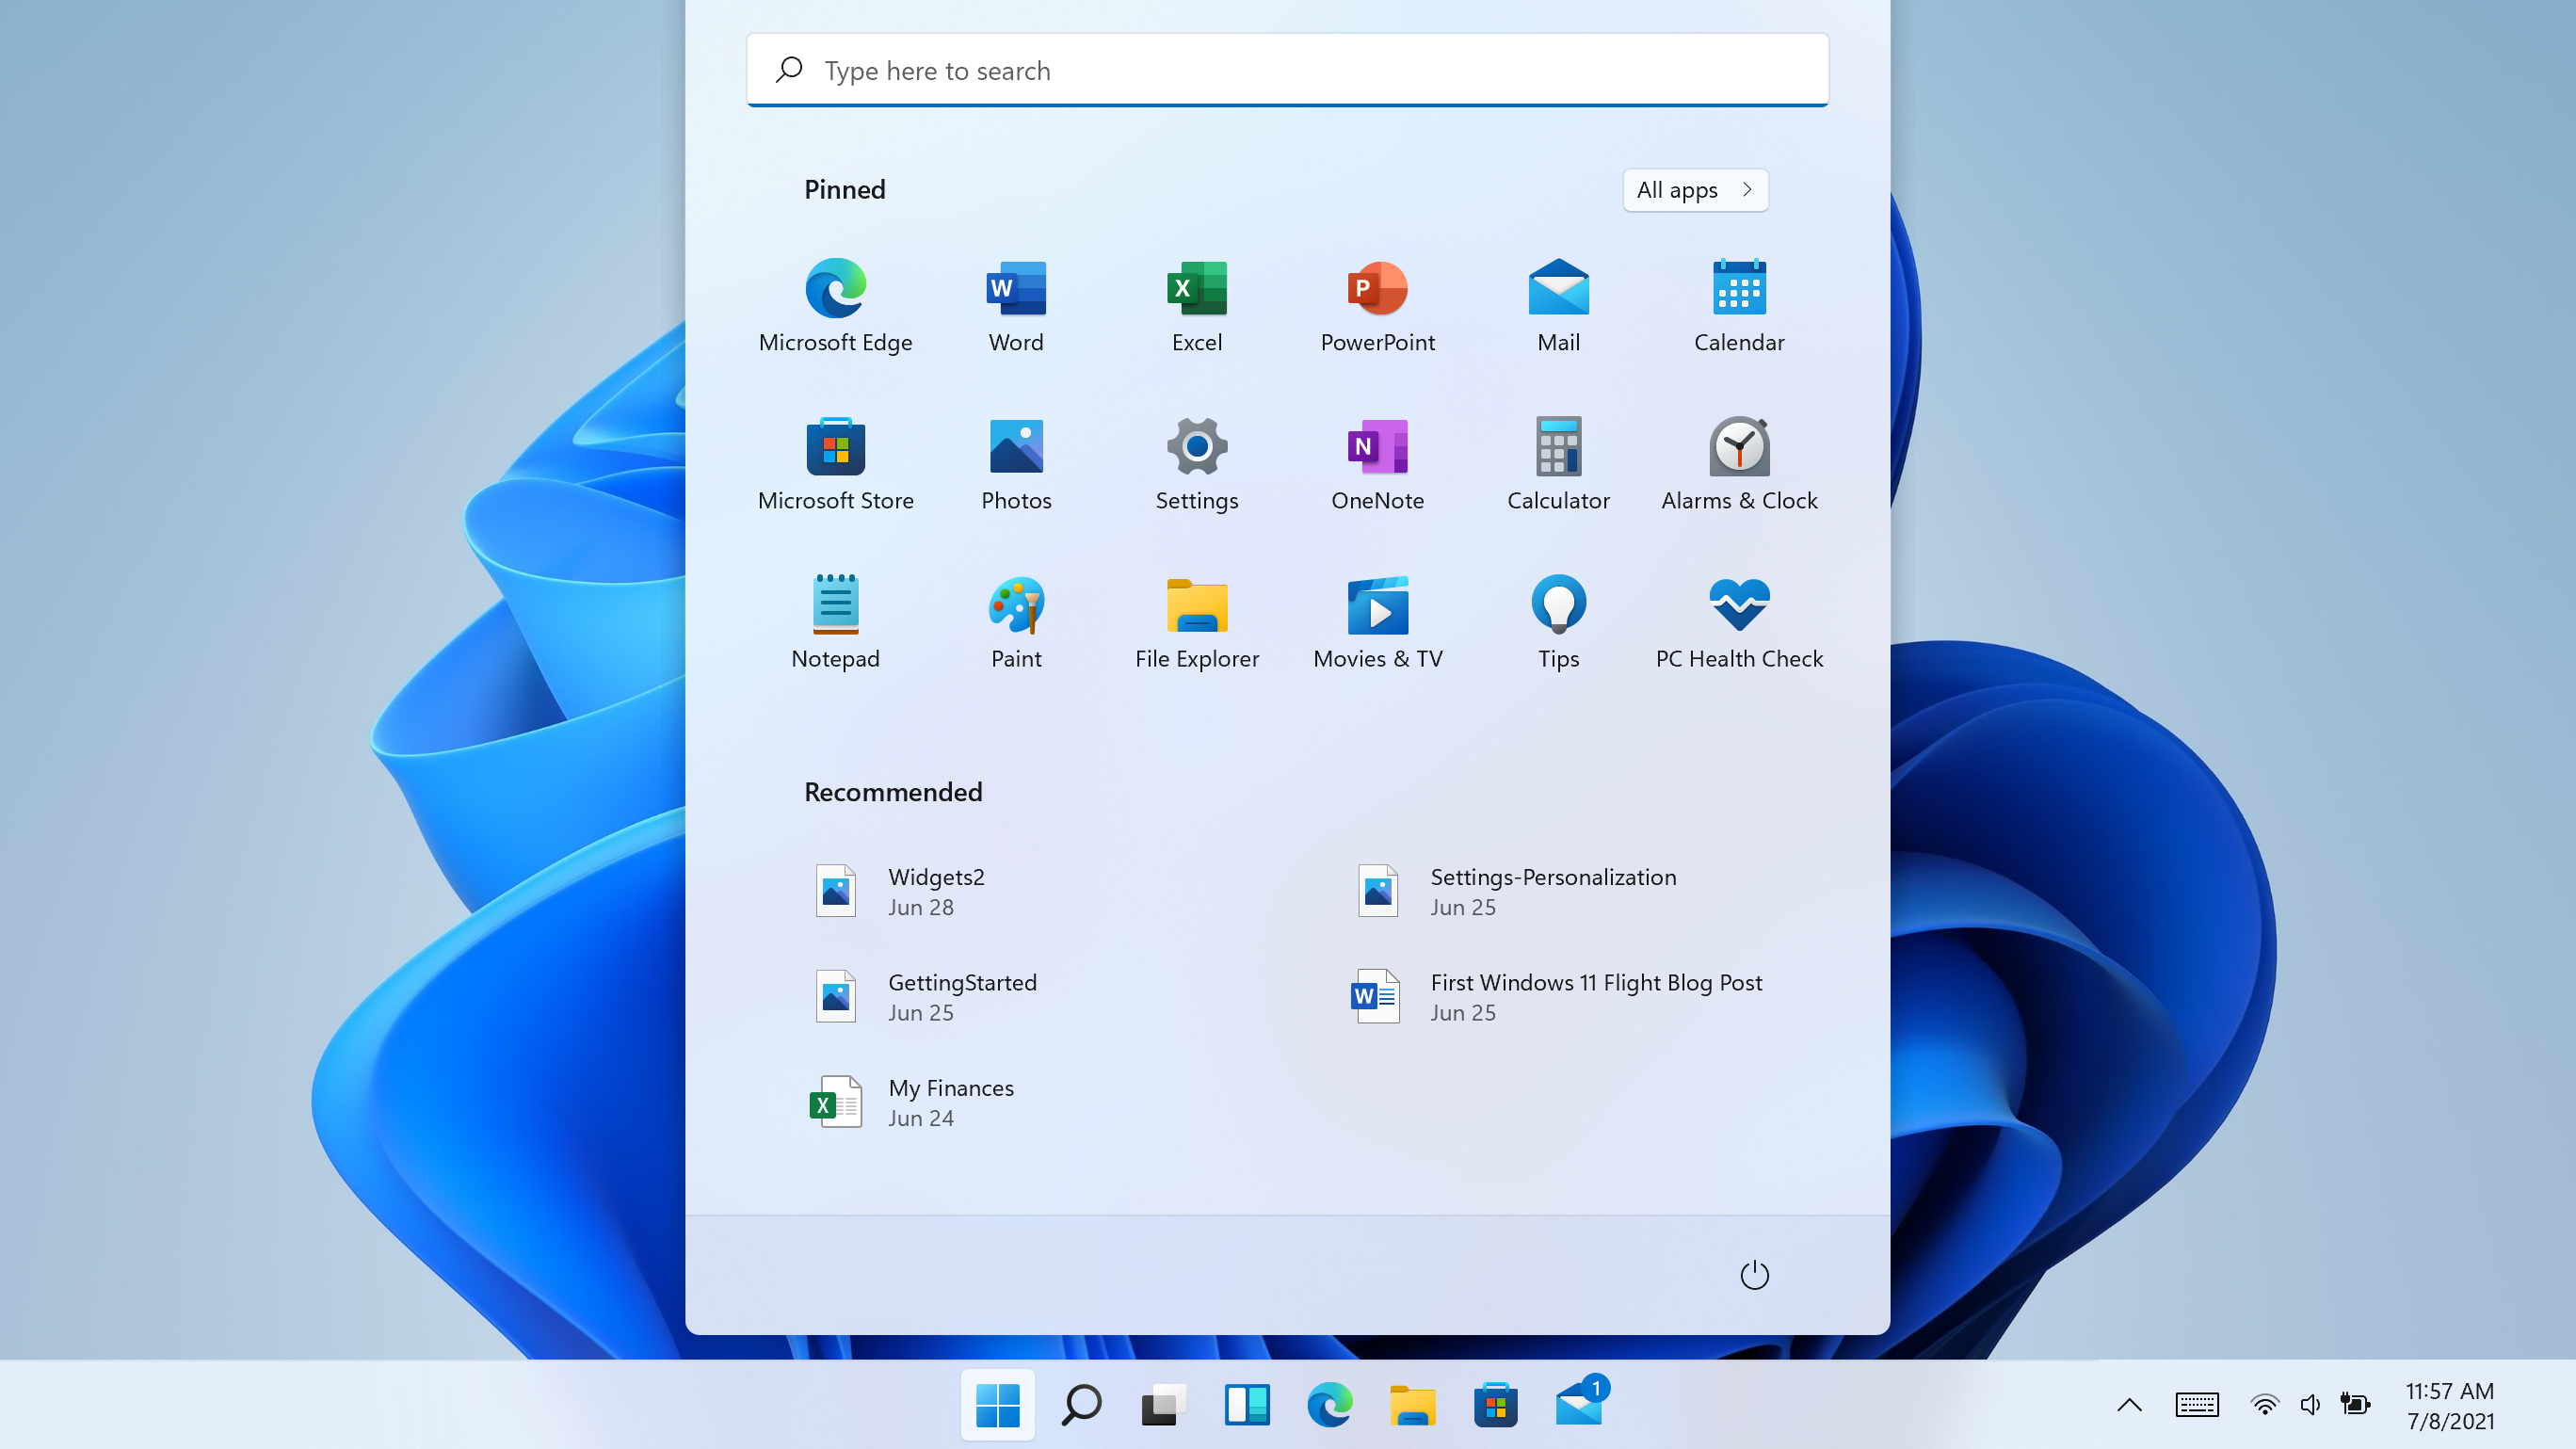 I do not know about you, but I prefer to set my Windows to be more to my liking and not how Microsoft thinks it should be. Let’s face it, not all users feel comfortable whit Microsoft settings and idea how things should be.
One of the things I particularly did not like even in Windows 10 is icons that come by default on my taskbar, now so far, well until the latest Windows 11 update you could remove default taskbar icons the same way as in Windows 10, just right-click on them and unpin, sadly with latest update build on Windows 11 this option has been removed.
In order to remove default icons from the taskbar, one must go now to Windows 11 settings and choose from there which one you would like to be placed on it. Of course, this is nothing game-breaking but it still feels strange why the standard option has been removed, it just makes no sense but lately not many things that come from Microsoft do.
I do not know about you, but I prefer to set my Windows to be more to my liking and not how Microsoft thinks it should be. Let’s face it, not all users feel comfortable whit Microsoft settings and idea how things should be.
One of the things I particularly did not like even in Windows 10 is icons that come by default on my taskbar, now so far, well until the latest Windows 11 update you could remove default taskbar icons the same way as in Windows 10, just right-click on them and unpin, sadly with latest update build on Windows 11 this option has been removed.
In order to remove default icons from the taskbar, one must go now to Windows 11 settings and choose from there which one you would like to be placed on it. Of course, this is nothing game-breaking but it still feels strange why the standard option has been removed, it just makes no sense but lately not many things that come from Microsoft do. 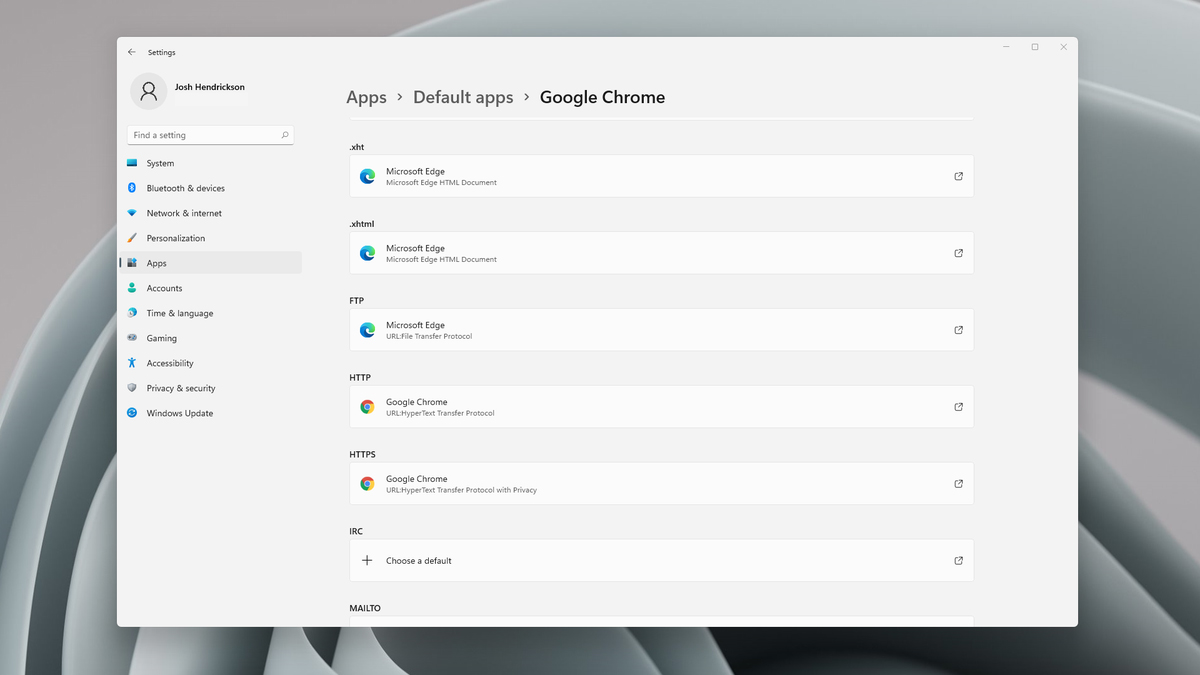 Choosing default browser in settings