A Guide to Fixing 0x80042109 Error Code

Troubleshoot 0x80042109 Error Code

0x80042109 - What is it?

0x80042109 is a Microsoft Outlook error. The 0x80042109 error code occurs mostly while sending emails. The error message is often displayed in the following format:

“Sending reported error (0×80042109): Outlook cannot connect to your outgoing (SMTP) e-mail server.”

Solution

Restoro box imageError Causes

It is not easy to narrow down the cause for the error code 0x80042109. This error can occur due to many reasons. This includes:

  • Corrupt emails and PST files
  • Incorrect Outlook account settings
  • Unavailability of the mail server
  • Incomplete Outlook installation
  • Spyware or viral infection

Further Information and Manual Repair

To resolve the 0x80042109 error code on your PC, here are some easy and effective DIY solutions you can try:

Method 1 - Check Mail Settings

Check your mail settings to see if your outgoing server SMTP is selected or not. If it is not, then it could be the reason for the issue. To check mail settings and select the option, here’s what you need to do:

  1. Click Tools, select Account Settings, and then POP 3 account and click change.
  2. Now check your name field and email address.
  3. Check the incoming and outgoing mail server fields and make sure that it is correct.
  4. Now click on the outgoing server and make sure that the option ‘My Outgoing Server (SMTP) requires Authentication is selected.
  5. After that, click Advanced and tick the option that says ‘This server requires an encrypted connection (SSL).
  6. Now click OK to confirm settings.

Method 2 - Reinstall Outlook on your PC

The error may also occur due to incorrect Outlook installation. Therefore reinstall it on your PC.

To do this first you will have to uninstall the software and then re-install it. Once the software is reinstalled try sending the email again. If it is sent successfully, then this means the error is related to incomplete installation.

However, if the error still persists then it is advisable to restore the points by going to the System Restore option and choosing the option ‘Restore My Computer to an Earlier Time’ point. This will revert the changes.

Method 3 - Try Disabling Firewall

If you have firewall program installed on your PC, then try disabling it and then send an email through your Outlook account.

Method 4 - Scan for Viruses

Another way to resolve the error code is to scan for viruses.

Viral infection and spyware and also affect your Outlook account and activities. However, installing an antivirus on your PC may slow down its performance as such programs are notorious for doing that. Therefore, it is advisable to download Restoro.

Restoro is a next generation and a highly advanced PC Fixer embedded with powerful and multiple utilities including an antivirus and a system optimizer.

Its intuitive algorithm enables it to scan your entire PC and remove all kinds of malicious software affecting your system including malware, adware, spyware, viruses and Trojans. The system optimizer utility works simultaneously and ensures your PC performs at its optimum speed.

It is safe, bug-free, and efficient. It has a user-friendly interface which makes it simple and very easy to operate. You can download it on all Windows versions.

Click here to download Restoro to resolve error 0x80042109 today!

If you like to learn and find out more about various Windows errors, and how to repair them go to our vast archive or use search to find articles that will explain and help you in solving your issue.
However, if you prefer to do things fast and with automatization then we are proposing to use an automated solution for your issues. The application that we are recommending is Advanced System Repair Pro
Advanced System Repair utilizes multiple tools all in one to give you a quick, simple, reliable, and very thorough diagnosis of your PC. It brings you all the tools you need in one program to clean, fix, protect, optimize and boost your PC!
1-Click Maintenance
All the tools to make it simple and easy! It's like having a professional technician at the click of a mouse.

Junk Cleaner
Keeping your computer free from unnecessary clutter also helps make your computer last longer. Like any other machine, if you keep it clean and take care of it, it will serve you better for longer!

Optimize background apps
Optimize applications background activity with the built-in Application Optimizer feature.

Disk Defrag
With a simple 1-click, Advanced System Repair speeds up your PC by assembling fragmented files on your machine and organizing them more efficiently.

Malware Removal
Finds and removes all types of harmful malware including trojans, worms, bots, adware, spyware, PUPs, and more!

Privacy Cleaner
The all-in-one privacy suite to Clean Your Tracks & Protect Your Privacy! Make your computer safe, secure, and more efficient!

System Tweak/Optimizer
ASR will analyze your complete system and settings to adjust your PC to function at its maximum performance.

Registry Cleaner
Over time, as you install and uninstall applications, the registry can become cluttered with old entries and broken settings which can result in program crashes, and annoying messages and slow the computer down.
Visit our Advanced System Repair Pro Download page to inform yourself about all the benefits of this software and get a free trial copy of it.
advanced system repair pro

Advanced System Repair Pro

One-click automated PC repair solution
ASR logo
With Advanced System Repair Pro you can easily
Replace damaged files
Restore performance
Free disk space
Remove Malware
Protects WEB browser
Remove Viruses
Stop PC freezing
DOWNLOAD
Privacy Policy | Terms of Use | Uinstall
Advanced System Repair Pro is compatible with all versions of Microsoft Windows including Windows 11

Share this article:

You might also like

Quick Guide to Fixing 0x0000007E Error

How to Fix 0x0000007E Error

What is 0x0000007E Error Code?

If you’ve been experiencing a 0x0000007E error code pop message on your PC frequently then you need to get it fixed before it causes serious damage to your system. 0x0000007E is a Stop error or Blue Screen of Death error code. This error message turns your computer screen blue and locks you out of the program running on your computer. It freezes your system and hampers your ability to perform any type of task on your PC.

Solution

Restoro box imageError Causes

Error 0x0000007E, a blue screen of death error triggers registry issues. It’s not easy to narrow down the cause of 0x0000007E as it results due to many reasons like memory overload, cluttered disk space, viral infection, malware attack, and if the hardware malfunctions. Ignoring 0x0000007E error pop up is not wise. It is more like a warning of the serious damage that can happen to your PC if it is not fixed timely. It also leads to slowing down the system and increases boot time. This error message exposes you to dangerous Windows PC threats like registry corruption and damage. Registry corruption can lead to system crash and failure and you may also lose all your important data saved on your PC.

Further Information and Manual Repair

Install Restoro

You don’t always have to spend hundreds of dollars to hire a technician to fix error pop-ups on your PC try using Restoro Restoro is an advanced and multi-functional PC repair tool with a comprehensive suite of powerful features designed to resolve almost all types of PC errors in seconds including 0x0000007E error code. It is a next-generation PC repair tool that serves as a system optimizer, anti-virus, and quality registry cleaner. Its built-in intuitive technology enables Restoro to scan, identify and repair the ultimate cause of the error code 0x0000007E in just a few seconds. Eventually, it spares you from the hassle of finding the root cause of the 0x0000007E error message and then selecting a tool specifically designed to resolve only that particular cause with limited features. This highly functional PC error tool is the answer for all your registry issues. By running Restoro on your PC, you can fix the 0x0000007E BSOD error code and avoid registry corruption.

Why Restoro?

The smart registry cleaner utility embedded in this tool enables it to scan for registry errors and clear up disk space accumulated by junk files, internet temporary files, invalid entries, and other types of unnecessary files taking up a good chunk of your disk space. This clutter also slows down your PC performance as it requires more power than it has to run the system because of the excess load on the RAM. However, by wiping out the clutter with this helper, you can optimize the speed of your PC and see a significant difference in its performance. Restoro backup feature enables you to create backup files for safety purposes. Furthermore, it has several other built-in value-adding features like privacy error utility and system stability utility for enhanced functionality. To resolve the error code 0x0000007E in seconds, all you need to do is download and install Restoro on your system and run it to scan for errors. In a few seconds, you will see a scanning report with comprehensive details of the types of PC damages. To fix the issue right away, create backups and click ‘fix’ to resolve. In just a few clicks you can repair your PC. Download Restoro Today!
Read More
Disable non MS store apps in Windows 11
Disable non MS store apps in Windows 11 post picture
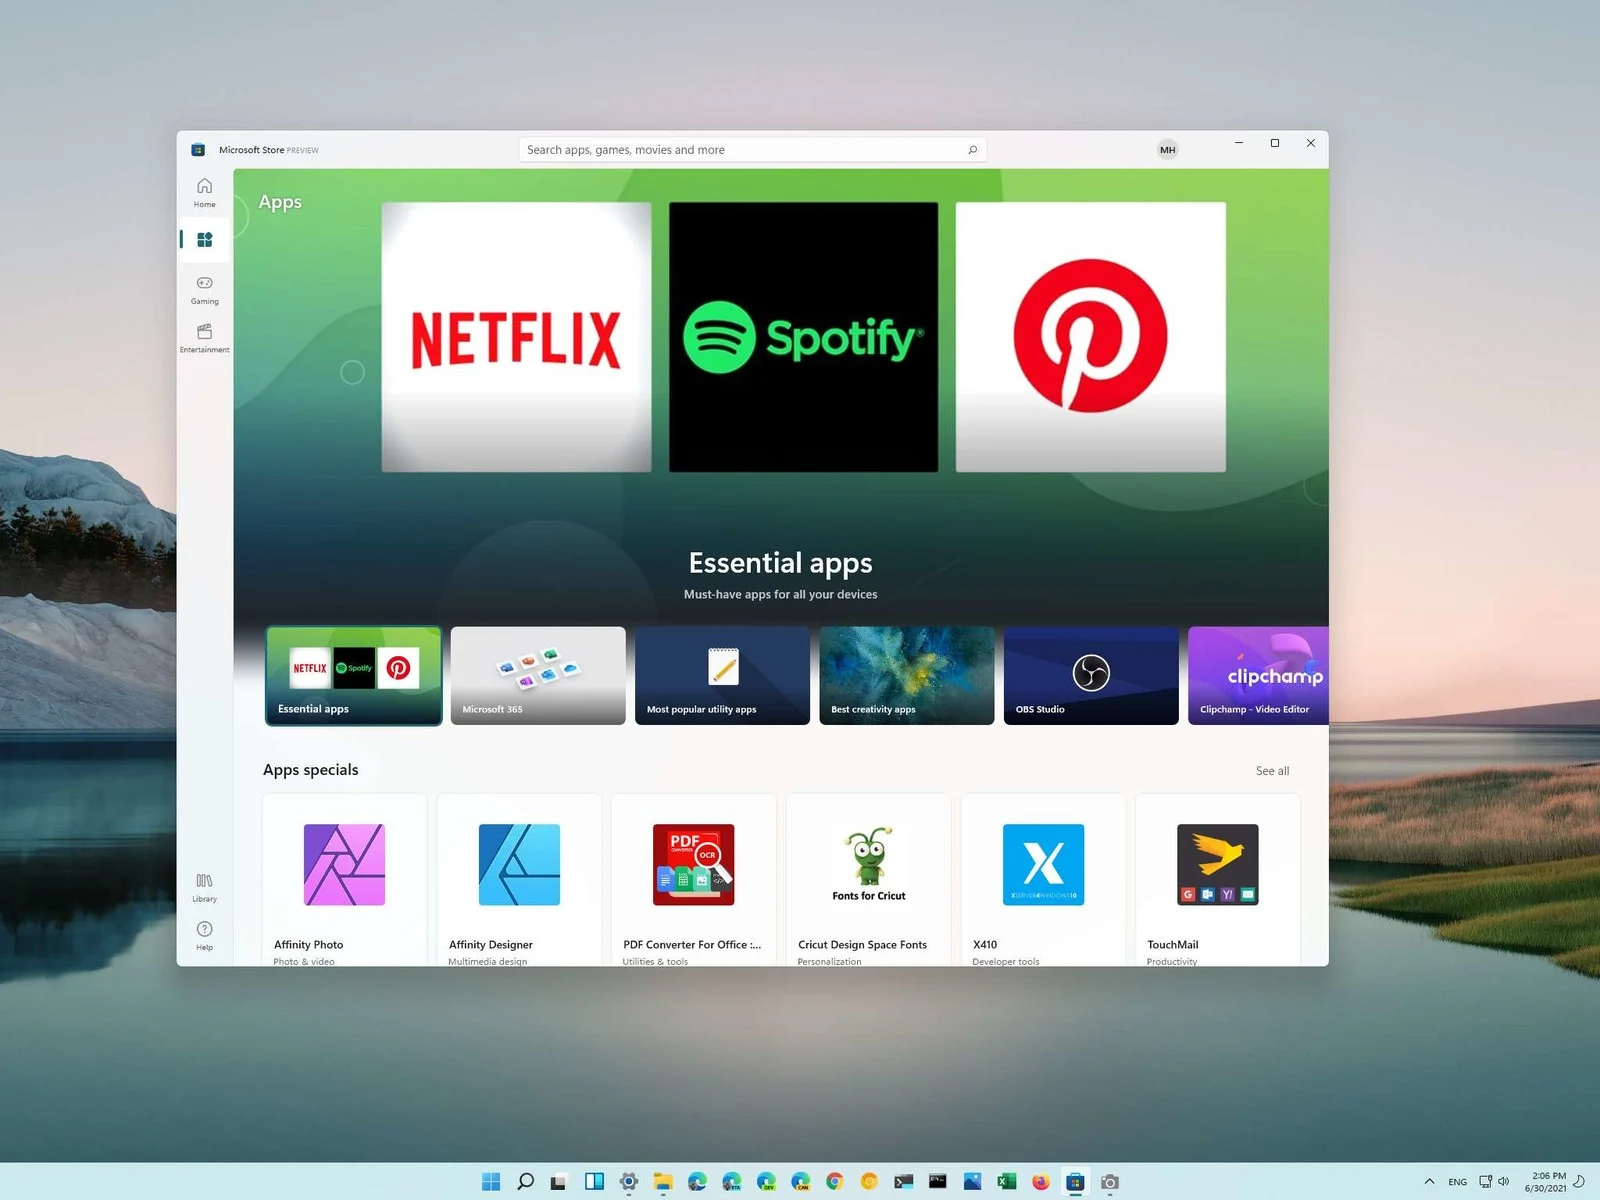
You can prevent starting of app installations files if they have not come from the MS store inside Windows 11. This can make your PC more secure because all apps in the store will have to be digitally signed and overall it can provide you with more control over what will be installed. Follow the guide below to find out how can you easily turn this feature ON.
  1. Press ⊞ WINDOWS + I to open Windows settings
  2. Select Apps and then choose Apps & Features
  3. Click on Choose where to get apps to bring a drop-down menu
  4. Select The Microsoft Store only (Recommended)
  5. Close settings
Settings will apply changes immediately and you continue using Windows right away. With these settings turned ON if you want to install a downloaded application or run the installer you will not be able to, and message The app you’re trying to install isn’t a Microsoft-verified app will show on your screen. You can always reverse this setting by choosing Anywhere in settings instead of Microsoft store only.
Read More
Fix Error Code 0xc0000225 in Windows 10
Error 0xc0000225 is the error that occurs on system startup, most times error just disappears all by itself but in some cases, it can be really persistent and can even cause you not to be able to enter the system that could be a really annoying thing, especially if there is some important task waiting to be finished. In this guide, we will present you with solutions for this error and how to solve it so you can get back to work as soon as possible.

Solution if you can not log into windows due to repeating error

If an error repeats itself constantly and you are unable to boot into Windows itself you will need to prepare Windows boot USB. You can download the Microsoft media creation tool here and then use it to create a bootable USB with Windows 10. Once the USB is done reboot your system and boot from USB. CHoose repair Windows instead of install and follow onscreen instructions.

Solution if you can log into Windows

If you can log into Windows bring up the command prompt in administrator mode and type in it SFC /SCANNOW followed by ENTER, wait for the whole operation to finish, and then reboot the system.
Read More
How to Fix Windows 10 Error 0x80070490

How to Fix Windows 10 Error 0x80070490

Error Code 0x80070490 - What is it?

When downloading a Windows update, it is important to remember that these updates are what keeps your computer safe. Some users have reported seeing error code 0x80070490 when allowing updates for their Windows PC. This error code may appear when the user is trying to connect to the update site for Windows and maybe a result of a corrupted CBS manifest. Having this error code will not only stop the update of the system, but it will also certainly halt any work being done with the computer. Quite a few Windows users have written in complaints about this error while updating from any prior Windows update to Windows 10.

Common symptoms include:

  • While a user is performing the updates, the Windows computer will stop running the updates, and it will show the error code 0x80070490.
  • Windows updates will not install any new features and will not install security patches.
  • The computer will not continue with the Windows update, and it may revert back to the previous state that the computer was in, prior to attempting the updates.

Error Causes

There is not a lot known about what exactly causes the error code 0x80070490, but it is something critical that makes Windows abruptly stop its updates. It could be caused by a simple glitch in the computer system, or it could be caused by a larger problem. One thought is that the CBS (Component-Based Servicing) manifest can be corrupt. Another thought is that the computer's anti-virus software may be interfering with the computer's ability to perform the necessary updates.

Further Information and Manual Repair

There is very little information known about error code 0x80070490 and why it exists, but there are a few methods in which to correct it. Users should be careful when trying to fix this error themselves. If the user feels that the methods are too complicated or they are uncomfortable taking it on themselves, they should contact a Windows repair technician to fix the problem. Not all methods listed will suit the user's needs, but it is dependent upon the problem at hand as to which method will be the best fit to fix the error code. If these steps are taken and the error is not corrected, it is vital to contact the Windows repair technician.

Method One: Creating a new local account

Create a new local account on the computer, and allow administrator privileges on it. Next, move all of your documents and personal files to the new account. Delete the old account (you will no longer be using this) and switch over to the new one. After switching to the new local account, add the Microsoft account to it.

Method Two: Delete user ID, Store cache from the registry

  • You will need to open the Registry Editor. Do this by pressing the Windows Key and R, then typing in “Regedit”. After this is typed in, press Enter or click the OK button to start the registry editor.
  • When this starts, you will need to navigate all the way to the following key on the left pane:
  • HKEY_LOCAL_MACHINESOFTWAREMicrosoftWindowsCurrentVersionAppxAppxAllUserStore After this, find the key that is similar to this: S-1-5-21-1505978256-3813739684-4272618129-1016
  • NOTE: this is just an example. The keys will be in a similar format but will not look exactly like this.
  • Select all the keys that look like this, and then delete them. After these keys are deleted, close the Registry Editor and restart the computer.

Method Three: Check to see if BITS, MSI Installer, Cryptographic, and Windows Update Services are running

Press the Windows key and R. Then, type in services.msc. After the Services window starts up, find the following services:  BITS, MSI Installer, Cryptographic, and Windows Update Services. When these services are found, make sure that they are up and running. If one or more of these services is not running, make sure that they are started. To do this, select the service and then click on Start the Service.

Method Four: Windows Update Troubleshooting

Press the Windows key plus W and then type in “troubleshooting”.  Select Troubleshooting. On the top left corner, select View All. Click on Windows Update troubleshooter. After this, follow the on-screen instructions in order to run the troubleshooter. After the troubleshooter has run, the issue should be fixed.

Congratulations, you have just fixed Error Code 0x80070490 in Windows 10 all by yourself. If you would like to read more helpful articles and tips about various software and hardware visit errortools.com daily. Now that’s how you fix Error Code 0x80070490 in Windows 10 on a computer. On the other hand, if your computer is going through some system-related issues that have to get fixed, there is a one-click solution known as Restoro you could check out to resolve them. This program is a useful tool that could repair corrupted registries and optimize your PC’s overall performance. Aside from that, it also cleans out your computer for any junk or corrupted files that help you eliminate any unwanted files from your system. This is basically a solution that’s within your grasp with just a click. It’s easy to use as it is user-friendly. For a complete set of instructions in downloading and using it, refer to the steps below Perform a full system scan using Restoro. To do so, follow the instructions below.
      1. Download and install Restoro from the official site.
      2. Once the installation process is completed, run Restoro to perform a full system scan. restoro application screen
      3. After the scan is completed click the “Start Repair” button. restoro application screen
Read More
How to Resolve HP Printer Spooler Not Running Error

HP Printer Spooler Not Running Error

HP Printer Spooler Not Running - What is it?

If you have the HP printer, then you may come across this error. HP Printer Spooler not running errors does not mean there is anything wrong with your printer. It indicates printer driver issues.

Solution

Restoro box imageError Causes

There can be multiple causes behind the HP printer Spooler not running error code such as:
  • The poor or unsuccessful printer driver installation
  • Invalid registry entries
Though this is not a critical error code as it does not pose serious damage threats to your PC, however, it is advisable to resolve it as it can cause you a great deal of inconvenience especially if you want to take out printouts every now and then.

Further Information and Manual Repair

Here are some ways you can try to resolve HP Printer Spooler Not Running Error on your system: 1. Reinstall the HP Printer driver on Your System
  • Simply go to the control panel and then click on the Device Manager option
  • Once you click it you will see details pane with a list of devices. Now simply click on the printer, to reinstall the driver software.
  • Double click on it to open the properties dialog box
  • After that click on the driver tab and then click update driver
Once you update the driver, try using the Printer to see if it works. Sometimes you may come across a pop-up displaying the following message: ‘Driver installed correctly, Device is ready to use however, you may not see the printer under the printer’s pane. This triggers registry issues. 2. To resolve registry issues, install Restoro on your system. This is a highly functional registry cleaner integrated with a powerful antivirus. It helps resolve registry issues, malware, and guarantees system optimization. This feature-filled tool is the answer to all your PC-related issues. Restoro is a next-generation PC repair software that extends outstanding usability and helps PC users resolve errors efficiently. Its simple navigation and user-friendly interface make it so easy to use that even novice users can also work around it and repair issues without any hassle or difficulty. It’s a smart and intuitive in-built registry cleaner that wipes out all the unnecessary and obsolete files on your hard disk. This includes junk files, internet history, invalid registry keys, and files from the uninstalled old program versions. Sometimes the files from the uninstalled programs hamper your ability to update new program versions thus leading to unsuccessful driver installation. Nonetheless, all such files are removed in seconds with this helper and you are then ready to reinstall the driver. This registry cleaner cleans the clutter from your hard disk and optimizes your system's speed, lowering your PC boot time significantly. Total System Care can be used on all Windows versions To fix the HP printer spooler not running error on your computer, simply click here to install Restoro. Run it to scan for the error and fix it in seconds. Once the issue is resolved, update the printer driver. You’ll see the driver will be updated successfully and the HP printer will also appear in the printer’s panel. By installing Restoro on your system, you can also resolve several other issues like privacy errors triggered by malware and virus infections. With this tool, you will not have to download and run a separate anti-virus on your system.
Read More
Fix Media Player – Server Execution Failed
You might be trying to play music files using the Windows Media Player, but were unable to do so since you encountered an error saying, “Windows Media Player Error – Server Execution Failed” error. If you encountered this error, worry not for this post will guide you on how to fix it using some potential fixes. In the error message, the “Server execution failed” indicates that the “wmplayer.exe” is still running or shutting down at that point and it is possible that it is stuck which is not able to close properly. To fix this error, there are several potential fixes you can try. The first one is to run the Video Playback troubleshooter. While you could also try to disable the WMP Network Sharing Service or register both the jscript.dll and vbscript.dll files. For more information, refer to the options provided below.

Option 1 – Try to run the Video Playback troubleshooter

The first thing you can do to fix the problem, you can try to run the Video Playback troubleshooter instead. To run it, simply go to Settings > Update & security > Troubleshoot. From there, scroll down until you see the Video Playback option and then click on the “Run the troubleshooter” button to get started. This troubleshooter will detect and automatically fix any problems related to video playback so it should help fix the error.

Option 2 – Try to disable the WMP Network Sharing Service

If the Video Playback troubleshooter didn’t work in fixing the problem, the next thing you need to do is disable the Windows Media Player Network Sharing Service. The WMP Network Sharing Service is used to share the libraries of the Windows Media Player to other users on the network as well as media devices using the Universal Plug and Play. And since you are not using any network here, then you can disable this service to fix the problem. How? Refer to the given steps below.
  • Tap the Win + R keys to open the Run dialog box and type “services.msc” in the field and tap Enter to open the Services Manager.
  • Next, look for the Windows Media Player Network Sharing Service from the list of Services and right-click on it.
  • After that, click on the Stop option and see if it fixes the Windows Media Player error.

Option 3 – Try to register the jscript.dll and vbscript.dll files

  • Tap the Win + X keys and from the menu select the Windows PowerShell (Admin) option to open an elevated Command Prompt.
  • Next, type this command to register the jscript.dll file and click on the confirmation box: regsvr32 jscript.dll
  • After that, execute the regsvr32 vbscript.dll command to register the vbscript.dll file.
  • Once you’re done, these DLL files will be re-registered and should fix the Windows Media Player error.
Read More
How to Fix Error Code 0x80070005 in Windows 10

Error Code 0x80070005 – What is it?

Error code 0x80070005 is also known as the “Access Denied” error code because it prevents Windows users from accessing updates on their machines. This error code exists due to a lack of permissions on one’s system files or registry, permissions which are necessary for the updates via Windows Update to complete successfully. Error code 0x80070005 affects multiple versions of the Windows operating system including Windows 8, 8.1, and Windows 10.

Solution

Restoro box imageError Causes

The lack of files or registry permissions which result in the presence of error code 0x80070005 on your device may occur based on several reasons. The most common of these relates to the existence of malware programs on your machine. Malware can disrupt and change system files which are required for the update process to occur. Thus, this error code requires a systematic approach to first find missing or corrupt files, as well as cleaning up malware programs that could be preventing your machine from accessing updates.

Further Information and Manual Repair

Windows 10 users can repair error code 0x80070005 by implementing manual repair procedures. These procedures include the installation of tools like SubInACL.exe which enable users to access information about registry keys and files, thus detecting issues that may be preventing them from completing the update process in Windows Update.

These manual repair methods are listed below with clear instructions that even average Windows users can understand and follow. However, if you attempt the procedures and experience any issues that prevent you from successfully fixing error code 0x80070005, contact a Windows repair technician. Also, consider downloading an automated tool since these tools often help users fix PC performance issues that cause error codes to occur within various versions of the Windows operating system.

Method One: Log on as Administrator to Install Updates

By logging on as an administrator, Windows users may be able to access updates via Windows Update and thereby fix error code 0x80070005 in Windows 10. Follow the steps below to complete this manual repair method.

  • Step one: Click the Search bar near the Start button
  • Step two: Type User Accounts in Search
  • Step three: Select User Accounts
  • Step four: Click Manage User Accounts, then type in password if prompted to do so

Once you are logged on as an administrator, go to Settings to access Windows Update. You will be given the option to install the latest updates. Select this option and wait for the process to be completed. If error code 0x80070005 reoccurs, however, you will need to proceed to manual repair method two which requires that you scan for malware.

Method Two: Scan for Malware

This method is very simple. As you scan for malware on your machine, you will be able to detect any malicious programs that may be preventing you from installing updates on your device. This will in turn enable Windows users to clean up their system, fix the error code, and prevent others from occurring.

First, be sure you have a viable antimalware program on your machine. Scan for viruses and other harmful programs using this third-party software. Another option is to run Windows Defender on your machine.

Once you’ve completed the scan and error Code 0x80070005 moved any malware that may be present, attempt to install updates via Windows Update. If the problem causing error code 0x80070005 in Windows 10 is resolved, you will be able to install the updates. However, proceed to the next manual repair method if the error code remains on your device after you have scanned and removed malware programs.

Method Three: Install SubInACL Tool

The SubInACL tool enables Windows users to access security details and other information regarding files and registry permissions. Use this tool to fix files and registry permissions by following the instructions below.

  • Step one: Download the SubInACL tool via Microsoft’s official website
  • Step two: Run program as administrator
  • Step three: Restart machine
  • Step four: Go to Settings, Update & security, then Windows Update
  • Step five: Reattempt installation of updates

Once you’ve been able to run the SubInACL tool and fix files or registry permissions, your machine should be able to access updates. If error code 0x80070005 reoccurs, however, you may need to contact a Windows repair technician to verify if issues unrelated to permissions are causing the error code to occur.

Method Four: Download an Automated Tool

If you wish to always have at your disposal a utility tool to fix these Windows 8 and other related issues when they do arise, download and install a powerful automated tool.
Read More
What to do if JPEG files won’t open in Windows 10
As you know, “JPEG” is one of the commonly used formats for image files which is a compression of digital images. It is one of the topmost used file formats by mobile phones and digital cameras and usually achieves a 10:1 compression with little visible loss in the quality of the image. There are tons of cases as of late, most particularly after the latest Windows 10 update where users were not able to open JPEG files on their PCs. Every time they try to open any JPEG file, they either get an error or nothing happens at all. This issue could be due to the default handler application for JPEG applications not being set or there could be some third-party image viewer not working properly. To fix this issue with JPEG files, refer to the troubleshooting options below.

Option 1 – Try to change the file type association

You need to check if the file type association of the JPEG files are correctly set or not since there are tons of third party programs that change the file type association automatically to themselves without your permission the instant they are installed and so if any of these third-party programs are broken, then naturally, your JPEG files won’t really open. That’s why you can try changing the setting to the default photo viewer instead of the third-party one. To do so, follow the steps below.
  • Tap the Win + R keys to open the Run dialog box.
  • Then type in “control panel” in the field and hit Enter to open the Control Panel.
  • After opening Control Panel, click on the Programs category and select the “Default Programs” option from the menu.
  • Next, select the second option “Associate a file type or protocol with a program” and then select the “Choose default apps by file type” option.
  • After that, click on the .jpg file extension and choose the option from the pop-up.
  • Now restart your PC to refresh all your programs and then see if it has fixed the problem or not.

Option 2 – Try to update your computer

Microsoft frequently releases updates to target bugs and improve users’ experience. And this particular error where JPEG files won’t open is already acknowledged by Microsoft so you need to make sure that your Windows 10 PC is updated to the latest released update and that there are no pending updates.
  • Tap the Win + S keys to open Search and then type in “update” in the field and open the system setting from the search results.
  • After that, check for updates and then download and install them if needed.
  • Now restart your PC once the update is done and check if you can now open JPEG files.

Option 3 – Try to reset the Photos app via Settings

Resetting the Photos app could also help you in fixing the problem. Note that this option will reset all the configurations and your data associated with your Photos and makes the application go into a state when you first started using it and that this option will fix any discrepancies that your application might be experiencing right now.
  • Tap the Win + S keys to open the search bar.
  • Then type in “settings” in the field to open the Settings application.
  • After opening Settings, click the “Apps” category.
  • From there, a list of applications installed on your computer will appear.
  • Navigate through these applications until you find the Photos app and then click on the Advanced options.
  • Afterward, click the Reset button that appears on the next screen. Then a new pop-up comes up and will warn you that all the preferences, as well as sign-in information, will be lost. Click on “Reset” anyway to proceed in resetting the Photos app.
  • Restart your PC once the reset is done.

Option 4 – Try to reinstall the Photos app

Before you start using other third-party image viewers just yet, you can try to reinstall the Photos app first. Thus, if there is something wrong with it, it will instantly get fixed right after it reinstalls. Just take note that this option requires administrative privileges so you need to be logged in as an administrator.
  • The first thing you have to do is tap the Windows + S keys and type in “PowerShell”.
  • Next, right-click on the file and click on the “Run as administrator” option from the context menu.
  • Once PowerShell is opened, execute this command: get-appxpackage *Microsoft.Windows.Photos* | remove-appxpackage
  • The command you just entered will remove the Photos app. After the process is done, go to the Microsoft Store and look for Microsoft Photos then download and install it again.
Read More
Fix Cannot load Management Console
TPM, also known as Trusted Platform Module, is a specialized chip used for security as well as encryption of users’ private data like Fingerprint, Facial data, and many more. TPM also comes with a Management Console and if you are not able to load the Management Console and you got the “Cannot load Management Console” error instead, read on as this post will guide you in fixing the problem. This type of issue usually happens when you clear or disable the TPM using the settings in the BIOS and so when you run the Trusted Platform Module Management console, you encounter the error. To fix the “Cannot load Management Console” error in your Windows 10 computer, here are some options you should check out.

Option 1 – If TPM is cleared in the BIOS:

If the Trusted Platform Module is cleared in the settings of the BIOS, you have to close and restart the TPM Management console or TPM.msc once again. It could be that the TPM Management has to reload the changes again after you’ve made them which is why you encounter the “Cannot load management console” error.

Option 2 – If TPM is disabled in the BIOS:

If you opted to disable TPM using the BIOS settings or you have turned it off by accident, then you have to enable it back and you have two options to do that – you can either enable TPM from the BIOS or using the Windows PowerShell. For more details, refer to the instructions below.

Enabling TPM from the BIOS:

  • You need to first reboot your PC and then go to the BIOS.
  • From there, look for TPM under the security options and in case the TPM management option has been disabled or greyed out, refer to the sub-steps given below to make it active again
    • Enable the Admin password in the BIOS.
    • Then go back to the TPM settings and check if the TPM management is already available.
  • After that, you should now be able to enable TPM. Remember that it’s always a good idea to have an ADMIN password for your BIOS as it makes sure that no one can change the settings in your computer BIOS and Security level options.

Enable TPM via Windows PowerShell:

  • This second option is a lot easier compared to the first one if you have admin privileges. So once you’ve opened the Windows PowerShell with admin privileges, you need to run the following command:
    • $tpm = gwmi -n rootcimv2securitymicrosofttpm win32_tpm
    • $tpm.SetPhysicalPresenceRequest(6)
  • After you execute the commands given above, you need to restart your computer.
  • Now, once your computer has restarted, you need to accept any BIOS prompts and then check if the “Cannot load management console” error is now fixed.
Read More
TeamViewer stuck on Initializing Display
One of the popular tools that allow a user to offer or obtain remote assistance on a computer is the TeamViewer. It is available on all the major computer and mobile platforms which makes it a lot useful to every kind of user, even on the go. If you are one of the users who frequently use TeamViewer, then you must be familiar with this one sentence that states, “Initializing display parameters”. In common cases, this sentence will appear for a second and load the other user’s screen. However, some users reported that TeamViewer gets stuck on that stage and did not move ahead even a bit. If you experience the same problem, read on as this post will guide you in fixing this issue with TeamViewer on your Windows 10 computer. At the time of writing, the cause of this issue is still unclear. It could be due to the quality of internet connection, conflicts in process, misconfiguration of Remote Access, and many more. To fix this issue, you can try to update TeamViewer for both the users or have it reinstalled with Unattended Remote Access, or reconfigure the Remote Access. You can also try to kill any conflicting processes or optimize your internet connection. For more details, refer to the given options below.

Option 1 – Reboot your router

The first thing you can try to do to fix the error is to simply restart your router. All you need to do is reboot the router from its Admin panel or you can also turn it off manually and turn it back on after a couple of seconds so that it can completely reboot. Once you’re done, try accessing your server again and see if the error is now fixed.

Option 2 – Try to update TeamViewer on both users’ end

You might have to update the TeamViewer on both ends and to do that, you need to start the TeamViewer installer again. Once it is installed, run the program and click on the Help option in the Menu ribbon and then select the “Check for updates…” option. If an update is found, you will be notified within a couple of seconds through a pop-up mini window. From there, click on Update and then follow the next onscreen instructions that appear and choose your TeamViewer version to update.

Option 3 – Try reinstalling TeamViewer via the Unattended Remote Access

If the first two given options didn’t work, you might have to reinstall TeamViewer from the Windows 10 Settings app or Control Panel.
  • Tap the Win + R keys to launch the Run utility and type “regedit” in the field and hit Enter to open the Registry Editor.
  • Here, navigate to this registry key: Computer HKEY_LOCAL_MACHINE SOFTWARE Wow6432Node TeamViewer
  • Next, look for the TeamViewer key and right-click on it, and select Delete.
  • After that, restart your PC to apply the changes made and then start TeamViewer again, and then click on Connection > Open Management Console.
  • Then sign in or sign up to get registered and select the Add new device radio button under Add > Add computer located on the top-right corner and then select the Download now option.
  • Now follow the next onscreen instructions that appear to complete the installation and then check if it fixes the problem or not.

Option 4 – Try reconfiguring the Remote Access

You can also try to reconfigure Remote Access in case there is some misconfiguration that might have caused the problem with TeamViewer.
  • On your Desktop, right-click on This PC and click on Properties.
  • Next, go to the left side of the navigation panel and click on Remote Settings.
  • From there, make sure that the “Allow Remote Assistance Connections to this computer” checkbox is checked under the Remote Assistance section.
  • Once done, click on the Advanced button. This will open a new mini window where you’ll have to check the “Allow this computer to be controlled remotely” option under the Remote Control section.
  • Then click on OK and see if it fixed the problem.

Option 5 – Try to kill any conflicting processes

  • Tap the Ctrl + Shift + Esc key combination to open the Task Manager.
  • Then navigate to the Processes tab and right-click on the BGInfo process.
  • Now select the End Task option to kill its process and then start TeamViewer again and check if the problem is resolved.

Option 6 – Try to optimize the quality of connection

You need to take care of two things under this option – first, you have to disable the loading of the Wallpaper of the computer which is the one that you’re trying to access remotely. To do that, you have to select the Extras menu from the menu ribbon and then select Options. And under the Remote Control section, check the “Remove remote wallpaper” option. The next thing you have to do is to optimize the quality for the speed by selecting the “Optimize Speed” for the menu of Quality still under the Remote Control section.
Read More
1 2 3 162
Logo
Copyright © 2022, ErrorTools. All Rights Reserved
Trademarks: Microsoft Windows logos are registered trademarks of Microsoft. Disclaimer: ErrorTools.com is not affiliated with Microsoft, nor claim direct affiliation.
The information on this page is provided for information purposes only.
DMCA.com Protection Status