See if your Data is safe in Facebook breach

It is no secret that a few days ago Facebook has been breach and tons of user accounts have been compromised. These kinds of things are very unpleasant experiences for both users and the company itself. User trust lowers significantly in the company and it can greatly increase the chances of users migrating to another platform.

This just shows how much a hacker or security breach can produce damage to the business.

Sadly we can not offer you guidance or assistance in recovering your stolen data nor can we provide you with removing your data from the hands of the attacker. What we can do is to provide you with information has your data been stolen.

Threat actor released the personal information for 533,313,128 Facebook users on a hacking forum, including mobile numbers, name, gender, location, relationship status, occupation, date of birth, and email addresses. This data was originally sold in private sales after being collected in 2019 using a bug in the 'Add Friend' feature on Facebook.

Facebook had closed this vulnerability soon after it was discovered, but threat actors continued to circulate the data until it was finally released practically for free. Since then, Troy Hunt has added the leaked data to his Have I Been Pwned data breach notification service to help users determine if a Facebook member's data was exposed in the leak.

Go to the site and enter your email address to check and see if your data has been compromised.

If you like to learn and find out more about various Windows errors, and how to repair them go to our vast archive or use search to find articles that will explain and help you in solving your issue.
However, if you prefer to do things fast and with automatization then we are proposing to use an automated solution for your issues. The application that we are recommending is Advanced System Repair Pro
Advanced System Repair utilizes multiple tools all in one to give you a quick, simple, reliable, and very thorough diagnosis of your PC. It brings you all the tools you need in one program to clean, fix, protect, optimize and boost your PC!
1-Click Maintenance
All the tools to make it simple and easy! It's like having a professional technician at the click of a mouse.

Junk Cleaner
Keeping your computer free from unnecessary clutter also helps make your computer last longer. Like any other machine, if you keep it clean and take care of it, it will serve you better for longer!

Optimize background apps
Optimize applications background activity with the built-in Application Optimizer feature.

Disk Defrag
With a simple 1-click, Advanced System Repair speeds up your PC by assembling fragmented files on your machine and organizing them more efficiently.

Malware Removal
Finds and removes all types of harmful malware including trojans, worms, bots, adware, spyware, PUPs, and more!

Privacy Cleaner
The all-in-one privacy suite to Clean Your Tracks & Protect Your Privacy! Make your computer safe, secure, and more efficient!

System Tweak/Optimizer
ASR will analyze your complete system and settings to adjust your PC to function at its maximum performance.

Registry Cleaner
Over time, as you install and uninstall applications, the registry can become cluttered with old entries and broken settings which can result in program crashes, and annoying messages and slow the computer down.
Visit our Advanced System Repair Pro Download page to inform yourself about all the benefits of this software and get a free trial copy of it.
advanced system repair pro

Advanced System Repair Pro

One-click automated PC repair solution
ASR logo
With Advanced System Repair Pro you can easily
Replace damaged files
Restore performance
Free disk space
Remove Malware
Protects WEB browser
Remove Viruses
Stop PC freezing
DOWNLOAD
Privacy Policy | Terms of Use | Uinstall
Advanced System Repair Pro is compatible with all versions of Microsoft Windows including Windows 11

Share this article:

You might also like

login does not appear/password box not showing
As you know, Windows 10 offers its users tons of options to log in to their computers. This includes simple and easy methods like PIN and complex ones like the Windows Hello Face unlock. However, there are instances when you might face a situation where the login screen in Windows 10 does not appear at all. If you are currently facing this problem, worry not for this post will show you what you can do to fix this problem. There are actually two scenarios to this issue, you might encounter one where the login screen does not show up at all, while the second one is when the login screen shows up but there is no username or password box. There are several options you can check out to resolve the problem. You can try to run System Restore or try the combination of Ctrl + Alt + Delete keys. You could also try to enter a username and password to use the computer or disable Fast Startup or troubleshoot the problem in a Clean Boot State. You could also create a new User Account or run Fresh Start or run the Startup Repair. To get started, follow each one of the given options below.

Option 1 – Try using the Ctrl + Alt + Delete key combination

The first and simple thing you can do to fix the login screen is to tap the Ctrl + Alt + Delete keys and see if it makes the credentials appear or not. If not, proceed to the next given option.

Option 2 – Try running System Restore

If you aren’t able to boot into the desktop of your computer, you can run System Restore in the Advanced Startup Options by following these steps:
  • Boot your computer into the Advanced Startup Options screen.
  • From there, you will see some options to troubleshoot when you can’t log in to Windows in the usual way.
  • Now select Troubleshoot > Advanced Options > Command Prompt.
  • After that, type “rstrui” and hit Enter to execute the command which will start the System Restore process.
  • Once it’s done, restart your computer.

Option 3 – Try to turn off Fast Startup

  • Tap the Win + R keys to open the Run dialog box and type in “control” to open the Control Panel.
  • Next, click on the Hardware and Sound section and click on Power Options.
  • Afterward, select the “Choose what the power buttons do” option from the left side menu pane.
  • Now click on Change settings that are currently unavailable and uncheck the entry that says, “Turn on fast startup (Recommended).
  • Then click on Save Changes and restart your computer and see if it has fixed the problem or not.

Option 4 – Try troubleshooting the problem in a Clean Boot State

There are times when some conflicting programs installed in your computer might be the reason why there is an issue with the password box in the login screen of Windows 10. To identify which program is causing the problem, you need to put your computer in a Clean Boot State. To do so, follow the steps below.
  • Log onto your PC as an administrator.
  • Type in MSConfig in the Start Search to open the System Configuration utility.
  • From there, go to the General tab and click “Selective startup”.
  • Clear the “Load Startup items” check box and make sure that the “Load System Services” and “Use Original boot configuration” options are checked.
  • Next, click the Services tab and select the “Hide All Microsoft Services” check box.
  • Click Disable all.
  • Click on Apply/OK and restart your PC. (This will put your PC into a Clean Boot State. And configure Windows to use the usual startup, just simply undo the changes.)
  • From there, start to isolate the problem by checking which one of the programs you installed recently is the root cause of the problem.

Option 5 – Try to run Startup Repair

You might also want to run Startup Repair in fixing the issue with the login screen. To do so, follow the steps below.
  • You can start by creating and booting from a bootable Windows 10 USB Stick.
  • After that, click on Repair your computer located on the bottom left corner when you are on the initial Windows Startup screen.
  • Next, click on Troubleshoot, and then on the other screen, click the Startup Repair option.
  • Now select the operating system you want to repair. Once you do that, it will start to repair your operating system. Wait until the process is completed and then check if the problem’s now fixed.
Read More
14 things we had in W10 but are gone in W11
W11 missing features
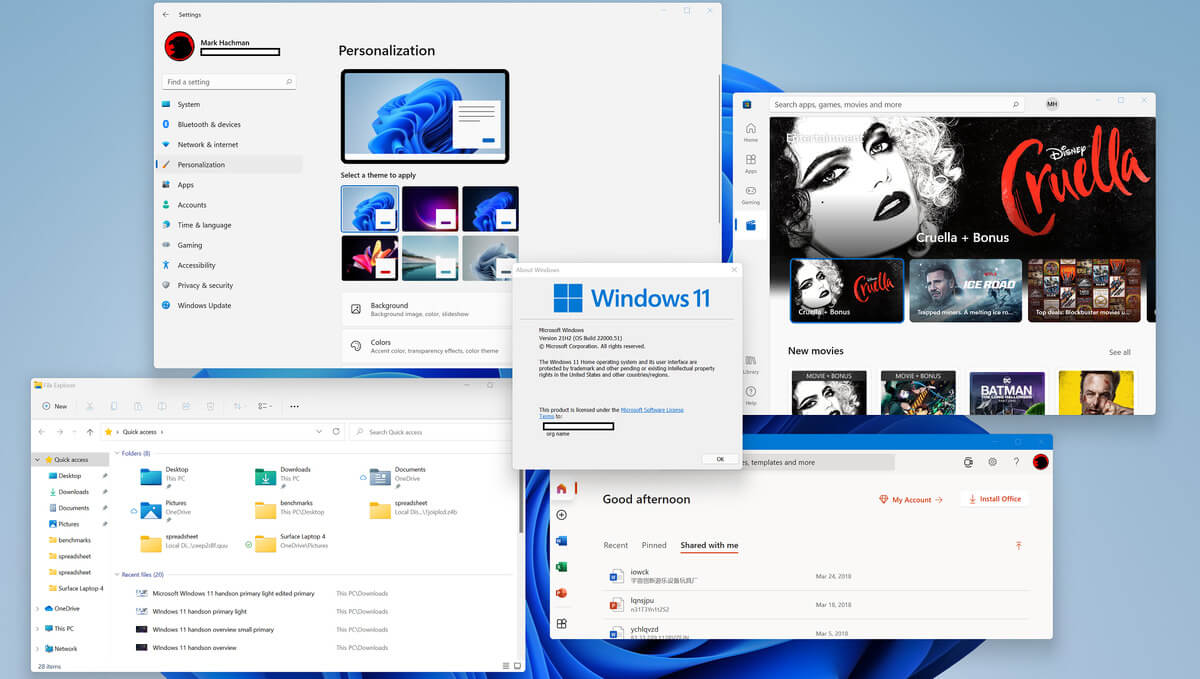
So far we probably all know what are good new and exciting features that W11 is bringing to the table, let’s talk now about features that will be removed and are not there but we had them in W10
  1. Taskbar, do not worry, it is still there but it will be locked hard only to the bottom, people is removed, applications cannot customize areas and some icons will not appear in the system tray.
  2. Start Menu, No more named groups, cannot be resized, live tiles are history and pinned apps and sites will not migrate
  3. Tablet mode is completely removed
  4. Touch keyboard will not dock or undock on screen sizes bigger than 18 inches
  5. The timeline feature is no more
  6. The wallet is also removed
  7. Cortana is not active on first boot experience and it is no longer pinned to the taskbar
  8. Desktop wallpapers are not synched anymore when using an MS account
  9. IE is disabled, IE mode in edge here to fill the gap
  10. Math panel is removed with math recognizer as separate install on demand
  11. News and interests are now Windows Widgets
  12. Quick status is no longer on the lock screen nor in the settings
  13. S Mode exclusive only to Windows 11 home edition
  14. Snipping Tool continues to be available but functionality has been replaced with the Snip & Sketch tool functionality.3D Viewer, OneNote for Windows 10, Paint 3D, and Skype won't be installed anymore on new systems. They remain available when systems are upgraded.
Read More
Moving Taskbar to second monitor in Windows
If you are using a multi-monitor, then you might find it quite useful. It helps many users with their work and brings more productivity. And over the past few years, Windows has managed to offer one of the excellent multi-monitor features where users can plug in an additional monitor and access their work or use their computer seamlessly on both displays. This is really handy, especially for users who are graphic designers, gamers, and other professionals who have to use a larger screen for their work. One of the biggest inconveniences for users who use multi-monitor is that the Taskbar is switched on, on both displays, by default. This default arrangement is most likely to cause clutter on the second display. So if you are one of these users who find such a thing annoying, then you will find this post useful for you as we will walk you through how you can move the Taskbar to a second monitor. To get started, follow the instructions laid out below. Step 1: The first thing you have to do is right-click on the Taskbar. Step 2: Next, uncheck the “Lock the taskbar” option. Step 3: After that, click and hold the taskbar and drag it to the second monitor. Step 4: Once done, click the mouse button on the place where you want to place the taskbar. Step 5: Now right-click on the “Lock the taskbar” option to lock the taskbar. Once you’re done carrying out the steps given above, there are Advanced Options you can explore. This array of advanced options are offered by Windows 10 to fine-tune the multi-monitor experience of users. For instance, you have the option to choose to show the taskbar on an active screen only or combine the buttons on other taskbars. It would be better if you try out different variations and stick with the best one. In addition, you could also move the taskbar from one display to another.
Read More
Fix Boot Configuration Data error 0xc0000185
This post will guide you in fixing a particular problem where your Windows 10 computer does not even let you turn it on and it appears as soon as it starts to boot the operating system and it displays an error message that says, “The Boot Configuration Data for your PC is missing or contains errors, Error code 0xc0000185”. On the other hand, it may also display a different error message saying, “The operating system couldn’t be loaded because a required file is missing or contains errors”. There are various suggestions you can try to resolve this error. You could check the physical status of your hardware or rebuild the Boot Configuration Data, use the Automatic Startup Repair or System Restore, or better yet, reset your Windows 10 computer. Since your computer will not boot, you will have to either try to get into the Advanced Startup Options screen, boot Windows 10 in Safe Mode, or use a bootable Windows 10 media to boot your computer.

Option 1 – Try to rebuild the BCD files

The first thing you can do to resolve the issue is to Rebuild Boot Configuration Data or BCD files.
  • You can start by booting into the installation environment for Windows 10 from an installation media.
  • After that, click on Repair your computer and on the blue screen, select Troubleshoot and then select the Advanced options menu.
  • From there, select Command Prompt and once you open it, enter each one of the commands given below by sequence.
    • bootrec /FixMbr
    • bootrec /FixBoot
    • bootrec /ScanOS
    • bootrec /RebuildBcd
  • Once you’re done executing the commands given above, type “exit” to close the Command Prompt window and then restart your computer and see if it fixed error code 0xc000014c.

Option 2 – Try to run Automatic Startup Repair

In this option, you need to boot your computer into the Advanced Startup Options and from there, run the Automatic Startup Repair and then wait until the process is completed.

Option 3 – Try running System Restore in Advanced Startup Options

Since you probably can’t boot into your Windows 10 computer, you can try to run System Restore again in the Advanced Startup Options.
  • Boot your computer into the Advanced Startup Options screen.
  • From there, you will see some options to troubleshoot when you can’t log in to Windows in the usual way.
  • Now select Troubleshoot > Advanced Options > Command Prompt.
  • After that, type “rstrui” and hit Enter to execute the command which will start the System Restore process.

Option 4 – Try to perform repair install by creating a Windows 10 installation media

  • Click this link and then click the Download Tool Now button.
  • Next, click the “Use the tool to create installation media (USB flash drive, DVD, or ISO file)…” option and follow the next given instructions on the screen.
  • Now select the ISO file option in step 5.
  • After that, you should now have an ISO file.
  • Next, go to the location where you’ve downloaded the ISO file.
  • Then right-click on the Windows 10 ISO file and select the Open with option and then select File Explorer.
  • Now click on “setup.exe” and follow the next instructions that appear on the screen. When asked, you have to select either Nothing (clean install) or Keep personal files only option. Take note that you must not select the “Keep personal files, apps, and Windows settings since it doesn’t really work.

Option 5 – Try to physically check the hardware

You should also check the physical status of the hardware in your computer. You can clean the dust off the hardware components like the Network Card of the computer. You might want to use a small blower or you could also use a soft cloth and run the components gently. Make sure that you don’t damage any parts with moisture or cause harm to any circuits while you carry out this task.
Read More
Enumerating user sessions to generate ...
There are times when the Windows Search doesn’t work and you wouldn’t have a clue as to why it happened since it does not give any error codes. In such cases, you have to check the error logs in the Event Viewer to find out more about the problem. From there, look for an error with the Event ID 3104 in the Windows error logs and if you see an error message that says, “Enumerating user sessions to generate filter pools failed”, read on as this post will guide you in fixing the problem. Apart from the error message, you might also see more information in the details section of the log that says, “(HRESULT: 0x80040210) (0x80040210)”. This kind of error is most likely caused by something that prohibits the search function from initializing. A lot of users assumed that it could be due to Cortana but it’s actually not. While some users also reported that they encounter the issue after they restarted their computers. This error was also reported with the same event ID 3104 on the Windows Server. According to security researchers, this error could be caused by problems in the Registry entry of Windows search. It could also be due to an issue with the SYSTEM account where it hasn’t been added to the DCOM Security. It is also possible that the Windows Search function has not been initialized. To fix this error, you can try to rebuild the Search Index manually or run the Search and Indexing troubleshooter. You can also check the startup type of the Windows Search service or try some registry tweak.

Option 1 – Try to rebuild the Search Index manually

The first thing you can do to fix the problem is to manually rebuild the Search Index. You can do that by going to Control Panel > Indexing Options and from there, click on Advanced. After that, go to the Index Settings tab and then click on Rebuild > OK. Once you’re done, check if it fixed the problem.

Option 2 – Try running the Search and Indexing troubleshooter

You could also run the Search and Indexing troubleshooter in Windows 10 as it checks whether the settings are in place and automatically corrects any issues with the Windows 10 search function. To run this troubleshooter, just click on the Start button and select Settings > Updates and Security > Troubleshoot. From there, select the Search and Indexing Troubleshooter. Once the troubleshooter is done, restart your computer and see if it fixed the error.

Option 3 – Try checking the startup type of the Windows Search Service

In this option, you have to check the startup type of the Windows Search service since the service won’t start. To do so, refer to these steps:
  • Tap the Win + R keys to open the Run utility and type “services.msc” in the field and then tap Enter to open the Services Manager.
  • Next, from the list of services, look for the Windows Search Service or WSearch. Once you find it, right-click on it and select Properties.
  • After that, change the Startup type to Automatic and click on the Start button if the service is in the Stop state.
  • Now click on the Apply and OK buttons to save the changes made and then restart your computer.

Option 4 – Try changing the Registry entry for Windows Search

Before you apply some registry tweak, you need to create a System Restore point first. Once you have that covered, follow these steps:
  • Tap the Win + R keys to open the Run utility and type “Regedit” in the field and tap Enter to open the Registry Editor.
  • If a User Account Control prompt appears, just click Yes to proceed.
  • After opening the Registry Editor, navigate to this registry path: HKEY_LOCAL_MACHINESOFTWAREMicrosoftWindows Search
  • From there, click on Windows Search and look for the key named “SetupCompletedSuccessfully” and change its value to “0”. Just right-click on it and select Modify.
  • Then input “0” as its value data and click on OK to save the changes made.
  • Exit the Registry Editor and restart your computer.
  • Now check if the Enumerating user sessions to generate filter pools failed is fixed or not.
Read More
Fix Installer encountered an error 0x800f0905

Are you trying to update your Windows 11 OS and are receiving a 0x800f0905 error? Do not sweat and do not worry we have a couple of solutions that you can try in order to fix this issue. How this error is tied to various things like misconfigured settings, corrupt system files, and more there is no way to present one simple solution that will solve everything in one click.

error 0x800f0905
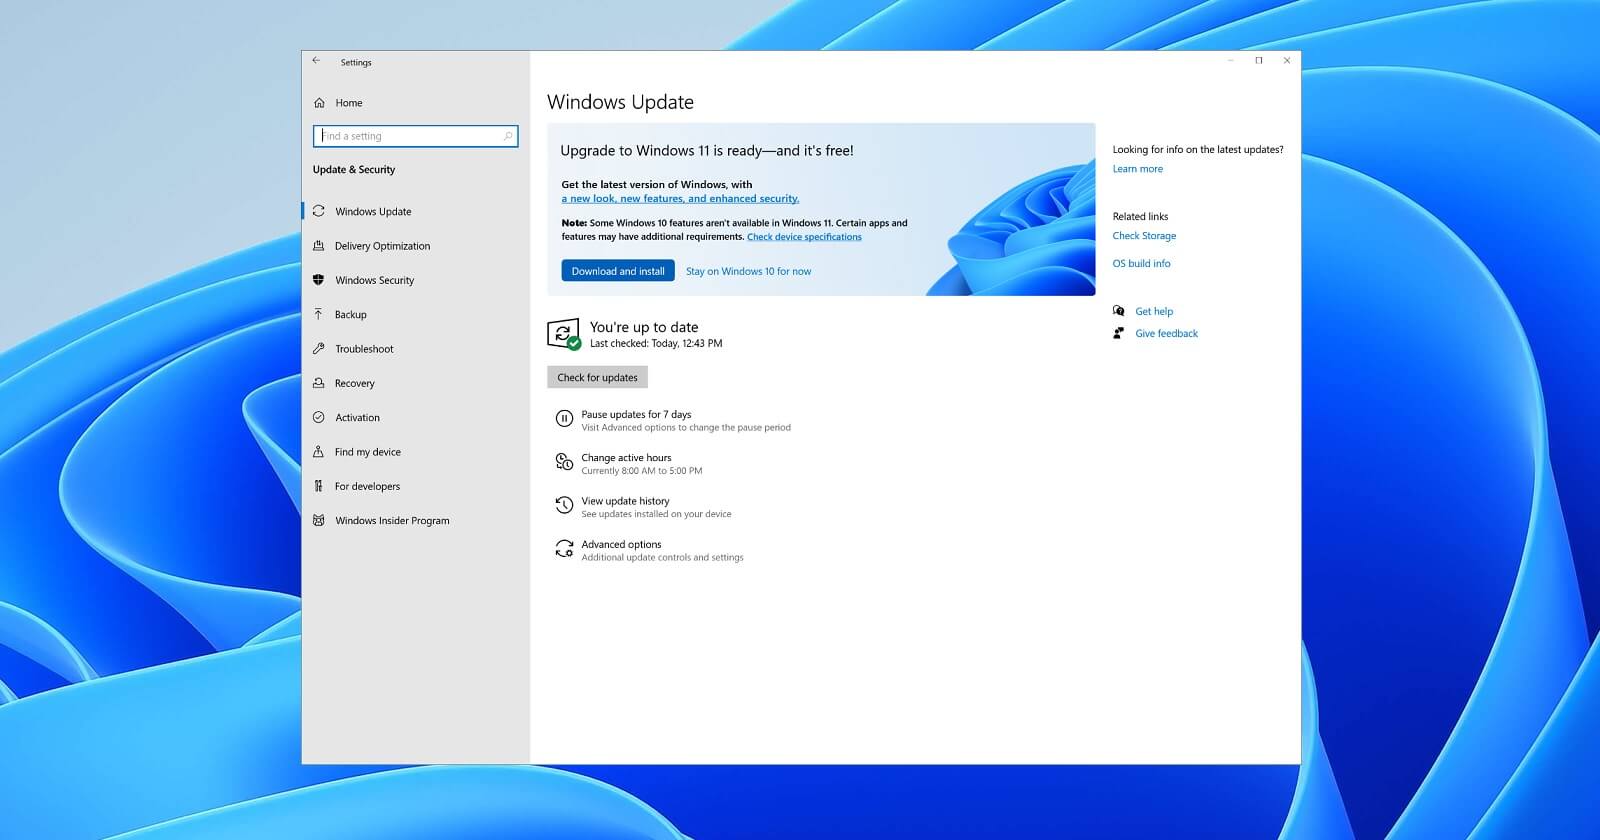
Therefore we are presenting a couple of solutions that will fix your issue, it is advisable to follow them as presented since they will go from the most common to the more complex one.

Run the troubleshooter

The most common fix and one that will actually repair things most of the time is simply running the Windows Update troubleshooter.

  1. Press ⊞ WINDOWS + I to open the Settings app
  2. Click on System on the left
  3. Click on Troubleshoot in the right part
  4. Click on Other Troubleshooters
  5. Find the Windows Update section and click on Run
  6. Let troubleshooter finish

Reset Windows update components

If the previous solution did not work we will need to do things manually. Follow the steps as presented in order to reset Windows update components.

  1. Press ⊞ WINDOWS + S to open search
  2. Type in Terminal
  3. Select Run as administrator
  4. Click on Yes on the User account control (UAC) pop up
  5. Press CTRL + SHIFT + 2 to open Command prompt
  6. Inside command prompt type each line of a command followed by ENTER after each line:
    net stop bits
    net stop wuauserv
    Del “%ALLUSERSPROFILE%Application DataMicrosoftNetworkDownloaderqmgr*.dat”
    Ren %Systemroot%\SoftwareDistribution\DataStore DataStore.bak
    Ren %Systemroot%\SoftwareDistribution\Download Download.bak
    Ren %Systemroot%\System32\catroot2 catroot2.bak
    exe sdset bits D:(A;;CCLCSWRPWPDTLOCRRC;;;SY)(A;;CCDCLCSWRPWPDTLOCRSDRCWDWO;;;BA)(A;;CCLCSWLOCRRC;;;AU)(A;;CCLCSWRPWPDTLOCRRC;;;PU)
    sc.exe sdset wuauserv D:(A;;CCLCSWRPWPDTLOCRRC;;;SY)(A;;CCDCLCSWRPWPDTLOCRSDRCWDWO;;;BA)(A;;CCLCSWLOCRRC;;;AU)(A;;CCLCSWRPWPDTLOCRRC;;;PU)
    cd /d %windir%\system32
    regsvr32.exe atl.dll
    regsvr32.exe urlmon.dll
    regsvr32.exe mshtml.dll
    regsvr32.exe shdocvw.dll
    regsvr32.exe browseui.dll
    regsvr32.exe jscript.dll
    regsvr32.exe vbscript.dll
    regsvr32.exe scrrun.dll
    regsvr32.exe msxml.dll
    regsvr32.exe msxml3.dll
    regsvr32.exe msxml6.dll
    regsvr32.exe actxprxy.dll
    regsvr32.exe softpub.dll
    regsvr32.exe wintrust.dll
    regsvr32.exe dssenh.dll
    regsvr32.exe rsaenh.dll
    regsvr32.exe gpkcsp.dll
    regsvr32.exe sccbase.dll
    regsvr32.exe slbcsp.dll
    regsvr32.exe cryptdlg.dll
    regsvr32.exe oleaut32.dll
    regsvr32.exe ole32.dll
    regsvr32.exe shell32.dll
    regsvr32.exe initpki.dll
    regsvr32.exe wuapi.dll
    regsvr32.exe wuaueng.dll
    regsvr32.exe wuaueng1.dll
    regsvr32.exe wucltui.dll
    regsvr32.exe wups.dll
    regsvr32.exe wups2.dll
    regsvr32.exe wuweb.dll
    regsvr32.exe qmgr.dll
    regsvr32.exe qmgrprxy.dll
    regsvr32.exe wucltux.dll
    regsvr32.exe muweb.dll
    regsvr32.exe wuwebv.dll
    netsh winsock reset
    net start bits
    net start wuauserv

Well, that was a lot of typing or copy and pasting line by line followed by ENTER after each one but hopefully, your issue is solved. These provided solutions fixed most users' issues with this error but if for some reason this is not the case for you, move to the next step.

Run the SFC scan

If you are still having 0x800f0905 error after previous attempts do the following:

  1. Press ⊞ WINDOWS + S to open search
  2. Type in Terminal
  3. Select Run as administrator
  4. Click on Yes on the User account control (UAC) pop up
  5. Press CTRL + SHIFT + 2 to open Command prompt
  6. Type in sfc /scannow and press ENTER
  7. Wait for the scan to finish
  8. Reboot the computer

Perform a system restore

If for any reason previous solutions have not provided you with the solution we will try to fix the issue by performing system restore.

  1. Press ⊞ WINDOWS + S to open search
  2. In the text box type in Create a restore point
  3. Click on the closest match in search results, should be Create a restore point
  4. Click on System Restore or on Next if there are no points created
  5. Choose to restore a point from the list and click on next
  6. Review settings and click on Finish
  7. Wait for the process to finish and for the computer to restart

Manually install update

If for any reason Windows still cannot install the update, try installing it manually.

  1. Go to Windows 11 update history and find the Knowledge base (KB) number for the latest version
  2. Go to the official Microsoft Update Catalog
  3. Paste the KB number in the search box and press ENTER
  4. Click on DOWNLOAD
  5. Double click on the downloaded file to launch the installer
  6. Follow on-screen instructions and install the update

Perform Windows 11 reset

If nothing worked, reset your Windows 11 to its factory settings to fully repair and reset the whole operating system.

Read More
Windows keyboard language changes on its own
If you have multiple keyboards, things can get quite tricky. There are times when the keyboard language changes on its own since the keyboard changes while you are typing. The thing is, the keyboard changes because sometimes we accidentally tap shortcuts like Win key + Space key or Alt + Shift or Ctrl + Shift which changes the keyboard pairs or language. Thus, if your keyboard language changes on its own, there are two ways to resolve it. First, you have to make sure that Windows 10 does not add keyboards without your permission. Second, you have to make sure that the shortcut keys don’t change the keyboard language. This second option is what we’re going to discuss in this post. You need to first set a different input method for each app window. To do that, you have to disable the change in layout. Refer to these steps:
  • Go to Settings > Language and input.
  • Next, type “switching input methods” to open the Advanced keyboard settings with this option inside.
  • After that, select the checkbox labeled as “Let me set a different input method for each app window” and then click the Save button.
  • Restart your computer.
Now that you’ve disabled the change in layout, you now have to find the keyboard settings. Just go to Settings > Devices > Typing > Advanced Keyboard settings. From there, you have the option to select which keyboard is going to be used for any app. When you change the keyboard every time you use an app, usually, Windows remember it so that you won’t have to set it up all over again. In addition, the Advanced keyboard settings page also allows you to override the default input method which could be different from the first one in your language list. Aside from that, there is also a Language bar option that comes in handy as you can quickly switch between keyboards. And if you removed it, you have the option to restore the language bar back as well. Now all that’s left for you to do is to change the Language Settings under the Administrative tab. A user from a forum that came up with this solution, reported that the issue occurred when he started typing in some program with non-Unicode characters which caused Windows to use the default system local language to interpret these characters even though the language is unavailable in the Language bar. To change the Language Settings under the Administrative tab, follow these steps:
  • Go to Settings > Time and Language > Language > Administrative language settings.
  • After that, click on Copy Settings under the Administrative tab.
  • Now make sure that all the Display language, Input language, and Format are English (United States) or any language you prefer.
  • Then mark the two checkboxes in “Copy your current settings to Welcome screen and system accounts & New user accounts”.
  • After that, click OK and then exit.
Note: You also have the option to disable those shortcut combinations which can change your keyboard settings accidentally.
Read More
Resume an Interrupted Download in Chrome
Where all have been there, we are downloading something and for any kind of reason chrome closes, internet breaks, etc. And our download is interrupted and gone forever, and we need to start again. You will be glad to hear that chrome has side a download manager which tracks each download you made and you can use this manager to resume interrupted downloads. Please note that some websites have certain scripts that will prevent you to resume interrupted downloads, in this case, using chrome's download manager will not work and you will have to start the download again. All of this being said, if your download has been interrupted, and went away, pin Chrome press CTRL + J to open download manager, find your interrupted download, and press the resume button. That's it, you have successfully resumed your download.
Read More
Quick Workarounds to Repair Error 126
[vc_row][vc_column][vc_column_text]

Fix Error 126

What Is Error 126?

Error 126 is a very commonly occurring error that is often the result of damaged system files of Windows. They usually occur during the installation of some Windows program or application. When Error 126 is generated, it terminates the installation process almost instantly. It is important to take corrective measures immediately to ensure that no such problems are encountered again in the future.

Solution

Restoro box imageError Causes

There are a variety of conditions that may trigger Error 126. These conditions are listed below as follows.
  • Corruption of the service-related DLL file
  • Missing or damage service-related DLL file
  • Corrupt, damaged, or Misconfigured system files
  • Improper hardware or application installations or uninstallations
  • Existence of viruses, malware, adware, or spyware in the system
  • Corrupt or incorrect registry entries in the system files
When any of the above-listed conditions occur, the corrupt system files will go to the improper links or missing information. Eventually, the problems with the files will keep the applications or programs from responding in the usual manner. Whatever are the reasons for error generation, it is of utmost importance that the error is removed to ensure smooth functioning of the system.

Further Information and Manual Repair

There are many different ways this error can be rectified. However, the two most effective solutions are listed below as follows.
  • This solution is for the advanced user. Turn on the system and log on to it as the Administrator. Now click on the Start button. Now click on All programs -> Accessories -> System Tools. Here you will come across the option for System Restore. Click on it. A new window will appear. Select 'restore my computer to an earlier time' point. Now clock on Next. A list of restore points will now appear in front of you. Choose the latest restore point you come across from this list and click on ‘Next’. In the next window that opens, click on ‘Next’ again. This is the confirmation window. Once the restoration finishes, restart your computer.
  • This solution is for novice users. Download an Error 126 repair utility program. Install it on your system. Now use it to scan your system for error. Find out if there is any option to fix/repair error. When you come across it, click on it as soon as the scan is complete. Restart your computer. Your system is now free of Error 126.
[/vc_column_text][/vc_column][/vc_row]
Read More
Folder shortcuts in Windows 11 on Start menu
Special folders like music, pictures, download, videos, etc, can be placed as shortcuts in the start menu inside Windows 11 for easy access. Shortcuts will appear in the start menu on the bottom as simple glyphs. They are not present in the start menu by default so it needs to be turned ON first. Folder shortcuts
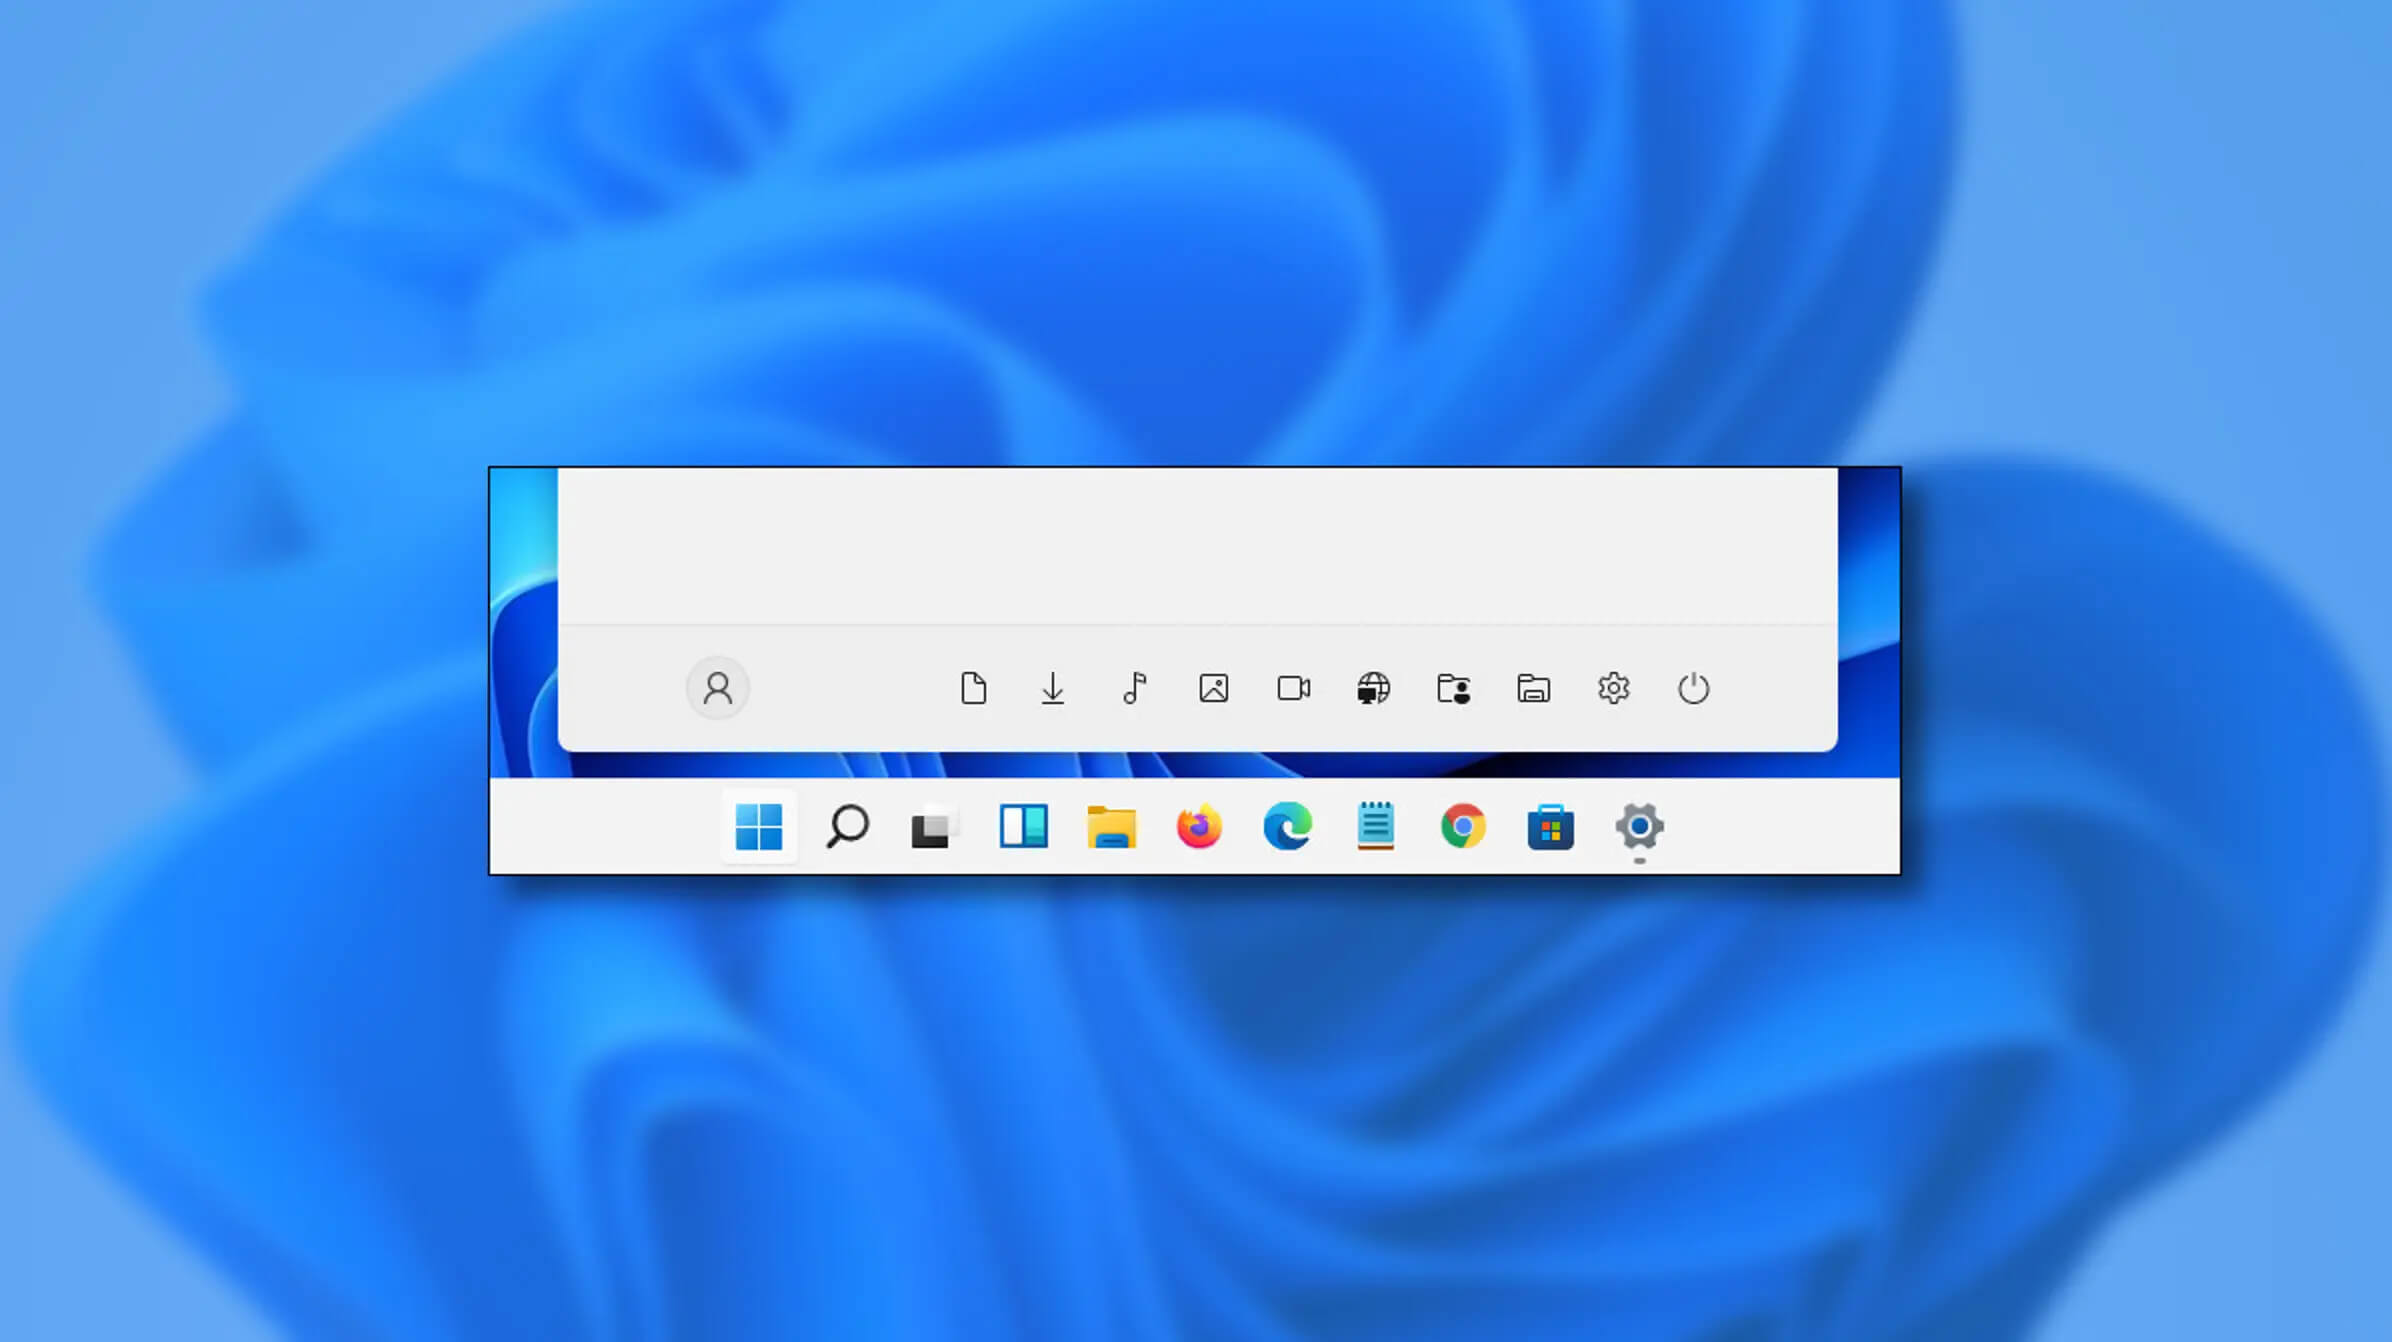
If you want to place these icons in your Star menu follow this step-by-step guide and you will have them in no time.
  1. Open Windows settings
  2. In settings go to Personalization > Start
  3. In Start click on Folders
  4. On the given list of Settings, File Explorer, Documents, Downloads, Music, Pictures, Videos, Network, and Personal folder click on the switch beside them if you want them as shortcuts in the Start menu. You can choose whichever you want.
  5. Close settings
You can revisit the settings menu to add more icons or remove some of them later if you wish so.
Read More
1 2 3 162
Logo
Copyright © 2022, ErrorTools. All Rights Reserved
Trademarks: Microsoft Windows logos are registered trademarks of Microsoft. Disclaimer: ErrorTools.com is not affiliated with Microsoft, nor claim direct affiliation.
The information on this page is provided for information purposes only.
DMCA.com Protection Status