If you are in the process of booting up your computer but suddenly encountered an error saying, “The Boot Configuration Data for your PC is missing or contains errors” with an error code of 0xc0000454, read on as this post will help you resolve the problem.
The error code 0xc0000454 occurs when you boot your computer and when the Windows Boot Manager encounters an issue with the Boot Configuration Data or BCD. The error code 0xc0000454 (STATUS_INSUFFICIENT_NVRAM_RESOURCES) signifies that there are no sufficient NVRAM or Non-Volatile Random Access Memory resources to complete the API. NVRAM is a component of the system based on the software that stores the Boot Configuration Data in an operating system. Usually, a simple restart can resolve the problem. However, if you’ve already done that and it’s of no use, then there are other potential fixes you can check out to troubleshoot the problem.
To resolve the error code 0xc0000454, here are some potential fixes that should help:
As mentioned, the error could also be due to corruption in BCD, and to fix it, you can use Bootrec.exe – a built-in command-line tool used to troubleshot issues related to boot up and Windows Startup. Before you run this tool, make sure that you have inserted a bootable USB or DVD into your computer. Once you have that covered, follow these steps:
You might also want to use Automatic Repair in fixing the error. To do so, follow the steps below.
Disabling the Secure Boot in the BIOS settings is definitely recommended to resolve the error. To disable Secure Boot, here’s what you have to do:
If updating the BIOS didn’t help in fixing the error, you can try to reset the BIOS instead.

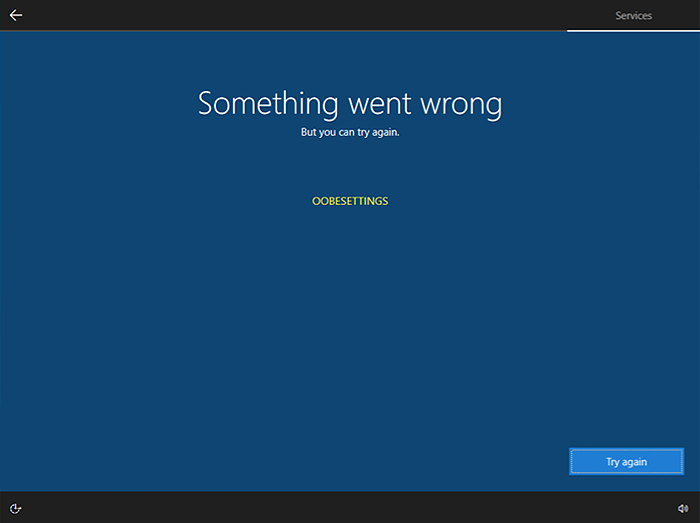 Oobesttings error is the blue screen of death error caused by some faulty settings inside the Windows registry. The good news is that this is not a hard error to fix and if by any chance you are one of the unfortunate people getting this dreaded annoying error, please do keep reading because we have several things that you can do in order to eliminate this issue from your computer.
Error code 0x8007007b will present itself when Windows users are trying to activate Windows. You may try to activate it through the update and security option, but it is likely that you will receive the same error code. Error code 0x8007007b may be presented when Windows 7 and Windows 8.1 users try to upgrade and activate Windows 10 on their computer.
Common symptoms include:
 Error Causes
There are multiple causes for the user to see this error code, including if a user is using volume-licensed media while installing a number of various Windows operating systems. This error may also be caused because the activation wizard cannot connect to a KMS host computer. It is likely that if the user has a volume-licensed form of media, they were likely given a MAK (multiple activation keys).
There are several ways to go about repairing error code 0x8007007b. It is important to try all of the methods, but if it is too difficult or you do not know what you are doing, please do contact a Windows repair technician. They will likely be able to fix the problem with ease.
When KMS activation is not used, and when there is not a KMS server, the product key type should then be changed to a MAK. For MSDN (Microsoft Developer Network) or TechNet, the SKUs that are listed on the media are generally volume-licensed media, and that means that the product key that is supplied is a Multiple Activation Key.
To change the KMS to a MAK, click Start, All Programs, Accessories, and then right-click on Command Prompt. Click Run as Administrator. If prompted for a password or confirmation, enter it now.
When the command prompt opens, type in the following command, and press enter after:
slmgr -ipk xxxxx-xxxxx-xxxxx-xxxxx (these x's are representative of the MAK product key).
While on the desktop, press the Windows key and R. The Run window should appear, and then you should enter the following command: Slui 3. Press Enter and then wait for the window to appear. This window will ask for the operating system activation product key. Enter the product key and then press the Activate button. Reboot the computer. Now the Error Code 0x8007007b should be gone.
Open the Command Prompt with access as administrator as mentioned previously. Enter the following command: sfc /scannow. The command will then complete its task. This will take a good bit of time, so leave the computer to do its work. The sfc must finish the scan. When the scan has finished, reboot the computer. Now you can check for activation. The error code should be gone.
This method for correction should be used when the network does have a KMS host computer setup, and the client is not able to locate the KMS host on the network to complete activation.
To verify that the computer does in fact have the KMS host installed. Click Start, All Programs, Accessories, and then right-click on Command Prompt. Run as administrator. If you are now prompted to enter a password or confirmation, do so. When the command prompt box comes up, type in the following command, and then press Enter: nxlookup -type=all_vlmcs._tcp>kms.txt
The command will generate a file, open this KMS file. The file will contain one or more entries. As a default, the KMS host server will dynamically register a DNS SRV server evidence once every 24 hours. In order to check the registry to ensure that this is happening, follow these steps:
If you wish to always have at your disposal a utility tool to fix these Windows 10 and other related issues when they do arise, download and install a powerful automated tool.
Error CausesError CausesThe program can’t start because MSVCR71.dll is missing from your computer, Try reinstalling the program to fix this problem.If by any chance you have encountered this error know that you are not alone and that this is a solvable error. In this guide, we will show you how to fix this error. Usually, the MSVCR71.dll missing error is met when a new application is installed. So let us dive right into it and solve it.
Error CausesAfter upgrading to Windows 10 operating system from Windows 7 or Windows 8/8.1, a lot of Windows users are complaining about the Windows setup in a continuous reboot loop. The computer would just keep on rebooting every time the machine is booted and this incites frustration for a lot of Windows users.
Error CausesWhen Windows launched the third update for Windows 10, users trying to upgrade to Windows 10 encountered an endless reboot loop problem. The computer will crash repeatedly. The KB3081424, which is a roll-up of bug fixes of Windows 10, continuously fails once you start the update process and then triggers a message showing: “We couldn’t complete the updates, undoing the changes.” The undoing process will then cause a system reboot mandatorily.
Once you log back on your computer again, the Windows 10 update will try to reinstall KB3081424. You will not be able to stop the update which will cause your Windows setup in a continuous reboot loop.
The KB3081424 will not be successfully installed since if it fails for the first time, that initial failure can be detected to create a bad entry in your Windows 10 registry. This will then prevent your subsequent attempts to reinstall KB3081424 to make it work correctly.
In order to fix the problem of Windows 10 setup in a continuous reboot loop, there are a few methods you can try. Try following these simple steps and you’ll be able to get rid of the problem.
Note: If you’re not highly confident to solve this issue on your own, it is highly recommended to consult an authorized computer technician who would be knowledgeable enough to fix the issue for you. In addition, you can also use a system optimizer to resolve the issue.
Microsoft Windows released an updated fix for the Windows setup in continuous reboot loop problem. You can try fixing the issue through Windows Update.
Before KB3081424 attempts to install again, you can try doing this solution:
Another thing you can try to solve the Windows setup in continuous reboot loop problem is to perform a startup repair from a working computer.
NOTE: You must do this quickly since the BIOS loads rapidly.