 in the menu, on the bottom choose taskbar settings. Once the settings dialog opens, on the right side locate the taskbar location on screen.
 Click on the dropdown menu and choose the desired location for the taskbar.
 Every time a new drive or any storage device is connected to a Windows 10 computer, the operating system tends to allot a drive letter to it automatically. Not only that, as the OS also maps the location of the drive which helps it point the letter to the exact port location of the drive and serve requests from the user. As a result, it builds up a bit of cache as per the pattern in which the user uses the storage of the computer. This whole process is known as “Auto Mounting” which works for hard disks or optical drive readers that are connected using the SATA ports and even for USB drives that are connected using the USB ports.
There are several ways you can enable or disable the Auto-Mount feature in Windows 10. You can do it using the MountVol tool or the Registry Editor or the Diskpart utility. Before you proceed, it is recommended that you create a System Restore point first so that you can always undo the changes you made in case anything goes wrong.
In this option, you will be using the mountvol command in the Command Prompt. Refer to the steps below.
mountvol /E
mountvol /N
mountvol /R
diskpart
automount
automount enable
automount disable
automount scrub
 in the menu, on the bottom choose taskbar settings. Once the settings dialog opens, on the right side locate the taskbar location on screen.
Click on the dropdown menu and choose the desired location for the taskbar.
in the menu, on the bottom choose taskbar settings. Once the settings dialog opens, on the right side locate the taskbar location on screen.
Click on the dropdown menu and choose the desired location for the taskbar. Error Code 0x80244019 is a basic error that occurs during the Windows Update process in Windows 10 and previous versions of the software dating back to the release of Windows XP. It can cause updates to fail, which can often be frustrating for Windows users who are attempting to keep their devices up to speed.
Common symptoms include:
While an error during the Update process can be frustrating to encounter, there are a few simple solutions that can be employed to try to address the problem at hand. At least one of the methods for resolution does require some familiarity with the command prompt and other advanced tools, so if you are not completely confident in your ability to follow the steps mentioned below, you may want to get in touch with a qualified repair technician who can assist you in resolving the error code.
 Error Causes
In some cases, the error in the Update process can be caused by a conflict between the operating system and the antivirus software running on your computer. In other cases, there may be a portion of the file missing or corrupted that needs to be fixed before the Update process can be run through to completion.
For users who are experiencing the appearance of Error Code 0x80244019 on their devices, there are a few methods that can be used to attempt to resolve the issue. While at least one of these methods is fairly simple to complete, even for basic users, the other does require some comfort in using the command prompt to input a series of commands. If you do not feel comfortable in following the steps listed below, contact a computer repair professional who is familiar with Windows 10 to assist you.
Here are the top methods for dealing with Error Code 0x80244019 on a Windows machine:When an error arises during the Windows Update process on Windows 10, the best solution is often to use the built-in tool provided by Microsoft, the Windows Update Troubleshooter. An option to open this tool often appears when the error message itself appears.
By running this tool, your system will attempt to scan the files involved in the Update process to try to determine where the conflict or error may be occurring. If one of the system files needs to be repaired or downloaded again, this tool can often resolve the issue on its own.
If the Troubleshooter tool successfully fixes the error, be sure to restart your computer before attempting to run the Update process again so that you can fully apply any changes that have been made.
In some cases, however, the Troubleshooter tool will not be able to find the problem or will be able to identify what the issue is, but not able to fix it. If this happens, it may be time to turn to Method Two.
To manually reset the assets associated with the Windows Update tool, follow these steps:
Once these steps are done, you can try to use the Windows Update tool again to see if the problem has successfully been resolved.
If you wish to always have at your disposal a utility tool to fix these Windows 10 and other related issues when they do arise, download and install a powerful automated tool.
nslookup [–SubCommand …] [{ComputerToFind| [–Server]}]If you’ve determined that the drives disappear each time, you may have to change the DNS server or ask your admin to resolve the problem for you. Alternatively, you can also check out another option that has worked for a lot of users. This second option is disabling the IPv6 on the network adapter. In case you don’t know, Windows 10 prefers IPv6 over IPv4 so if you now have issues using IPv6 to connect to the servers, you can change your computer’s settings so that it’ll only use IPv4 instead of IPv6. To do so, follow these instructions:
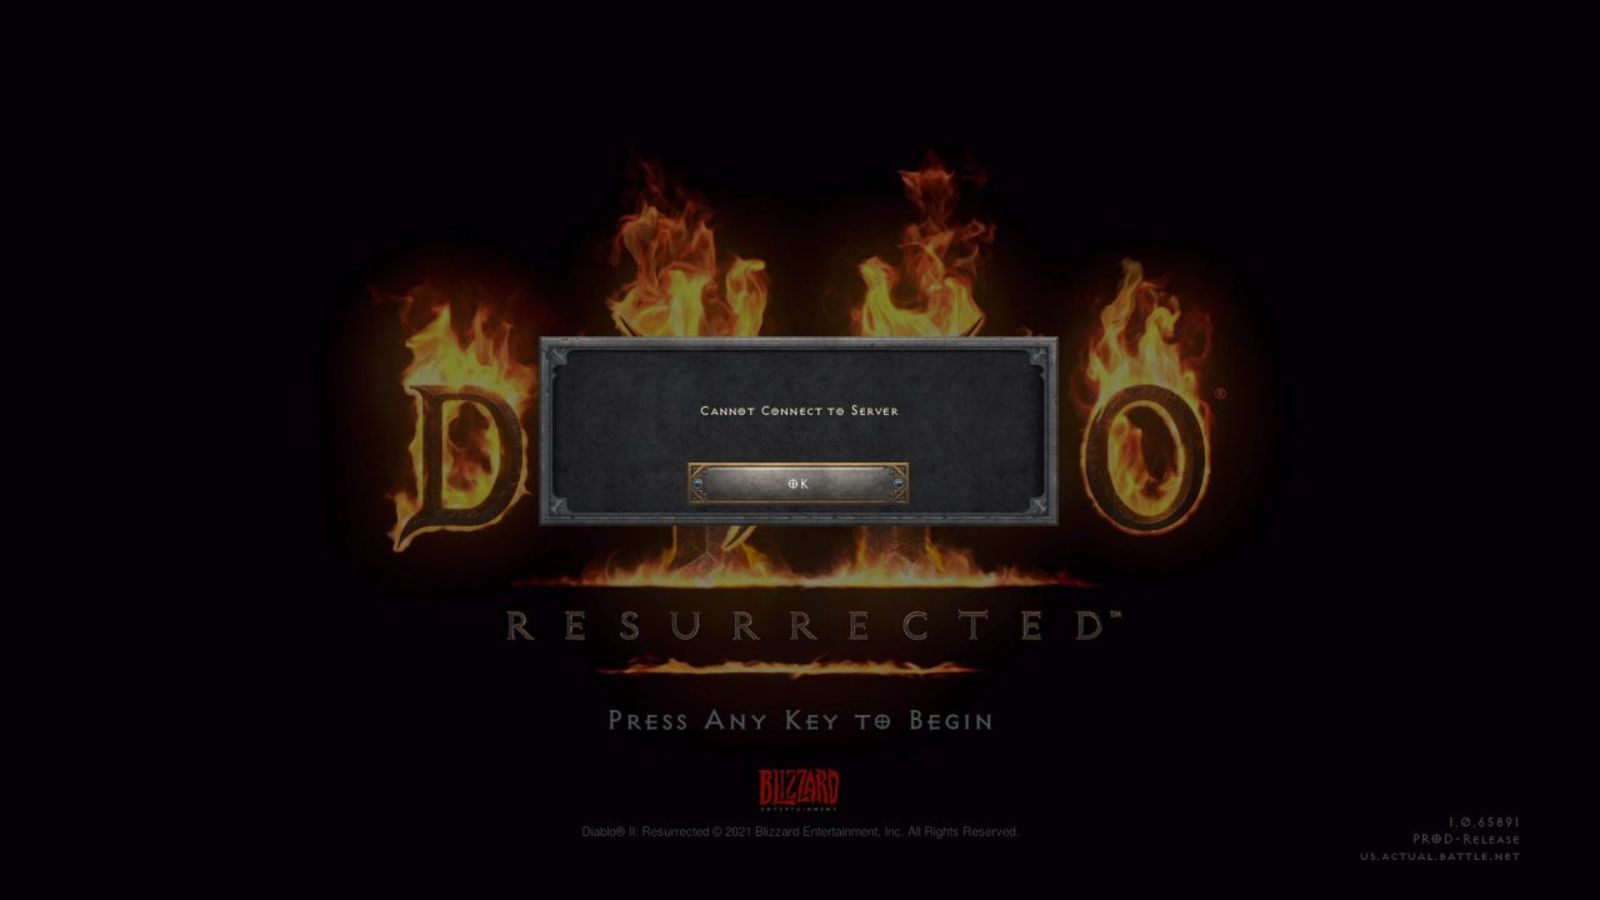 The greatest lag and server crashes are pinpointed to game-creating events. When a player creates a new online game, the server needs to pull a lot of details from the database and make a game, due to some legacy code present this process takes some time and it is demanding a bit on the server-side, and although code was optimized to cater to more modern approach some legacy code still remains.
Another thing that was spotted to affect performance itself is player behavior, to be more specific, modern gamer behavior. Where players find good builds and runs on the internet and then go to farm-specific areas or bosses for loot or experience points, which in return boils down to making plenty and short runs that are made by creating games and after run eliminating them. Now pair that with the previous statement about legacy server and database code and you can add 1 and 1 and see how this might be an issue.
A lot of short games over legacy code are placing games in a state it was not designed for back in 2001 and therefore we have issues. Sadly solutions without completely rewriting the whole code are not very promising and they include rate limiting, which will prevent players to create many games in succession in a short period of time and maybe even login queues to drop a load on servers.
Blizzard reached to people in the whole company, even old diablo 2 developers to ask for advice and they say that they are working on solutions so they could lift limitations and have everything running fine.
The greatest lag and server crashes are pinpointed to game-creating events. When a player creates a new online game, the server needs to pull a lot of details from the database and make a game, due to some legacy code present this process takes some time and it is demanding a bit on the server-side, and although code was optimized to cater to more modern approach some legacy code still remains.
Another thing that was spotted to affect performance itself is player behavior, to be more specific, modern gamer behavior. Where players find good builds and runs on the internet and then go to farm-specific areas or bosses for loot or experience points, which in return boils down to making plenty and short runs that are made by creating games and after run eliminating them. Now pair that with the previous statement about legacy server and database code and you can add 1 and 1 and see how this might be an issue.
A lot of short games over legacy code are placing games in a state it was not designed for back in 2001 and therefore we have issues. Sadly solutions without completely rewriting the whole code are not very promising and they include rate limiting, which will prevent players to create many games in succession in a short period of time and maybe even login queues to drop a load on servers.
Blizzard reached to people in the whole company, even old diablo 2 developers to ask for advice and they say that they are working on solutions so they could lift limitations and have everything running fine. The GifsGalore Toolbar from Mindspark Interactive Network, Inc. is proposed to active Web users who like to embed GIFs into their emails and share entertaining GIFs with friends via social media services. The GifsGalore software can be added to your Internet client for free but you need to be using Google Chrome, Internet Explorer or Mozilla Firefox for the GifsGalore Toolbar to be activated.
When installed it hijacks your New tab page and default search engine changing them to search.myway.com. This extension also monitors user browsing activity recording information such as: visited websites, clicked links, viewed products, etc. This information is later used to better target ads. While browsing the internet with this extension enabled you will see additional pop-up ads, as well as sponsored links and injected ads throughout your browsing session, especially in search results.
 Windows will then go to the accounts settings page. Within that page, click on the Family & other users to open the setting for the chosen section on right. On the right settings, screen navigate to the lower section and click once with the left button on add someone else to this PC
 When add someone else to this PC is clicked, pop up window will appear which will ask you to provide the persons email address and later on the password of his/her Microsoft account, after the required information is provided you are done, a new user has been added and he can use his Microsoft credentials on the login screen to use this computer.
 This will open yet another pop-up giving you the option to create a Microsoft account for this person, to use a phone number instead of a Microsoft account, or to create a new email address for the user. Any of these options will create a new user for this computer with provided credentials but there is the last option at bottom of the pop-up which will allow you to create a local user only without a Microsoft account. This user will be able to use this computer, will not be able to transfer his document through various devices like he/she would if using a valid Microsoft account but it could use the computer and personalize it fully to his/her liking.
 Once the link is clicked, you will be presented with a floating window requiring you to input needed information in order for the account to be created. You will need to provide username, password, and answers to 3 security questions.
 Once all information has been provided, click on next and your new non-Microsoft local user has been created. Now when you click on Family & other users you will see that Windows has added a new user with the provided name to this computer. If you wish, you can add another user in the same manner, following the previous steps. Microsoft Windows does not have a limit for how many users can be on one computer so feel free to create as many as you like.
 Click on Change account type.
 Under account type, you will have the option to promote this user to an administrator if you wish or you can leave it as a standard user.