Fix Error 0x80246019 in Microsoft Store

Microsoft has started building a unified store with Windows 8 and later with Windows 10 in order to make it easier for users to get safer and more modern applications for their Windows 10 devices. This unified store is called the Microsoft Store which is tied up with the Windows Update. The delivery for them both are quite similar which is why they also have some common errors as well as fixes for them. So in this post, you will be guided on how you can fix error 0x80246019 for both Microsoft Store and Windows Update in your Windows 10 computer.

The error 0x80246019 might be caused by corrupted system files or missing ones or be due to some glitch in the component services and other possible causes but whatever the cause is, you can fix it with the help of the following fixes, make sure to follow each one of them carefully.

Option 1 – Reset Windows Update components

  • Open Command Prompt with admin privileges.
  • After that, type each one of the following commands and hit Enter after you key in one after the other.
    • net stop wuauserv
    • net stop cryptsvc
    • net stop bits
    • net stop msiserver

Note: The commands you entered will stop the Windows Update components such as Windows Update service, Cryptographic services, BITS, and MSI Installer.

  • After disabling WU components, you need to rename both the SoftwareDistribution and Catroot2 folders. To do that, type each one of the following commands below, and don’t forget to hit Enter after you type one command after the other.
    • ren C:WindowsSoftwareDistribution SoftwareDistribution.old
    • ren C:WindowsSystem32catroot2 Catroot2.old
  • Next, restart the services you’ve stopped by entering another series of commands. Don’t forget to hit Enter after you key in one command after the other.
    • net start wuauserv
    • net start cryptsvc
    • net start bits
    • net start msiserver
  • Close Command Prompt and reboot your PC.

Option 2 – Toggle the Windows Insider Program settings

This option is only applicable to you if you are a part of the Windows Insider Program. If you are, then follow the steps below.

  • First, you have to open Settings and go to the Update & Security section.
  • From there select the Windows Insider Program.
  • After that, select the “Stop Insider Preview builds” option and then restart your computer.
  • Now open the Windows Insider Program again and check if it fixes error 0x80246019 or not.

Option 3 – Run the System File Checker Scan

System File Checker or SFC is a built-in command utility that helps in restoring corrupted files as well as missing files. It replaces bad and corrupted system files with good system files that might be the cause why you’re getting error 0x80246019. To run the SFC command, follow the steps given below.

  • Tap Win + R to launch Run.
  • Type in cmd in the field and tap Enter.
  • After opening Command Prompt, type in sfc /scannow

The command will start a system scan which will take a few whiles before it finishes. Once it’s done, you could get the following results:

  1. Windows Resource Protection did not find any integrity violations.
  2. Windows Resource Protection found corrupt files and successfully repaired them.
  3. Windows Resource Protection found corrupt files but was unable to fix some of them.

 Reboot your computer.

Option 4 – Run the DISM tool

You can also run the DISM Tool as it helps in repairing the Windows System Image as well as the Windows Component Store in Windows 10. Using this built-in tool, you have various options such as the “/ScanHealth”, “/CheckHealth”, and “/RestoreHealth” which could help in fixing error 0x80246019.

  • Open the Command Prompt with admin privileges.
  • Then type in the following commands and make sure to hit Enter right after you type each one of them:
    • Dism /Online /Cleanup-Image /CheckHealth
    • Dism /Online /Cleanup-Image /ScanHealth
    • exe /Online /Cleanup-image /Restorehealth
  • Do not close the window if the process takes a while as it will probably take a few minutes to finish.

Option 5 – Try to reset the Microsoft Store cache

Just like browsers, Microsoft Store also caches as you view apps and games so it is most likely that the cache is no longer valid and must be removed. To do so, follow the steps below.

  • Right-click on the start button and click on Command Prompt (administrator).
  • Next, type in the command, “wsreset.exe” and tap Enter. Once you do, the command will clear the cache for the Windows Store app.
  • Now restart your PC and afterward, try opening Microsoft Store again and then try to install your app or update your computer again.

Option 6 – Run the Windows Update Troubleshooter

You might also want to run the Windows Update Troubleshooter as it could also help in fixing error 0x80246019. To run it, go to Settings and then select Troubleshoot from the options. From there, click on Windows Update and then click the “Run the troubleshooter” button. After that, follow the next on-screen instructions and you should be good to go.

If you like to learn and find out more about various Windows errors, and how to repair them go to our vast archive or use search to find articles that will explain and help you in solving your issue.
However, if you prefer to do things fast and with automatization then we are proposing to use an automated solution for your issues. The application that we are recommending is Advanced System Repair Pro
Advanced System Repair utilizes multiple tools all in one to give you a quick, simple, reliable, and very thorough diagnosis of your PC. It brings you all the tools you need in one program to clean, fix, protect, optimize and boost your PC!
1-Click Maintenance
All the tools to make it simple and easy! It's like having a professional technician at the click of a mouse.

Junk Cleaner
Keeping your computer free from unnecessary clutter also helps make your computer last longer. Like any other machine, if you keep it clean and take care of it, it will serve you better for longer!

Optimize background apps
Optimize applications background activity with the built-in Application Optimizer feature.

Disk Defrag
With a simple 1-click, Advanced System Repair speeds up your PC by assembling fragmented files on your machine and organizing them more efficiently.

Malware Removal
Finds and removes all types of harmful malware including trojans, worms, bots, adware, spyware, PUPs, and more!

Privacy Cleaner
The all-in-one privacy suite to Clean Your Tracks & Protect Your Privacy! Make your computer safe, secure, and more efficient!

System Tweak/Optimizer
ASR will analyze your complete system and settings to adjust your PC to function at its maximum performance.

Registry Cleaner
Over time, as you install and uninstall applications, the registry can become cluttered with old entries and broken settings which can result in program crashes, and annoying messages and slow the computer down.
Visit our Advanced System Repair Pro Download page to inform yourself about all the benefits of this software and get a free trial copy of it.
advanced system repair pro

Advanced System Repair Pro

One-click automated PC repair solution
ASR logo
With Advanced System Repair Pro you can easily
Replace damaged files
Restore performance
Free disk space
Remove Malware
Protects WEB browser
Remove Viruses
Stop PC freezing
DOWNLOAD
Privacy Policy | Terms of Use | Uinstall
Advanced System Repair Pro is compatible with all versions of Microsoft Windows including Windows 11

Share this article:

You might also like

Fake Windows 11 installers come with malware
Being in the Microsoft Windows insider program will let you get a hands-on new Windows 11, but some people just want Windows 11 without being in the insider program. Well, people beware! It was detected that some groups have been releasing fake Windows 11 installers with malware into them. There’s one malicious file called 86307_windows 11 builds 21996.1 x64 + activator.exe. Based on the filename, one might guess that it includes Windows 11 build 21996.1, and on top of that, there’s something in it that will automatically activate Windows for you. It comes in at 1.75GB, so for some people, that might seem reasonable. It starts out looking like a normal installer, and then there’s a second installer that calls itself a download manager. If you accept the nonsense agreement that’s included, you get a bunch of malware. This is just one example of malicious installers running amok internet, but there are more of them with different software placed inside. Malware can be anything from adware to a Trojan virus. The adware usually isn’t super dangerous. It’s just malware that’s meant to inject your PC with advertisements. Viruses can be more of an issue, and they can be harder to get rid of if your machine is infected. Windows Defender does a good job of getting rid of this stuff. The only problem is that if you’re downloading Windows 11 from shady sources, you’re probably already set to click through the dozen or so warnings that pop up telling you not to install it. The solution will be to get Windows from a trusted source of roll inside the insider program and get it from Microsoft directly.
Read More
How to Fix the Error 103

Repair Error 103

Error 103 - What is it?

The error 103 may occur either due to issues in your Google Chrome browser or system issues. If error 103 occurs when using Chrome, this means there is a conflict between Google Chrome and the antivirus program running on your PC. It is displayed in either of the following formats: ‘Chrome error 103 connection aborted’, ‘Chrome error 103 err_connection_aborted’ or ‘Error 103 (net: ERR_CONNECTION_ABORTED): Unknown error. However, if this is a system error code, it may be displayed in the following format ‘The semaphore cannot be set again’ or as ‘ERROR_TOO_MANY_SEM_REQUESTS’ or as the value 0x67.

Solution

Restoro box imageError Causes

The error 103 is triggered due to multiple reasons such as: The conflict between Google Chrome and anti-viruses arises because when the web browser attempts to update, the anti-virus programs on your PC may view the update as a threat. Due to this, the connection to the internet is terminated and the error 103 message is displayed on your computer screen. And besides, this keeps you from upgrading your Google Chrome browser too. Other causes include:
  • Viral infection
  • Missing Windows component called ‘expand.exe’
  • Registry overlaps
  • Incompatible drivers

Further Information and Manual Repair

Here are some of the easy and efficient ways to resolve error 103. Choose a method according to the error 103 messages displayed on your screen.

Method 1: Check for the ‘Expand.exe’ Windows component

This method is workable if the error 103 is triggered due to browser issues. To get started, follow these steps. First, go to the start menu, and in the search bar type ‘expand.exe’. If you are able to find it, move it to the following directory C:\Windows\system32. However, if you are unable to locate it, then copy the file from Windows installation CD. Once you copy the file to the directory, reinstall the updated version of Google Chrome.

Method 2: Change the Location of the Temporary File

If the error still persists, try method 2. Go to the start menu and open the Run window. Now type C: and press OK. Then go to File, then New, and then Folder. Now create a temporary folder and name it ‘test’. After that go back to the start menu and open the Run window again. Now enter the following text in the text field:cmd.exe then press OK. In the command prompt type set TMP=C:\test. After that try reinstalling Google Chrome by typing the following in the command prompt: start ChromeSetup.exe.

Method 3: Update Drivers

If the error message 103 is generated due to system issues, then try updating drivers. Sometimes the error may occur due to incompatible drivers.

Method 4: Perform an Entire PC Scan for Viruses

To resolve error 103, perform an entire PC Scan for viruses. Sometimes the error may occur due to viral infection. Removing viruses may fix the error.

Method 5: Clean and Restore the Registry

If the error is triggered due to registry issues, then it is advisable to download Restoro. This is a multi-functional PC repair tool integrated with powerful utilities including an anti-virus, a registry cleaner, Active X controls, and class scanner, and a system optimizer. The registry cleaner feature wipes out all the unnecessary files including cookies, junk files, and bad registry keys that corrupt the registry. It cleans and restores the registry instantly. The anti-feature removes all viruses and spyware while the system optimizer utility ensures your system works at its optimum speed. It can be downloaded on all Windows versions. It is safe and efficient. This software is a one-stop solution for all PC-related errors. Click here to download Restoro.
Read More
How to Fix Windows 10 Error 0xc0000005

How to Fix Windows 10 Error 0xc0000005

Error Code 0xc0000005 - What is it?

Error Code 0xc0000005 can be a frustrating error that occurs when you attempt to use programs within Windows 10. While it is most often associated with Windows 10, this particular error has also made an appearance in previous versions of the Windows operating system. In each case, the error works in the same ways and is generally caused by the same things.

Common symptoms include:
  • Inability to run programs as designed
  • Inability to start programs

While it can be hard to have to deal with an error like Error Code 0xc0000005 on your Windows machine, there are at least three different strategies that you can use to attempt to resolve the problem at hand. If you do not feel like you have the skill or ability to complete these steps on your own, get in touch with a professional who is familiar with the Windows 10 operating system that can assist you. Please note, if this error code is not rectified, you could be exposing your computer to other error messages such as error code 0xC1900101 -0x20017.

Solution

Restoro box imageError Causes

The most common causes of Error Code 0xc0000005 on Windows 10 machines include interference with other programs that are running on the computer, such as antivirus programs, problems encountered within the registry entries made on the operating system, or faulty drivers that cause bad interactions between the system and the program in question.

Fortunately, there are several methods that can be used to resolve these specific issues.

Further Information and Manual Repair

There are three main ways that you can try to resolve Error Code 0xc0000005 on your Windows machine. Depending on your degree of technical ability and confidence, it may be easy to moderately difficult to follow these steps, so if you feel like you are not able to complete the methods below on your own, be sure to get in touch with a qualified computer repair technician to aid you in the process.

Here are the best ways to resolve Error Code 0xc0000005 on your Windows machine:

Method One:  Disable Any Anti-Virus Processes

In some cases, an antivirus program can cause interference with your programs. If you believe that this is the primary culprit of your issue, try temporarily disabling the software that you are running to see if you are then able to use the program that experienced the error correctly.

Always be sure to keep on other security software, such as Windows Defender, while you disable your antivirus programs, ensuring that your computer is still protected from malicious software. In general, this is usually the best security tool that you can run on your computer, without interfering with other programs.

Method Two:  Run a Registry Cleaner

In some cases, the error code can appear when a registry entry is either seen to be missing or faulty by the system. If you believe this is the primary cause of your problem, use a trusted registry cleaning software to scan the files and attempt to automatically fix the problem.

Always be sure to check out the provider of the registry cleaning tool that you use, as not every tool that you can download from the Internet is safe. When possible, always try to use registry tools that are directly available from the Microsoft website, rather than ones that you do a simple search for online.

Once the registry scan is complete, take the time to reboot your computer to ensure that every change that has been made can be recognized and applied by your operating system and devices.

Method Three:  Check Your Drivers

If your drivers aren’t communicating properly with your hardware, it can cause the error code to appear. To fix this, open up your device manager software and choose to update your driver software. You can run an automatic search for updates to your drivers to make things easier.

When the driver updates have been downloaded and installed, make sure that you take the time to reboot your computer, which can allow your computer to apply and recognize any changes that have been made.

Method Four: Use An Automated Tool

If you wish to always have at your disposal a utility tool to fix these Windows 10 and other related issues when they do arise, download and install a powerful automated tool.
Read More
Windows is stuck in Airplane Mode
As of late, a number of users reported experiencing a problem where their Windows 10 computers get stuck on Airplane mode for some unknown reason. According to the affected users, they were unable to turn off the Airplane mode which means that their computers are also not able to connect to the internet. One of the possible reasons why this kind of issue occurs is that there could be a bug with the airplane mode or it could also be the doing of faulty network drivers or physical switch that’s turned on, and so on. If you are one of the few users who experience the same issue, then read on as this post will guide you on what to do if your Windows 10 computer gets stuck on Airplane mode. There are a couple of suggestions you can check out to resolve the problem. You can try to check the status of the Radio Management service, flush the DNS cache or you could turn off the airplane mode via system settings. You could also update the network drivers or turn off the physical switch for airplane mode or make some adjustments in the Windows Registry. For more details, refer to each one of the suggestions provided below.

Option 1 – Try to check the Radio Management Service status

  • First, tap the Win + R keys to open the Run dialog box and type “services.msc” in the field, and hit Enter to open the Windows Services Manager.
  • Next, look for the Radio Management service and select Properties.
  • From there, change its Startup type to Disabled and click on the Apply and OK buttons to save the changes made.
  • Once done, restart your computer and check if you can now turn off the airplane mode.

Option 2 – Flush the DNS cache

You could also try to flush the DNS cache to fix the “ERR_ICAN_NAME_COLLISION” error. All you have to do is open Command Prompt as an administrator and then execute each one of the following commands sequentially to flush the DNS cache:
  • ipconfig/release
  • ipconfig/renew
  • ipconfig/flushdns

Option 3 – Try turning off the airplane mode via System settings

If flushing the DNS cache did not help in fixing the problem, then you might want to turn off airplane mode via system settings.
  • In the Windows Search bar, type “airplane mode”.
  • From the search results that appear, click on Airplane mode.
  • After that, a window will appear where you have to turn off the toggle button for Airplane mode.

Option 4 – Try to update, rollback or reinstall the Network adapter drivers

The next thing you can do to resolve the problem is to update the Network Adapter drivers by following these steps:
  • Tap the Win + R keys to launch the Run window and then type in the “devmgmt.msc” command and hit Enter to open the Device Manager window.
  • Under the Device Manager, you will see a list of drivers. From there, look for the Network Adapters and expand them.
  • Look for the Broadcom Network Adapter and right-click on it, as well as other network adapters that have an exclamation icon, and update them all.
  • Restart your PC and see if it helped in fixing the problem.
Note: If updating the network drivers didn’t help in fixing the problem, you can also try to roll back the very same drivers from their previous versions and restart your Windows 10 PC. After that, the system itself will reinstall the drivers you just uninstalled. Alternatively, you can also download and install the drivers from the manufacturer’s website directly. To reinstall the network adapter drivers, refer to these steps:
  • Open the Devices Manager from the Win X Menu.
  • Then locate the device drivers and right-click on them to open the Properties.
  • After that, switch to the Driver tab and click on the Uninstall Device button.
  • Follow the screen option to completely uninstall it.
  • Finally, restart your computer. It will just reinstall the device drivers automatically.

Option 5 – Try to turn off the physical switch for Airplane mode

If your computer has a physical switch to turn on or off the airplane mode, then you might want to check that switch if you have one. Chances are, it could be the reason why you’re unable to turn off Airplane mode on your computer.

Option 6 – Try to make some adjustments in the Registry

  • Tap the Win + R keys to launch the Run utility.
  • Then type “Regedit” in the field and hit Enter to open the Registry Editor.
  • Next, navigate to this registry path: HKEY_LOCAL_MACHINESystemCurrentControlSetControlClass
  • From there, edit the registry value of “RadioEnable” to “1”.
  • Exit the Registry Editor once done, and restart your computer.
Read More
How to Fix the Waol.exe Error

Waol.exe Error Repair

Waol.exe Error - What is it?

Waol.exe is an executable file located in a subfolder of "C:\Program Files" - usually C:\Program Files\America Online 9.0a. Waol.exe is not a core file but it is an important part of AOL (American Online) utilities. It ensures the AOL programs run smoothly on your system. The Waol.exe error occurs when the AOL program fails to execute and run properly. The error message is displayed in the following format:

“Waol.exe has encountered a problem and needs to close. We are sorry for the inconvenience.’

Solution

Restoro box imageError Causes

Waol.exe error typically occurs when this executable file gets infected by a virus, Trojan, adware, or spyware. When this happens the file location also changes. Therefore the best way to verify if your PC is under attack by malicious software is to check the Waol.exe file location on your PC. If the file is found in some other location instead of its correct disk location, then you must immediately fix this error before the damage sets it. Malicious software like viruses and spyware are notorious for slowing down PC performance and besides they give access to hackers to break into your system and manipulate your confidential and private data saved on your PC. This exposes you to serious privacy errors and data security dangers including identity thefts, cybercrime, and data breaches. Furthermore, viruses can also corrupt the computer’s registry and lead to system failure and crashes.

Further Information and Manual Repair

To resolve Waol.exe error many PC users seek an antivirus. Though this also helps resolve the issue but you should know that an antivirus has certain limitations. It is known to slow down the system speed and will only remove viruses from your PC. This means if the virus has affected the registry of your PC, it will not resolve that, and to repair your registry you may then have to download a registry cleaner separately on your system thereby reducing the PC speed even more. To ensure all kinds of malware are removed and registry issues resolved along with system speed optimization, it is recommended to download Restoro. This is an advanced, innovative, and multi-functional PC repair tool deployed with a variety of powerful utilities. These include a registry cleaner and a system optimizer. It is safe, efficient, user-friendly, and compatible with all Windows versions including Vista, XP, Windows 7, 8, 8.1, and 10. The antivirus feature embedded inside this software detects scans and removes all malicious programs infecting your PC immediately. It resolves all your system’s privacy issues and makes sure that your system is inaccessible to hackers. Besides this, the registry cleaner removes files cluttering and damaging the registry and also restores it. With the help of the system stability detector, it detects errors causing PC slowdowns and resolves them too thereby boosting the speed of your PC dramatically. To resolve Waol.exe error right away, click here to download Restoro today.
Read More
Fix Bad Image Error Status 0xc000012f
When you run a program in Windows 10, error 0xc000012f may pop up, mentioning that the files and binaries you’re trying to run are corrupted. Error 0xc000012f means Bad Image, denoting that the program’s executable or one of the supporting modules is corrupt. Or there is probably a DLL mismatch. This error usually manifests itself after a windows update or after installation of some application, in order to fix it follow the steps below:
  1. Perform SFC scan

    Press ⊞ WINDOWS + X to open the Windows menu keyboard with windows and x markedFrom the menu choose command prompt (admin) Windows menu command prompt adminIn command prompt type sfc /scannow and press ENTER Leave the computer for the operation to be completed and Reboot your computer
  2. Run DISM

    Press ⊞ WINDOWS + X to open the Windows menu keyboard with windows and x markedFrom the menu choose command prompt (admin) Windows menu command prompt adminin command prompt type: DISM.exe /Online /Cleanup-image /Restorehealth and press ENTER wait for the process to be finished and Reboot your computer
  3. Reinstall application

    If this error has been popping up after the application install remove the installed application and install it again. There is the possibility that the application installer has by accident corrupted some files, reinstalling it might fix the issue.
  4. Uninstall Windows update

    In some cases, Windows update can introduce this issue, go to Windows updates, into advanced options, and uninstall the latest update to see if this will fix the error.
  5. Install Visual C++ Redistributable

    Go to the official Microsoft website and download C++ redistributable package and install it
  6. Install new windows update

    If there is a new Windows update install, there is a chance that in the last update something went wrong and it is very likely that it was fixed in the last one.
Read More
Find out bottlenecks in your PC easily
Building a custom PC is a great feeling but it can sometimes not be ideal and we are not talking about breaking or losing parts. What we mean is that choosing the right components can be sometimes a difficult task. Of course, picking a PC case can have its issues, choosing the right power supply can be tricky but pairing all components together, especially CPU and GPU can be tricky. bottlenecks
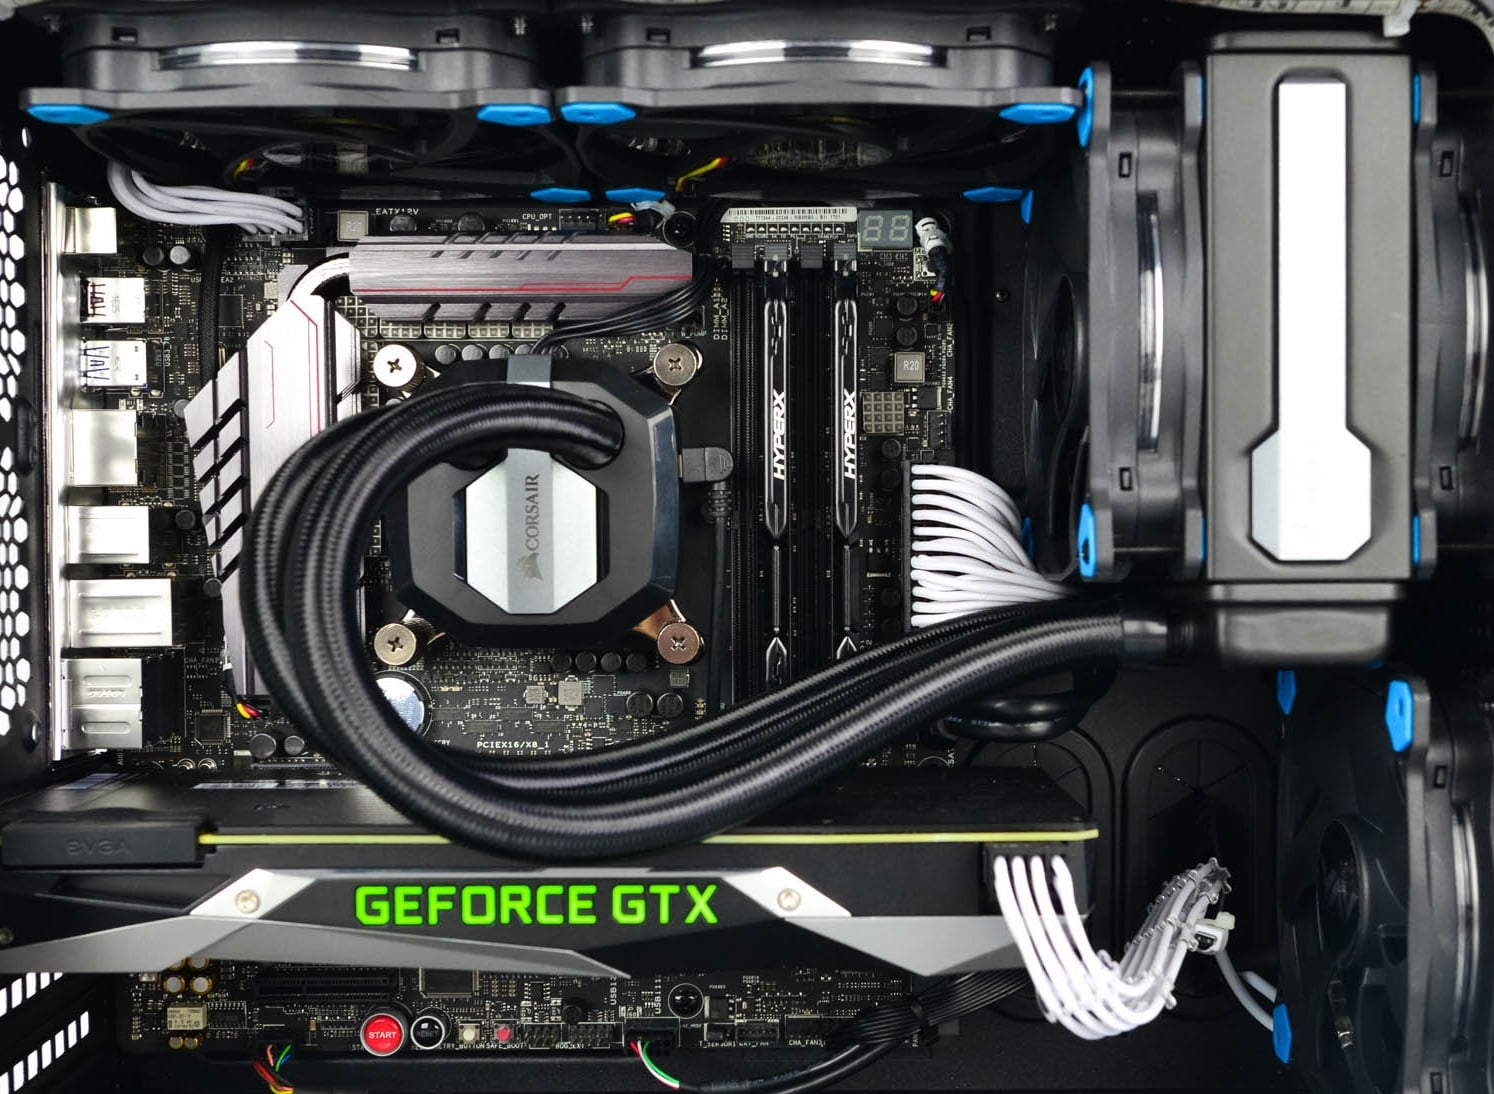
Builders with no depth knowledge and experience can sometimes choose improper CPU or GPU, picking one of them to be much more powerful than another thus not using it to its full potential because another component cannot handle stuff at the same speed. In order to not be trumped by this kind of stuff, there is a website that is completely free and you do not even need to be registered in order to use it. Bottlenet calculator link here What is even better, once you input your components you will get advice on what to change in order to tweak the system a little more to avoid bottlenecks even more. It is a very useful tool and we are advising you to use it in order to save money but not throwing it on some component that will be half used.
Read More
Software review series: Visual studio code
Visual Studio codeVisual studio code is a code editor available for Windows, Linux, and macOS. It is a completely free tool offering you to code in any language without the need to switch to another editor. Visual Studio Code is part of Microsoft Visual Studio which is a complete integrated development environment (IDE). Take notice that Visual studio itself has more advanced tools for developing and testing, it has 24/7 support, training, and Azure for WEB apps. Visual Studio Code is an editor lacking in some advanced features Visual Studio offers.

Visual Studio code Price and royalty

As mentioned Visual Studio code is completely free licensed under the MIT license agreement giving you the tool free to use and sell your product. How it supports Linux, Windows, and macOS, all you need it to go to its official page https://code.visualstudio.com/, download it and start using it. How this is free project backside is that there is no official support, you will have to rely on various articles and community in order to get needed information or problem solution.

Features

Syntax highlighting has become standard and norm for any editor but besides this function VS code offers us also IntelliSense option which goes a step further with code completion, code hinting, and parameter info. This means that VS code is aware of many things going on inside your code and will offer you as you type a menu with options for autocomplete along with variables referenced, function names, etc. VS code offers extensions inside its extensions marketplace where you can add extensions in order to implement new languages, add debuggers, change the layout, etc. This is one of the great features it allows you to easily switch from one project to another, one language to another not leaving your code editor. Working with version control systems like Git is easy with VS Code. You’ll be able to stage files and make commits, then push and pull changes to your remote code repository of choice, right from the editor.

Conclusion about Visual Studio code

Visual Studio Code is one of if not the most flexible and extensible code editors currently on the market that I have ever tried and used. IT has become my code editor of choice simply for reasons that there is really not much it cannot do and it is constantly updated and taken care of. You can really tune it to look and feels how you want with extensions and you really cannot beat the free price tag. I would highly recommend this editor for daily use especially since its biggest competitors like Atom and sublime text have not seen many updates lately.
Read More
Fix Partner did not connect to router Error
One of the great remote assistance software that helps you remotely access and control computers is TeamViewer. However, despite how efficient it is, there are still times when it throws up some errors and one of them is when TeamViewer is not able to connect and throws an error that says, “No connection to partner, Partner did not connect to router, Error Code WaitforConnectFailed”. This kind of error in TeamViewer mostly occurs when the Partner computer is not connected to a network. On the other hand, it could also occur when they are connected to a network so there are various causes for this issue. It could also be that the installation of the program itself was at fault or there is an incompatibility between the TeamViewer versions installed on both the computers and so on. Although there are several causes for this error, the potential fixes are still the same. You can try to restart the network or allow Full Access Control to TeamViewer or flush the DNS cache. For more information, refer to the following options but before you proceed, make sure that both your Windows 10 computer and TeamViewer program are updated to their latest stable versions.

Option 1 – Reboot your router

The first thing you can try to do to fix the error is to simply restart your router. All you need to do is reboot the router from its Admin panel or you can also turn it off manually and turn it back on after a couple of seconds so that it can completely reboot. Once you’re done, try accessing your server again and see if the error is now fixed.

Option 2 – Allow Full Access Control to TeamViewer

  • First, open TeamViewer, and then from the Menu bar, click on Extras.
  • After that, click on Options and select Advanced from the left side navigation panel.
  • Next, click on the “Show advanced options” button located on the right-hand side.
  • Then select Full Access from the drop-down menu of the Access Control option under the “Advanced settings for connection to this computer section”.
  • Now click OK and check if the error is now fixed or not.

Option 3 – Try to flush the DNS configuration

You could also try to flush the DNS configuration in your computer to fix the error. How? Refer to these steps:
  • Tap the Win + X key combination and click on the Command Prompt (Admin) option or you could also search “cmd” in the Cortana search box and right-click on Command Prompt from the search results and select the “Run as administrator” option.
  • After opening Command Prompt with admin privileges, enter each one of the commands given below sequentially in order to flush the DNS cache.
    • ipconfig/release
    • ipconfig/renew
    • ipconfig/flushdns
  • Now type the exit command to close Command Prompt and then restart your computer and see if the problem is fixed.
On the other hand, you could also try to reset Winsock as well as the TCP/IP.

Option 4 – Run the Network Adapter troubleshooter

To run the Network Troubleshooter, refer to these steps:
  • Open the Search bar on your computer and type in “troubleshoot” to open the Troubleshoot settings.
  • Next, scroll down and select the “Network Adapter” option from the right pane.
  • Then click on the Run Troubleshooter” button.
  • After that, your computer will check for any possible errors and will pinpoint the root cause of the problem if possible.
  • Restart your computer.

Option 5 – Try to perform Network Reset

You might perform a Network Reset to resolve the problem if none of the four given options worked. This will reset the entire network configuration including your IP address. To perform Network Reset, follow these steps:
  • Tap the Win + I keys to open Settings.
  • From there, go to the Network and Internet section.
  • Next, scroll down and look for “Network Reset” under the status pane.
  • After that, click on Network Reset and then on Reset now to start resetting the network configuration. Once done, check if it is able to fix the error or not.
Read More
Software review series: BitWarden
BitWardenMany times we were talking and writing here on Errortools.com about security, privacy, hacking, identity theft, etc. We tried to raise important security questions and I hope I have managed to at least shed some light and change maybe some bad behaviors for some, helping them embrace better routines about their security on their PC. 
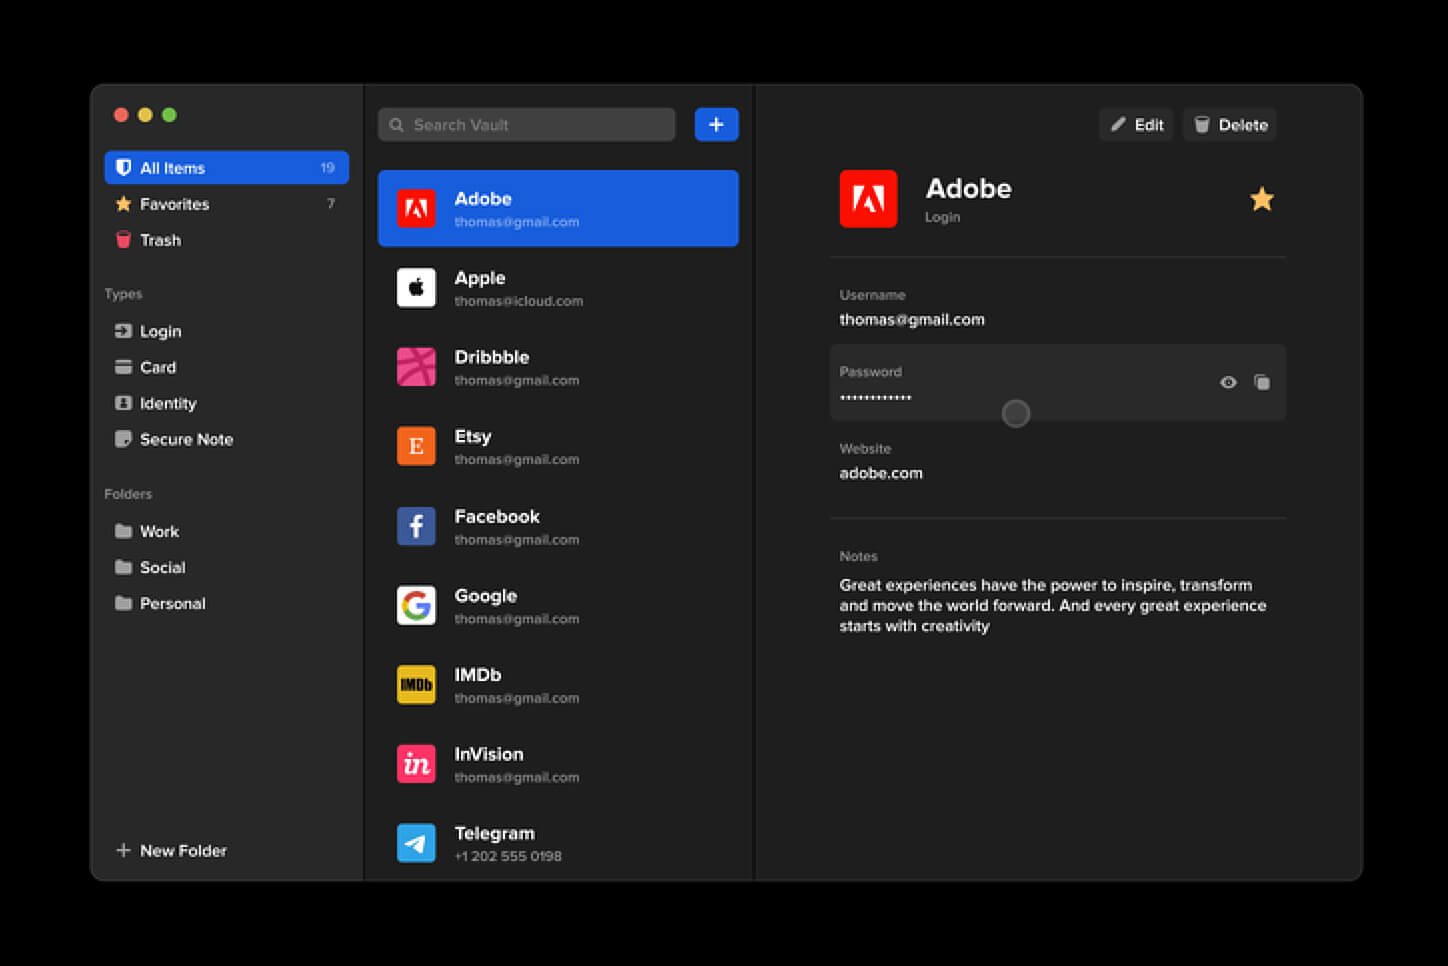
In this light, I will today present you with one neat and awesome piece of software, a password manager worth your time and money (if you want premium features): BitWarden.

What BitWarden offers?

The first thing that it offers is the completely free basic plan, granted BitWarden is not an open-source project nor completely free but it has an unlimited free basic plan that will cover 90% of user needs. There is also a free basic unlimited plan for Organizations letting you and one more user share files and other stuff via BitWarden making it a cool option if you need it. Premium features offer you encrypted sharing of files, two-step login, 1GB file attachments (encrypted), Bitwarden Authenticator (TOTP), Vault Health Reports, Emergency Access, and Priority Support. The cost for all of these additional features is 10 USD per year for an individual plan or 40 USD per year for organizations where you will get an increase of maximum users from 2 to 6. Yes, you read that correctly, only 10 USD per YEAR for the whole set of features. Granted if you do not need any of them, enjoy the free version forever. Besides very low premium cost BitWarden will offer you compatibility with all major browsers and devices including both Android and iOS platforms making it a great cross-platform solution to login and maintain your passwords anywhere with just one click. Once installed all you need to do is set one master password and be very careful not to lose or forget this one, if you do all of your other generated passwords will be lost forever.

Features

Secure Password Sharing

Share your encrypted data quickly and easily, and only with the users or teams who need access

Cross-Platform Accessibility

Access critical data in your Bitwarden vault from any location, browser, and device

Cloud-Based or Self-Host

Get up and running in minutes in the cloud or you can self-host Bitwarden for complete data control

Security Audit & Compliance

Open source and third-party audited, Bitwarden complies with Privacy Shield, GDPR, CCPA regulations

Vault Health Reports

Access insightful reports to reveal weak, reused passwords, and other helpful data security metrics

Directory Sync

Our powerful Directory Connector streamlines user and group onboarding and keeps them in sync

Always-On Support

Our Customer Success agents are available to support you around the clock

Detailed Event Logs

Bitwarden creates audit trails to help you keep track of user and group access to sensitive data

Flexible Integrations

Unite your existing systems with Bitwarden using SSO authentication, Directory services, or powerful APIs

Conclusion

There are many password managers out there but via recommendation I have tried BitWarden and truth to be told, I really never felt the need to try anything else, it is great at what it does and it is moving forward with features and it is constantly updated and maintained.
Read More
1 2 3 162
Logo
Copyright © 2022, ErrorTools. All Rights Reserved
Trademarks: Microsoft Windows logos are registered trademarks of Microsoft. Disclaimer: ErrorTools.com is not affiliated with Microsoft, nor claim direct affiliation.
The information on this page is provided for information purposes only.
DMCA.com Protection Status