Creating a new Windows 10 account comes with options related to privacy. For instance, you will see the options to disable or enable Speech recognition, Find my device, Location service, Inking & typing, and many more. And if you often have to create a test account in Windows 10 v1809 and you don’t want to give this option, you can just disable the Privacy Settings Experience at sign-in on your Windows 10 PC using a couple of instructions given in this guide.
To disable the Privacy Settings Experience, you can use the Registry Editor and the Group Policy Editor. But before you get started, you need to log in as an administrator. Moreover, it would also be better if you create a backup copy of the Registry files as well as create a System Restore Point before you make any changes. After you have those things covered, refer to the steps given below to disable the Privacy Settings Experience at sign-in on your Windows 10 PC. Since there are two ways to get things done, choose one option that you prefer.

winmgmt /verifyrepositoryAfter you enter the command, if there is a response saying, “repository is not consistent”, then the repository has an issue. If not, then something else is causing the problem. Since you are certain that corruption exists in the WMI repository, then here are some suggestions you need to check out to repair or rebuild the WMI repository.
taskkill /IM "processname" /T /F processname – it is the name of the process which you can see on the Details tab of the Windows Task Manager. /IM – it is the one that specifies the image name of the process, which follows, that is to be terminated. /T – it is the one that kills not just the main process but also the child process. /F – it is the one that terminates the process forcefully.
wmic process where name='processname.exe' deleteNote: In the given command, you need to replace “processname.exe” with the name of the particular process you want to terminate which is found in the Details tab of the Windows Task Manager.
kill -id pidNote: In the given command above, “pid” is the Process ID number of the process you want to terminate. And for you to identify this number, you need to open the Details tab of the Windows Task Manager once again and take note of the number against the process you want to get rid of. Alternatively, you can also run the following command in the PowerShell prompt that you’ve pulled up to get the process ID number:
Get-ProcessFor example, “5364” is the process ID number for the DimScreen.exe process which is the process you want to terminate. In order for you to kill this process, you need to type in this command:
kill -id 5364
powershell -ExecutionPolicy Unrestricted Add-AppxPackage -DisableDevelopmentMode -Register $Env:SystemRootWinStoreAppxManifest.xml
 Hardware under the hood
 Once File Explorer is up and running right-click on the hard drive you wish to run disk cleanup on and click on properties.
 Properties Windows will open on the general tab, on that tab you have disk cleanup on the lower right part of properties, click on it.
 Wait for Windows to gather information about your hard drive and files on it. After it is finished you will be greeted with the next screen:
 Here you can thick and mark which items you would like to get rid of and which ones you would like to keep. Note that you can freely tick all of them and remove them since removing these files will not break WIndows in any way. make your choices and click on ok. You can also click on Clean up system files to run system files cleaner and get rid of junk there, you will not be able to choose any options there, Windows will alone clean up what is not needed.
After disk cleanup is finished least thing you will have is more free disk space, but like mentioned, keeping your Windows and computer healthy goes a long way in its usability, speed, and performance.
Here you can thick and mark which items you would like to get rid of and which ones you would like to keep. Note that you can freely tick all of them and remove them since removing these files will not break WIndows in any way. make your choices and click on ok. You can also click on Clean up system files to run system files cleaner and get rid of junk there, you will not be able to choose any options there, Windows will alone clean up what is not needed.
After disk cleanup is finished least thing you will have is more free disk space, but like mentioned, keeping your Windows and computer healthy goes a long way in its usability, speed, and performance. Website breaches and stealing user data is nothing new in the world of the internet. Although a very unpleasant experience it still happens even on some high-quality websites. In this article, we will not focus on how can you not be the target of this kind of attack, because you really cannot. Weel you can kind of if you decide not to have your data on websites at all, but let's just say that is not something you are willing to do.
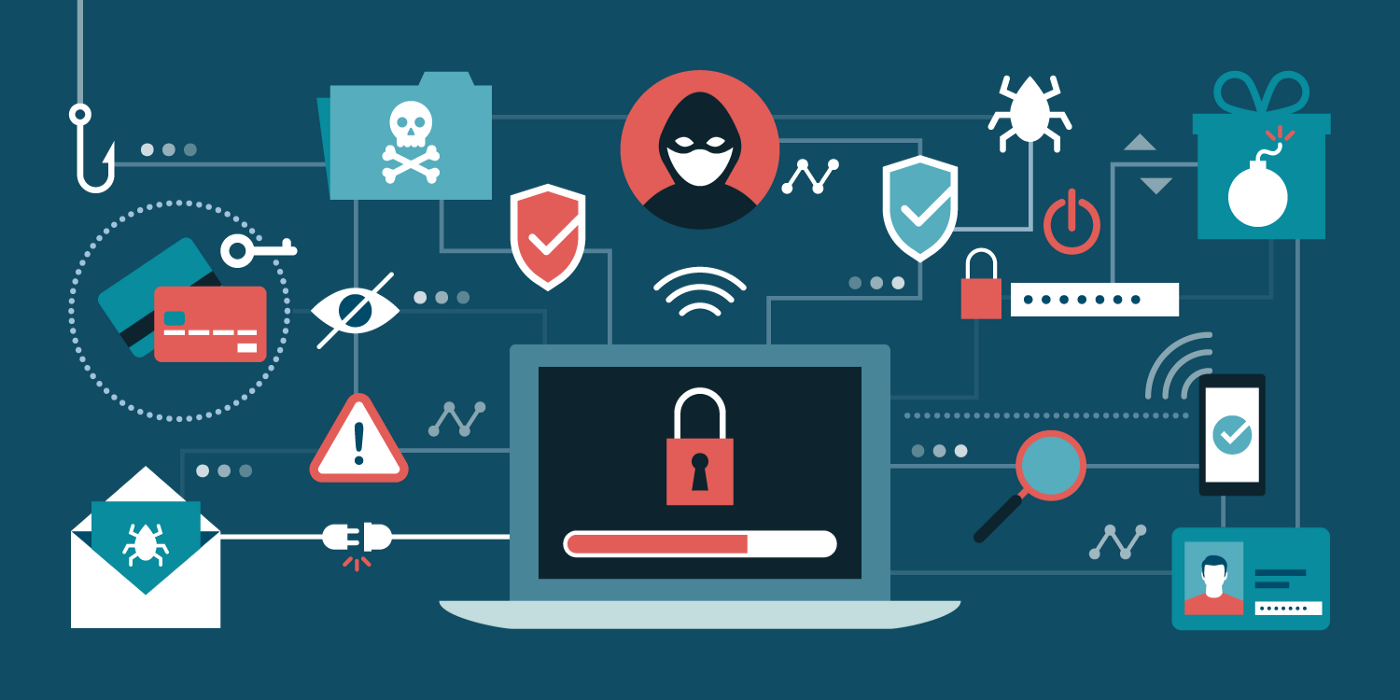 So, in this case, you have some social, forum, or gaming accounts but you heard that service has been breached and that your email or password might be stolen. Well in this case all you need to do is of course to login into the service and change your password. But, what happens if you are not aware at all that service has been compromised?
Mozilla foundation has asked themselves this same question it seems and they have decided to help us out. They have placed a free online service where you can just by typing in your email address find out if your email or data has been compromised in any way.
Go to https://monitor.firefox.com/ and check it out, if you find out that there is some website that you did not know was breached, change your password right away, and if you have used the same password for anything else (I hope not), change them as well.
“The scratch directory size might be insufficient to perform this operation”This kind of error in DISM occurs when the DISM command is executed from the Windows Recovery Environment due to the limited size permissions of a delivery where the operating is being performed. To fix this DISM error, you need to follow the instructions laid out below. Step 1: First, tap the Win + R keys to open the Run utility and then type “cmd” in the field and tap Enter to open Command Prompt. Step 2: Next, you have to specify a scratch directory that contains the Windows folder and to do that, you can either use the DIR command or the BCEDIT command. So in the elevated command prompt type and enter “dir” or “bcedit”. Step 3: After that, you will see a list of folders inside the C: partition. Now you have to create a folder named “scratch” inside the partition. To do so, execute the following command:
mkdir C:ScratchNote: The command you just entered will create a directory inside the root of the C: partition named Scratch. Step 4: Now that you’ve created the Scratch folder, note that each time you run any of the DISM commands, you have to enter the following code snippet in them:
/ScratchDir:C:ScratchNote: For instance, if you are using the DISM tool to repair the offline Windows image, instead of executing the “Dism /Online /Cleanup-Image /RestoreHealth” command, you now have to execute the “DISM /Image:C: /ScratchDir:C: Scratch /Cleanup-Image /Restorehealth” command. And if you want to remove a selected installed update package, you can use the “DISM /image:C: /ScratchDir:C:Scratch /Remove-Package /PackageName:Package_for_RollupFix~31bf3856ad364e75~amd64~~16299.196.4.9” command. Keep in mind that the mentioned package is only an example. And lastly, you also have to replace the drive letter in the new code snippet when you execute the commands given above.