Repair Windows 10 Error 0xC1900101, 0x4000D

Error Code 0xC1900101, 0x4000D - What Is It?

Error Code 0xC1900101, 0x4000D is not very common among the many error codes emerging when updating to Windows 10. It is specific to Windows 7 users who try to upgrade to Windows 10 system.

This error hinders Windows 7 users to install the Windows 10 update. Once the update is launched, the process will go smoothly until a certain percentage (normally upon hitting 70% or more) and then it gets stuck. The user will then see a notification stating: “The installation failed in the SECOND_BOOT phase with an error during MIGRATE_DATA operation.”

You’ll be able to get past the error after a while. The error message will disappear and continue with the configuration process. But, not for long as it will reoccur at around 90% of installation with another error message saying: “The installation failed in the SECOND_BOOT phase with an error during PRE_OOBE operation.”

Solution

Restoro box imageError Causes

You’re most likely to encounter Error Code 0xC1900101 – 0x4000D when you upgrade to Windows 10 using a USB drive. There are several reasons why this update-related error happens such as wrong update, incompatibility with an antivirus program, or incompatibilities with some software.

Further Information and Manual Repair

In attempting to fix error code-related problems, it is best to do manual repair methods. Employing repair methods manually can help users pinpoint the root causes of the issues they are encountering and apply permanent solutions to fix the problem.

While every Windows user can do most manual repair methods, there are certain cases where help from a Windows expert is needed. If you’re not confident in employing the manual repair methods yourself, you can always consider seeking help from a professional Windows technician who is equipped with enough knowledge to address any issues you are facing or you can just simply use a powerful automated tool.

In fixing Error Code 0xC1900101 – 0x4000D, you can try doing any of the following manual repair methods:

Method One: Disable Background Applications

Error Code 0xC1900101-0x4000D probably occurs when there are programs running in the background of the system as you are in the process of updating. On that note, you must ensure that any programs running in the background must be disabled through Task Manager.

  1. Press Ctrl+Alt+Del then choose Task Manager.
  2. Right-click on all background applications then chooses End Task to close the apps.

NOTE: If there are any processes you are unfamiliar with, you can always right-click that process then “search online.” Be careful not to end “Windows process” tasks under the “Type” column as it might cause further problems.

  1. Restart your device then proceed to Windows 10 system upgrading.

Method Two: Uninstall Anti-Malware Tools

Anti-malware tools normally trigger problems since they consist of files that are possibly incompatible with some software. If Error Code 0xc1900101-0x4000d is caused by incompatibility with an antivirus program, follow the following steps:

  1. Open the Control Panel then choose System and Security.
  2. Select Windows Solution Center.
  3. Click Security to locate your antivirus.
  4. Once you’ve located your antivirus, click on it then choose
  5. Restart your device then check if it eliminates the problem.

Method Three: Install System Updates

  1. Click on the Start menu then select System and Security – Windows Updates.
  2. Choose Check for updates.
  3. If there are any required updates detected by the system, select them all then choose Install Updates.
  4. Restart your device.

Method Four: Check System For Any Incompatibilities

In doing this method, you need to use the System Readiness tool.

  1. Download System Update Readiness Tool for Windows 7 for x64-based Systems (KB947821).
  2. Once the download is finished, open Windows 6.1-KB947821-v34-x64.msu
  3. Run the program to check for any incompatibilities in your system.

NOTE: The process might take a while depending on the speed of your device.

  1. If there are no results found, you can now try updating again to Windows 10. However, if there are any issues found, you need to have them fixed first.

Method Five: Download A Powerful Automated Tool

Can’t seem to put up with the long and technical manual repair process? You can still fix this error by downloading and installing a powerful automated tool that will surely get the job done in a jiffy!
If you like to learn and find out more about various Windows errors, and how to repair them go to our vast archive or use search to find articles that will explain and help you in solving your issue.
However, if you prefer to do things fast and with automatization then we are proposing to use an automated solution for your issues. The application that we are recommending is Advanced System Repair Pro
Advanced System Repair utilizes multiple tools all in one to give you a quick, simple, reliable, and very thorough diagnosis of your PC. It brings you all the tools you need in one program to clean, fix, protect, optimize and boost your PC!
1-Click Maintenance
All the tools to make it simple and easy! It's like having a professional technician at the click of a mouse.

Junk Cleaner
Keeping your computer free from unnecessary clutter also helps make your computer last longer. Like any other machine, if you keep it clean and take care of it, it will serve you better for longer!

Optimize background apps
Optimize applications background activity with the built-in Application Optimizer feature.

Disk Defrag
With a simple 1-click, Advanced System Repair speeds up your PC by assembling fragmented files on your machine and organizing them more efficiently.

Malware Removal
Finds and removes all types of harmful malware including trojans, worms, bots, adware, spyware, PUPs, and more!

Privacy Cleaner
The all-in-one privacy suite to Clean Your Tracks & Protect Your Privacy! Make your computer safe, secure, and more efficient!

System Tweak/Optimizer
ASR will analyze your complete system and settings to adjust your PC to function at its maximum performance.

Registry Cleaner
Over time, as you install and uninstall applications, the registry can become cluttered with old entries and broken settings which can result in program crashes, and annoying messages and slow the computer down.
Visit our Advanced System Repair Pro Download page to inform yourself about all the benefits of this software and get a free trial copy of it.
advanced system repair pro

Advanced System Repair Pro

One-click automated PC repair solution
ASR logo
With Advanced System Repair Pro you can easily
Replace damaged files
Restore performance
Free disk space
Remove Malware
Protects WEB browser
Remove Viruses
Stop PC freezing
DOWNLOAD
Privacy Policy | Terms of Use | Uinstall
Advanced System Repair Pro is compatible with all versions of Microsoft Windows including Windows 11

Share this article:

You might also like

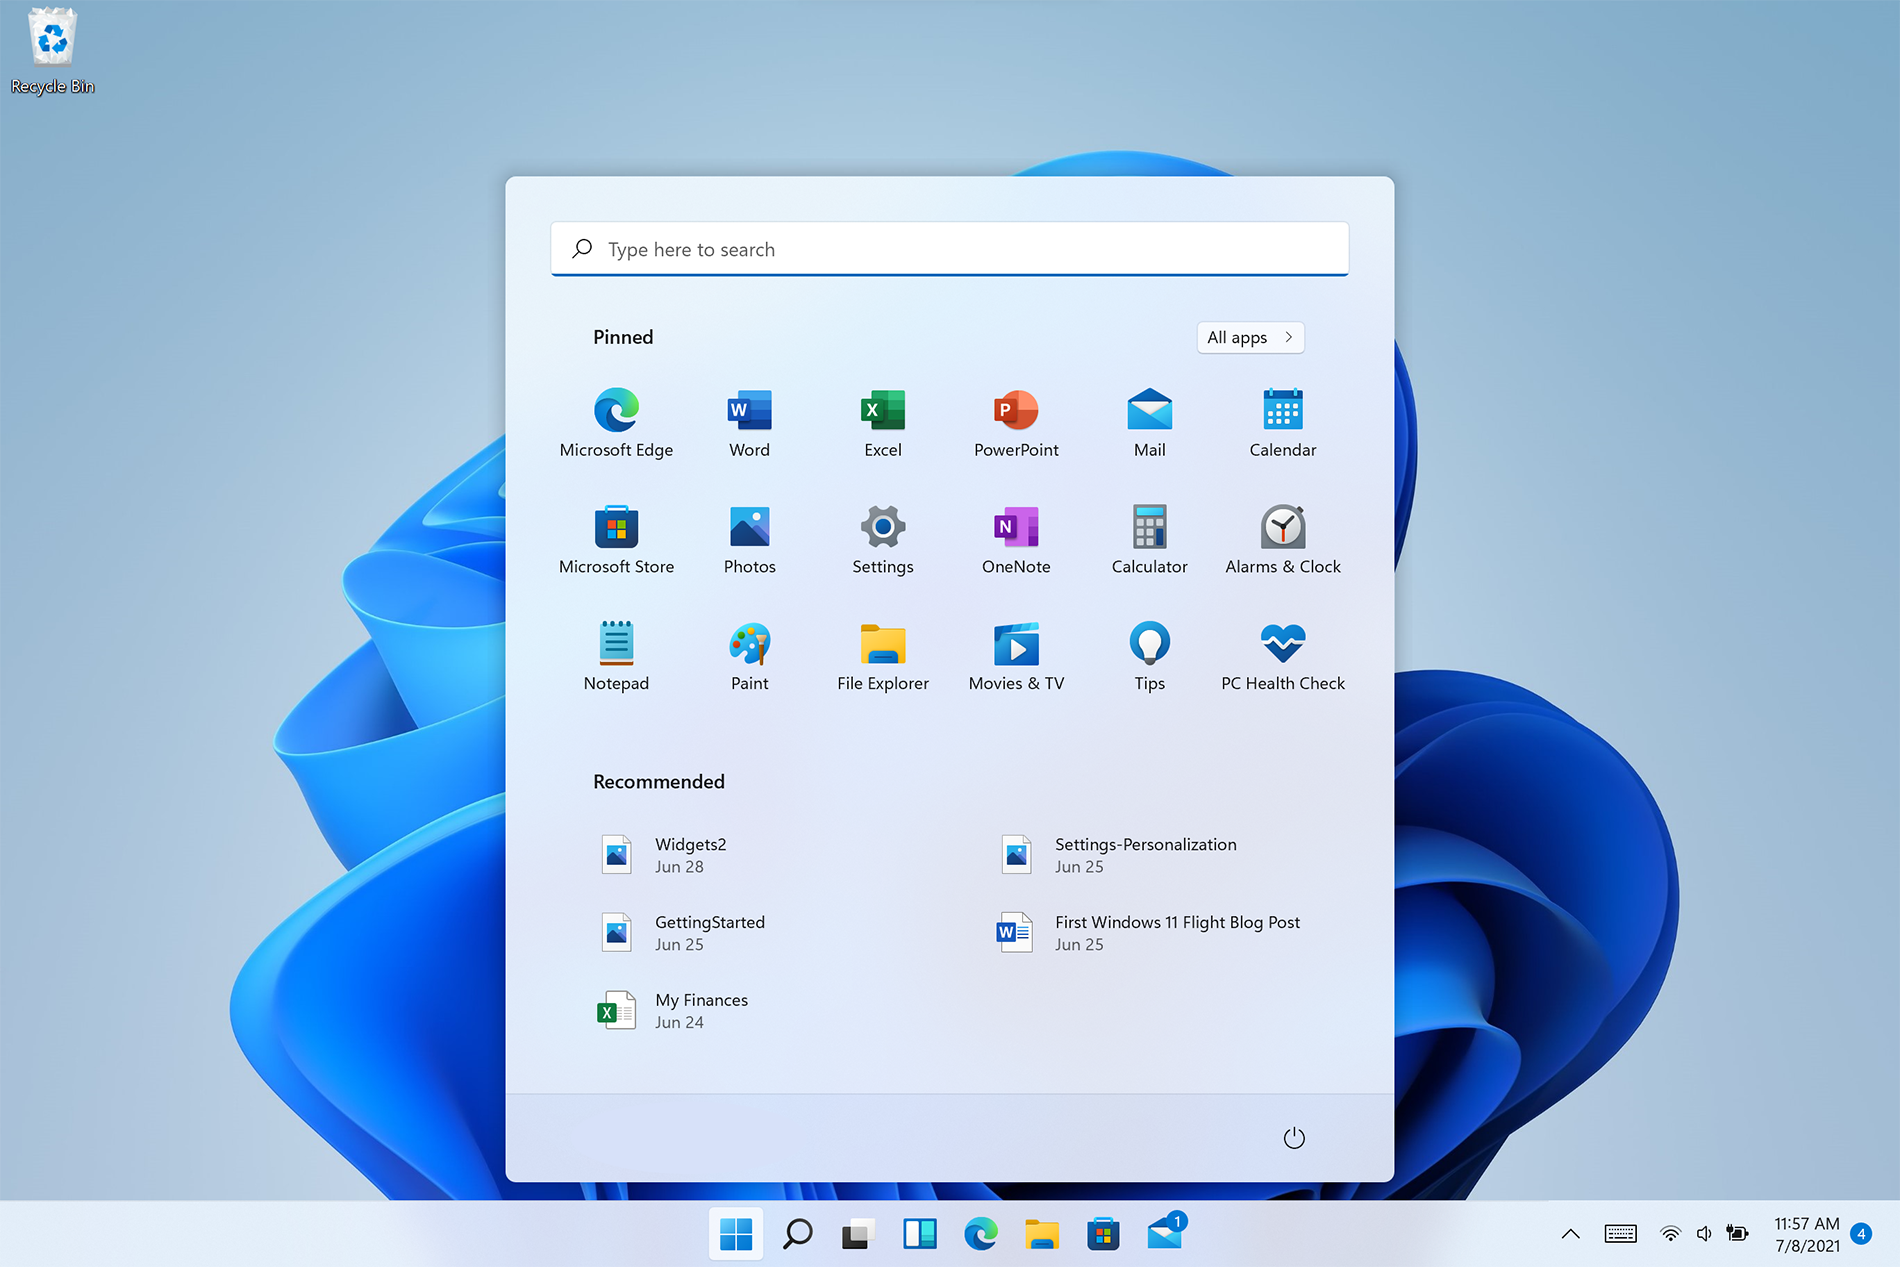
Personalize Windows 11 Start menu
Windows 11 is released and its adoption goes slower than Microsoft would like but nevertheless, it is slowly getting adopted, especially among new computers. Windows 11 has brought us a new modern look of OS but if you would like to personalize it a little more you can. Follow the guide on various things that you can change inside Windows 11.

windows 11 desktop iconsPersonalize list of recently added apps, opened items, folders

The recommended section that shows recently added apps and recently open items can be turned off and hidden now to be shown. In order to do this follow these steps:
  1. Open Windows Settings by pressing WINDOWS + I
  2. Click on personalization in the sidebar
  3. Click on START and go through the options
  4. Turn OFF switch beside recently accessed files
  5. Additionally, you can also change which folders appear on the Start menu.

Remove apps or change app order on the Start Menu

To remove application not to be shown in the Start menu at all follow this simple guide:
  1. Right-click on app
  2. Choose unpin
  3. To place the application on Start click on All Apps, right-click on the app and choose Pin to Start
  4. To drag and rearrange apps, simply click on them and drag them to the new place.

Change the Start Menu location

When Windows 11 was first released Start Menu could only be located in the middle of the screen but thanks to plenty of backlash from users now it is possible to move it on a more traditional left side.
  1. Press WINDOWS + I to open the settings app
  2. Click on Personalization
  3. Look for taskbar behaviors
  4. Inside taskbar behaviors look for Taskbar alignment
  5. Change alignment to left

Change the Start Menu color

In order to change the color of the Start Menu follow the next steps:
  1. Open Settings app
  2. Go to personalization settings
  3. Go to Colors
  4. Switch to custom
  5. Under accent color pick a color you like or make your custom one.
Read More
Repair Error Code 0x80070715 in 3 Simple Steps

How To Repair Error 0x80070715

What is Error Code 0x80070715?

Seeing obscure error codes like 0x80070715 on the screen again and again can be annoying simply because you have no idea why it keeps popping up? What does it mean? Well, for beginners you don’t have to decode it, we’ll make it simple for you. This error code indicates missing .dll files in the system or a corrupt registry. Due to this, you get locked from accessing and running applications on your system.

Solution

Restoro box imageError Causes

This error occurs largely because of two reasons:
  1. Disk damage due to cluttered registry
  2. The system gets infected by malware or a virus(es)
The error code 0x80070715 creates hurdles in the functioning of the applications. If this error is not repaired immediately it can result in serious damages like system crash and failure.

Further Information and Manual Repair

Many people pay hundreds of dollars to technicians to resolve this issue on their systems. Is it worth it? Not exactly!

How about we tell you a time and a money-saving way to fix the error code 0x80070715 on your PC?

The best way to resolve this issue on your system in seconds and also for free is to install Restoro. This is an advanced, powerful, and multi-functional system repair and a PC optimizer tool. It is smoothly integrated with numerous performance-driven utilities like registry cleaner, privacy error detector (anti-virus), Active X and Class error, and system stability detector. With this helper, you can resolve not only the error code 0x80070715 but also other types of PC-related errors. Whether the cause of the error code 0x80070715 on your PC is malware or cluttering cluttered disk, Restoro can be used to resolve them all. Its powerful and intuitive registry cleaner scans the registry and repairs it successfully. It removes junk files, internet history, temporary internet files, invalid entries, and also the files from the uninstalled programs still saved in the system’s registry. It wipes out all the clutter on your hard disk and cleans it in seconds freeing up plenty of space. It repairs the registry resolving the error 0x80070715 quickly. Nonetheless, if the error 0x80070715 is triggered due to viral infection or malware it removes them too. By downloading unknown files, accessing malicious websites, and opening phishing emails viruses can enter your PC. You may not be aware of these until error code 0x80070715 pops on your screen. It is wise to remove viruses right away because these give hackers access to your system which often results in data breaches and exposes users to system security threats. Restoro also works as a powerful antivirus. All malware, spyware, and viruses affecting your PC are scanned with the help of the advanced built-in privacy error detector utility. This utility embedded in the system detects viruses and malware in your system and removes them from your system successfully. Restoro is an easy-to-use repair tool. It has a simple layout and a user-friendly interface. It is easy to navigate through the repair tool, scan for errors and repair them without any hassle. Users of all levels, novice and experienced can use this tool with ease. You don’t need to be technically sound to work around this tool. Here's how to Install and run Restoro PC Fixer: In addition to this, you can run it on any Windows version. It is compatible with practically all versions. No matter what the cause for error code 0x80070715 maybe, you don’t need to get into the nitty-gritty of it and find a specific tool to resolve the issue. All you have to do is install this multi-functional Restoro on your system. Here are the 3 simple steps that you need to follow for successful repair:
  1. Click here to install Restoro.
  2. Scan your PC
  3. Press the Repair Tab to fix the issue right away
To ensure your PC is error-free, registry clean and your system runs at its optimum speed, scan your PC with Restoro regularly.
Read More
Managing the Local Users and Groups
As you know, Windows PowerShell is a useful command-line utility in Windows 10 that can be used to manage the Local Users and Groups which affirms the multiuser operating system principle of Windows 10. Although there are other GUI-based utilities used to manage the Local Users and Groups, there are some system administrators that would still like to use the command-line utility to manage these Local Users and Groups. So in this post, you will be guided on how exactly you can manage the Local Users and Groups using PowerShell on your Windows 10 computer. To get started, refer to the options provided below to manage both the Local Users and Groups using Windows PowerShell.

Option 1 – Manage the Local Users via Windows PowerShell

  • You need to first open Windows PowerShell as an admin. To do that, just tap the Win + X keys and select the Windows PowerShell (Admin) option.
  • After opening PowerShell, you need to execute the “Get-LocalUser” cmdlet so that you can find all the details about all the local user accounts in your computer which would include the Account Name, Enabled status, as well as description.
Note: On the other hand, you can also get the customized data about several objects that are related to your account. For instance, if you want to check when was the last time the Local account’s password was set, then you need to execute the “Get-LocalUser -Name root | Select-Object PasswordLastSet” cmdlet. Thus, the structure for this cmdlet is “Get-LocalUser -Name root | Select-Object *”. Here are the objects you can use to get different sorts of data:
  • AccountExpires
  • Description
  • Enabled : True
  • FullName
  • PasswordChangeableDate
  • PasswordExpires
  • UserMayChangePassword
  • PasswordRequired
  • PasswordLastSet
  • LastLogon
  • Name
  • SID
  • PrincipalSource
  • ObjectClass

Option 2 – Manage the Local User Groups using Windows PowerShell

  • Like what you did earlier, open Windows PowerShell as admin and then execute the “Get-LocalGroup” cmdlet so you can get all the information about all the groups of all the local user accounts.
  • Now if you want to create a new Local User Group, just execute the “New-LocalGroup -Name <NAME OF THE GROUP> -Description '<ENTER THE DESCRIPTION OF THE GROUP HERE>'” cmdlet.
  • And if you want to add Local User Accounts to a specific group, just execute the “Add-LocalGroupMember -Group '<NAME OF THE GROUP' -Member ('NAME 1','NAME 2','<ROLE>') -Verbose” cmdlet. You could also use the “Get-Localuser -Name john | Add-LocalGroupMember -Group '<NAME OF THE GROUP>'” cmdlet for the same purpose.
  • If you want to display all the User Accounts of a specific group, just use the “Get-LocalGroupMember –Group ‘ ’” cmdlet.
  • Now if you want to remove a local user account from a group, all you have to do is use the “Remove-LocalGroupMember -Group '<NAME OF THE GROUP>' –Member <NAME OF THE LOCAL USER ACCOUNT>” cmdlet.
Read More
Fix DRIVER_PAGE_FAULT_IN_FREED_SPECIAL_POOL
If you suddenly encounter the DRIVER_PAGE_FAULT_IN_FREED_SPECIAL_POOL Blue Screen error on your Windows 10 computer along with the error codes, 0x000000D5, 0xb10BBD9E, 0x0D82DA24, 0Xfecd479D, 0x779827CB then read on as this post will provide you some troubleshooting tips that could help you resolve the BSOD error. Getting this kind of BSOD error means that a driver has referenced memory that was freed earlier and it could also mean that the Driver Verifier Special Pool option has caught the driver accessing memory which was freed earlier. Follow the given options below to fix the DRIVER_PAGE_FAULT_IN_FREED_SPECIAL_POOL BSOD error.

Option 1 – Use the Driver Verifier Manager

The Driver Verifier Manager is another tool in Windows that could help you fix driver-related issues.
  • Type in the keyword “Verifier” in the Cortana search box to search for Verifier in Windows 10.
  • After that, select the option “Create custom settings”.
  • Make sure that you have checked everything except the options “DDI compliance checking” and “Randomized low resources simulation”.
  • Next, select the option “Select driver names from a list” option.
  • Afterward, you have to select all the drivers from any unofficial or third-party provider. To simply put it, you have to select all the drivers that are not supplied by Microsoft.
  • Then click on the Finish button.
  • Open Command Prompt as administrator and execute this command – verifier /querysettings
  • The command you just executed will display the Driver Verifier settings so if you see any of the flags enabled boot your Windows 10 PC into Safe Mode.
  • Open the Command Prompt as admin again and run this command – verifier /reset
  • The command will reset the Driver Verifier. Once the process is done, restart your PC and check.

Option 2 – Try updating SSD firmware

If you have installed SSD on your computer recently and you have started getting the DRIVER_PAGE_FAULT_IN_FREED_SPECIAL_POOL Blue Screen error since then you may have to update the SSD firmware. To fix this, you can download the Intel Solid-State Drive Toolbox from the official website. This toolbox is compatible with Windows 10 and Windows 7 and later versions.

Option 3 – Try running the Blue Screen Troubleshooter

The Blue Screen troubleshooter is a built-in tool in Windows 10 that helps users in fixing BSOD errors like DRIVER_PAGE_FAULT_IN_FREED_SPECIAL_POOL. It can be found in the Settings Troubleshooters page. To use it, refer to these steps:
  • Tap the Win + I keys to open the Settings panel.
  • Then go to Update & Security > Troubleshoot.
  • From there, look for the option called “Blue Screen” on your right-hand side and then click the “Run the troubleshooter” button to run the Blue Screen Troubleshooter and then follow the next on-screen options. Note that you might have to boot your PC into Safe Mode.

Option 4 – Try running Microsoft’s online Blue Screen Troubleshooter

If running the built-in Blue Screen Troubleshooter didn’t work, you can also try running Microsoft’s online Blue Screen Troubleshooter. All you have to do is go to Microsoft’s website and from there, you will see a simple wizard that will walk you through the troubleshooting process.

Option 5 – Try to reinstall or update device drivers of recently installed hardware

If the first few options didn’t work for you, then it’s time to either update or roll back the device drivers. It is most likely that after you updated your Windows computer that your driver also needs a refresh. On the other hand, if you have just updated your device drivers then you need to roll back the drivers to their previous versions. Whichever applies to you, refer to the steps below.
  • Open the Devices Manager from the Win X Menu.
  • Then locate the device drivers and right-click on them to open the Properties.
  • After that, switch to the Driver tab and click on the Uninstall Device button.
  • Follow the screen option to completely uninstall it.
  • Finally, restart your computer. It will just reinstall the device drivers automatically.
Note: You can install a dedicated driver on your computer in case you have it or you could also look for it directly from the website of the manufacturer.

Option 6 – Try disabling Hardware Acceleration

You might want to disable Hardware Acceleration system-wide or for a particular program like Google Chrome and see if it resolves the DRIVER_PAGE_FAULT_IN_FREED_SPECIAL_POOL BSOD error
Read More
Fixing the We can’t find a USB flash drive
One of the preferred ways to upgrade Windows 10 is by creating a bootable USB drive. However, you might change your mind when you encounter an error during the Windows 10 Setup that says, “We can’t find a USB flash drive”. Worry not for this error can be fixed using some suggestions that will be provided in this post. The funning thing about this error in Windows setup is that the computer says it’s not there when it’s clearly there. To fix this problem, you need to check if the USB device is accessible on your computer or you can also try a different USB device. In addition, you could check if there are any issues with both the USB 3.0 and USB 2.0 ports as it could be the reason why you’re getting the error or fix the bad sectors in the USB drive as well as see if the USB drive is set as the primary drive.

Option 1 – Try to check if the USB is accessible on your PC

The first thing you can do to resolve the problem is to check if you can access your USB device from your computer. All you have to do is open File Explorer and check if the USB device is listed there or not.

Option 2 – Try to connect a different USB device

The next thing you can do to fix the error is to try connecting a different USB device, specifically the one that has more significant storage space. You also have to make sure that it’s working on a different PC.

Option 3 – Fix any issues with the USB 3.0 and 2.0 ports

Although the USB 3.0 ports are compatible with the USB 2.0 ports, it does not necessarily mean that there wouldn’t be any problem when you use them which is why it’s best to fix any issues in them or better yet, use a compatible drive.

Option 4 – Try to fix the bad sectors in the USB drive via CHKDSK

When it comes to some issues concerning the hard drive or removable devices, there is a utility in Windows that might help which is called “chkdsk”. To use it, follow the steps below.
  • Tap the Win + S keys to open the Search box.
  • Then type “command prompt” in the field and from the search results that appear, right-click on Command Prompt and select “Run as administrator”.
  • After opening an elevated command prompt, copy and paste the following command and hit Enter:
CHKDSK [volume [[path] filename]] [/F] [/V] [/R] [/X] [/C] [: size]]
Note: In the command given above, “[/F]” will try to fix the system errors while “[/R]” will be the one to fix the bad sectors.
  • Now if you are prompted to run CHKDSK after your reboot your PC, just tap Y and reboot your PC.
  • If CHKDSK is not able to find any errors, tap the Win + E keys and navigate the access window. From there, right-click on the concerned drive and click on Properties.
  • After opening Properties, click on the tab Tools and then click on the “Check” button under the Error-checking section.
  • Wait until the process is completed and then restart your computer.

Option 5 – Try checking if the USB is set as the primary drive

You might also want to check if the USB drive is set as the primary drive because if it is, then it won’t appear on the list. It could also be that the USB drive has a primary disk in it. To undo it, you need to use the DISKPART utility.
  • In the Start Search, type “command prompt” and right-click on Command Prompt from the search results, and then select the “Run as administrator” option.
  • Next, execute the “diskpart” command to initiate the DISKPART utility.
  • After that, type the “list disk” command and tap Enter to display the list of disks on the computer. You have to take note of the drive number or letter of the concerned USB drive.
  • Once done, type the “select disk <X>” command where X is the drive letter or number and tap Enter.
  • Then execute the “list partition” command to see the list of all the partitions in your computer. It should be listed as 0, 1, or 2. 0 is the primary partition.
  • Now type the “select partition 0” command and tap Enter and then type “delete partition” to delete the selected partition.
  • You can do the same to the other partitions as well and when you’re done, execute the format command to turn the USB drive into a standard one.
Read More
Importing and Exporting WSL distros in Windows
In this post, you will be guided on how to import and export the WSL distros in your Windows 10 computer. WSL, also known as Windows Subsystem for Linux, is a compatibility layer needed to run Linux binary executable in Windows 10, as well as the Windows Server 2019. In case you don’t know, when you reinstall or reset Windows 10, all of its configuration data stored with the WSL distros gets deleted. Going back or restoring the configuration can be quite challenging but worry not for Microsoft has already got this covered as you can now import and export the WSL or Windows Subsystem for Linux distros. There are three aspects that you have to deal with when you import or export WSL distros in your Windows 10 computer, such as importing WSL distro, exporting WSL distro, and uninstalling the imported WSL distros. Before you proceed to the instructions provided below, make sure that all your installed distros are updated via Microsoft Store. Once you have this covered, follow the options below.

Option 1 – Import the WSL distro

  • Type “command prompt” in the Start Search and from the search results, right-click on Command Prompt and then select the “Run as administrator” option.
  • After opening Command Prompt as admin, execute this command: wsl --list –all
  • The command you entered will list all the installed WSL distros on your computer. And now it’s time for you to import a WSL distro by executing this command: wsl --import <Name of the distro> <Fill path to save the backup .tar file>
Note: In the given command above, replace “<Name of the distro>” with the name of the distro you want to import and replace “<Fill the path to save the backup .tar file>” with the location where you want to save the .tar file.

Option 2 – Export the WSL distro

  • Type “command prompt” in the Start Search and from the search results, right-click on Command Prompt and then select the “Run as administrator” option.
  • After opening Command Prompt as admin, execute this command to see the list of all the installed WSL distros in your computer: wsl --list –all
  • After that, execute this command to export a WSL distro: wsl --export <Name of the distro> <Fill path to save the backup .tar file>

Option 3 – Uninstall the imported WSL distro

  • Open Command Prompt with admin privileges.
  • Next, execute this command to view the list of all the installed WSL distros: wsl --list –all
  • After that, execute this command to uninstall an imported WSL distro: wsl --unregister <Name of the distro>
  • Once it’s done, close Command Prompt and restart your computer.
Read More
Resize icons on desktop quickly in Windows 10
Resize icons on desktop in Windows 10 in a matter of seconds! Hello everyone and welcome to today's quick tip. If you have ever been dissatisfied with icon size on your desktop and any of the default sizes like small, medium large, etc have not been appropriate know that there is a quick way to resize icons on your desktop in between sizes. All that you have to do in order to use this built-in feature is: Press and hold CTRL and scroll with the mouse. That's it! Find your appropriate size for icons and enjoy. icons on desktop
Read More
Guide to Quick Fix Error 0x0000007B,0xF78524
[vc_row][vc_column][vc_column_text]

Error 0X0000007B (0xF78d2524) Repair

0X0000007B (0xF78d2524) - What is it?

If you are a laptop or a notebook user and you are trying to install Windows XP on it, you might come across 0x0000007B (0xF78524) error message. This error is a popular blue screen of death error and very similar to the error 0x0000007B.

Solution

Restoro box imageError Causes

The common causes of 0x0000007B (0xF78524) error code on your laptop might be:
  • File Corruption
  • Device Configuration Issues
  • Adware/spyware invasion
  • Incomplete Installations
  • Problem with your computer’s hard drive controller

Further Information and Manual Repair

Many people panic when they experience 0x0000007B (0xF78524) error on their laptops and notebooks simply because it is a blue screen of death error. The BSoD has this whole persona of being deadly computer errors that can almost cripple systems. If you have also experienced this error on your laptop, remain calm and follow the solutions given below to ensure you fix the error quickly without any hassle. Here are various ways to fix and resolve the BSOD error code 0x0000007B (0xF78524):
  1. Whether you have Lenovo IdeaPad Y550 or Dell Latitude E4300 or any other laptop for that matter, if device driver configuration is the cause of the error 0x0000007B (0xF78524), then all you need to do is start up your laptop and press F2 to enter BIOS. Now expand the ‘Drives’ section. After doing so, go to ‘SATA Operation’. SATA is the abbreviation for Serial Advanced Technology Attachment which enables mass storage devices like hard drives and optical drives to communicate with the motherboard by using a high-speed serial cable. For successful communication between devices, you need to configure SATA controller mode. Once you go to the ‘SATA Operation’ mode, change this from RAID AHCI to RAID ATA. Save changes and exit BIOS. This helps resolve the error 0x0000007B (0xF78524) in no time.
  2. Another way to fix this error is to download and install the 0x0000007B (0xF78524) repair tool. Once this tool is installed on your laptop, click the scan button. Once the scan is complete, you will see a list of errors; click the ‘Repair’ button to fix the errors found and then restart.
  3. The 0x0000007B (0xF78524) error may also occur due to the boot volume corruption. In such an event, it is advisable to run chkdsk command on the hard drive. This is recovery console command is used to check the hard drive, repair and recover data on the drive successfully.
[/vc_column_text][/vc_column][/vc_row]
Read More
Fix DRIVER_IRQL_NOT_LESS_OR_EQUAL in Windows
DRIVER_IRQL_NOT_LESS_OR_EQUAL will cause your computer to go to the blue screen of death but do not worry there are solutions around this and we are here to instruct you on how to solve this.
  1.  Uninstall and install network drivers

    DRIVER_IRQL_NOT_LESS_OR_EQUAL is most commonly tied to bad network drivers, whatever that be a corruption of the driver files or their incompatibility. So first thing is to check if this is the case. Press ⊞ WINDOWS + X to open the hidden menu in Windows and click on Device Manager. keyboard with windows and x marked Windows menu device manager In the Device Manager expand Network adapters, choose adapter, right-click on it and choose Uninstall. network device manager Install latest driver or reboot so Windows will install the driver automatically
  2. Update driver

    If you do not want to reinstall the driver or you are unable to for whatever reason updating the driver might do the trick. To update driver: Press ⊞ WINDOWS + X to open the hidden menu in Windows and click on Device Manager. keyboard with windows and x markedWindows menu device manager In the Device Manager expand Network adapters, choose adapter, right-click on it and choose Update Driver. network device manager update
  3. Fix via Command prompt

    If both of the beforementioned solutions fail, try running the command prompt and fix the issue from there. Press ⊞ WINDOWS + X to open the hidden menu in Windows and click on Command Prompt (administrator) keyboard with windows and x markedWindows menu command prompt admin In command prompt type next line and press ENTERDEL /F /S /Q /A “C:\Windows\System32\drivers\mfewfpk.sys Reboot the system
  4. Scan your PC for malware

    Sometimes corruption in the system is caused by malware, Scan your system for malware, viruses, etc.
  5. Check connections or other hardware issues

    If all methods fail, open your PC case and check to see if connections everywhere are properly connected and tight. Clean your PC and turn it back ON
  6. Use system restore

    If anything fails, use Windows system restore and bring back computer into a state where everything was working fine.
Read More
Mfplat.dll is missing or was not found
One of the primary packages that install the Windows Media Player is the Media Feature Pack among other related files that are needed by the associated software products. And one of the essential DLL files in that package is the mfplat.dll file which is needed by various games and streaming services. So if this DLL file goes missing, you will most likely encounter any of the following error messages:
  • “mfplat.dll missing”
  • “The application failed to start because mfplat.dll was not found.”
  • “The program can’t start because mfplat.dll is missing from your computer.”
In other circumstances, the Media Feature Package does not come pre-installed with the main Windows package especially for those who use Windows N, thereby causing the error to pop up. The main cause of this problem is that users who use Windows 10 N do not have the Media Feature pack pre-installed with the installation package. Aside from that, the installation package could go missing after a few Windows Updates or if you have uninstalled it by accident. To resolve this problem, you need to check out each one of the given options below.

Option 1 – Try to enable Media Playback via Command Prompt

If you encounter the mfplat.dll missing error when you attempt to run PLEX or other similar streaming service and you’ve already verified that the Media Feature Pack is indeed installed, you might want to try enabling it using an elevated Command Prompt. There are cases when a particular Windows Update ends up disabling the feature and creates the grounds which results in the mfplat.dll missing error. Thus, you can have to enable the feature via Command Prompt.
  • Tap the Win + R keys to open the Run dialog box.
  • Then type “cmd” in the field and hit Enter to open an elevated Command Prompt.
  • Next, click on Yes if a User Account Control prompt pops up.
  • After opening Command Prompt, copy and paste the following command and hit Enter to execute it:
dism /online /enable-feature /featurename:MediaPlayback
  • Close Command Prompt and then open the app once again to check if the problem is now fixed.

Option 2 – Try installing the Media Feature Pack for Windows 10 N version

As mentioned, the Windows 10 N version does not come with Windows Media Player. Meaning to say, the Media Feature Pack is also not installed by default or won’t be updated by the Windows Update component. So if you are not quite sure what Windows 10 version you currently have installed, refer to these steps:
  • Tap the Windows key + S and then type “about” in the search box.
  • From the search results, click on the “About your PC” to open the About tab of the Settings app.
  • Afterward, scroll down to the Windows specifications and check your Windows version under Edition.
Note: If you have verified that your PC is using the Windows 10 N version, you need to install the appropriate Media Feature Pack for your computer. How? Refer to the steps below:
  • Click this link to download and install the Media Feature Pack from Microsoft’s official website.
  • Upon installation, select the edition you want to install using the drop-down menu and then click on Confirm. Take note that there are few reasons why you’d want to install the older version since most streaming services like PLEX and most games usually require version 1803.
  • After that, wait until the request is validated. The download should begin in a few minutes automatically.
  • Once the download is completed, open the installation executable file and follow the next on-screen instructions to install the Media Feature Pack on your computer.
  • Restart your computer. After your computer has rebooted, open the application where you’re getting the mfplat.dll missing error and then check if the problem is now fixed.

Option 3 – Try to extract a copy of the mfplat.dll file from the windows.old directory

If you encounter the error shortly after you just upgraded to Windows 10 from an older version, the best thing you can do to resolve the problem is to use windows.old directory to fetch an old copy of the mfplat.dll file. To do so, follow the steps below.
  • Go to the Windows drive and then look for the windows.old directory where it preserves a copy of your old operating system as well as associated files in case something goes out of hand during the upgrade process.
  • After that, open the windows.old folder and then go to the syswow64 folder.
  • Next, from the syswow64 folder, copy the mfplat.dll file and paste it to C:/windows/syswow64.
  • Restart your computer and check if the error is now resolved or not.
Read More
1 2 3 162
Logo
Copyright © 2022, ErrorTools. All Rights Reserved
Trademarks: Microsoft Windows logos are registered trademarks of Microsoft. Disclaimer: ErrorTools.com is not affiliated with Microsoft, nor claim direct affiliation.
The information on this page is provided for information purposes only.
DMCA.com Protection Status