A guide to fixing Error Code 80070490
Error Code 80070490 - What is it?
This error 80070490 code may occur when you try to update your PC either through the Microsoft Update website or with a Windows update. The error message is displayed in the following format:
Error 80070490 (Element not found)
Solution
 Error Causes
Error Code 80070490 is triggered because of a couple of reasons. It indicates the file CBS Manifest that is needed to install Windows update is corrupt or damaged.
CBS (Component Based Servicing) Manifest is the file that is used to help your computer recognize various components inside your PC.
Another reason for error occurrence is registry corruption.
If the registry that stores all the information and activities performed is not cleaned frequently, the obsolete files saved in the registry like the junk files, bad entries and cookies eventually accumulate and corrupt it thereby generating such error codes.
Further Information and Manual Repair
Here are some effective and proven methods that you can try by yourself to resolve error code 80070490 on your PC.
Method 1 - Use the System Update Readiness Tool
Download the System Update Readiness Tool from the Windows website and run it on your PC.
This tool is designed to detect and scan for abnormalities and inconsistencies that could be preventing and causing problems during the system update.
Once you have downloaded and scanned your PC, try to install the updates again. If the error still persists, try other methods illustrated below.
Method 2 - Repair Windows
Here are the steps that you need to follow to repair Windows:
- First, close all programs and then reboot your PC. Insert the Windows DVD into the computer’s disk drive and wait for the setup to begin.
- If for any reason, the setup doesn’t start automatically, then don’t worry simply click start, then type Drive: setup.exe in the search box. Please note, in the drive insert the letter of your computer’s DVD drive for example D:setup.exe.
- Now in the programs list, click setup.exe And then click install now.
- After that click ‘go online to obtain the latest updates for installation’, if you are asked for the Windows Product Key, then simply type it to proceed.
- In the ‘Which kind of Installation do you want?’ option, click Upgrade.
When the Windows installation is complete, restart your PC and then run Windows update.
Method 3 - Clean the Registry
If the cause of error code 80070490 on your PC is related to registry corruption, then it is advisable to download Restoro. This is an advanced and easy-to-use PC Repair Tool embedded with a registry cleaner.
The registry cleaner scans your entire PC, removes all obsolete and unnecessary files corrupting the registry, and cleans it right away.
Click here to download Restoro to repair error code 80070490
If you like to learn and find out more about various Windows errors, and how to repair them go to our vast archive or use search to find articles that will explain and help you in solving your issue.
However, if you prefer to do things fast and with automatization then we are proposing to use an automated solution for your issues. The application that we are recommending is Advanced System Repair Pro
Advanced System Repair utilizes multiple tools all in one to give you a quick, simple, reliable, and very thorough diagnosis of your PC. It brings you all the tools you need in one program to clean, fix, protect, optimize and boost your PC!
1-Click Maintenance
All the tools to make it simple and easy! It's like having a professional technician at the click of a mouse.
Junk Cleaner
Keeping your computer free from unnecessary clutter also helps make your computer last longer. Like any other machine, if you keep it clean and take care of it, it will serve you better for longer!
Optimize background apps
Optimize applications background activity with the built-in Application Optimizer feature.
Disk Defrag
With a simple 1-click, Advanced System Repair speeds up your PC by assembling fragmented files on your machine and organizing them more efficiently.
Malware Removal
Finds and removes all types of harmful malware including trojans, worms, bots, adware, spyware, PUPs, and more!
Privacy Cleaner
The all-in-one privacy suite to Clean Your Tracks & Protect Your Privacy! Make your computer safe, secure, and more efficient!
System Tweak/Optimizer
ASR will analyze your complete system and settings to adjust your PC to function at its maximum performance.
Registry Cleaner
Over time, as you install and uninstall applications, the registry can become cluttered with old entries and broken settings which can result in program crashes, and annoying messages and slow the computer down.
Visit our Advanced System Repair Pro Download page to inform yourself about all the benefits of this software and get a free trial copy of it.

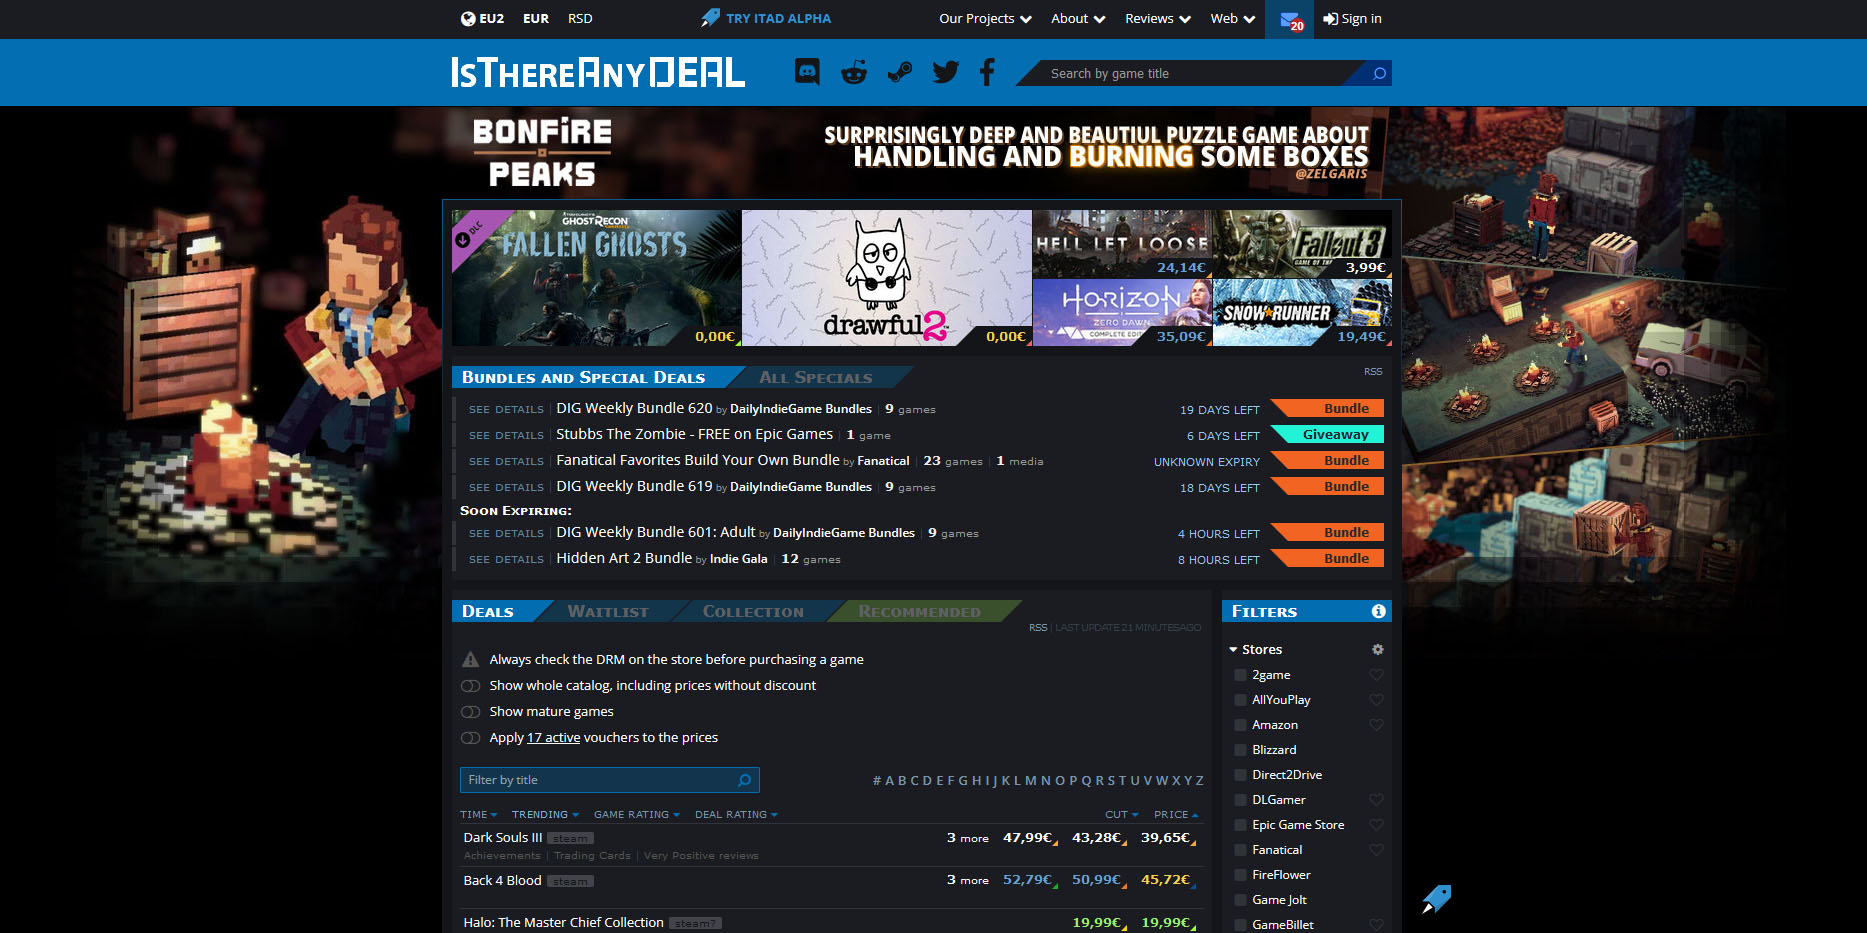 Is There Any Deal
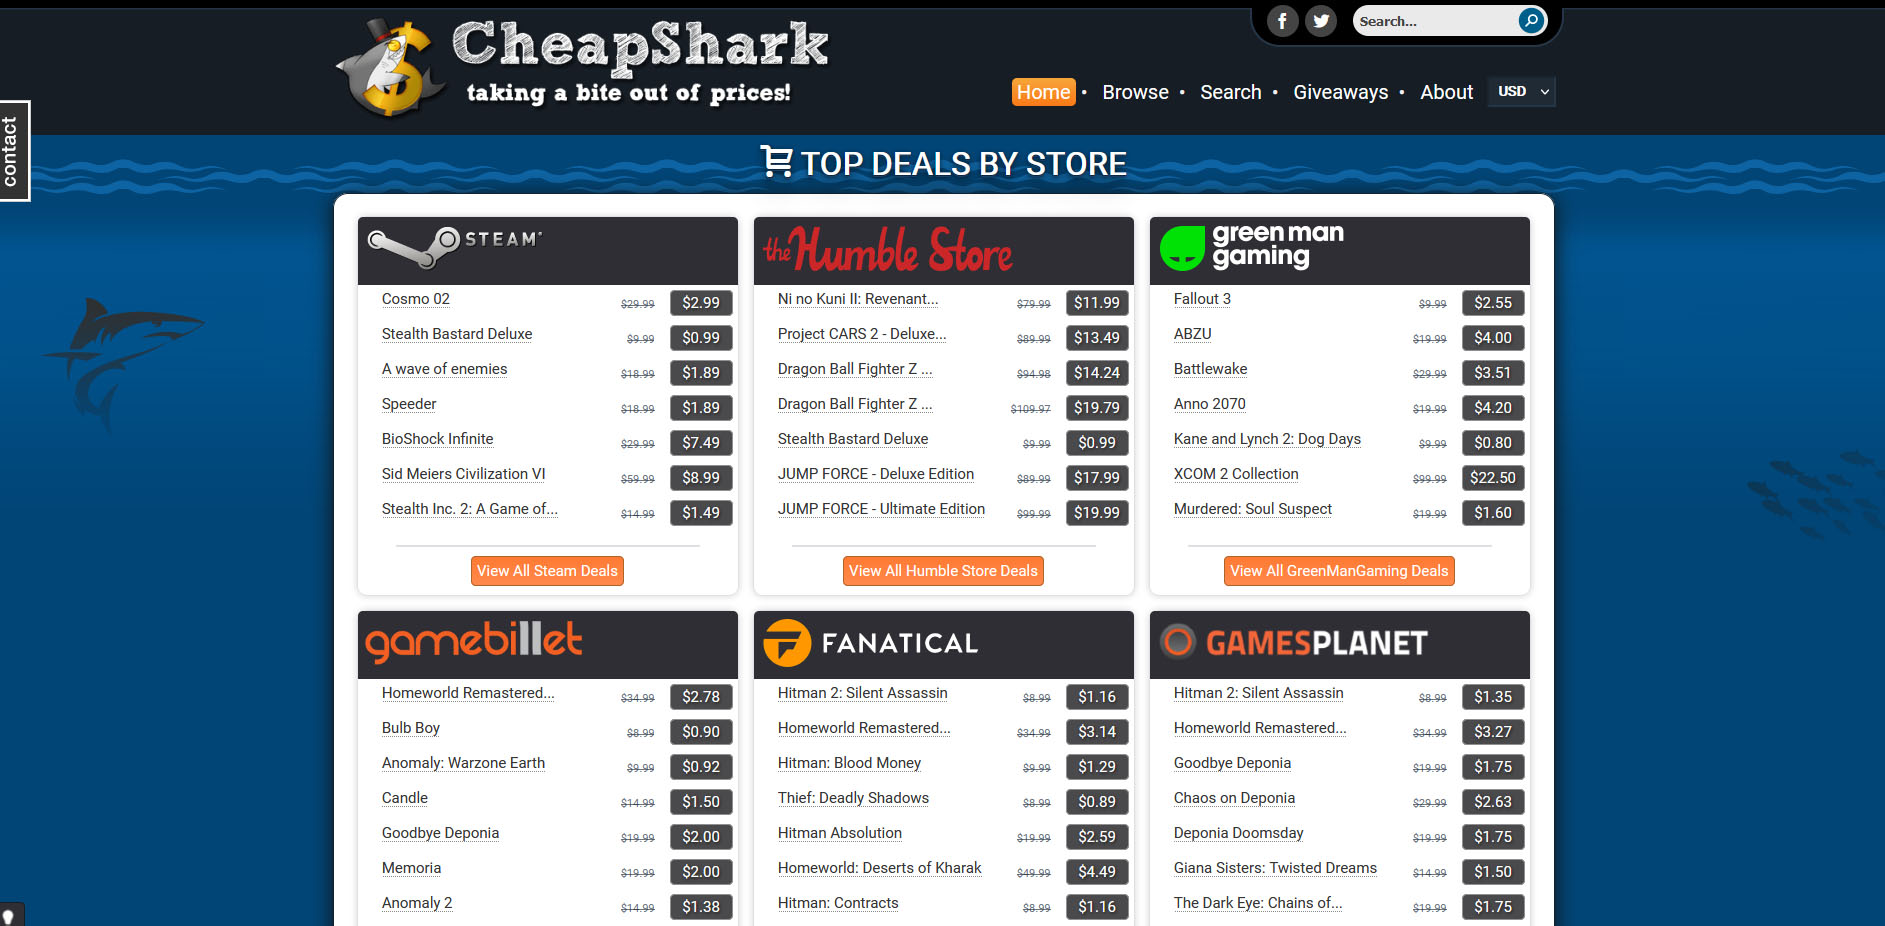 Cheap Shark
 Humble Bundle
 Fanatical
 Slick Deals
 Green Man Gaming
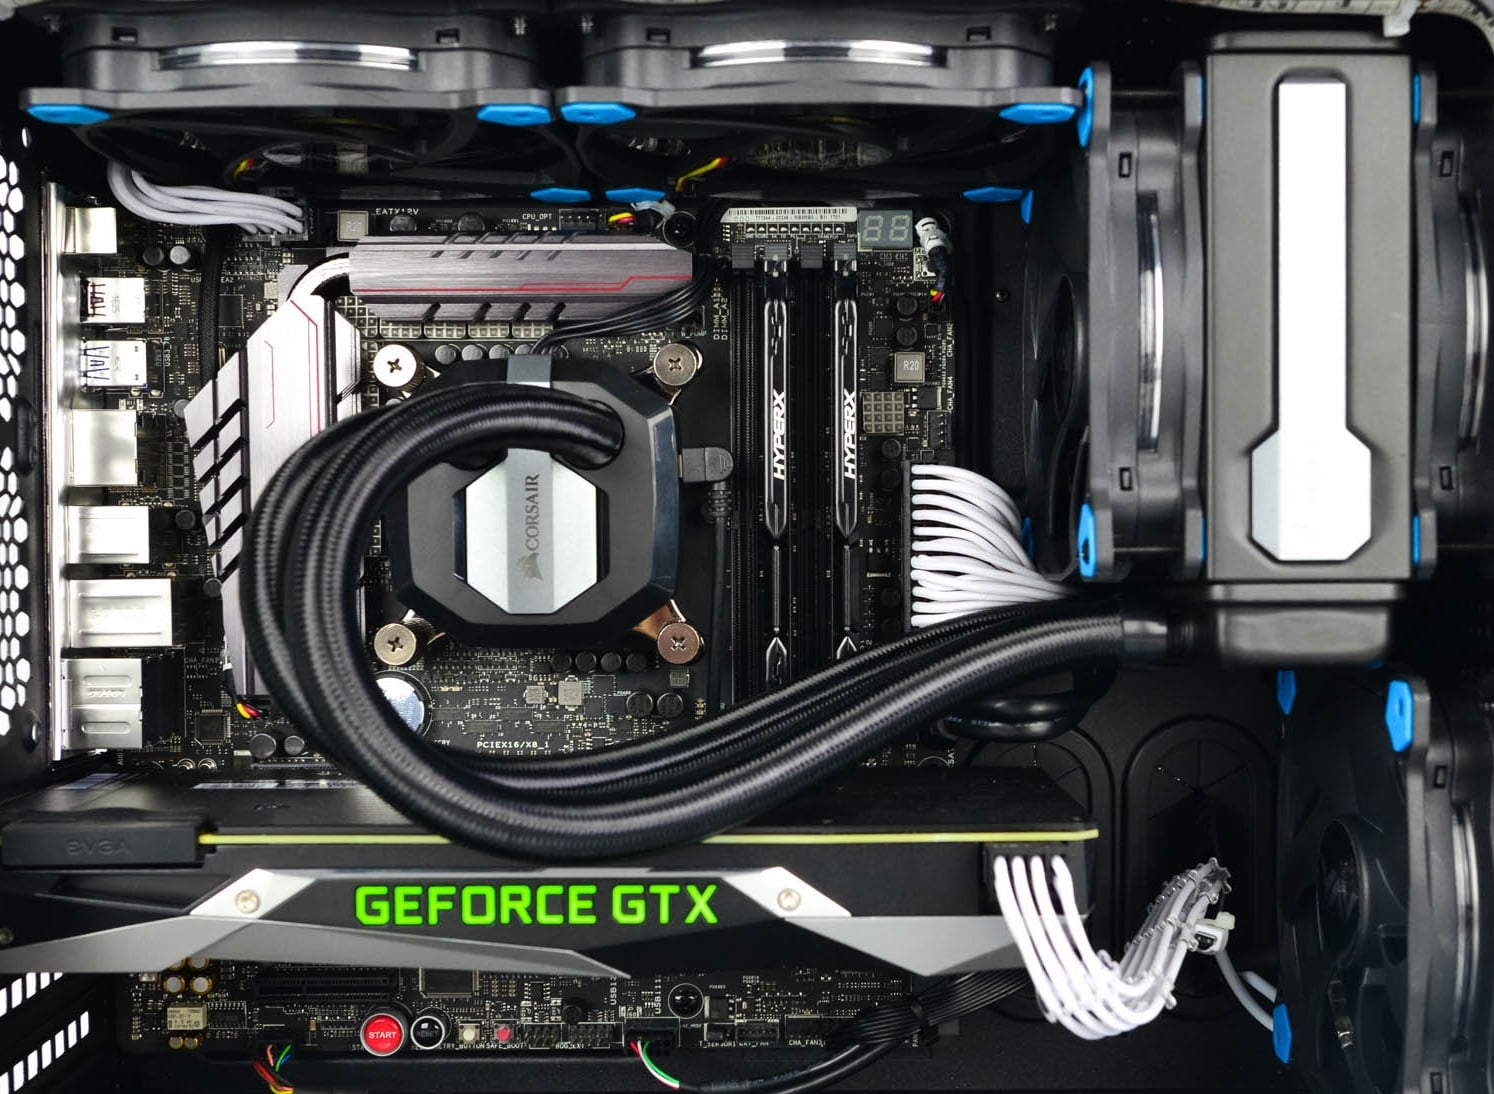 Builders with no depth knowledge and experience can sometimes choose improper CPU or GPU, picking one of them to be much more powerful than another thus not using it to its full potential because another component cannot handle stuff at the same speed. In order to not be trumped by this kind of stuff, there is a website that is completely free and you do not even need to be registered in order to use it.
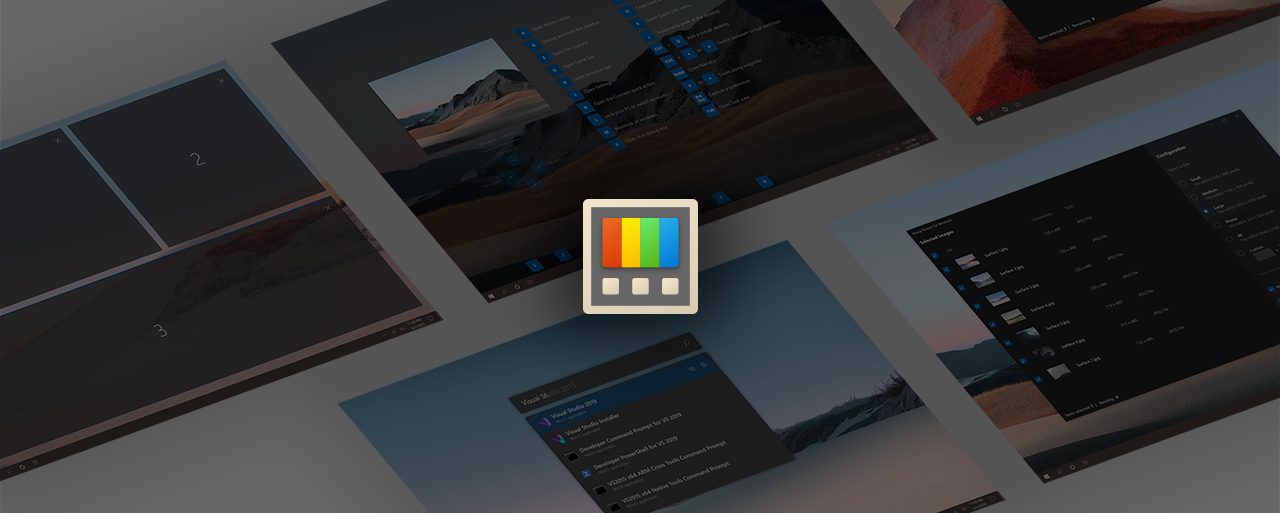 The first new feature that was slid in is Always on top utility. With this cool utility, you can keep the window as the name suggests, always on top of other windows. To enable this cool feature all you have to do is press the key combination of ⊞ WINDOWS + CTRL + T and an active window will be now always on top of all other windows. To reverse and unlock this window from being always on top just press key combination again.
A second new feature is a really great one and my favorite thing to happen in power toys. Often we are making the search in our browsers to find stuff, things, maybe some explanations, information, etc. The newest update in power toys brings this to a whole new dimension. While you are on PC you just simply need to type ?? followed by questions like: ?? When doctor strange 2 is coming out and that will launch your default browser with your chosen search engine and provide you with the answer.
Third and final thing is G-code support in the file explorer preview pane and thumbnails, meaning that if you work with CNC equipment you can now have a thumbnail preview of the code itself inside File Explorer.
And that’s it for now, thank you for coming and reading, Take care and I hope to see you next time.
The first new feature that was slid in is Always on top utility. With this cool utility, you can keep the window as the name suggests, always on top of other windows. To enable this cool feature all you have to do is press the key combination of ⊞ WINDOWS + CTRL + T and an active window will be now always on top of all other windows. To reverse and unlock this window from being always on top just press key combination again.
A second new feature is a really great one and my favorite thing to happen in power toys. Often we are making the search in our browsers to find stuff, things, maybe some explanations, information, etc. The newest update in power toys brings this to a whole new dimension. While you are on PC you just simply need to type ?? followed by questions like: ?? When doctor strange 2 is coming out and that will launch your default browser with your chosen search engine and provide you with the answer.
Third and final thing is G-code support in the file explorer preview pane and thumbnails, meaning that if you work with CNC equipment you can now have a thumbnail preview of the code itself inside File Explorer.
And that’s it for now, thank you for coming and reading, Take care and I hope to see you next time.